
If you've recently purchased the iPhone 12 Pro Max, you might be wondering how to remove the camera lens protector. It's a common concern for many new iPhone owners, and it's essential to handle the removal process with care to avoid any damage to the lens. In this article, we'll guide you through the steps to safely remove the camera lens protector from your iPhone 12 Pro Max. Whether you're looking to replace it with a new protector or simply want to enjoy the pristine view through your camera, we've got you covered. Let's dive into the process of safely removing the camera lens protector from your iPhone 12 Pro Max.
Inside This Article
- Overview of Camera Lens Protector
- Tools Required for Removal
- Step-by-Step Guide to Removing the Camera Lens Protector
- Tips for Safely Removing the Camera Lens Protector
- Conclusion
- FAQs
Overview of Camera Lens Protector
Camera lens protectors are essential accessories for safeguarding the delicate lenses of your iPhone 12 Pro Max. These protectors are designed to shield the lenses from scratches, dust, and other potential damages, ensuring that your device maintains optimal photographic performance.
Typically made from durable materials such as tempered glass or high-quality plastic, camera lens protectors provide an extra layer of defense against everyday wear and tear. They are precision-cut to fit the contours of the iPhone 12 Pro Max’s camera module, offering seamless integration without compromising the device’s aesthetics.
While camera lens protectors are invaluable for preserving the integrity of your phone’s camera system, there may come a time when you need to remove and replace them. Whether it’s due to wear, damage, or the desire to upgrade to a new protector, knowing how to safely remove the camera lens protector is crucial to avoid any potential damage to the lens or the phone itself.
Tools Required for Removal
Before you embark on the task of removing the camera lens protector from your iPhone 12 Pro Max, it’s essential to gather the necessary tools. Here are the items you’ll need to ensure a smooth and successful removal process:
1. Microfiber Cloth: A soft, lint-free microfiber cloth is indispensable for cleaning the lens and surrounding area before and after removing the protector. This ensures that no dust or debris interferes with the camera’s functionality.
2. Adhesive Remover: In some cases, the camera lens protector may be secured with adhesive. Having an adhesive remover on hand can help dissolve the adhesive, making it easier to detach the protector without causing damage to the lens or the phone’s exterior.
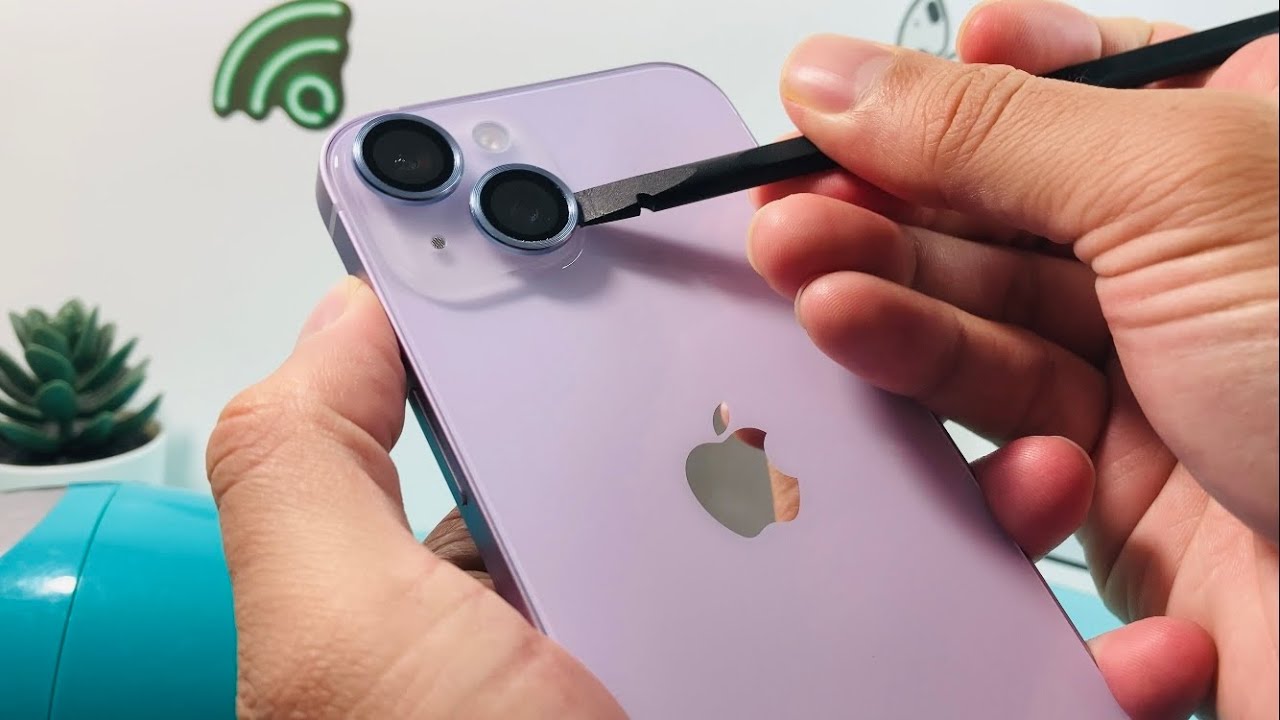
3. Tweezers or Pry Tool: Depending on the type of camera lens protector installed, tweezers or a pry tool may be necessary to carefully lift and detach the protector from the lens housing. These tools can provide the precision needed to avoid scratching or damaging the lens.
Sure, I can help with that. Here's the content for the "Step-by-Step Guide to Removing the Camera Lens Protector" section:
html
Step-by-Step Guide to Removing the Camera Lens Protector
Removing the camera lens protector from your iPhone 12 Pro Max is a delicate process that requires precision and care. Follow these steps to safely remove the protector without damaging the lenses or the surrounding area.
1. Start by ensuring that your hands are clean and dry. This will help prevent any dirt or debris from transferring onto the lenses or the phone’s surface during the removal process.
2. Use a microfiber cloth to gently clean the camera lens area. This will help remove any dust or smudges that may have accumulated on the protector, making it easier to see and work with.
3. Carefully inspect the edges of the camera lens protector to identify any adhesive or tabs that are securing it in place. Some protectors may have adhesive strips that need to be loosened before removal.
4. If the protector has adhesive tabs, use a fine, pointed tool such as a toothpick or a small plastic pry tool to gently lift the tabs away from the lens surface. Take your time and apply minimal pressure to avoid damaging the lenses underneath.
5. Once the adhesive tabs are loosened, slowly peel back the protector from the edges. Use your fingers to guide the removal process, ensuring that the protector comes off evenly without leaving any residue on the lenses.
6. If the protector does not have adhesive tabs, use a hairdryer set to a low heat setting to gently warm the edges of the protector. This can help soften the adhesive, making it easier to lift the protector away from the lenses.
7. With the edges warmed, carefully use a plastic pry tool to lift the protector away from the lenses. Work slowly and methodically, applying gentle pressure to avoid any sudden movements that could damage the lenses or the phone.
8. Once the protector is removed, use a clean microfiber cloth to wipe the camera lenses and the surrounding area. This will help ensure that no adhesive residue or particles are left behind.
By following these steps, you can safely remove the camera lens protector from your iPhone 12 Pro Max without causing any damage to the lenses or the phone’s surface.
Let me know if there's anything else you'd like to add or modify!
Tips for Safely Removing the Camera Lens Protector
Removing the camera lens protector from your iPhone 12 Pro Max requires precision and care to avoid damaging the lenses. Here are some essential tips to ensure a safe and successful removal process.
1. Prepare the Workspace: Find a well-lit and clean area to work on. A clutter-free environment will help you focus and prevent any small components from getting lost during the removal process.
2. Use Proper Tools: It’s crucial to use the right tools for the job. A microfiber cloth and a plastic pry tool can help you gently lift the protector without scratching the camera lenses.
3. Apply Gentle Pressure: When using the pry tool, apply gentle and even pressure around the edges of the protector. Avoid using excessive force, as it may cause the protector to shatter or leave adhesive residue on the lenses.
4. Check for Adhesive Residue: After removing the protector, inspect the camera lenses for any remaining adhesive. Use a clean microfiber cloth lightly dampened with a small amount of lens cleaning solution to gently wipe away any residue.
5. Inspect for Damage: Once the protector is removed, carefully examine the camera lenses for any signs of damage. If you notice any scratches or smudges, use a lens cleaning kit to restore the lenses to their original condition.
6. Handle with Care: Throughout the removal process, handle the iPhone 12 Pro Max with care to prevent accidental drops or impacts. A steady hand and a cautious approach can help safeguard your device during this procedure.
By following these tips, you can safely remove the camera lens protector from your iPhone 12 Pro Max without compromising the integrity of the camera lenses or the overall functionality of your device.
Conclusion
Removing the camera lens protector on your iPhone 12 Pro Max is a simple process that requires care and attention to detail. By following the steps outlined in this guide, you can safely and effectively remove the lens protector without causing any damage to your device. Remember to work in a clean and well-lit environment, use the right tools, and exercise patience throughout the process. Once the lens protector is removed, you can enjoy crystal-clear photos and videos without any obstructions. With the lens protector out of the way, you can fully experience the exceptional camera capabilities of your iPhone 12 Pro Max. Now, go ahead and capture those perfect moments with confidence!
FAQs
1. How do I remove the camera lens protector on my iPhone 12 Pro Max?
To remove the camera lens protector on your iPhone 12 Pro Max, gently apply pressure to the edge of the protector using your fingernail or a plastic card. Slowly lift the edge until the protector comes off. Be cautious not to use excessive force to avoid damaging the lens or the protector.
-
Can I reuse the camera lens protector after removing it from my iPhone 12 Pro Max?
It's not recommended to reuse the camera lens protector once it has been removed. The adhesive may lose its effectiveness, and attempting to reapply it could result in a compromised seal, potentially exposing the lens to dust, debris, or moisture. -
Will removing the camera lens protector leave any residue on my iPhone 12 Pro Max?
When removed carefully, the camera lens protector should not leave any adhesive residue on your iPhone 12 Pro Max. However, if there is any residue, it can be easily wiped off using a microfiber cloth and a small amount of gentle adhesive remover. -
Is it necessary to replace the camera lens protector after removal?
It's advisable to replace the camera lens protector with a new one after removal. The protector serves as a safeguard against scratches, smudges, and other potential damage to the camera lens, helping to maintain the quality of your photos and videos. -
Can I use a hairdryer or heat gun to remove the camera lens protector?
It's not recommended to use a hairdryer or heat gun to remove the camera lens protector from your iPhone 12 Pro Max. Excessive heat can damage the lens and surrounding components, so it's best to rely on gentle pressure and careful maneuvering to detach the protector.