
Many laptop users often find themselves in a situation where they need to connect additional devices to their laptops, such as a USB stick or an external keyboard. In situations where your laptop doesn’t have the necessary ports, using a dongle can come in handy. But what exactly is a dongle, and how can you use it on your laptop?
In this article, we will explore the world of dongles and how they can expand the connectivity options of your laptop. Whether you’re looking to connect a USB-C device to a laptop with only USB-A ports or need to access an ethernet connection without an ethernet port on your laptop, you’ll find the answers here. We’ll discuss the different types of dongles, their uses, and provide step-by-step guides on how to use them effectively. So, let’s dive in and discover the wonders of dongles for your laptop!
Inside This Article
- How to Use a Dongle on My Laptop
- Setting Up the Dongle
- Installing the Dongle’s Drivers
- Connecting the Dongle to Your Laptop
- Configuring Network Settings
- Conclusion
- FAQs
How to Use a Dongle on My Laptop
A dongle is a small device that allows you to connect to the internet on your laptop without relying on Wi-Fi or Ethernet. It’s a handy accessory for those who are constantly on the go or in areas where a reliable internet connection may be limited. If you’re unsure how to set up and use a dongle on your laptop, this guide will walk you through the process step by step.
Setting Up the Dongle
Before you can start using your dongle, you’ll need to properly set it up. Here’s what you need to do:
- Insert the dongle into an available USB port on your laptop. Make sure it fits securely.
- If your dongle requires an external power source, connect it to a power outlet or USB port as instructed by the manufacturer.
- Wait for your laptop to recognize the dongle. It may take a few seconds for the drivers to install automatically.
Installing the Dongle’s Drivers
In most cases, your laptop will automatically install the necessary drivers for your dongle. However, if it doesn’t, you may need to install them manually. Follow these steps:
- Visit the manufacturer’s website and look for the support or downloads section.
- Enter your dongle’s model number or select it from the list of available products.
- Download the latest driver software compatible with your laptop’s operating system.
- Run the installer and follow the on-screen instructions to install the drivers.
- Restart your laptop to ensure the drivers are properly installed.
Connecting the Dongle to Your Laptop
Once your dongle is set up and the drivers are installed, you can connect it to the internet. Here’s how:
- Ensure that your dongle is inserted into the USB port of your laptop.
- Wait for the dongle to establish a connection with the network provider. This may take a few moments.
- Once a connection is established, you can access the internet through the dongle.
Configuring Network Settings
In some cases, you may need to configure the network settings on your laptop to use the dongle effectively. Here are the steps to follow:
- Click on the network icon in the taskbar or go to the network settings in your laptop’s control panel.
- Select the dongle from the available network options.
- Click on “Connect” or “Connect to network” to establish a connection.
- If required, enter the network password or other authentication details provided by your network provider.
- Once the connection is successfully established, you can browse the internet and use online services through the dongle.
Using a dongle on your laptop is a convenient way to stay connected to the internet, whether you’re traveling or in an area with limited connectivity. By following these steps, you’ll be able to set up and use your dongle effortlessly, ensuring a reliable internet connection wherever you go.
Setting Up the Dongle
Setting up a dongle on your laptop is a straightforward process that allows you to connect to the internet, even when no Wi-Fi network is available. A dongle is a small device, often in the form of a USB stick, that provides internet connectivity through cellular networks.
The first step in setting up a dongle is to ensure that your laptop has a compatible USB port. Most laptops have several USB ports, usually located on the sides or back of the device. Insert the dongle into an available USB port on your laptop.
Once the dongle is connected, your laptop may need to install the necessary drivers to recognize the device. In some cases, the drivers will be included with the dongle, either on a CD or as a downloadable file. If this is the case, follow the instructions provided with the dongle to install the drivers.
If the drivers are not included with the dongle, your laptop may automatically search for and install the drivers when the dongle is connected. This process may take a few minutes, so be patient and allow your laptop to complete the installation.
After the drivers are installed, you will need to activate the dongle by contacting your mobile network provider. This can usually be done by calling their customer service or visiting their website. They will guide you through the activation process and may provide you with a SIM card to insert into the dongle if it requires one.
Once the dongle is activated, you will need to set up the network connection on your laptop. This can be done by accessing the network settings in your laptop’s control panel or settings menu. Look for the option to add a new network or connection and select the dongle as the connection type.
Enter any necessary network information, such as the APN (Access Point Name), username, and password. This information can usually be obtained from your mobile network provider. Save the settings and your laptop should now be connected to the internet through the dongle.
It’s important to note that using a dongle for internet access may incur additional charges from your mobile network provider. Make sure to check your data plan and understand any applicable fees before using the dongle extensively.
With your dongle set up and connected, you can now enjoy internet access on your laptop wherever you go, as long as you have a cellular signal. This makes a dongle a convenient solution for staying connected on the go, whether you’re traveling for work or simply need internet access in a location without Wi-Fi.
Installing the Dongle’s Drivers
Before you can use a dongle on your laptop, it is important to install the necessary drivers. Drivers are software that allows your laptop to recognize and communicate with the dongle. Here’s a step-by-step guide on how to install the dongle’s drivers:
1. Check the dongle’s packaging or manual for any installation instructions. Some dongles come with a CD or a USB drive that contains the drivers. In that case, insert the CD or plug in the USB drive into your laptop.
2. If the dongle doesn’t come with drivers or you don’t have a CD drive on your laptop, don’t worry! Most dongles nowadays have plug-and-play functionality, which means that your laptop will automatically download and install the drivers when you connect the dongle.
3. Connect the dongle to an available USB port on your laptop. It may take a few moments for the drivers to be installed. You may also see a notification or pop-up window indicating that the drivers are being installed.
4. Once the drivers are installed, you can check if the dongle is recognized by your laptop. Go to the Device Manager on your laptop by right-clicking on the Start button and selecting “Device Manager” from the menu. Look for the dongle under the “Network adapters” or “Other devices” category. If you see the dongle listed without any exclamation marks or error symbols, it means the drivers were successfully installed.
5. In some cases, you may need to restart your laptop for the drivers to fully take effect. If you’re prompted to restart, go ahead and do so.
6. Once the drivers are installed and the dongle is recognized by your laptop, you can proceed to configure the network settings to connect to the internet.
Installing the dongle’s drivers is a crucial step in using the dongle on your laptop. It ensures that your laptop can effectively communicate with the dongle and allows you to enjoy a seamless internet connection. Make sure to follow the manufacturer’s instructions or rely on the plug-and-play functionality for a hassle-free driver installation process.
Connecting the Dongle to Your Laptop
Once you have set up your dongle and installed the necessary drivers, it’s time to connect it to your laptop. Follow the steps below to ensure a successful connection:
1. Insert the dongle into an available USB port on your laptop. Make sure to insert it firmly, ensuring a secure connection.
2. Wait for your laptop to recognize the dongle. This may take a few moments, so be patient. You may receive a notification or see an icon appearing in the system tray indicating that the dongle has been detected.
3. Once the dongle is recognized, you will need to establish a network connection. This process may vary depending on the type of dongle and your laptop’s operating system. Here are some general steps:
- Click on the network icon in the system tray or access the network settings through the control panel.
- Look for the name of your dongle in the list of available networks. It may appear as a generic name or the model of the dongle.
- Select the dongle’s name and click on the “Connect” or “Join” button.
- If prompted, enter the network password or PIN provided by your dongle’s manufacturer.
Note that some dongles may also require you to install additional software or enter specific settings. Consult the user manual or the manufacturer’s website for detailed instructions.
4. Once you have successfully connected to the dongle’s network, you should have internet access on your laptop. You can now open your web browser or any other online applications and start using the internet connection provided by the dongle.
Remember to keep the dongle connected to your laptop while you are using the internet. If you disconnect the dongle, your internet connection will be lost.
It’s important to note that the performance and stability of the dongle’s connection may vary depending on factors such as signal strength and network congestion. If you experience any issues with the connection, try moving closer to a window or a location with better signal reception.
That’s it! You have successfully connected your dongle to your laptop and can now enjoy internet connectivity on the go.
Configuring Network Settings
Once you have set up and installed your dongle on your laptop, the next step is to configure the network settings. This will ensure that your laptop can connect to the internet using the dongle. Configuring network settings may vary slightly depending on the operating system of your laptop, but the general steps are as follows:
Step 1: Open Network Settings
To begin, open the network settings on your laptop. This can usually be done by clicking on the network icon in the system tray or by going to the network settings section in the control panel. Once you have opened the network settings, you will see a list of available networks.
Step 2: Select the Dongle Network
Next, you will need to select the network associated with your dongle. This will usually be listed as the name of the dongle or the network provider. Click on the network to select it.
Step 3: Enter Network Credentials
Some dongles may require you to enter network credentials, such as a username and password, in order to connect to the internet. If prompted, enter the necessary credentials to proceed.
Step 4: Configure IP Settings
In the network settings, there is an option to configure the IP settings. This includes setting the IP address, subnet mask, default gateway, and DNS server addresses. By default, these settings are often set to obtain automatically, which means your laptop will receive these settings from the network provider. However, you can also choose to manually enter the IP settings if required.
Step 5: Save and Connect
Once you have configured the network settings, click on the “Save” or “Apply” button to save the changes. Your laptop will now attempt to connect to the internet using the dongle. If the connection is successful, you will be able to browse the internet and access online services.
Keep in mind that the specific steps and options for configuring network settings may differ depending on the operating system and version you are using. It is always a good idea to consult the user manual or the support documentation provided by the dongle manufacturer for detailed instructions that are specific to your device.
Conclusion
Using a dongle on your laptop can greatly expand its functionality and connectivity options. Whether you need to connect to the internet on the go, transfer files, or connect to peripheral devices, a dongle can provide the necessary portability and convenience.
By following the steps outlined in this article, you can effectively use a dongle on your laptop without any hassle. Remember to choose a reliable and compatible dongle that suits your specific needs, and follow the manufacturer’s instructions for installation and usage.
With the right dongle and proper configuration, you can enjoy seamless internet connectivity, enhanced data transfer speeds, and the ability to connect a wide range of devices to your laptop. So, unleash the full potential of your laptop by harnessing the power of a dongle!
FAQs
1. What is a dongle?
A dongle is a small device that connects to your laptop and provides additional functionality or connectivity options. It is typically used to add features such as wireless internet access, Bluetooth connectivity, or even extra ports like USB or HDMI.
2. How do I use a dongle on my laptop?
Using a dongle on your laptop is quite simple. First, you need to plug the dongle into an available USB port on your laptop. Next, wait for your laptop to recognize the dongle and install any necessary drivers or software. Once it’s installed, you can start using the dongle according to its specific functionality. For example, if it’s a dongle for wireless internet, you can use it to connect to Wi-Fi networks.
3. What are the different types of dongles for laptops?
There are various types of dongles available for laptops, each serving a different purpose. Some common types include:
– Wi-Fi dongles: These enable wireless internet connectivity on laptops without built-in Wi-Fi.
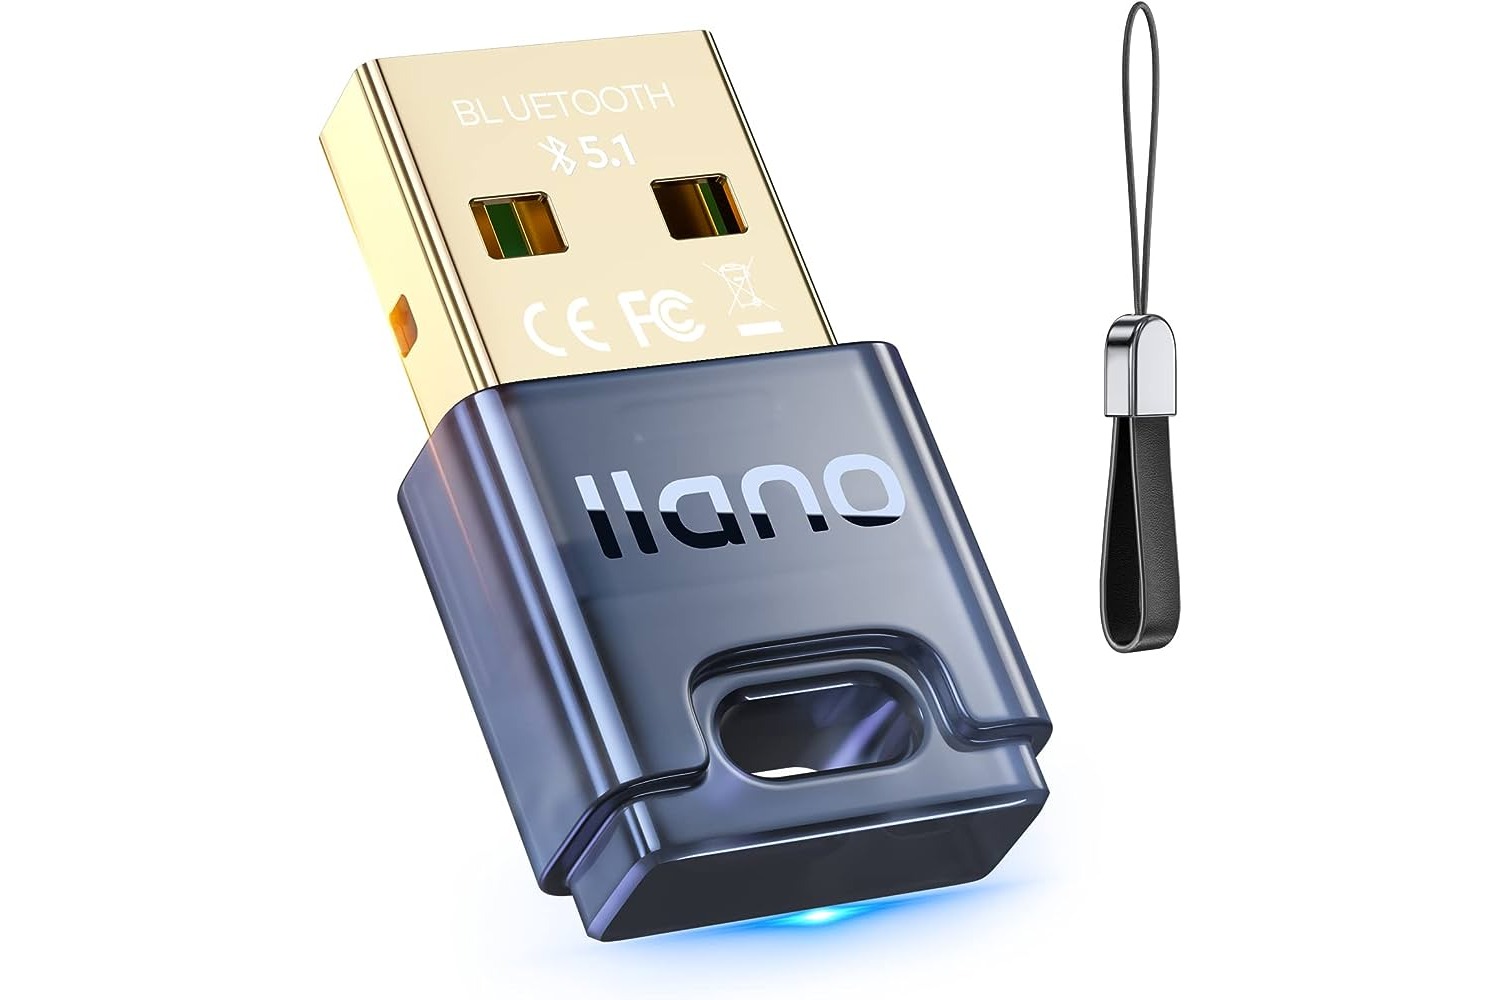
– Bluetooth dongles: These add Bluetooth capabilities to laptops that don’t have built-in Bluetooth.
– USB dongles: These provide additional USB ports for connecting devices like external hard drives or peripherals.
– HDMI dongles: These allow you to connect your laptop to external monitors or projectors via an HDMI port.
4. Do I need a dongle to connect to the internet on my laptop?
It depends. If your laptop has built-in Wi-Fi or an Ethernet port, you don’t necessarily need a dongle for internet connectivity. However, if you’re in an area without Wi-Fi or you want to connect to a cellular network for internet access, you might need a dongle that supports mobile broadband.
5. Can I use one dongle for multiple laptops?
In most cases, dongles are designed for single-user use and are intended to be connected to a single laptop at a time. However, some dongles may allow you to share the internet connection with multiple devices through Wi-Fi hotspot functionality. Be sure to check the specifications and capabilities of your dongle to determine if it supports multiple device connections.