
Battery tenders are essential for keeping your vehicle’s battery charged and maintained over long periods of inactivity. Whether you have a car, motorcycle, boat, or any other vehicle, a battery tender can help prevent the battery from going dead and prolong its overall lifespan.
But how exactly do you use a battery tender? In this article, we will guide you through the step-by-step process of using a battery tender effectively. From preparing your vehicle to connecting the tender and monitoring the charging process, we will cover all the important aspects to ensure a successful battery maintenance routine.
So, if you want to know how to use a battery tender correctly and keep your vehicle’s battery in optimal condition, read on for our comprehensive guide!
Inside This Article
- What is a Battery Tender?
- Choosing the Right Battery Tender
- Connecting Your Battery Tender
- Maintenance Tips for Using a Battery Tender
- Conclusion
- FAQs
What is a Battery Tender?
A battery tender, also known as a smart charger or battery maintainer, is a device designed to keep your vehicle’s battery charged and in optimal condition. This compact device works by providing a low, constant charge to the battery to prevent it from discharging and prolong its overall lifespan.
Unlike traditional battery chargers, which can overcharge and damage the battery if left connected for an extended period, a battery tender is specifically designed for long-term use. It ensures that the battery maintains a steady charge without overloading or damaging the cells.
Battery tenders typically use advanced microprocessor technology to monitor the battery’s voltage and adjust the charging rate accordingly. This intelligent charging process helps to prevent battery sulfation, which occurs when the battery is not regularly charged and causes a buildup of lead sulfate crystals on the battery plates.
By using a battery tender, you can ensure that your vehicle’s battery is always ready to go when you need it. Whether you have a classic car that is seldom driven, a motorcycle that hibernates during the winter months, or a boat that sits idle for long periods, a battery tender is a valuable accessory to have.
Not only does a battery tender eliminate the need for frequent recharging or jump-starting, but it also helps to prolong the life of your battery. This can save you money in the long run by preventing premature battery replacement.
In addition to vehicles, battery tenders can also be used for other applications such as RVs, ATVs, lawn mowers, and even solar power systems. They are versatile tools that can be used on any lead-acid battery, including wet-cell, gel, and AGM batteries.
Overall, a battery tender is a simple yet effective way to keep your battery in top shape and extend its lifespan. By using this device, you can enjoy peace of mind knowing that your vehicle’s battery will always be charged and ready to start, no matter how long it has been idle.
Choosing the Right Battery Tender
When it comes to selecting the right battery tender for your needs, there are a few key factors to consider. By taking the time to choose the right one, you can ensure that your battery is properly charged and maintained, prolonging its lifespan and saving you money in the long run. Here are some important points to keep in mind:
Battery Type: The first thing to consider is the type of battery you have. Different battery tenders are designed for different battery chemistries, such as lead-acid, gel, or lithium-ion. Make sure to choose a tender that is compatible with your battery type to ensure optimal charging performance.
Voltage and Ampere Rating: Another important factor is the voltage and ampere rating of the battery tender. The voltage should match the voltage of your battery (12V or 6V), and the ampere rating should be suitable for the size of your battery. Using a tender with too low of an ampere rating may result in a slow charging process, while using one with too high of an ampere rating may damage the battery.
Smart Charging Technology: Consider battery tenders that feature smart charging technology. These tenders can analyze the condition of your battery and adjust the charging process accordingly. They can prevent overcharging by automatically switching to a maintenance or float mode once the battery is fully charged. This helps to extend the battery’s lifespan and maintain its performance.
Safety Features: Look for battery tenders that come with built-in safety features to protect against overcharging, short-circuiting, and reverse polarity. These features provide peace of mind and ensure that your battery is charged safely without any risk of damage.
Size and Portability: Consider the size and portability of the battery tender. If you plan on using it for multiple vehicles or taking it on the go, opt for a more compact and lightweight option. This will make it easier to store and transport.
Brand Reputation: Lastly, consider the reputation of the brand when choosing a battery tender. Look for reputable brands that have a track record of producing quality products. Reading reviews and seeking recommendations from fellow enthusiasts can also help you make an informed decision.
By taking these factors into account, you can choose the right battery tender that suits your specific needs and ensures proper charging and maintenance of your battery. Remember, investing in a high-quality battery tender is a smart choice that can save you time, money, and headaches in the long run.
Connecting Your Battery Tender
Once you have chosen the right Battery Tender for your needs, it’s time to connect it to your battery. The process is relatively simple and straightforward. Follow these steps:
1. Locate the battery: Start by identifying the location of your battery. In most vehicles, it is located under the hood. However, in some cases, it may be located in the trunk or under a seat. Refer to your vehicle’s manual if you are unsure.
2. Power off: Before connecting the Battery Tender, make sure the ignition of your vehicle is turned off. This ensures safety and prevents any potential electrical hazards during the connection process.
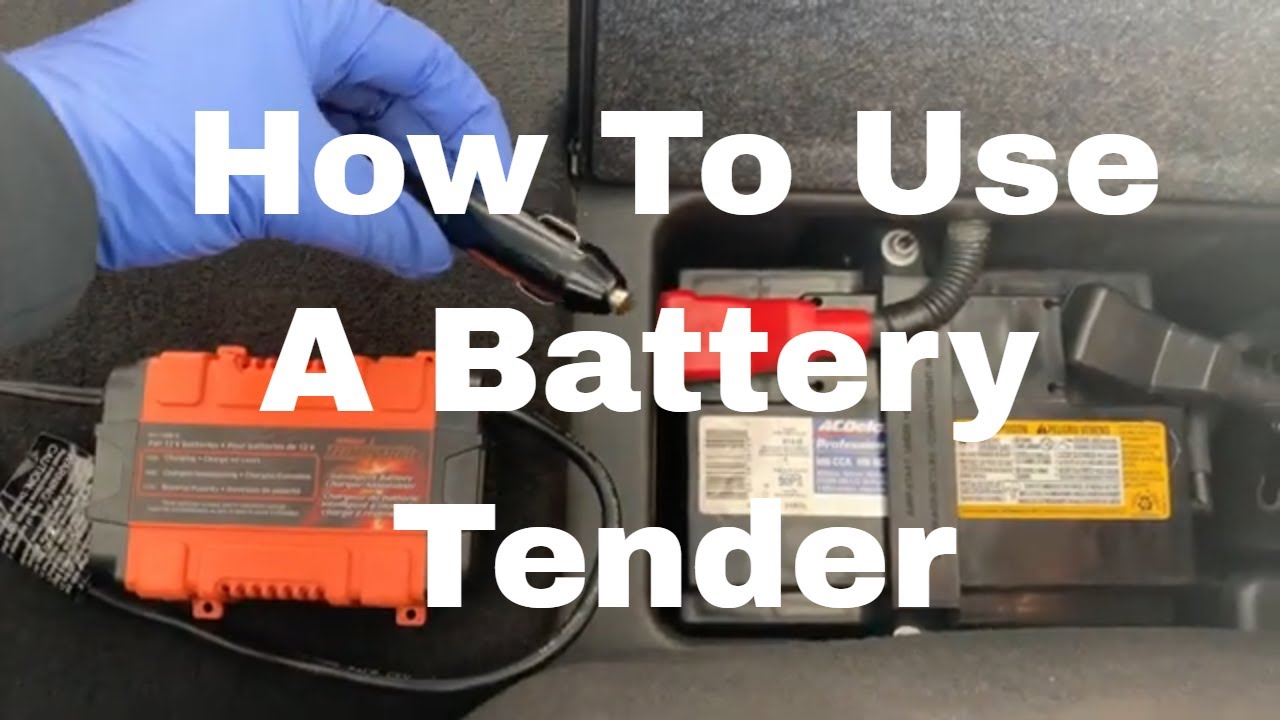
3. Identify the Battery Tender components: Your Battery Tender will come with two main components – the battery charger and the charging cable. Familiarize yourself with these components before proceeding.
4. Connect the charging cable to the battery: Take the charging cable and locate the two clamps at the end. The clamps are usually color-coded, with red indicating positive (+) and black indicating negative (-). Connect the red clamp to the positive terminal of the battery and the black clamp to the negative terminal.
5. Secure the clamps: Once the clamps are connected to the battery terminals, ensure they are securely fastened. This helps maintain a stable and reliable connection throughout the charging process.
6. Plug in the Battery Tender: Once the clamps are secure, locate the power port on the Battery Tender charger. Plug it into a nearby electrical outlet. This will provide power to the charger and initiate the charging process.
7. Check the charging status: Most Battery Tenders come with an LED indicator that shows the charging status. Pay attention to the indicator lights to ensure that the charger is functioning properly and that your battery is being charged.
8. Leave the Battery Tender connected: It is recommended to leave the Battery Tender connected to the battery until the charging process is complete. The duration may vary depending on the battery’s state of charge and the specific model of Battery Tender you are using.
9. Disconnecting the Battery Tender: Once the battery is fully charged, you can disconnect the Battery Tender by unplugging it from the electrical outlet first, and then removing the clamps from the battery terminals. Make sure to remove the negative clamp (-) first, followed by the positive clamp (+).
Following these steps will ensure a safe and effective connection between your Battery Tender and your battery. Regularly using a Battery Tender helps maintain the charge of your battery, prolonging its lifespan and ensuring its reliability when you need it most.
Maintenance Tips for Using a Battery Tender
Using a battery tender is a great way to keep your batteries fully charged and in optimal condition, but it’s important to properly maintain your battery tender to ensure its effectiveness. Here are some maintenance tips to keep in mind:
- Regular Cleaning: Over time, dust and debris can accumulate on your battery tender. It’s important to regularly clean it to prevent any buildup that could affect its performance. Use a soft, dry cloth to gently wipe down the surface of the battery tender and remove any dirt or grime.
- Check the Connections: Periodically inspect the connections between the battery tender and the battery. Make sure the terminals are clean and free from corrosion. If you notice any buildup, use a wire brush or a solution of baking soda and water to clean the terminals. This will ensure a solid connection and improve the charging efficiency.
- Inspect the Cables: Examine the cables of your battery tender for any signs of wear or damage. Look for cracks, frayed wires, or exposed insulation. If you notice any issues, replace the cables immediately to avoid any safety hazards or disruptions in the charging process.
- Keep it Dry: Battery tenders are not designed to be exposed to water or moisture. Always ensure that the battery tender is kept in a dry and protected area, away from rain or any potential water sources. Moisture can lead to corrosion and damage the internal components of the battery tender.
- Store Properly: If you’re not using your battery tender for an extended period of time, it’s important to store it correctly. Disconnect the battery tender from the battery and properly coil the cables. Store it in a cool, dry place, away from direct sunlight and extreme temperatures.
- Perform Regular Checks: Even if your battery tender is working well, it’s a good practice to perform regular checks to ensure everything is functioning as it should. Monitor the charging status, check for any error codes or indicators on the battery tender, and verify that the battery is charging properly. This will help catch any potential issues early on and prevent any battery-related problems.
By following these maintenance tips, you can ensure that your battery tender remains in excellent condition and continues to provide reliable charging for your batteries. Remember, proper maintenance will not only extend the lifespan of your battery tender but also keep your batteries ready for use whenever you need them.
Conclusion
In conclusion, learning how to use a battery tender can greatly extend the life of your battery and ensure that your devices and equipment are always ready for use. By following the steps outlined in this guide and understanding the importance of proper battery maintenance, you can avoid the frustration and inconvenience of dealing with a dead or underperforming battery. From keeping your phone charged to maintaining the battery on your car or boat, a battery tender is a versatile tool that provides peace of mind and convenience.
Remember to always refer to the manufacturer’s instructions for specific usage and safety guidelines. With regular use of a battery tender, you can enjoy long-lasting batteries that power your mobile devices, vehicles, and other equipment reliably. Don’t wait until your battery is on its last legs – start using a battery tender today to keep your batteries in top shape for years to come.
FAQs
1. How does a Battery Tender work?
A Battery Tender is a device specifically designed to maintain and charge batteries. It works by delivering a constant low-amperage charge to the battery over an extended period. This slow and steady charge helps to prevent sulfation and keeps the battery in optimal condition.
2. Can I use a Battery Tender on any type of battery?
Yes, you can use a Battery Tender on various types of batteries, including lead-acid, AGM, and gel batteries. However, it is essential to ensure that the Battery Tender you choose is compatible with the specific type of battery you have.
3. How long does it take for a Battery Tender to charge a battery?
The charging time depends on the size and condition of the battery. Typically, a Battery Tender takes around 24 to 48 hours to fully charge a battery. However, it’s important to note that Battery Tenders are designed for long-term battery maintenance rather than rapid charging.
4. Can I leave a Battery Tender connected to the battery all the time?
Yes, you can leave a Battery Tender connected to the battery for an extended period. The Battery Tender is designed to provide a trickle charge to the battery, which is safe for long-term use. It will monitor the battery’s charge level and automatically adjust the charging rate to maintain the battery’s optimal condition.
5. Is it safe to use a Battery Tender indoors?
Yes, it is safe to use a Battery Tender indoors. Battery Tenders are designed with safety features to prevent overcharging and protect against short circuits. However, it is always recommended to follow the manufacturer’s instructions and guidelines for safe use.