
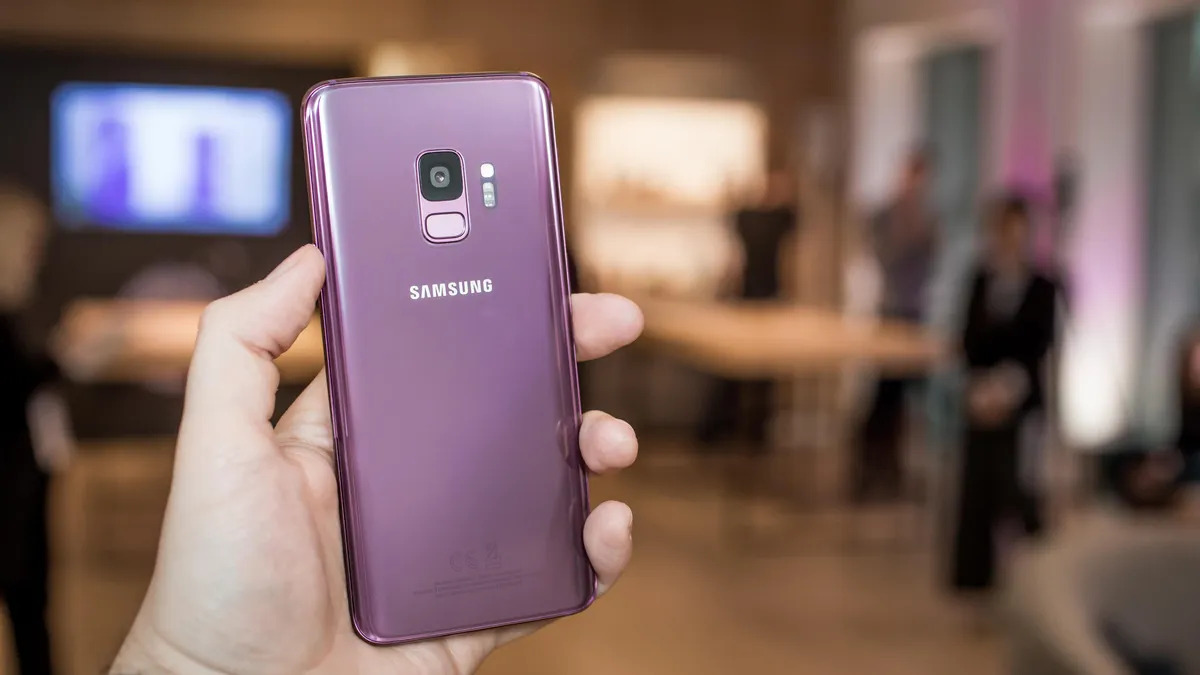
Are you the proud owner of a Samsung Galaxy S9 or S9 Plus? Congratulations on acquiring one of the most advanced and feature-rich smartphones in the market! However, to truly optimize your device and unlock its full potential, there are some key settings you need to change. These settings will not only enhance your phone’s performance but also improve your overall user experience. In this article, we will explore the top 10 settings that you should customize on your Samsung Galaxy S9 or S9 Plus. From display settings to security features, we will guide you through each step, ensuring that you are getting the most out of your device. So, let’s dive in and make your Samsung Galaxy S9 or S9 Plus truly yours!
Inside This Article
Display Settings
One of the first things you’ll want to do when you get your new Samsung Galaxy S9 or S9 Plus is to customize the display settings. With the stunning infinity display, you can make the most out of your smartphone’s visuals by tweaking a few settings. Here are 10 display settings you need to change to enhance your viewing experience:
- Brightness: Adjust the brightness level of your display to match your preference. Go to Settings, then Display, and tap on Brightness. You can manually adjust the slider or enable the Auto brightness feature, which adjusts the brightness based on ambient light.
- Screen Mode: Customize the colors and saturation of your display with the Screen Mode setting. Choose between Adaptive Display, AMOLED Cinema, AMOLED Photo, and Basic to find the mode that suits your visual preferences. You can find this setting in Settings under Display.
- Always On Display: Activate the Always On Display feature to have information like the time, date, and notifications always visible on your screen, even when it’s locked. This can be enabled in Settings under Lock screen and security.
- Screen Timeout: Adjust the length of time before your screen automatically turns off when it’s not in use. You can choose from a range of options or set a custom time. Go to Settings, then Display, and tap on Screen timeout to make your selection.
- Edge Screen: If you have the Galaxy S9 Plus, take advantage of the Edge Screen feature. Go to Settings, then Display, and tap on Edge screen. Here, you can customize the Edge panels and Edge lighting to add a unique touch to your device.
- Smart Stay: Enable the Smart Stay feature to keep your screen from dimming or turning off while you’re looking at it. This uses the front camera to detect your face and keeps the screen active as long as you’re looking at it. You can find this setting in Settings under Advanced features.
- Blue Light Filter: Protect your eyes from the harmful effects of blue light by enabling the Blue Light Filter. This reduces the amount of blue light emitted by your device, making it easier on your eyes, especially when using your phone at night. Go to Settings, then Display, and tap on Blue light filter to turn it on.
- Font and Screen Zoom: Personalize the appearance of your device by adjusting the font style and size, as well as the screen zoom. You can find these settings in Settings under Display. Experiment with different options to find the one that’s most comfortable for you.
- One-Handed Mode: If you find it difficult to navigate your device with one hand, enable the One-Handed Mode. This shrinks the display size, making it easier to reach all corners of the screen. You can enable this feature in Settings under Advanced features.
- Wallpaper: Customize your device’s home screen and lock screen by changing the wallpaper. You can choose from pre-installed wallpapers or use your own images. Go to Settings, then Wallpaper, to explore the options.
- Color Balance: Fine-tune the colors and color balance of your device’s display. This can be especially useful if you have specific color preferences or if you want to correct any color imbalances. You can find this setting in Settings under Display.
By adjusting these display settings on your Samsung Galaxy S9 or S9 Plus, you can optimize the visual experience to suit your preferences and make the most out of the stunning infinity display. Experiment with different options and find the perfect combination that makes your smartphone truly your own.
Sound Settings
The sound settings on your Samsung Galaxy S9 or S9 Plus can greatly enhance your audio experience. Whether you enjoy listening to music, watching videos, or simply receiving notifications, optimizing these settings can make a significant difference. Here are the top sound settings to consider:
1. Sound Mode: The Sound Mode allows you to customize the audio profile of your device. You can choose between different modes like Normal, Silent, or Vibrate to suit your preferences or the environment you’re in.
2. Volume Levels: Adjusting the volume levels is essential to ensure that the sound output is optimal. You can fine-tune the volume for various media, such as ringtones, media playback, and notifications. Access the volume settings by using the volume buttons on the side of your device or through the settings menu.
3. Equalizer: The Equalizer feature allows you to personalize the sound output according to your preferences. You can choose from presets like bass boost, concert hall, or create a custom equalizer setting to enhance the audio quality of your favorite songs or videos.
4. Dolby Atmos: If you want an immersive audio experience, the Dolby Atmos feature is what you need. It creates a three-dimensional sound effect, making it feel like you’re in the middle of the action. Enable Dolby Atmos from the sound settings menu to enjoy enhanced audio while watching movies or playing games.
5. Dual Audio: If you own two Bluetooth-enabled devices and want to stream audio simultaneously, the Dual Audio feature is perfect. It allows you to connect two Bluetooth devices to your Galaxy S9 or S9 Plus and stream audio to both at the same time.
6. Sound Notifications: Sound notifications are crucial for staying informed. Make sure to enable notification sounds for apps and incoming calls in the sound settings menu. You can also customize the notification sound for each individual app to easily identify them.
7. Do Not Disturb: When you need some uninterrupted time, the Do Not Disturb mode helps by silencing all incoming calls, notifications, and alarms. You can customize this mode to allow calls and notifications from specific contacts or set a schedule for automatic activation.
8. Sound Quality and Effects: Samsung devices offer various sound quality and effects options to enhance your audio experience. From UHQ Upscaler, which upscales audio quality, to Adapt Sound, which tunes the sound output specifically for your ears, these features can significantly improve audio clarity and richness.
9. Vibration Intensity: Adjusting the vibration intensity settings allows you to control the strength of vibrations when receiving notifications or calls. You can set it to a level that suits your preferences, from subtle vibrations to more noticeable ones.
10. Ringtone and Notification Sounds: Personalize your Samsung Galaxy S9 or S9 Plus by setting your favorite ringtone and notification sounds. You can choose from a variety of pre-installed sounds or use your own custom sound to give your device a unique touch.
By customizing these sound settings on your Samsung Galaxy S9 or S9 Plus, you can optimize your audio experience and tailor it to your specific preferences. Explore the various options available and experiment to find the perfect sound settings for your device.
Camera Settings
When it comes to capturing memorable moments, the camera settings on your Samsung Galaxy S9 or S9 Plus can make a significant difference. By tweaking the camera settings, you can unleash the full potential of your device and capture stunning photos and videos. Here are some important camera settings you should consider:
1. Resolution: The resolution setting determines the size and quality of your photos. Higher resolutions result in larger file sizes but offer more details and clarity. To change the resolution, simply open the camera app, go to settings, select picture size, and choose the desired resolution.
2. Pro Mode: If you want more control over your camera settings, explore the Pro mode. It allows you to adjust various aspects like ISO, shutter speed, and white balance, giving you the flexibility to experiment with different settings and capture professional-grade shots.
3. HDR (High Dynamic Range): HDR mode helps in capturing photos with better contrast and vibrant colors, especially in high-contrast lighting conditions. When enabled, the camera takes multiple exposures and combines them to create a well-balanced image. You can turn on HDR mode from the camera settings.
4. Gridlines: Utilizing the gridlines can greatly improve the composition of your photos. Gridlines help you align your subject and create a balanced composition. You can enable the gridlines in the camera settings menu.
5. Selfie Focus: The selfie focus feature on the Galaxy S9 and S9 Plus allows you to capture impressive selfies with a blurred background effect similar to the bokeh effect in portrait mode. To enable selfie focus, open the front camera, tap on the Live Focus icon, and adjust the level of background blur according to your preference.
6. Motion Photos: Motion photos is a fun feature that captures a few seconds of video before and after you take a photo. It adds a bit of motion and life to your still photos. You can enable motion photos from the camera settings and relive the captured moments with a simple tap on the photo.
7. HDR Video: If you love capturing videos, the HDR video setting can enhance the quality of your footage. When enabled, it helps in preserving details in both bright and dark areas, resulting in well-balanced videos with improved dynamic range.
8. Quick Launch: To make sure you never miss any spontaneous moments, enable quick launch in the camera settings. With this feature, you can quickly open the camera by double-pressing the power button, even when your screen is off.
9. Tracking Autofocus: If you often capture moving subjects, the tracking autofocus feature can be incredibly useful. It helps your camera maintain focus on a moving subject, ensuring sharp and clear images. You can enable tracking autofocus from the camera settings.
10. Voice Control: Hands full? No problem. The voice control feature allows you to capture photos and videos using voice commands. Simply enable voice control in the camera settings and say the specified command to conveniently snap photos or start recording videos.
By exploring and adjusting these camera settings on your Samsung Galaxy S9 or S9 Plus, you can take your mobile photography to the next level and capture stunning memories that will last a lifetime.
Security Settings
Your Samsung Galaxy S9 or S9 Plus comes packed with a range of security features to help protect your personal information and ensure your device remains secure. By customizing your security settings, you can enhance the overall security of your device and have greater control over the privacy of your data. Here are some key security settings you need to consider:
1. Screen Lock: One of the fundamental security settings is setting up a strong screen lock. This can be a PIN, pattern, password, or even biometric authentication such as fingerprint or iris scan. To set up or change your screen lock, go to Settings > Lock Screen > Screen Lock Type.
2. Secure Folder: The Secure Folder feature allows you to create a separate, encrypted space on your device to store private files, apps, and photos. This ensures that sensitive data remains hidden and protected from unauthorized access. To access Secure Folder, go to Settings > Biometrics and security > Secure Folder.
3. Find My Mobile: This feature allows you to remotely locate, lock, or wipe your device in case it gets lost or stolen. To enable Find My Mobile, go to Settings > Biometrics and security > Find My Mobile. Make sure you also activate Remote Unlock for added convenience.
4. App Permissions: It’s important to review and manage app permissions to control what data and features each app has access to. To adjust app permissions, go to Settings > Apps > (Select App) > Permissions. Here, you can grant or revoke access to various permissions like camera, location, or contacts.
5. Lockdown Mode: Lockdown mode allows you to quickly secure your device by disabling biometric unlocks and removing notifications from the lock screen. To enable Lockdown mode, go to Settings > Lock Screen > Secure Lock Settings > Lockdown.
6. Secure Wi-Fi: Protect your device when connected to public Wi-Fi networks by enabling the Secure Wi-Fi feature. It encrypts your internet traffic, ensuring that your personal information remains secure. To enable Secure Wi-Fi, go to Settings > Connections > Wi-Fi > (Select Network) > Advanced > Secure Wi-Fi.
7. Two-Factor Authentication: Adding an extra layer of security to your accounts is crucial. Enable two-factor authentication wherever possible, including for your Samsung account, email accounts, social media accounts, and banking apps. This will require entering a verification code in addition to your password when logging in.
8. Auto Factory Reset: In case your device is stolen and the wrong screen lock credentials are repeatedly entered, enabling Auto Factory Reset will automatically erase all data on your device. To enable this feature, go to Settings > Lock Screen > Secure Lock Settings > Auto Factory Reset.
9. Unknown Sources: To prevent the installation of malicious apps, it is recommended to disable the “Unknown Sources” option, which allows installation of apps from sources other than the official app store. Go to Settings > Biometrics and security > Install unknown apps and disable the option for every app except trusted sources.
10. Biometric Preferences: Customize your biometric authentication preferences to suit your needs. You can choose to use fingerprint, face recognition, iris, or a combination of these methods. To configure your biometric preferences, go to Settings > Biometrics and security > Biometric Preferences.
By taking the time to optimize your security settings, you can ensure that your Samsung Galaxy S9 or S9 Plus remains protected from potential security threats. It is always a good practice to stay up-to-date with the latest security patches and keep your device and apps updated to enhance your overall security.
Conclusion
In conclusion, the Samsung Galaxy S9 and S9 Plus are fantastic smartphones with a plethora of features and settings that can enhance your mobile experience. By taking the time to customize and optimize these settings, you can truly make the most out of your device.
From adjusting the display resolution and screen timeout to securing your device with biometric authentication, there are several settings that can improve both the performance and privacy of your smartphone. Don’t forget to also explore the advanced features like Edge Panels and Bixby Vision to take your Galaxy S9 or S9 Plus to the next level.
Remember, these are just a few of the essential settings you should consider changing on your Samsung Galaxy S9 or S9 Plus. Feel free to explore the device thoroughly and adjust the settings based on your personal preferences and needs. Enjoy your Samsung Galaxy S9 or S9 Plus to its fullest potential!
FAQs
1. How do I change the display settings on my Samsung Galaxy S9 or S9 Plus?
To change the display settings on your Samsung Galaxy S9 or S9 Plus, follow these steps:
- Go to the Settings menu by swiping down from the top of the screen and tapping the gear icon.
- Scroll down and tap on Display.
- Here you can adjust the screen brightness, screen mode, screen resolution, font size, and more.
- Tap on the desired option and make your changes.
- Once you’re done, press the Home button to exit the Settings menu.
2. How can I optimize the battery life on my Samsung Galaxy S9 or S9 Plus?
To optimize the battery life on your Samsung Galaxy S9 or S9 Plus, you can follow these tips:
- Lower the screen brightness or enable auto-brightness.
- Turn off background app refresh for apps that you don’t use frequently.
- Use Wi-Fi instead of cellular data whenever possible.
- Limit notifications and use power-saving modes.
- Close unused apps running in the background.
- Turn off features like Bluetooth, NFC, and GPS when not in use.
3. How do I take a screenshot on my Samsung Galaxy S9 or S9 Plus?
To take a screenshot on your Samsung Galaxy S9 or S9 Plus, simply follow these steps:
- Press the power button located on the right side of your device.
- At the same time, press the volume down button located on the left side of your device.
- Hold both buttons for a few seconds until you hear a shutter sound or see a flash on the screen, indicating that the screenshot has been captured.
- You can access the screenshot from the notification panel or through the Gallery app.
4. How do I turn on the Wi-Fi calling feature on my Samsung Galaxy S9 or S9 Plus?
To turn on the Wi-Fi calling feature on your Samsung Galaxy S9 or S9 Plus, follow these steps:
- Open the Phone app.
- Tap on the three-dot menu icon located at the top right corner of the screen.
- Select “Settings” from the drop-down menu.
- Scroll down and tap on “Wi-Fi Calling.”
- Toggle the switch to enable Wi-Fi calling.
- Follow the prompts to complete the setup and provide the necessary information.
5. How do I customize the notification settings on my Samsung Galaxy S9 or S9 Plus?
To customize the notification settings on your Samsung Galaxy S9 or S9 Plus, do the following:
- Go to the Settings menu.
- Scroll down and tap on “Notifications.”
- Here, you can manage the notification settings for individual apps or adjust the overall notification settings.
- Tap on the desired app to customize its notification settings.
- You can choose to enable or disable notifications, change the sound, vibration, or LED color, and more.