
Sure, here's the introduction in HTML with a word count of 127 words:
html
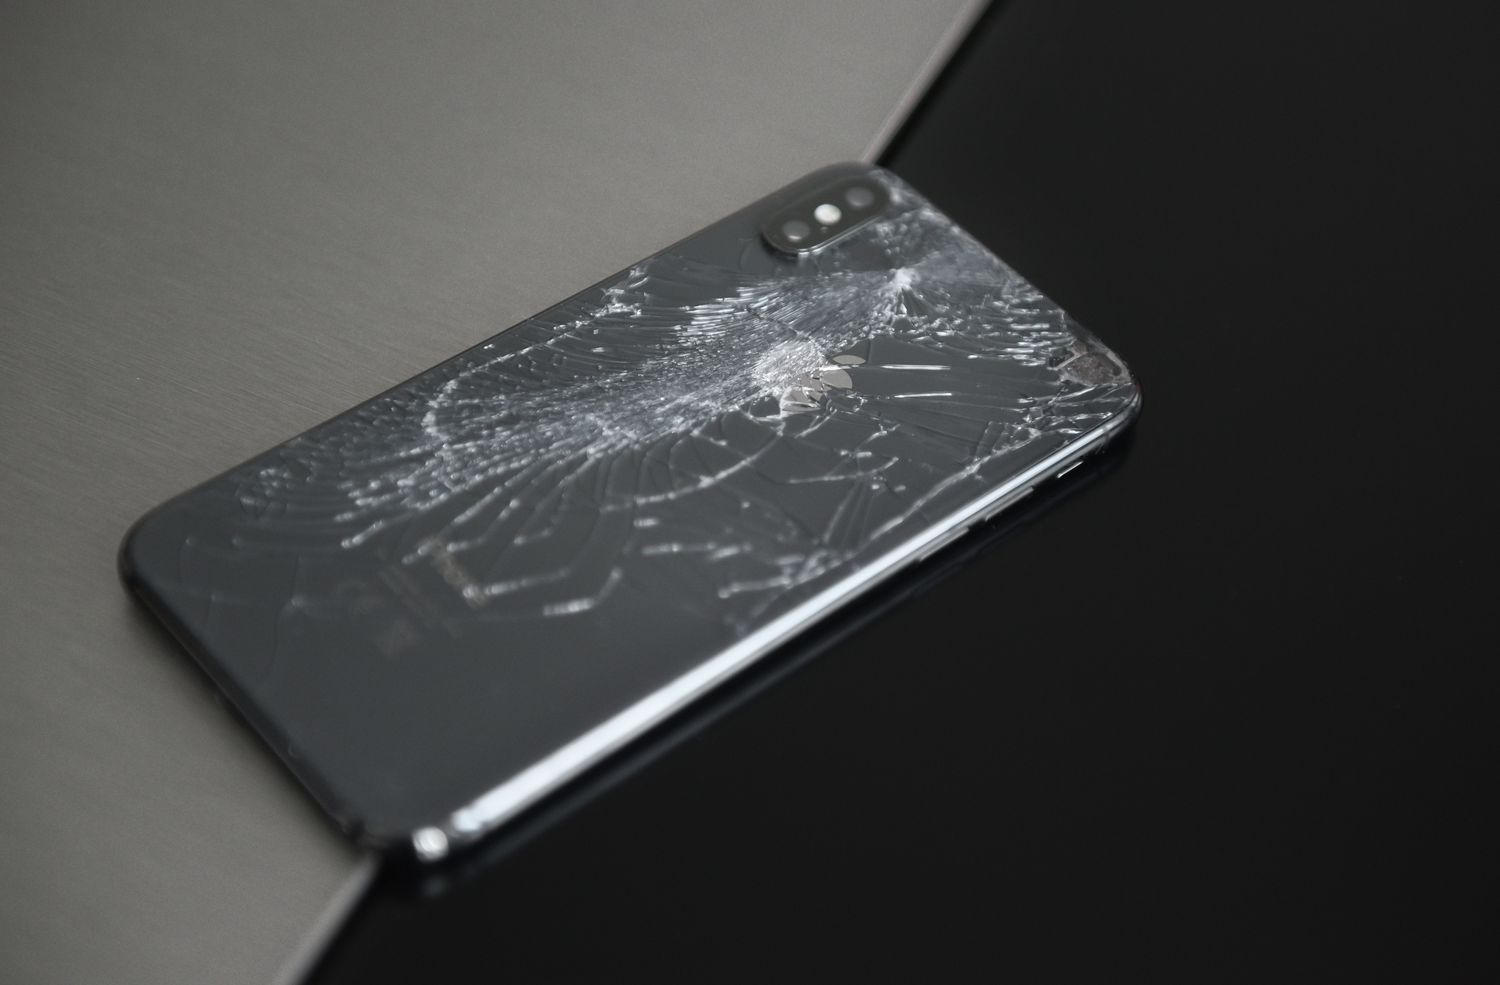
So, you accidentally dropped your beloved iPhone 10, and now the screen is cracked. Don’t worry; you’re not alone. It’s a common mishap that many iPhone users have experienced. The good news is that there are solutions to fix a cracked iPhone 10 screen without having to replace the entire device. In this comprehensive guide, we’ll explore the various options available for repairing a cracked iPhone 10 screen, from DIY methods to professional repair services. By the end of this article, you’ll have the knowledge and confidence to address this issue effectively, ensuring that your iPhone 10 looks and functions as good as new.
Inside This Article
- Diagnosing the Damage
- Gathering Necessary Tools
- Preparing the iPhone for Repair
- Replacing the Screen
- Conclusion
- FAQs
Diagnosing the Damage
Accidents happen, and a cracked iPhone 10 screen can be a disheartening sight. Before diving into the repair process, it’s crucial to assess the extent of the damage. Start by carefully examining the screen for visible cracks, shattered glass, or areas where the display is unresponsive. Additionally, check for any bleeding pixels or discoloration, as these signs can indicate underlying issues that may require more extensive repairs.
Next, test the functionality of the touch screen by tapping various areas to see if it responds accurately. If you notice unresponsive areas or erratic touch behavior, it’s likely that the damage extends beyond the surface. Furthermore, inspect the front-facing camera and sensors to ensure they are unharmed, as their functionality can be compromised by screen damage.
It’s also essential to be mindful of any potential internal damage. While the external cracks may be the most apparent issue, internal components can also be affected. Keep an eye out for any unusual sounds, such as rattling or buzzing, which could indicate internal damage. By thoroughly diagnosing the damage, you can better prepare for the repair process and ensure that all affected components are addressed.
Gathering Necessary Tools
Before you embark on the journey of fixing your cracked iPhone 10 screen, it’s crucial to gather the necessary tools. Ensuring you have the right equipment at your disposal will streamline the repair process and minimize the risk of causing further damage to your device.
Here are the essential tools you’ll need:
- Replacement Screen: Ensure you have a high-quality replacement screen specifically designed for the iPhone 10. It’s important to invest in a screen that meets original equipment manufacturer (OEM) standards to guarantee optimal performance and compatibility.
- Screwdriver Set: A precision screwdriver set with various interchangeable heads is indispensable for disassembling your iPhone 10. This will enable you to access the internal components with precision and care.
- Spudger Tool: A spudger tool, also known as a pry tool, is essential for safely separating the delicate components of your iPhone without causing damage. It’s designed to carefully pry open the device without scratching or denting the casing.
- Tweezers: Fine-tipped, non-magnetic tweezers are invaluable for handling small screws and delicate components during the repair process. They provide the dexterity and precision required to manipulate tiny parts without causing damage.
- Adhesive Strips: Replacement adhesive strips are necessary for securing the new screen in place. These strips ensure a secure and stable bond between the screen and the iPhone 10, preventing any shifting or misalignment.
- Cleaning Cloth: A lint-free microfiber cleaning cloth is essential for removing dust, fingerprints, and other debris from the internal components and the surfaces of the replacement screen. Keeping the components clean is crucial for optimal functionality and aesthetics.
- Heat Gun or Hair Dryer: A heat gun or hair dryer can be used to soften the adhesive securing the cracked screen to the iPhone 10. This facilitates safe removal of the damaged screen without causing unnecessary stress on the device.
By ensuring you have these essential tools at your disposal, you’ll be well-prepared to tackle the screen replacement process with confidence and precision.
**
Preparing the iPhone for Repair
**
Before diving into the screen replacement process, it’s crucial to prepare your iPhone for repair. This involves several essential steps to ensure a smooth and successful repair experience.
First and foremost, back up your iPhone to prevent any potential data loss during the repair process. This can be done through iCloud or iTunes, safeguarding your valuable photos, contacts, and other important data.
Next, power off your iPhone and remove any attached accessories, such as cases or screen protectors. Clearing the device of any external components will facilitate easier access to the screen and prevent any potential damage to these add-ons during the repair.
Additionally, gather the necessary tools for the repair, including a pentalobe screwdriver, suction cup, spudger, and replacement screen. Having these tools readily available will streamline the repair process and minimize the risk of misplacing crucial components during the repair.
It’s also advisable to work in a clean and well-lit environment to ensure optimal visibility and prevent any dust or debris from interfering with the repair. A clutter-free workspace will contribute to a more efficient and successful screen replacement.
Finally, approach the repair process with patience and precision. Rushing through the preparation phase can lead to oversights and potential complications. Taking the time to thoroughly prepare your iPhone for repair will set the stage for a successful screen replacement.
Replacing the Screen
Now that you have the replacement screen and the necessary tools, you’re ready to begin the screen replacement process. This task requires precision and patience, so take your time and follow each step carefully. It’s also a good idea to have a guide or tutorial available to reference throughout the process.
Start by powering off your iPhone and removing the two pentalobe screws at the bottom of the device using the pentalobe screwdriver. Once the screws are out, use the suction cup to gently lift the front panel. Be careful not to pull the entire front panel off, as it is still connected by several cables.
Next, use the Y000 screwdriver to remove the five screws securing the metal cover over the display cables. Once the cover is off, carefully disconnect the display cables. With the cables disconnected, you can safely remove the front panel assembly and set it aside.
Now, use the Tri-Point Y000 screwdriver to remove the screws securing the metal plate over the home button cable. Once the plate is off, disconnect the home button cable and carefully remove the metal plate.
With the home button cable disconnected, you can now remove the metal plate covering the earpiece speaker and disconnect the earpiece speaker. Then, remove the metal plate covering the front sensor assembly and disconnect the front sensor assembly.
Next, use the Phillips #000 screwdriver to remove the screws securing the metal plate over the display cable bracket. Once the plate is off, disconnect the display cables and remove the metal plate.
Now, carefully remove the damaged screen from the iPhone. Take your time and be gentle to avoid causing any further damage to the device. Once the old screen is removed, you can proceed to install the new screen by following these steps in reverse order.
Conclusion
Repairing a cracked iPhone 10 screen can be a daunting task, but with the right guidance and resources, it’s a manageable feat. Whether you opt for a DIY approach or seek professional assistance, addressing the issue promptly is crucial to prevent further damage and ensure the optimal functionality of your device. By considering the available options, making an informed decision, and taking the necessary precautions, you can restore your iPhone 10 to its former glory. Remember, the well-being of your device is paramount, so don’t hesitate to explore the most suitable solution for your specific situation. With the plethora of repair services and resources available, a cracked screen doesn’t have to disrupt your iPhone 10 experience for long.
FAQs
**Q: How do I know if my iPhone 10 screen is cracked?**
A: A cracked iPhone 10 screen is usually visible as a web of fine lines or a prominent shattered pattern on the display. It may also cause touch sensitivity issues or visible damage to the phone's outer glass.
Q: Can I fix a cracked iPhone 10 screen myself?
A: While it's technically possible to repair a cracked iPhone 10 screen at home, it's a complex process that requires specific tools and expertise. It's often best to seek professional assistance to ensure the repair is done accurately and safely.
Q: How much does it cost to fix a cracked iPhone 10 screen?
A: The cost of repairing a cracked iPhone 10 screen can vary depending on the severity of the damage and the service provider. Generally, it can range from $150 to $300 for professional repair services.
Q: Will fixing a cracked iPhone 10 screen affect its water resistance?
A: Properly repairing a cracked iPhone 10 screen by a qualified technician should maintain the device's water resistance, as long as the repair is performed using original or high-quality replacement parts.
Q: How long does it take to fix a cracked iPhone 10 screen?
A: The duration of repairing a cracked iPhone 10 screen can depend on the extent of the damage and the availability of replacement parts. Typically, it can take anywhere from 30 minutes to a few hours for a professional to complete the repair.