
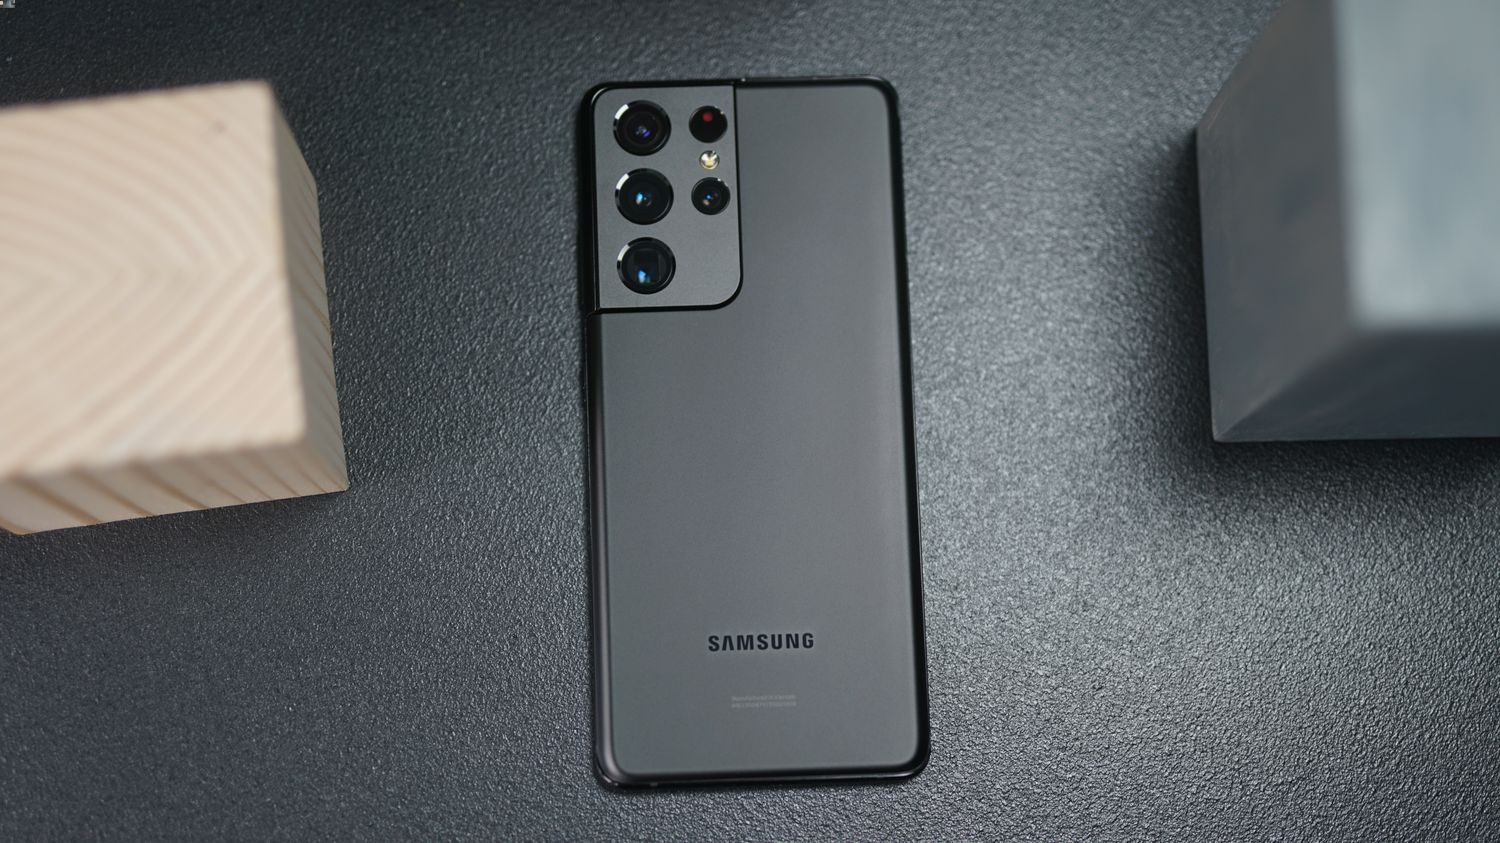
The Samsung Galaxy S21 Ultra is a powerhouse of a smartphone, boasting cutting-edge features and impressive performance. However, to unlock its full potential and customize it to your preferences, you may want to consider rooting your device. Rooting allows you to access the deepest levels of the Android operating system, giving you the ability to install custom ROMs, remove bloatware, and tweak system settings. In this article, we'll explore the process of rooting the Galaxy S21 Ultra, providing step-by-step instructions and essential tips to ensure a smooth and successful rooting experience. Whether you're a tech enthusiast looking to push the boundaries of your device or simply seeking greater control over your smartphone, rooting the Galaxy S21 Ultra can open up a world of possibilities. So, let's dive in and discover how to root the Galaxy S21 Ultra!
Inside This Article
- Preparing Your Device
- Enabling Developer Options
- Unlocking the Bootloader
- Installing Custom Recovery
- Rooting Your Galaxy S21 Ultra
- Conclusion
- FAQs
Preparing Your Device
Before you embark on the journey of rooting your Galaxy S21 Ultra, it’s crucial to take some preparatory steps to ensure the process goes smoothly. Rooting your device grants you elevated privileges and access to customize its software, but it also comes with risks. Thus, it’s essential to prepare your device adequately to minimize any potential issues.
The first step in preparing your device for rooting is to back up all your important data. Rooting involves making significant changes to the device’s software, and there’s always a risk of data loss. By backing up your photos, videos, documents, and other essential files, you can safeguard your valuable information in case anything goes wrong during the rooting process.
Next, ensure that your Galaxy S21 Ultra has sufficient battery charge. Rooting is a complex procedure that can take some time, and it’s crucial to have a fully charged battery to prevent any interruptions during the process. It’s recommended to have at least 50% battery charge before you begin rooting your device.
Enabling Developer Options
To begin the process of rooting your Galaxy S21 Ultra, you’ll need to enable Developer Options on your device. This hidden menu provides access to advanced settings and debugging tools that are crucial for the rooting process.
First, navigate to the “Settings” app on your Galaxy S21 Ultra. Scroll down and tap on “About Phone.” Here, you’ll find information about your device, including the software version and build number.
Next, locate the “Build Number” within the “About Phone” section. Tap on the “Build Number” seven times in quick succession. After a few taps, you’ll see a message indicating that Developer Options have been enabled.
Now, return to the main “Settings” menu. Scroll down, and you should see a new option labeled “Developer Options.” Tap on this menu to access a wide array of advanced settings that are typically hidden from regular users.
With Developer Options now enabled, you’re one step closer to unlocking the full potential of your Galaxy S21 Ultra and gaining the freedom to customize and optimize your device to your heart’s content.
Unlocking the Bootloader
Unlocking the bootloader is a crucial step in the process of rooting your Galaxy S21 Ultra. The bootloader is a program that loads the operating system into the device’s memory. By unlocking it, you gain the ability to install custom firmware, which is essential for rooting.
Before proceeding, it’s important to note that unlocking the bootloader will erase all data on your device. Therefore, it’s advisable to back up all your important files and data before initiating the process. Once you’ve backed up your data, you can proceed with confidence, knowing that your information is safe.
To unlock the bootloader, you’ll need to enable Developer Options on your Galaxy S21 Ultra. This can be done by tapping the “Build Number” in the “About Phone” section of the Settings menu multiple times. Once Developer Options is enabled, you can access the necessary settings to unlock the bootloader.
Upon enabling Developer Options, navigate to the Developer Options menu in Settings. Look for the “OEM Unlocking” option and toggle it on. This step is crucial, as it allows the bootloader to be unlocked. Keep in mind that the specific steps may vary slightly depending on the model and software version of your Galaxy S21 Ultra.
Installing Custom Recovery
Once you have unlocked the bootloader, the next step in the process of rooting your Galaxy S21 Ultra involves installing a custom recovery. A custom recovery is a software environment that provides additional features and allows you to perform advanced operations on your device, such as flashing custom ROMs, creating and restoring backups, and more.
The most popular custom recovery for Android devices is TWRP (Team Win Recovery Project). To install TWRP on your Galaxy S21 Ultra, you will need to download the TWRP image file specific to your device model from the official TWRP website. Ensure that you download the correct version to avoid any compatibility issues.
After downloading the TWRP image file, you will need to use the Android Debug Bridge (ADB) tool on your computer to flash the custom recovery onto your device. This process involves connecting your Galaxy S21 Ultra to your computer via USB, booting into fastboot mode, and using the ADB commands to install TWRP.
It’s important to follow the instructions provided on the official TWRP website carefully to ensure a successful installation. Once TWRP is installed on your Galaxy S21 Ultra, you will have access to a powerful recovery environment that will facilitate the rooting process and provide additional functionality for customizing and maintaining your device.
Rooting Your Galaxy S21 Ultra
Now that you have unlocked the bootloader and installed a custom recovery on your Galaxy S21 Ultra, you are ready to root your device. Rooting grants you administrative access to the Android operating system, allowing you to customize and optimize your phone to suit your preferences and needs.
Before proceeding, it’s crucial to understand that rooting your device voids its warranty and carries the risk of potentially bricking it if not done correctly. However, if you’re willing to accept these risks, rooting can unlock a world of possibilities, such as installing custom ROMs, removing bloatware, and tweaking system settings for enhanced performance.
There are several methods to root the Galaxy S21 Ultra, but one popular option is to use Magisk, a powerful and versatile rooting tool. Magisk not only provides root access but also allows you to manage root permissions for individual apps, effectively hiding root from certain apps that may not function properly on rooted devices.
To root your Galaxy S21 Ultra using Magisk, you can follow detailed guides and tutorials available on reputable Android forums and websites. These guides typically involve flashing the Magisk zip file through the custom recovery you installed earlier, followed by rebooting your device to complete the rooting process.
After successfully rooting your Galaxy S21 Ultra, you can explore a wide range of root-only apps and mods that enhance the functionality and flexibility of your device. From powerful system-level tweaks to advanced customization options, rooting opens up a new realm of possibilities for tech-savvy users.
Remember that with great power comes great responsibility. It’s essential to exercise caution and thoroughly research any modifications or customizations you intend to make after rooting your device. By staying informed and making informed decisions, you can make the most of your rooted Galaxy S21 Ultra while minimizing potential risks.
Conclusion
Rooting your Galaxy S21 Ultra can unlock a world of possibilities, allowing you to customize your device, improve performance, and access a wider range of apps. However, it’s crucial to approach this process with caution and thorough understanding. By following the steps outlined in this guide and leveraging the power of advanced features, you can take full control of your device while expanding its capabilities. Remember to stay informed about the potential risks and benefits associated with rooting, and always prioritize the security and integrity of your device. With the right knowledge and careful execution, rooting your Galaxy S21 Ultra can be a rewarding experience, empowering you to tailor your smartphone to your unique preferences and needs.
FAQs
**Q: What are the benefits of rooting a Galaxy S21 Ultra?**
A: Rooting a Galaxy S21 Ultra allows users to gain full control over their device, enabling them to customize the operating system, install specialized apps, and enhance performance and battery life.
Q: Will rooting my Galaxy S21 Ultra void the warranty?
A: Yes, rooting your Galaxy S21 Ultra typically voids the warranty provided by the manufacturer. It's important to consider this before proceeding with the rooting process.
Q: Is it legal to root a Galaxy S21 Ultra?
A: The legality of rooting a device varies by region. In some areas, it may be considered a violation of terms of service or warranty, while in others, it may be legal as long as it does not involve copyright infringement.
Q: Can I unroot my Galaxy S21 Ultra after rooting it?
A: Yes, it is possible to unroot a Galaxy S21 Ultra. By following specific procedures, users can return the device to its original state, which may allow them to reinstate the warranty.
Q: Will rooting my Galaxy S21 Ultra make it more vulnerable to security risks?
A: Rooting a Galaxy S21 Ultra can potentially expose the device to security risks, as it removes certain built-in protections. It's crucial to exercise caution and only obtain root access from trusted sources to minimize these risks.