The whole world is in perpetual motion. Living requires movement, from the mundane to the extraordinary. No other period validates this notion than today’s fast-paced society. Life moves so fast now that we fear to miss the moments that count. Hence, it has become a necessity to document life through photography. Armed with our camera phones, we take pictures of everything at every turn now. We do this for occasions and experiences both personal and shared. From selfies to portraits and landscapes, we shoot them all with our smartphones. Yet, action photography remains a very challenging genre to dabble into.
Action pictures always relate to sporting events. Live performances connect as well, such as music and dance. For sports action shots, we tend to visualize professional photographers in their element. Equipped with top-of-the-line cameras and lenses, they take the best snapshots. So, how can you get to their level and quality with just a smartphone?
How to Take Action Shots on a Smartphone?
Action photography on a smartphone may sound like an unholy union. Capturing movement in a split-second is already difficult with DSLR cameras. How much so with smartphone cameras? Yes, they have fewer capabilities and features. But, they can still be used to take stunning action photos. You just have to know how to use them.
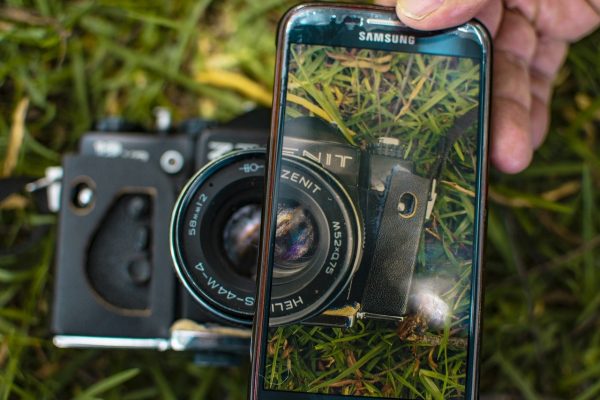
18 Action Photography Tips & Tricks for Smartphones
The following are 18 action photography tips and tricks. These shooting techniques range from the basic to the more technical. With these steps, your mobile phone can perform as great as a digital camera. They might also turn amateurs like you to pros in no time.
1) Learn the Basics of Composition
It’s always better to have a clear grasp of fundamentals when learning a craft. Good composition sets apart an average picture from a great one. Knowing how to position important elements in the frame is crucial. You achieve this with the rule of thirds.
Smartphones come with the option of displaying a grid. Switching it on will show two horizontal and vertical lines on your screen. With this, you can now compose using the rule of thirds. Place your main subject along the line or where the lines meet. Doing this will make your photos more interesting than putting it in the center. Once you’ve mastered the rule, you can start breaking it. Then, see what works for a certain picture.
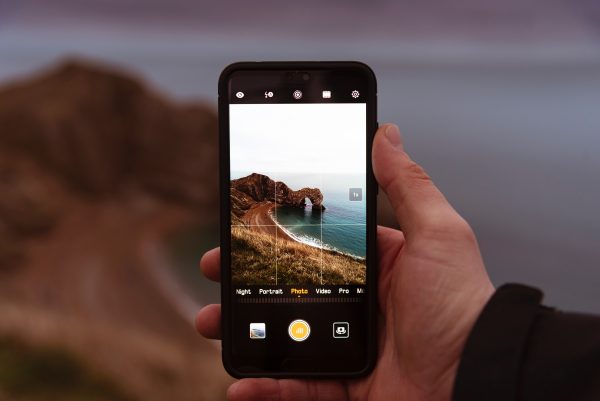
2) Study Your Camera’s Hardware and Software
As with any equipment, you must spend some time getting to know your smartphone camera. Learn all its features and settings, both good and bad. So, you can react quickly when the right moment comes. Taking full control of your camera will get you the results you want.
For example, mobile phone cameras either come with digital zoom or optical zoom. Digital zoom only crops into standard pictures. It creates a lower resolution image by bringing the same number of pixels closer to the eyes. On the other hand, optical zoom has lenses that function like magnifying glasses. The camera captures pictures that are closer to your subject. It also creates images in full resolution and detail. Smartphones with more than one camera at the back typically have optical zoom.
Also, know the ergonomics of your device. Using the side buttons might be quicker instead of the on-screen shutter button. You can opt for third-party camera apps too. Features like image stabilizers help to steady your movement and on the camera.
Finally, get into the habit of cleaning your lenses. Dirty ones will leave unwanted spots on your photos.
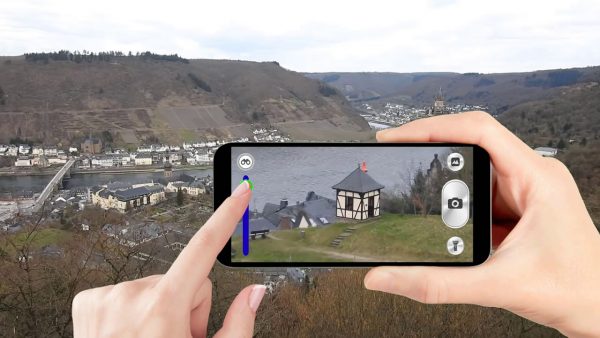
3) Always Plan Ahead
Think ahead of what photos you want to take and how to get them. Always visualize, whether you’ve covered an event multiple times already or you’re new to it. Before heading to a game, imagine your shots and how to capture them. Planning where to set up is paramount too. Set up your shots with the subject against a clean background. This will make the action stand out.
4) Understand Your Event
You need to study the sport that you want to document. Know where the action is happening and when it’s likely to happen. Do you want to capture the winning goal? Then, you have to be near the net. Always be aware of the goings and happenings at the event.
5) Learn to See the Light
Lighting is everything. Action photography is easier in the outdoors during daylight. But, what if the game is indoors, on a cloudy day, or at night? Shoot a few still photos before the event starts. This will make you see and know what you’re dealing with. Adjust if the scene is too dim or too bright. Tinker with your phone’s exposure to make the picture look lighter or darker. You can do this by dragging the exposure sliders on your device.
6) Patience Is Key
Avoid chasing the action and aiming your camera phone at it. Instead, find a good spot to stay. At the same time, you can adjust your camera settings until you get your preferences. You can lock the exposure and focus on most phone models to avoid automatic changes. Wait for the right moment to come to you.
7) Predict Exciting Moments and React
Action photography, especially in sports, is all about reacting to the moment. Of course, you can’t predict what will happen but you can try to react to anything. Be on the lookout for decisive moments. Corner kicks in soccer and fastbreaks in basketball are examples. Wait for these scenes to unfold and be ready once they do.

8) To Zoom or Not to Zoom
That is the question. Most smartphones have an optical zoom. Though this is the case, zooming-in still sacrifices image quality. So, try to resist it if you can. Don’t be afraid to get close to the action. With mobile phone cameras, you need to get closer than you normally would.
9) Focus on Faces and Emotion
Try focusing on an athlete’s facial expressions and extreme emotions. The thrill of victory and the agony of defeat are prime instances. Capturing such adds much more drama to the photo. You can also tighten the frame around the face of the subject to gain more impact.

10) Give the Subject Space for Movement
Action shots are better composed where the subject has space to travel into. This is highly advisable for fast-moving subjects. It makes sure that the person is the main focus of the photo. Also, this composition style feels much more pleasing to the viewer’s eyes. They don’t have to think about what lies in front of the subject.

11) Shoot in Burst Mode
Burst mode is a given in action photography. It’s like casting a wide net, in that you’ll get at least one perfect shot. Turn it on to capture multiple frames per second. For most smartphones, holding down the shutter button activates it automatically. If it hasn’t, check the camera settings to switch it on.
12) Boost the Resolution
Your camera phone’s megapixel count is a rough estimation of how much detail a captured picture contains. Today’s models easily go up to 48 megapixels. However, their default image resolution is set at a lower number. Bump this up in the settings for maximum detail. But, keep in mind that full-resolution photos don’t always work in tandem with burst mode and zoom. Hence, choose wisely.
13) Switch to 4:3 Aspect Ratio
There’s a workaround to shooting in high detail while in zoom or burst mode. You just have to change the aspect ratio. Technically, aspect ratio means inches in width and height. Most smartphones have 16:9 as the default one. You can switch it to 4:3 as this ratio uses the highest megapixels for sharper images.
14) Expand Your Phone’s Storage
Shooting in burst mode means loads of images. And more images mean more memory consumed. Most mobile phones come with expandable memory capabilities. You can get more storage space with fingerprint-sized memory cards. Inserted into your device, these cards (microSD) have storage sizes that range from 2GB to 2TB.
15) Override to Manual
Numerous smartphones today have a manual mode for the camera. It’s also called professional or expert mode for some models. Smartphone photography enthusiasts override to manual control. This allows for tweaking and experimentation. But before that, you need to understand the basics of the exposure triangle. ISO, aperture, and shutter speed comprise the exposure triangle. These are the three elements that determine a photograph’s exposure.
ISO is an international standard rating. It measures the sensitivity to light of the image sensor. A higher rating means more sensitivity while a lower one means less. An image sensor with high ISO can take images in low light without using flash. But, it can also make the picture appear grainy.
Aperture is the opening in the lens. It determines the amount of focused light to reach the camera. Measured in f-stops, the lower the number means the wider its opening is. Lastly, shutter speed controls how quickly the shutter opens and closes. It determines how much time light registers on the film. It’s measured in fractions of a second.
Action shots photography, especially sports, depend on faster shutter speeds to freeze action. In turn, slower shutter speeds create a motion effect when capturing moving objects.

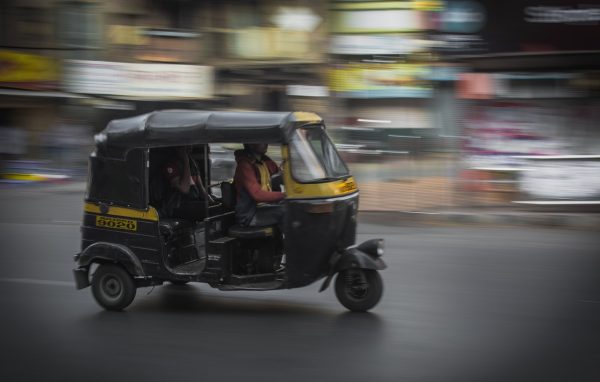
16) Use Camera Panning
Now we go to the more technical aspects. Action photography often produces great results through the use of panning. Panning refers to capturing a moving subject. You achieve it with slow shutter speed and moving your camera along with the subject’s motion. This creates a sense of speed around the subject. Panning also keeps it in focus while making the background blurred. The pan shot is usually applied when subjects are moving horizontally.
Good panning takes loads of practice to pull off. First, set your smartphone camera to manual mode. Mobile phone cameras at present don’t allow users to change the aperture value. Hence, you can only play with the ISO, shutter speed, and focusing modes.
Set the shutter speed between 1/30 seconds to 1/60 seconds. This is the ideal range for pan shots. It allows your phone camera to capture the motion. You can also adjust the ISO value if your smartphone camera has no manual mode. Reduce the value by 1 stop (ISO 400 to ISO 200) to slow down the shutter speed. Finally, set the focusing mode to continuous focus.
Tap on the subject as soon as it enters the frame. The focus will lock on the subject as you pan your phone along with it. Then, click the shutter button to capture the image. Try to continue panning after pressing the button. This results in a smoother panning movement.
Always remember these pointers too. The subject must be the same distance from you all through the shot. Your panning speed should match the subject’s speed as well. It’s also ideal to click the picture only when your subject is parallel to the camera. This makes for sharper focus and better blur in the background.
17) Enable HDR Mode
High-contrast scenes can be a pain to shoot photos with. The reason is that they have both bright and dark areas. As you take a picture, your camera finds it hard to capture detail for both the highlights and shadows. To solve this, smartphone cameras have a feature called HDR (High Dynamic Range). It helps you produce more evenly-lit images. Check the HDR settings on your smartphone. You can also activate it automatically or control it in manual mode. HDR enables you to shoot stunning photos with perfect lighting throughout. It achieves this by combining dark, normal, and bright exposures.

18) Shoot First, Edit Later
Don’t stop shooting. That is the best advice for any aspiring action photographer. You should take as many shots as you can. Review your photos only once the event is over. You don’t want to miss the perfect moment because you’re looking back at your images. Then, you can decide what to leave and what to crop. There are various photo editing apps as well to help you even further.
Practice Makes Perfect
Phone cameras are powered by incredible technology today. So, there might come a time that digital cameras will be obsolete. Smartphones can also serve as a starting point to enhance your action photography skills. Just keep in mind, like sports, practice makes perfect.
