
Garden hoses are essential tools for maintaining a lush and vibrant outdoor space. However, a leaking garden hose connector can be a frustrating and wasteful problem to deal with. Not only does it result in water loss, but it can also make watering tasks inefficient and cumbersome. Fortunately, fixing a leaking garden hose connector is a relatively simple task that can be accomplished without the need for professional help. In this article, we will guide you through the step-by-step process of troubleshooting and repairing a leaking garden hose connector, allowing you to enjoy a leak-free watering experience. Whether you have a minor drip or a major leak, we’ve got you covered with effective solutions to get your garden hose connector back in working order.
Inside This Article
- Understanding the Problem- Signs of a Leaking Garden Hose Connector
- Troubleshooting the Issue: Check for Loose Connections, Replace the Rubber Washer, Tighten or Replace the Connector
- Fixing the Leaking Garden Hose Connector: Step-by-Step Guide for Repairing the Connector: Using Teflon Tape for a Secure Seal
- Preventing Future Leaks- Regular Maintenance and Inspection- Using Quality Connectors and Accessories
- Conclusion
- FAQs
Understanding the Problem- Signs of a Leaking Garden Hose Connector
A leaking garden hose connector can be quite frustrating to deal with. Not only does it waste water, but it can also cause damage to your garden or outdoor areas. Therefore, it’s important to recognize the signs of a leaking connector so you can take immediate action to resolve the issue.
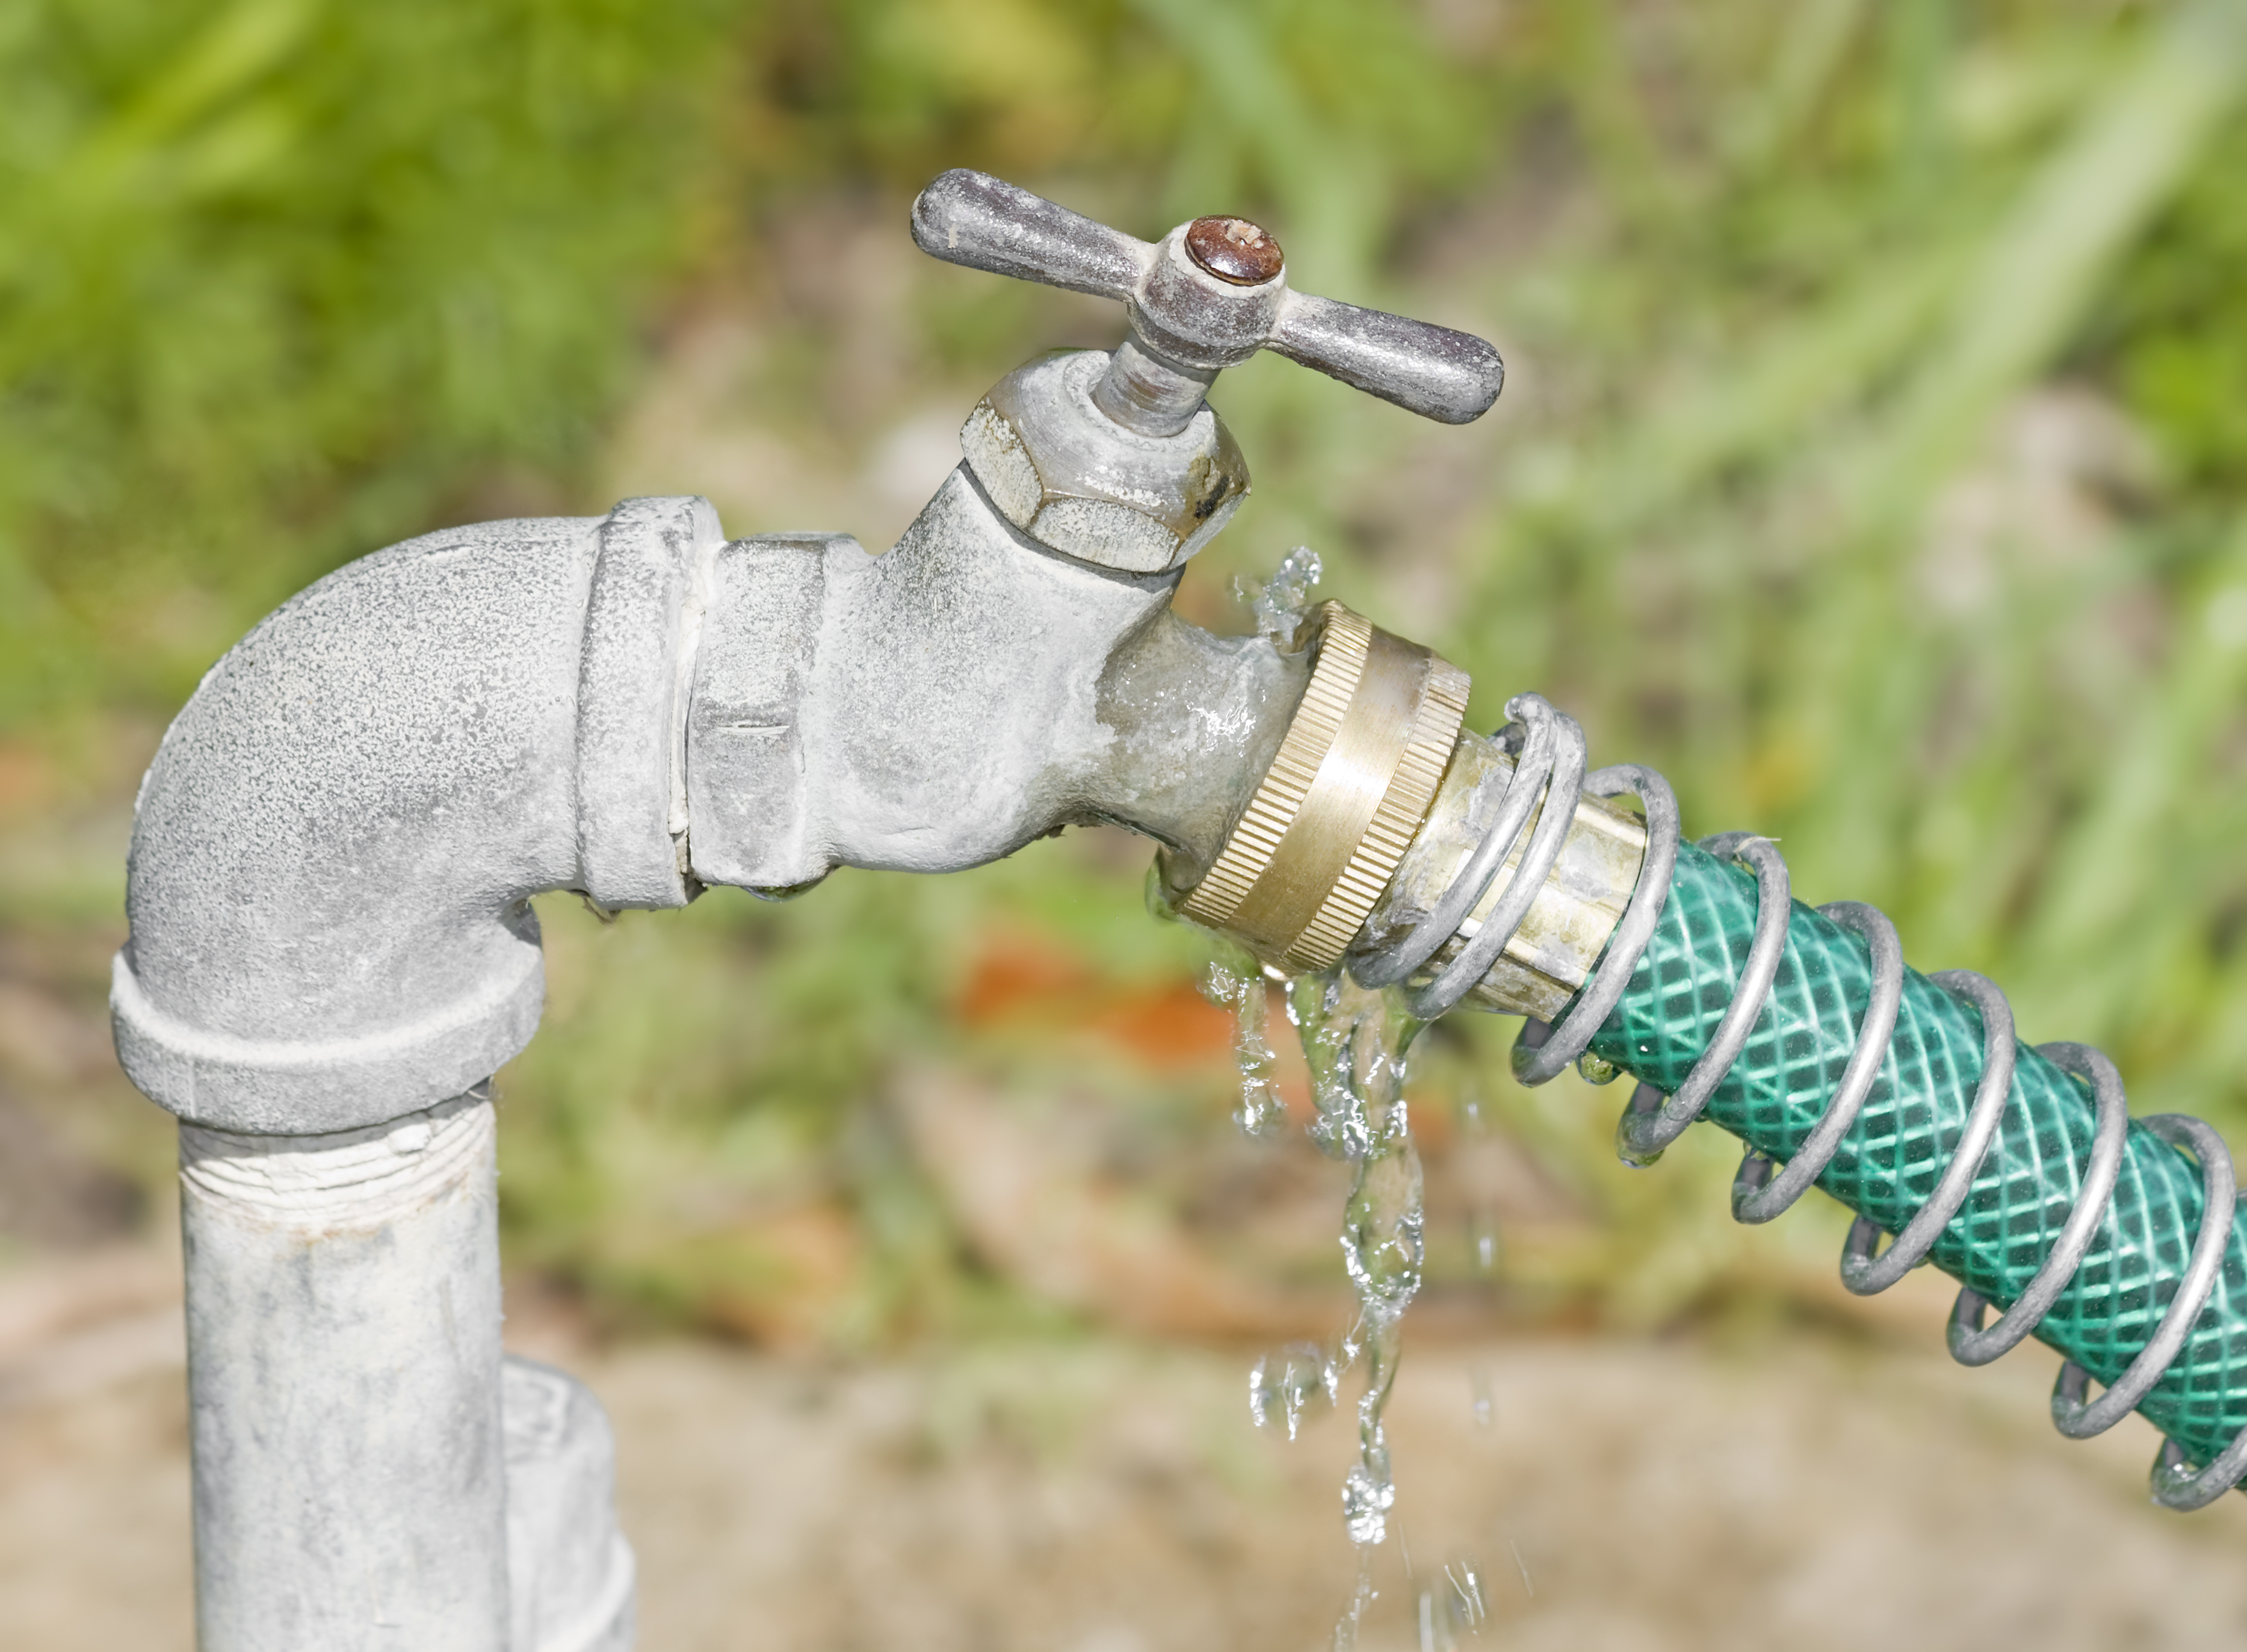
One of the most common signs of a leaking garden hose connector is visible water dripping or spraying from the connection point. You may notice water pooling around the connector or forming puddles on the ground. This is a clear indication that there is a leak in the connector or its connection with the hose.
In some cases, you may not see the water actively leaking, but you might notice a decrease in water pressure. If your hose seems to have lost its usual power, it is possible that water is leaking out of the connector, resulting in reduced pressure and flow.
Another sign to look out for is moisture or dampness around the connector. If you feel any wetness or notice a build-up of moisture in the area where the connector is attached to the hose, it’s a strong indication that there is a leak.
Furthermore, keep an eye out for any signs of rust or corrosion on the connector. Over time, exposure to the elements can cause metal connectors to deteriorate, leading to leaks. Rusty or corroded connectors are more prone to developing leaks, so it’s important to address the issue promptly.
Lastly, pay attention to any unusual sounds coming from the connector, such as hissing or sputtering. This can be a sign that water is escaping from the connection point, even if you don’t see visible leaks. If you notice any unfamiliar sounds while using your garden hose, it’s worth investigating to check for potential leaks.
By being aware of these signs, you can quickly identify a leaking garden hose connector and take the necessary steps to fix the issue. Don’t ignore the problem, as a small leak can turn into a larger issue if left unattended. In the following section, we will discuss troubleshooting techniques to help you resolve the issue and prevent further leaks.
Troubleshooting the Issue: Check for Loose Connections, Replace the Rubber Washer, Tighten or Replace the Connector
When encountering a leaking garden hose connector, there are a few simple troubleshooting steps you can take to identify and resolve the issue. By following these steps, you can save yourself the hassle of replacing the entire hose and enjoy a leak-free watering experience. Here are the three key troubleshooting methods to try: checking for loose connections, replacing the rubber washer, and tightening or replacing the connector.
Firstly, start by inspecting the connections between the hose and the connector. Over time, the constant movement and pressure can loosen the connection, leading to leaks. Ensure that the hose is securely attached to the connector by giving it a gentle tug. If there is any play or movement, the connection is likely loose and causing the leak. Simply tighten the connection by twisting it clockwise using pliers or an adjustable wrench until it is snug. This should eliminate any leaks caused by loose connections.
If tightening the connection does not resolve the issue, the next step is to replace the rubber washer. The rubber washer acts as a seal between the hose and the connector, preventing water from escaping. Over time, the washer can deteriorate or become worn, leading to leaks. To replace the washer, unscrew the connector from the hose and remove the old washer. Take the opportunity to inspect the washer for any cracks or damage. If it appears worn or damaged, replace it with a new one. Insert the new rubber washer into the connector and reattach it to the hose, ensuring a tight connection. This should restore the seal and eliminate any leaks.
If neither of the previous troubleshooting steps resolves the issue, it may be necessary to tighten or replace the entire connector. Over time, connectors can become worn or damaged, compromising their ability to provide a secure seal. If the connector is visibly damaged or feels loose even after tightening, it is best to replace it entirely. Disconnect the hose from the current connector and replace it with a new one. Follow the manufacturer’s instructions for proper installation. After securing the new connector, check for any leaks by turning on the water. If there are still leaks, double-check the connection and consider replacing the hose if necessary.
By following these troubleshooting steps, you can quickly and easily address a leaking garden hose connector. Remember to check for loose connections, replace the rubber washer if needed, and tighten or replace the connector itself. By taking these measures, you can enjoy a leak-free watering experience and prolong the lifespan of your garden hose.
Fixing the Leaking Garden Hose Connector: Step-by-Step Guide for Repairing the Connector: Using Teflon Tape for a Secure Seal
When faced with a leaking garden hose connector, it’s important to act quickly and resolve the issue to avoid water wastage and potential damage to your property. Fortunately, fixing a leaking garden hose connector is a simple DIY task that can be completed with just a few tools and materials. In this step-by-step guide, we will walk you through the process of repairing the connector and using Teflon tape to ensure a secure and watertight seal.
Step 1: Turn Off the Water
Before starting any repair work, it is crucial to turn off the water supply to avoid any potential injuries or further damage. Locate the shutoff valve near the hose faucet and turn it off. This will prevent water from flowing through the hose while you work on fixing the connector.
Step 2: Disconnect the Hose
Next, detach the hose from the leaking connector. To do this, simply twist the hose counterclockwise until it loosens and can be easily removed. Ensure that all water has drained from the hose before proceeding with the repair.
Step 3: Inspect the Connector
Examine the leaking connector carefully to identify the cause of the leak. It could be due to a cracked or worn-out connector, a damaged rubber washer, or loose connections. Understanding the root cause will help you determine the appropriate solution.
Step 4: Replace the Rubber Washer
If the leak is caused by a faulty rubber washer, it’s time to replace it. Unscrew the connector using a wrench or pliers, carefully remove the deteriorated rubber washer, and replace it with a new one. Make sure the replacement washer is the correct size and compatible with your hose connector.
Step 5: Tighten or Replace the Connector
If the leaking persists, check for loose connections by tightening the nuts or bolts that secure the connector to the hose or faucet. Use a wrench or pliers to ensure a tight fit. If the connector itself is damaged beyond repair, it may be necessary to replace it with a new one. Consult your local garden supply store for the appropriate replacement part.
Step 6: Apply Teflon Tape
Now that the rubber washer has been replaced and loose connections have been tightened, it’s time to ensure a secure and watertight seal. Wrap Teflon tape clockwise around the threaded portion of the connector. Start at the base and continue until you have covered the entire threaded area. This will help create a seal between the connector and the hose, preventing any further leaks.
Step 7: Reconnect the Hose
With the Teflon tape in place, it’s time to reattach the hose to the repaired connector. Align the threads of the connector with those on the hose and twist clockwise until it is hand-tight. Avoid overtightening, as this could cause damage to the connector or hose.
Step 8: Turn On the Water
Finally, turn on the water supply by opening the shutoff valve. Check for any leaks around the repaired connector and tighten if necessary. If no leaks are present, your garden hose connector should be securely fixed and ready for use.
By following these simple steps and using Teflon tape to create a secure seal, you can easily fix a leaking garden hose connector and ensure that your watering tasks can be carried out efficiently and without any wastage. Remember to regularly check and maintain your hose and connectors to prevent future leaks and prolong their lifespan.
Preventing Future Leaks- Regular Maintenance and Inspection- Using Quality Connectors and Accessories
Preventing future leaks in your garden hose connector is crucial to maintaining a functional and efficient watering system. By implementing regular maintenance and inspection routines, as well as using quality connectors and accessories, you can significantly reduce the chances of encountering leaks.
Regular maintenance is key to ensuring the long-term integrity of your garden hose connector. Make it a habit to inspect your connector regularly, especially before and after each use. Look for any signs of wear, such as cracks or damage to the connector or the rubber washer.
During your inspection, check the rubber washer inside the connector. Over time, the washer may become worn out or damaged, compromising its ability to create a watertight seal. If you notice any signs of wear, replace the washer immediately to prevent leaks from occurring. It is also a good idea to keep spare washers on hand for quick replacements.
Another crucial aspect of preventing future leaks is using high-quality connectors and accessories. Investing in connectors made from durable materials, such as brass or stainless steel, can significantly reduce the risk of leaks. These materials are resistant to rust and corrosion, ensuring a reliable and long-lasting connection.
In addition to quality connectors, using accessories like thread seal tape can also help create a tight and secure seal. Apply a few wraps of thread seal tape on the threaded portion of the connector before attaching it to the hose or faucet. This tape fills in any gaps or imperfections in the threads, preventing water from seeping through and causing leaks.
Furthermore, it is important to handle your garden hose and connector with care. Avoid putting excessive strain on the connector, as this can lead to loosening or damage. Properly coil and store your hose when not in use to minimize unnecessary stress on the connector’s joints.
By following these preventive measures, you can minimize the risk of future leaks in your garden hose connector. Regular maintenance and inspection, along with the use of quality connectors and accessories, will ensure a reliable and efficient watering system for all your gardening needs.
In conclusion, fixing a leaking garden hose connector is a relatively simple task that can save you from wasting water and money. By following the steps outlined in this article, you can easily identify the cause of the leak and apply the appropriate solution. Whether it’s tightening a loose connection, replacing a worn-out washer, or using sealing tape, you have the knowledge and tools necessary to fix the issue.
Remember that regular maintenance and inspections are key to preventing leaks in your garden hose connector. Keep an eye out for any signs of wear or damage, and address them promptly to avoid larger issues down the line. By taking care of your garden hose and its connector, you can enjoy effortless watering and ensure the longevity of your gardening equipment.
So, don’t let a leaking garden hose connector dampen your gardening experience. With a little bit of know-how and some basic tools, you can easily fix the problem and get back to enjoying your time in the garden. Happy gardening!
FAQs
1.
How can I identify a leaking garden hose connector?
2.
What are the common causes of a leaking garden hose connector?
3.
Can I fix a leaking garden hose connector myself?
4.
What are some temporary solutions to stop a leaking garden hose connector?
5.
When should I replace a leaking garden hose connector instead of repairing it?