
Have you ever found yourself in a situation where you needed to take a steady photo but didn’t have a tripod on hand? We’ve all been there – whether it’s capturing a beautiful sunset or snapping a group photo with friends, a steady camera is essential for getting crisp, blur-free images. But fear not! There are several techniques and tips you can employ to hold a camera steady without a tripod. In this article, we will explore some of the best ways to keep your camera steady and ensure you capture those perfect shots, even when a tripod is nowhere to be found. So, let’s dive in and discover how you can become a master of handheld photography!
Inside This Article
- Why Holding a Camera Steady is Important
- Techniques for Holding a Camera Steady Without a Tripod
- Proper Hand Placement
- Utilizing Body Stabilization
- Leaning on Steady Objects
- Using Camera Stabilization Accessories
- Conclusion
- FAQs
Why Holding a Camera Steady is Important
Holding a camera steady is crucial for capturing sharp and clear photos and videos. When you take a picture or shoot a video, any movement or shake can result in blurriness or distortion, diminishing the overall quality of the shot. In order to achieve professional-looking pictures and videos, it is essential to minimize camera shake and keep the camera steady during the capture process.
Camera shake can occur due to various factors, such as hand movements, external vibrations, or even the weight and balance of the camera itself. Regardless of the cause, the result is the same – compromised image quality. Even the most advanced cameras with image stabilization systems can only do so much to compensate for excessive movement. Therefore, it is important for photographers and videographers to understand and implement techniques to hold their cameras steady.
By holding a camera steady, you can ensure that the subject you are capturing remains in focus and free from blur. This is particularly important in low-light conditions or when using a telephoto lens, where any small movement can be magnified and affect the image quality. Additionally, holding the camera steady allows for better composition and framing, as it allows you to have more control over the position of the camera and the framing of the shot.
Furthermore, holding a camera steady reduces the need for excessive post-processing and image editing. When a photo or video is blurry due to camera shake, it can be challenging to salvage the image through editing software. By capturing sharp and clear shots from the beginning, you can save time and effort in post-processing, resulting in a more efficient workflow.
Whether you are a professional photographer, a hobbyist, or someone who simply wants to capture precious memories, holding a camera steady is a fundamental skill to acquire. It not only improves the quality of your photos and videos but also enhances your overall photography experience. So, take the time to learn and practice the techniques for holding a camera steady, and you will see a significant improvement in your photography results.
Techniques for Holding a Camera Steady Without a Tripod
Capturing sharp, steady photos and videos is essential for any photographer or videographer, but sometimes you find yourself without a tripod. Don’t worry, there are still techniques you can employ to hold your camera steady and get the shot you want. Here are some effective techniques for holding a camera steady without a tripod:
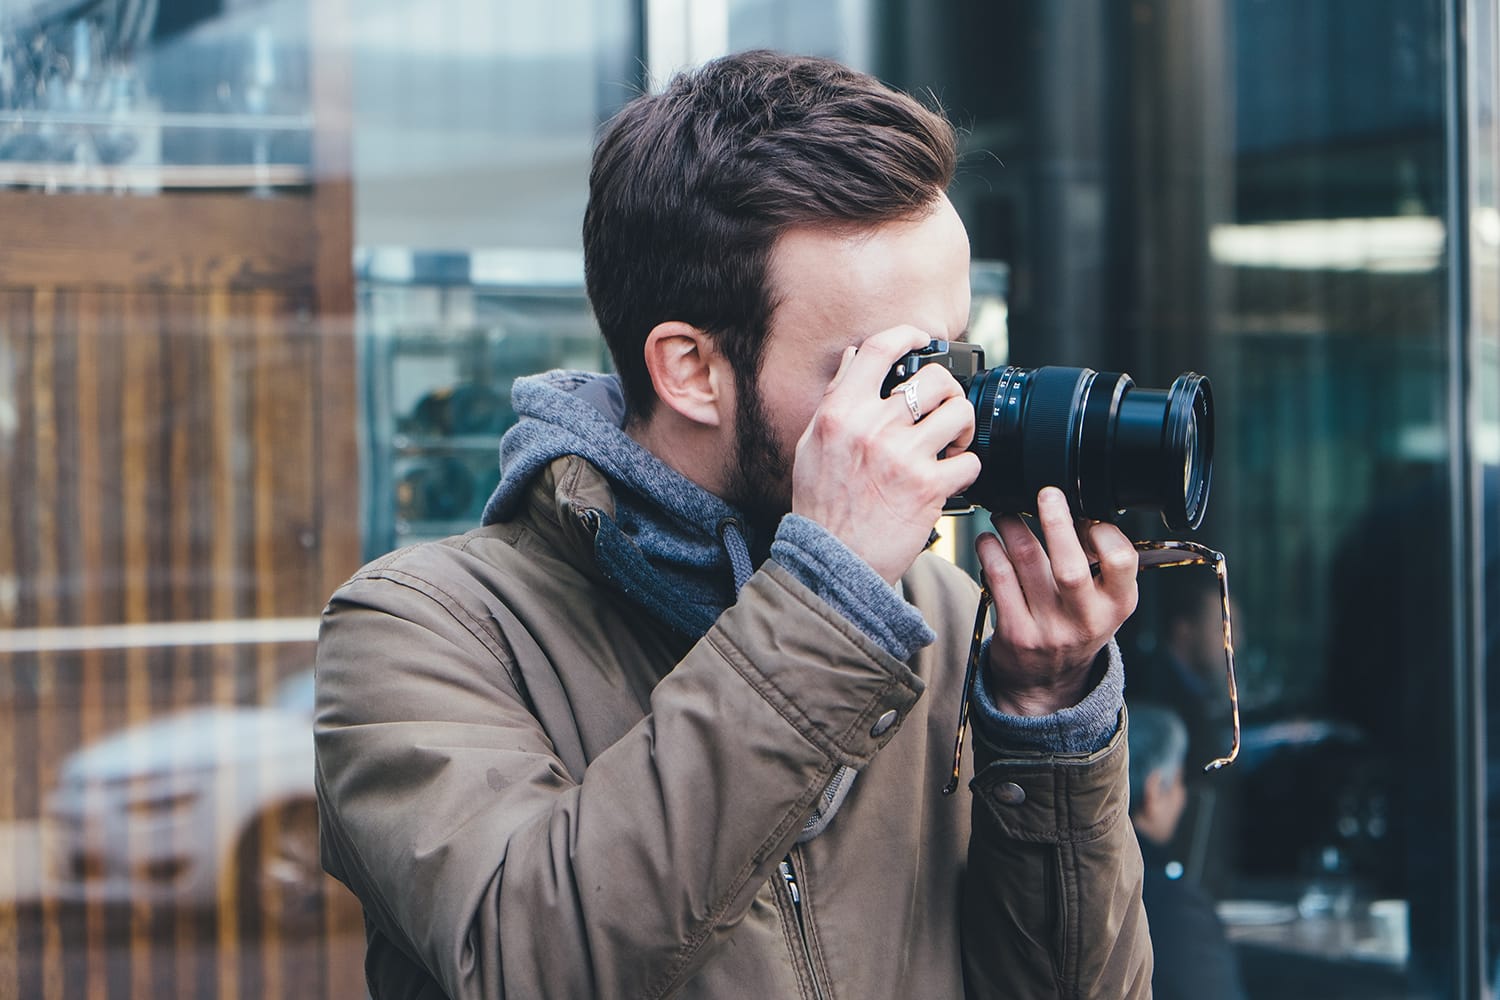
1. Proper Hand Placement: The way you hold your camera can greatly impact stability. For better stability, hold the camera with both hands, keep your elbows tucked into your body, and use your left hand to support the lens. This technique helps minimize camera shake and allows for smoother movements.
2. Utilizing Body Stabilization: Your body can act as a natural stabilizer. Plant your feet shoulder-width apart, slightly bend your knees, and lean forward slightly to create a stable base. This technique helps absorb any unnecessary movement and improves overall stability.
3. Leaning on Steady Objects: Look for solid objects like walls, trees, or posts that you can lean against for additional support. Resting your camera on a stable surface can drastically reduce camera shake and give you more stability when capturing your shots.
4. Using Camera Stabilization Accessories: If you frequently find yourself shooting without a tripod, investing in camera stabilization accessories can be a game-changer. Consider using a camera strap with a stabilizing mechanism or a handheld stabilizer like a gimbal. These accessories help minimize camera shake and provide smoother footage even without a tripod.
By employing these techniques, you can significantly improve the stability of your camera shots even when you don’t have a tripod on hand. Experiment with different combinations of these techniques and find what works best for your particular shooting situation. Remember, practice makes perfect, so keep honing your skills and capturing amazing, steady shots!
Proper Hand Placement
When it comes to holding a camera steady without a tripod, proper hand placement is crucial. By positioning your hands correctly, you can minimize camera shake and achieve sharper and more stable shots. Here are some tips for proper hand placement:
-
Hold the camera with both hands: Start by gripping the camera firmly with both hands. Use your right hand to grip the camera body, placing your fingers around the grip while your thumb rests on the back. Your left hand should support the lens, with your fingers cradling the base and your thumb pointing towards the camera body.
-
Maintain a steady grip: Avoid gripping the camera too tightly, as this can create tension and lead to shaky footage. Instead, hold the camera with a firm but relaxed grip. This will allow you to have better control without introducing unnecessary movement.
-
Keep your elbows close to your body: To add stability, tuck your elbows close to your sides. This technique helps to minimize any arm movements and reduces the risk of unintentional camera shake.
-
Use the camera’s built-in grip: Many cameras have a built-in grip or a designated area for your fingers to rest. Make use of this feature by placing your fingers on the grip for added stability. This grip is designed to help you maintain a steady hold on your camera.
-
Use your body as a brace: In addition to hand placement, consider using your body as a brace to further stabilize your camera. Pressing your elbows against your torso or leaning against a solid object can provide additional support and minimize camera movement.
By following these tips for proper hand placement, you can significantly improve the stability of your shots when capturing images or recording videos without a tripod.
Utilizing Body Stabilization
When you don’t have a tripod handy, another effective technique to hold a camera steady is by utilizing body stabilization. This method relies on using your body to create a stable framework for your camera, minimizing unwanted camera shake. Here are some body stabilization techniques to help you capture sharp, blur-free photos:
1. Stand with a Wide Stance: One way to achieve body stabilization is by standing with a wide stance. Position your feet shoulder-width apart or even slightly wider. This provides a stable base and helps distribute your weight evenly, reducing any unintentional movements.
2. Tuck in Your Elbows: Another crucial aspect of body stabilization is keeping your elbows tucked in close to your body. By doing this, you create a natural brace, limiting the chances of camera shake. It also helps to keep your arms relaxed and avoid unnecessary muscle tension.
3. Use Your Breath: Breathing properly can also contribute to body stabilization. Before you take a shot, take a deep breath and exhale slowly. This helps relax your upper body and minimizes any potential shaking caused by breathing. Additionally, try to take the photo in the middle of your breath cycle when your body is naturally more stable.
4. Lean Against a Stable Surface: If available, try leaning against a wall or a sturdy object to provide additional support and stability. Pressing your camera against the surface can greatly reduce camera shake, especially when shooting at slower shutter speeds or in low-light conditions.
5. Bracing Against Your Body: You can also use different parts of your own body to brace the camera. For example, rest your elbow on a stable surface or place your forearm against your chest to create a solid connection and minimize shaking.
By utilizing these body stabilization techniques, you can successfully hold your camera steady and capture clear, sharp images without the need for a tripod.
Leaning on Steady Objects
When it comes to capturing steady shots without a tripod, leaning on steady objects can provide excellent stability. By finding a stable surface or object to rest your camera on, you can reduce camera shake and achieve sharper images. Here are some techniques to effectively utilize steady objects:
1. Walls and Structures: Look for walls, pillars, or any stable structures that you can lean against. These objects can act as a solid support, minimizing camera movement caused by hand tremors or muscle fatigue. Position your camera on these surfaces and use your body weight to steady the shot.
2. Tables or Benches: If you’re indoors or in a public space, search for tables, benches, or any flat surfaces that can serve as makeshift tripods. Rest your camera on these surfaces and adjust the angle and composition of your shot. Ensure that the surface is level and stable to prevent any accidental movement or slippage.
3. Tripod Substitutes: If you don’t have access to a traditional tripod, consider using objects such as bean bags, sandbags, or even your camera bag to create a stable base. These items can be placed on any surface, including walls or the ground, to provide a steady platform for your camera.
4. Natural Supports: Look for natural elements in your surroundings that can serve as a support, such as tree branches, rocks, or even the ground itself. These objects can offer stability and balance, allowing you to stabilize your camera by wedging it or resting it against these natural supports.
When leaning on steady objects, be mindful of the surface texture and stability. Avoid placing your camera on slippery or uneven surfaces that may cause it to shift or slide. Additionally, use your camera strap around your neck or wrist for added security, ensuring that it won’t accidentally fall or get damaged.
By utilizing steady objects in your surroundings, you can significantly improve the stability of your camera and capture blur-free images even without a tripod. Experiment with different objects and surfaces to find the best fit for the specific shooting situation you are in.
Remember, practice makes perfect. The more you experiment and familiarize yourself with these techniques, the better you’ll become at holding your camera steady in various situations. So go out, explore, and capture stunning images without the need for a tripod!
Using Camera Stabilization Accessories
When it comes to capturing clear and steady photos or videos, using camera stabilization accessories can make a significant difference. These accessories are designed to minimize camera shake and provide stability during handheld shooting. Whether you are a professional photographer or casual smartphone user, investing in the right camera stabilization accessories can greatly enhance the quality of your shots.
Here are some popular camera stabilization accessories that can help you hold your camera steady without a tripod:
- Camera Stabilizer Gimbal: A camera stabilizer gimbal is a motorized device that provides smooth and stable movements while shooting. It uses advanced technology to counterbalance the camera’s movements, ensuring steady and shake-free footage. This accessory is particularly useful for videographers and content creators who require fluid camera movements.
- Shoulder Mount Rig: A shoulder mount rig is a support system that allows you to mount your camera on your shoulder and distribute its weight evenly. It provides stability and control, especially during long shooting sessions. This accessory is commonly used by videographers and filmmakers, helping them achieve steady shots even while moving.
- Handheld Stabilizer: As the name suggests, a handheld stabilizer is a compact and lightweight accessory that you can hold in your hand while shooting. It uses a counterweight system to balance the camera and reduce shake. Handheld stabilizers are ideal for users who want to shoot on the go or capture action-packed footage without compromising stability.
- Monopod: A monopod is a single-legged support that provides stability while shooting. It acts as an extension of your arm, allowing you to hold the camera steady for extended periods. With the addition of a monopod head, you can adjust the camera’s angle and position for versatile shooting options. This accessory is popular among photographers and videographers who need a portable and convenient stabilization solution.
By incorporating these camera stabilization accessories into your photography toolkit, you can achieve professional-looking, steady shots without relying on a tripod. However, it’s important to choose the right accessory based on your specific needs and shooting style.
Remember, while camera stabilization accessories can significantly improve the stability of your shots, they are not a substitute for proper hand placement and body stabilization techniques. It’s always beneficial to combine these accessories with other methods to ensure the best results.
Now that you’re familiar with the various camera stabilization accessories available, you can experiment with them and take your photography or videography to the next level.
Conclusion:
In conclusion, knowing how to hold a camera steady without a tripod is a valuable skill for any photographer. While tripods are ideal for achieving maximum stability, there are many situations where using a tripod is not practical or convenient. By implementing the techniques and tips mentioned in this article, such as maintaining a stable posture, using proper hand positioning, and stabilizing your body and breathing, you can significantly improve the stability of your camera and capture sharper, more professional-looking photos.
Remember, practice makes perfect. Take the time to experiment with different holding techniques and find what works best for you. With practice and persistence, you can develop a steady hand that will enhance the quality of your photographs. So go ahead, enjoy the freedom of shooting without a tripod, and let your creativity flourish!
FAQs
Q: Can you hold a camera steady without a tripod?
Yes, it is possible to hold a camera steady without using a tripod. There are various techniques and strategies you can employ to stabilize your camera and reduce camera shake.
Q: What are some techniques for holding a camera steady without a tripod?
There are several techniques you can use to hold a camera steady without a tripod:
- Brace yourself: Plant your feet firmly on the ground and stabilize your body by leaning against a wall or other stable object. This will help minimize any unwanted movement.
- Utilize a stable surface: Look for a ledge, railing, or any other solid surface where you can rest your camera to keep it steady.
- Use proper handholding technique: Hold the camera with both hands, keeping your elbows close to your body for added stability. Use your body as a support and avoid extending your arms too far from your body.
- Breathe and release: Take slow, deep breaths and release the shutter at the end of your exhale. This can help minimize camera shake caused by your breathing.
- Use image stabilization: If your camera or lens has built-in image stabilization, make sure to activate it. This feature can help compensate for any camera movement.
Q: How can I stabilize my camera when shooting in low light?
Shooting in low light can be challenging as it often requires using slower shutter speeds, which increases the risk of camera shake. To stabilize your camera in low light conditions, you can:
- Increase the ISO: Raising the ISO setting on your camera can allow you to use faster shutter speeds, reducing the chances of camera shake.
- Use a wider aperture: Shooting with a wider aperture (lower f-stop number) allows more light to enter the camera, enabling faster shutter speeds.
- Find additional light sources: Look for available light sources, such as streetlights or lamps, to illuminate your scene and allow for faster shutter speeds.
- Use a tripod alternative: If possible, try using a stabilizing device like a monopod or a beanbag to minimize camera shake.
Q: Can I use image stabilization on my smartphone camera?
Yes, many smartphones today come equipped with built-in image stabilization technology, such as optical image stabilization (OIS) or electronic image stabilization (EIS). These features can help reduce camera shake and improve image quality, especially in low light conditions. Check your smartphone’s camera settings to see if you can enable image stabilization.
Q: Are there any accessories that can help stabilize my camera without a tripod?
Yes, there are several accessories available that can help stabilize your camera without the need for a tripod. Some popular options include:
- Camera straps with stabilizing features: These straps are designed to be worn diagonally across your body, providing additional support and stability when shooting handheld.
- Gimbal stabilizers: These motorized devices are commonly used for smartphone videography but can also be used with smaller cameras or action cameras. They provide smooth stabilization and reduce shaking during movement.
- Handheld camera stabilizers: These devices, also known as camera gimbals or stabilizers, are designed to counteract camera shake and provide smooth footage while shooting handheld.
- Tabletop tripods: These small, portable tripods can be used on any stable surface to keep your camera steady when shooting from a fixed position.
Remember to research and choose the accessory that best fits your needs and the type of photography you engage in.