
Welcome to our comprehensive guide on how to insert a SIM card into the Samsung Galaxy S5. The Samsung Galaxy S5 has been a popular choice among smartphone users for its powerful features and sleek design. However, if you’re new to using this device or simply need a refresher on how to insert a SIM card, you’ve come to the right place. In this article, we’ll walk you through the step-by-step process of inserting a SIM card into your Samsung Galaxy S5, ensuring that you can start enjoying all the amazing features this phone has to offer. Whether you’re switching carriers or replacing your old SIM card, this guide will help you navigate through the process effortlessly. So let’s get started and get your Samsung Galaxy S5 up and running in no time.
Inside This Article
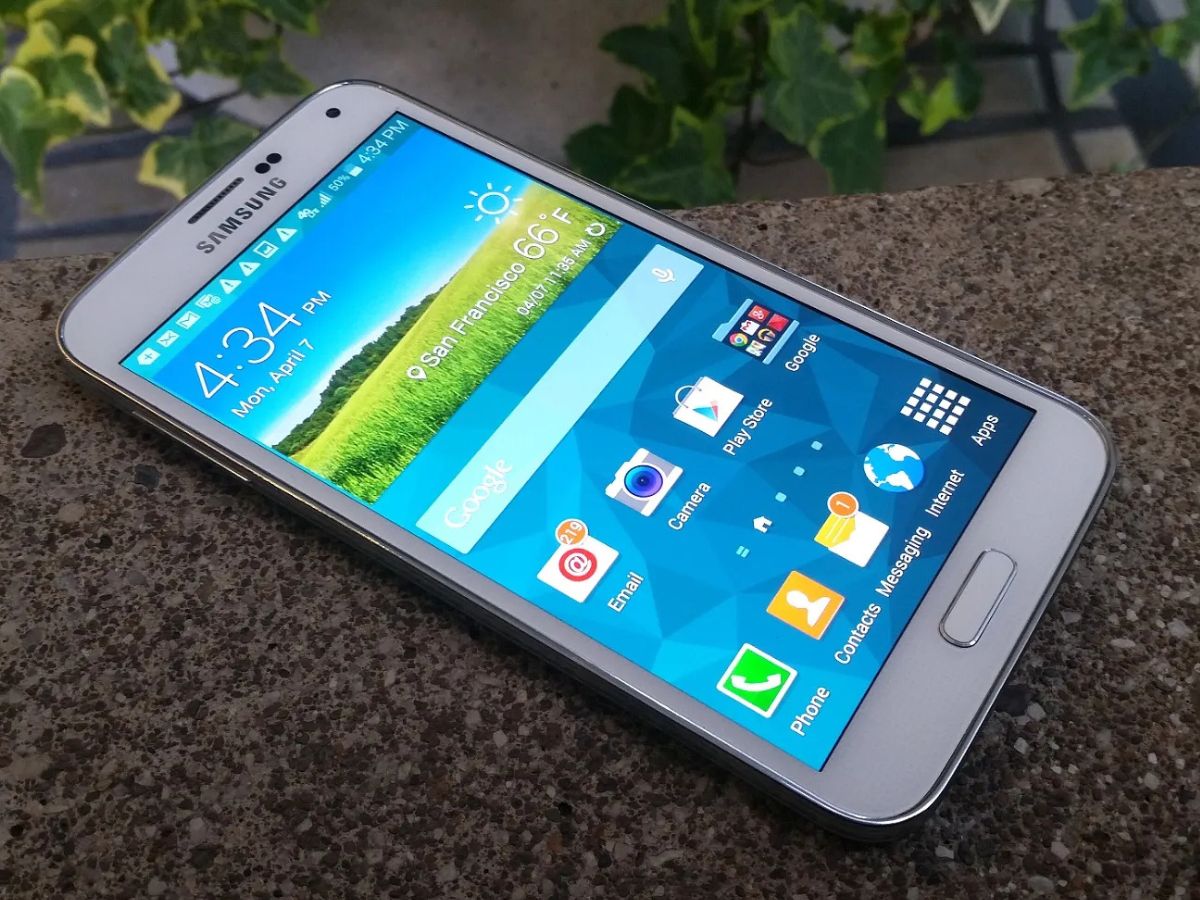
- Getting started with the Samsung Galaxy S5 – Familiarizing yourself with the device – Understanding the SIM card slot location
- Removing the back cover – Accessing the SIM card slot by removing the back cover – Using the proper technique to avoid damaging the device
- Inserting the SIM card – Aligning the SIM card correctly with the designated slot – Ensuring the SIM card is securely inserted
- Reassembling the device – Placing the back cover back onto the device – Verifying that the SIM card is properly inserted and recognized
- Conclusion
- FAQs
Getting started with the Samsung Galaxy S5 – Familiarizing yourself with the device – Understanding the SIM card slot location
The Samsung Galaxy S5 is a popular and powerful smartphone that offers a wide range of features and capabilities. Before you can start using your device to its full potential, it is important to familiarize yourself with its design and layout. One important aspect to understand is the location of the SIM card slot.
The SIM card slot on the Samsung Galaxy S5 is located on the back of the device, underneath the removable back cover. This is a common design feature among many smartphones, as it provides easy access to the SIM card slot without compromising the device’s overall design and functionality.
By removing the back cover, you can gain access to the SIM card slot and other important components of the device. This allows you to insert or remove the SIM card, as well as perform other maintenance tasks if necessary.
It is important to handle the Samsung Galaxy S5 with care when removing the back cover to avoid any damage to the device. The back cover is designed to fit snugly onto the device, and it may require a gentle amount of force to remove it. It is recommended to use your fingernail or a small tool, like a SIM card removal tool or a plastic opening tool, to lift the edge of the back cover.
Once you have removed the back cover, take a moment to locate the SIM card slot. In the Samsung Galaxy S5, the SIM card slot is typically located near the battery compartment. It is a small, rectangular slot that is designed specifically to hold the SIM card securely in place.
Understanding the location of the SIM card slot on your Samsung Galaxy S5 is crucial, as it allows you to easily access and insert the SIM card. This step is necessary in order for your device to connect to a mobile network and make calls, send messages, and access the internet.
Now that you are familiar with the device and know where the SIM card slot is located, you are ready to move on to the next step: removing the back cover and inserting the SIM card.
Removing the back cover – Accessing the SIM card slot by removing the back cover – Using the proper technique to avoid damaging the device
Before you can insert a SIM card into your Samsung Galaxy S5, you’ll need to remove the back cover to access the SIM card slot. This process is fairly simple, but it’s important to do it properly to avoid causing any damage to the device.
To begin, locate the small indentation or groove on the edge of the back cover. This is usually found towards the top of the device. This groove is designed to provide a convenient spot for you to pry the cover off.
Using your fingertips or a small, thin tool like a plastic opening tool or guitar pick, gently insert the tool into the groove and begin to pry the back cover away from the device. Apply a small amount of pressure and work your way around the edges of the device to gradually release the clips holding the cover in place.
It’s important to exercise caution during this step to avoid applying too much force or twisting the back cover, as this can lead to damage. Take your time and be patient to ensure a smooth removal process.
As you continue to pry the cover off, you may hear some clicking sounds as the clips disengage. This is normal and should not cause any concern. Just be mindful of not using excessive force that could damage the device or the cover.
Once you have successfully removed the back cover, set it aside in a safe location. Take a moment to inspect the inside of the device, ensuring that no dust, debris, or foreign objects are present that could interfere with the SIM card slot.
With the back cover removed, you now have access to the SIM card slot. It is usually located near the battery compartment. Look for a small metallic tray with a notch or opening where the SIM card will be inserted.
At this point, you have completed the first part of the process, which is removing the back cover to access the SIM card slot. Next, we will discuss how to properly insert the SIM card into your Samsung Galaxy S5.
Inserting the SIM card – Aligning the SIM card correctly with the designated slot – Ensuring the SIM card is securely inserted
Once you have removed the back cover of your Samsung Galaxy S5, you are ready to insert the SIM card. This step is crucial for activating your device and accessing cellular networks. Follow these instructions to ensure a successful SIM card insertion:
1. Begin by locating the SIM card slot on your Samsung Galaxy S5. The slot is typically located near the battery compartment or on the side of the device. Check the manufacturer’s instructions or consult the device manual if you are unsure of the exact location.
2. Take your SIM card and carefully align it with the designated slot. The SIM card has a unique shape, so make sure it matches the shape of the slot. Additionally, ensure that the gold contacts on the SIM card are facing downwards, as this is necessary for a proper connection.
3. Gently insert the SIM card into the slot. Apply a small amount of pressure until you feel a click or a snug fit. Be cautious not to force the card into the slot, as this can cause damage to both the card and the device.
4. Once the SIM card is inserted, double-check that it is securely in place. You can do this by lightly pushing on the card to ensure it does not move or wiggle. If the card moves or feels loose, remove it and repeat the alignment and insertion process.
5. After confirming that the SIM card is securely inserted, you can proceed to reassemble your Samsung Galaxy S5. Place the back cover back onto the device, ensuring it snaps into place correctly. Take a moment to inspect the back cover and device edges to ensure a proper fit.
6. Finally, power on your Samsung Galaxy S5 and wait for the device to recognize the SIM card. Once the device is powered on, you should see a signal indicator or a prompt confirming the successful insertion of the SIM card and its recognition by the device.
By following these steps, you can confidently insert your SIM card into your Samsung Galaxy S5, ensuring a secure connection and access to cellular networks. Enjoy the full functionality of your device and stay connected wherever you go!
Reassembling the device – Placing the back cover back onto the device – Verifying that the SIM card is properly inserted and recognized
Once you have successfully inserted the SIM card into the Samsung Galaxy S5, it’s time to reassemble the device. The first step is to place the back cover back onto the device.
Carefully align the back cover with the edges of the device and gently press it down until it snaps into place. Make sure all the corners and sides are securely fastened to ensure a proper seal.
After reassembling the device, it’s crucial to verify that the SIM card is properly inserted and recognized. Turn on your Samsung Galaxy S5 and wait for it to boot up. Once the device is powered on, check the status bar or the settings menu to confirm if the SIM card is detected.
If the SIM card is recognized, you will see the network signal bars and the carrier name displayed on the screen. You can also check the settings menu by navigating to “Settings” > “Connections” > “SIM card manager” to find additional information about your SIM card, such as the phone number associated with it.
If you are not seeing the network signal bars or the carrier name, it’s possible that the SIM card was not inserted correctly. In this case, power off your device, remove the back cover again, and carefully reposition the SIM card in the designated slot. Make sure it is aligned properly and reinsert the back cover following the previous steps.
Once you have reassembled the device and ensured the SIM card is properly inserted and recognized, you can start enjoying the features and functionalities of your Samsung Galaxy S5 while staying connected with your mobile network.
Conclusion
In conclusion, inserting a SIM card into your Samsung Galaxy S5 is a simple process that requires a few basic steps. By following the instructions provided in this article, you should have no trouble accessing cellular connectivity and enjoying all the features and capabilities of your device. Remember to power off your phone before inserting or removing the SIM card to avoid any potential damage. Additionally, always ensure that your SIM card is compatible with your specific phone model.
Having a properly inserted SIM card is crucial for making calls, sending messages, and accessing mobile data on your Samsung Galaxy S5. With the right SIM card, you can stay connected and enjoy a seamless communication experience on your device. Now that you know how to insert a SIM card into your Samsung Galaxy S5, you can confidently set up your phone and start using it to its full potential.
FAQs
Q: How do I insert a SIM card into a Samsung Galaxy S5?
Inserting a SIM card into a Samsung Galaxy S5 is a straightforward process. Follow these steps:
- Power off your device by pressing and holding the power button.
- Locate the SIM card slot on the side of your phone.
- Use the SIM card removal tool or a small paperclip to eject the SIM card tray.
- Place your SIM card into the SIM card tray, making sure the gold contacts are facing down.
- Gently push the SIM card tray back into the slot until it clicks into place.
- Power on your device, and you should now be connected to your cellular network.
Q: What type of SIM card does the Samsung Galaxy S5 use?
The Samsung Galaxy S5 uses a micro-SIM card, which is a smaller version of the traditional SIM card used in older devices. It is essential to ensure that you have a micro-SIM card compatible with the Galaxy S5 before attempting to insert it.
Q: Can I use a nano-SIM card in the Samsung Galaxy S5?
No, the Samsung Galaxy S5 does not support nano-SIM cards. It only accepts micro-SIM cards. If you have a nano-SIM card, you may need to contact your mobile service provider to request a micro-SIM card or use an adapter to convert your nano-SIM card to a micro-SIM size.
Q: What happens if I insert the SIM card incorrectly?
If you mistakenly insert the SIM card incorrectly or in the wrong slot, your Samsung Galaxy S5 may not recognize the card. To avoid any potential damage, it is essential to ensure that you insert the SIM card with the gold contacts facing down and in the correct slot designated for the SIM card.
Q: Do I need to unlock my Samsung Galaxy S5 to use a different SIM card?
If your Samsung Galaxy S5 is locked to a specific mobile network carrier, you may need to unlock it to use a different SIM card from another carrier. You can contact your current carrier to inquire about unlocking your device. Alternatively, there are also third-party services available that can help you unlock your phone for a fee.