
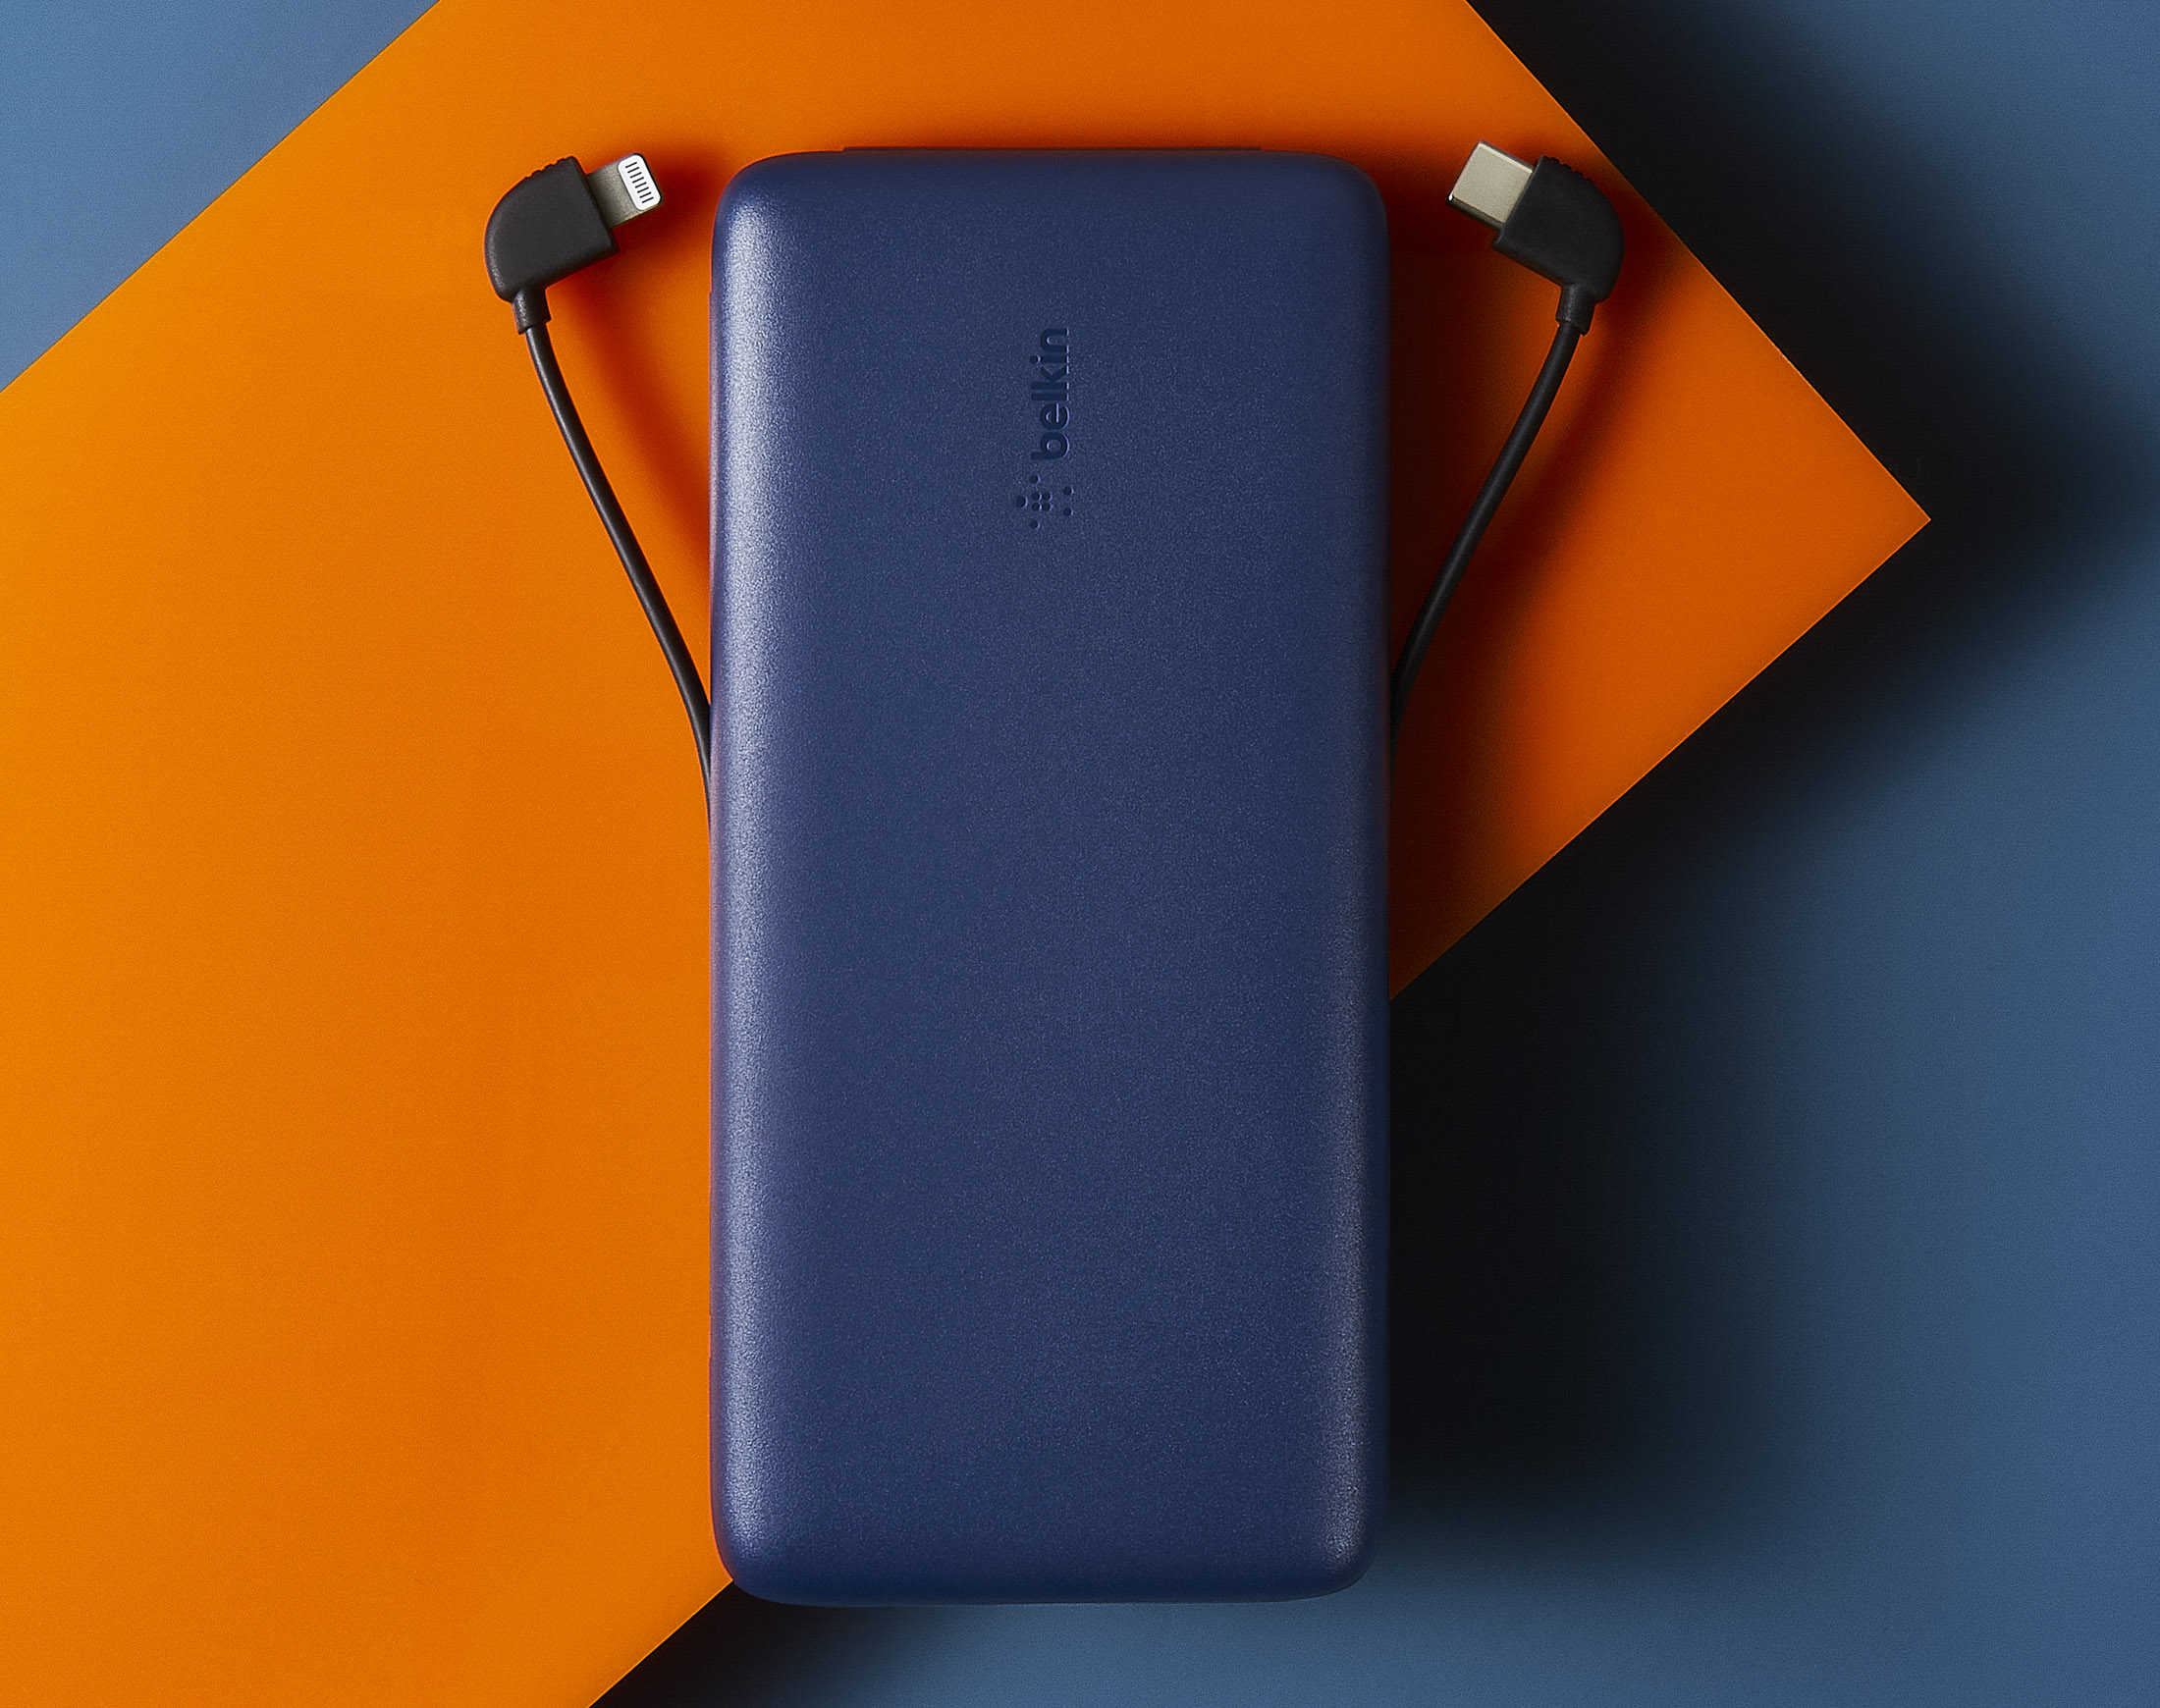
When it comes to staying connected and powered up on the go, a reliable power bank is an essential accessory for every smartphone owner. Among the top brands in the market, Belkin has earned a reputation for producing high-quality and reliable power banks. However, it’s not always clear whether your Belkin power bank is charging properly or not. This article aims to provide you with a comprehensive guide on how to determine if your Belkin power bank is charging or not. Whether you’re a tech-savvy individual or new to portable chargers, understanding the charging process can help you make the most out of your power bank and ensure you never run out of battery while on the move. So, let’s dive into the details and discover how to know if your Belkin power bank is charging.
Inside This Article
- Checking the Power Bank Indicator
- Connecting the Power Bank to a Device
- Troubleshooting Common Issues
- Overview
- Checking the Power Bank Indicator
- Connecting the Power Bank to a Device
- Troubleshooting Common Issues
- Connecting the Power Bank to a Device
- Overview
- Checking the Power Bank Indicator
- Connecting the Power Bank to a Device
- Troubleshooting Common Issues
- Conclusion
- FAQs
When it comes to keeping your mobile devices charged on the go, a reliable power bank is a must-have accessory. And one brand that stands out in the market is Belkin. Belkin power banks are known for their high-quality build, performance, and compatibility with various devices.
However, it’s essential to know how to determine if your Belkin power bank is charging correctly, especially to avoid any inconvenience while you’re out and about. In this article, we will guide you through the process of checking if your Belkin power bank is charging and provide troubleshooting tips for common issues.
Checking the Power Bank Indicator
The first step in determining if your Belkin power bank is charging is to check the power bank indicator. Most Belkin power banks come with LED indicators that provide information about the charging status. These indicators are typically located on the side or top of the power bank.
When you connect your power bank to a power source using the provided charging cable, the LED indicators should light up. This indicates that the power bank is receiving power and is in the charging mode. The number of LED lights that light up may vary depending on the model and the current charge level.
As your Belkin power bank charges, the LED lights will progressively light up or change color to indicate the charging progress. Typically, the lights will start flashing or change from red to green once the power bank is fully charged. Refer to the user manual of your specific power bank model for the exact LED indicator patterns.
Connecting the Power Bank to a Device
Once you have confirmed that your Belkin power bank is charging, the next step is to connect it to a device to ensure that it is providing power properly. To do this:
- Locate the USB port(s) on your Belkin power bank.
- Connect one end of the charging cable to the USB port on your power bank.
- Connect the other end of the cable to the charging port of your mobile device.
- If the power bank is functioning correctly, your device should start charging.
Keep in mind that some power banks may require you to press a button or flip a switch to activate the power output. Refer to the user manual of your specific model for any additional instructions.
Troubleshooting Common Issues
If you are having trouble charging your device with your Belkin power bank, here are a few common issues and troubleshooting tips:
- No power output: Ensure that your power bank has enough charge by checking the LED indicators. If the power bank is fully charged, try using a different charging cable or USB port.
- Slow charging: Make sure that both the power bank and the device are compatible. Use a high-quality charging cable and avoid using the device while it is charging.
- Overheating: Power banks may generate some heat during charging. However, if your power bank becomes excessively hot, disconnect it from the device and allow it to cool down before reattempting the charging process.
- Short battery life: If your power bank does not provide a sufficient charge, it may be time to replace the battery. Contact Belkin customer support for assistance.
By following these steps and troubleshooting tips, you can ensure that your Belkin power bank is charging correctly and providing reliable power to your devices. Remember to always refer to the user manual of your specific power bank model for detailed instructions and specifications.
Overview
In today’s fast-paced digital world, mobile accessories have become a necessity to keep our devices powered up and ready for use. One such essential accessory is a power bank, which allows us to charge our smartphones and other gadgets on the go. Among the top brands in the market, Belkin power banks are known for their reliability and performance. However, sometimes it can be difficult to determine if your Belkin power bank is charging or not. In this article, we will guide you on how to know if your Belkin power bank is charging, providing you with the necessary information to ensure your devices never run out of battery when you need them the most.
Checking the Power Bank Indicator
The first step in determining whether your Belkin power bank is charging is to check the power bank indicator. Most Belkin power banks come equipped with LED lights that indicate the charging status. Typically, the LED lights are located on the front or side of the power bank. These lights may be in the form of a single light or multiple lights, depending on the model.
When you connect your power bank to a power source using the charging cable, the LED lights will start to blink or remain steady, indicating that the power bank is receiving power. If the LED lights are not turning on at all, it could mean that there is an issue with the power source or the power bank itself.
Typically, the LED lights on a Belkin power bank will have different colors to indicate the charging status. For example, a green light may indicate that the power bank is fully charged, while a red light may indicate that it is currently charging. It is essential to refer to the user manual of your specific Belkin power bank model to understand the exact meaning of the LED light colors.
Connecting the Power Bank to a Device
While checking the power bank indicator is the first step, it is equally important to ensure that the power bank is successfully charging your device. After connecting your Belkin power bank to a power source and seeing the LED lights illuminate, you can proceed to connect your device to the power bank using a compatible charging cable.
Once you have plugged in your device, it should start charging. You can check the charging status of your device by looking for the battery icon or percentage on the device’s screen. If you see the battery level increasing, it means that your Belkin power bank is successfully charging your device.
It is worth noting that the charging time may vary depending on the capacity of your power bank and the device you are charging. It is recommended to use the original charging cable that came with your device and ensure that it is in good condition to optimize the charging speed.
Troubleshooting Common Issues
If you find that your Belkin power bank is not charging, there are a few troubleshooting steps you can take:
- Check the charging cable: Ensure that the charging cable is properly connected to both the power bank and the power source. Sometimes, a loose or faulty charging cable can hinder the charging process.
- Try a different power source: If you are using a wall adapter to charge your power bank, try using a different outlet or USB port to rule out any issues with the power source.
- Clean the charging ports: Dust and debris can accumulate in the charging ports over time, preventing a proper connection. Use a gentle brush or compressed air to clean the charging ports on both the power bank and the device.
- Reset the power bank: Some Belkin power banks have a reset button that you can press to restart the charging process. Refer to the user manual to locate the reset button and follow the instructions provided.
If you have tried all the troubleshooting steps and your Belkin power bank still does not charge, it may be a sign of a more significant issue. In such cases, it is best to contact Belkin customer support or seek professional assistance to diagnose and resolve the problem.
Knowing how to determine if your Belkin power bank is charging ensures that you can rely on your power bank to keep your devices powered up whenever you need them. By checking the power bank indicator and connecting it correctly to your device, you can enjoy the convenience and peace of mind that comes with a fully charged battery.
Connecting the Power Bank to a Device
Once you have confirmed that your Belkin power bank is charging, it’s time to connect it to your device. Follow these steps to ensure a successful connection:
- Identify the charging cable: Belkin power banks typically come with a variety of charging cables, including USB-A to USB-C or USB-A to micro-USB. Choose the cable that is compatible with your device.
- Plug in one end of the cable: Locate the appropriate port on the power bank and insert one end of the charging cable firmly into it. Be sure to align the connector correctly and apply a gentle but firm pressure to ensure a secure connection.
- Connect the other end of the cable to your device: Locate the charging port on your device and insert the other end of the charging cable into it. Again, make sure to align the connector properly and apply enough pressure to establish a strong connection.
- Check the charging status: Once the power bank is connected to your device, check the charging status. Most devices will display a battery icon or a charging indicator on the screen to indicate that it is receiving power. Additionally, some power banks may have LED indicators that show the current charge level.
- Monitor the charging process: Keep an eye on the charging progress to ensure that your device is charging properly. Depending on the power bank’s capacity and the battery level of your device, the time it takes to fully charge may vary. It is normal for the power bank to warm up during charging.
- Disconnect the cable: Once your device is fully charged or you no longer need to charge it, safely disconnect the charging cable. Avoid forcefully pulling the cable out, as it may damage the connectors. Instead, gently pull it out while holding the connector firmly.
By following these steps, you will be able to connect your Belkin power bank to your device successfully and enjoy the convenience of portable charging wherever you go.
Overview
Belkin power banks are popular accessories that ensure you have a reliable source of power for your mobile devices while on the go. These portable chargers offer convenience and peace of mind, allowing you to charge your devices anywhere, anytime.
However, it’s important to know if your Belkin power bank is charging properly to avoid inconvenience. In this article, we will guide you through the process of checking the power bank’s charging status, connecting it to a device, and troubleshooting common issues that may arise.
Checking the Power Bank Indicator
Most Belkin power banks come equipped with an LED indicator that displays the charging status. To determine whether your power bank is charging or not, you should follow these steps:
- Locate the LED indicator on your power bank. It is usually found near the power button or on the side of the device.
- Press the power button or look for any buttons alongside the LED indicator to activate it.
- Observe the LED indicator’s behavior. If the indicator light is blinking or flashing, it indicates that the power bank is currently charging. If the light remains steady or does not turn on at all, it may not be receiving any power.
It’s important to note that the charging time may vary depending on the power bank’s capacity and the charging source. It’s recommended to refer to the product’s manual for more accurate information on the charging process.
Connecting the Power Bank to a Device
Once you have verified that your Belkin power bank is charging, you can connect it to your mobile device to provide it with the much-needed power boost. Here’s how to do it:
- Identify the appropriate charging cable for your device. Belkin power banks typically come with standard USB-A ports, so you may need to use a compatible charging cable, such as a USB-A to Lightning or USB-A to USB-C cable.
- Connect one end of the charging cable to the power bank’s USB-A port.
- Connect the other end of the charging cable to your device’s charging port.
- Once connected, the power bank will automatically start supplying power to your device. You can monitor the charging progress through your device’s battery indicator.
It’s worth mentioning that using a high-quality and compatible charging cable is crucial to ensure efficient charging and avoid potential damage to your device or power bank.
Troubleshooting Common Issues
In some cases, you may encounter issues with your Belkin power bank, such as it not charging or not providing power to your device. Here are a few common troubleshooting steps you can take:
- Ensure that the power bank is properly connected to a power source. Check the cable and the charging port for any signs of damage or debris.
- Try using a different charging cable or power adapter to see if the issue lies with the accessories.
- If the power bank is not charging even when connected to a power source, try using a different outlet or USB port to isolate the issue.
- Restart your device and reconnect the power bank to see if it resolves any software-related issues.
If you have exhausted these troubleshooting steps and are still experiencing problems with your Belkin power bank, it may be necessary to contact Belkin’s customer support or consider seeking a replacement if the device is still under warranty.
By following these guidelines, you can ensure that your Belkin power bank is charging properly and providing the necessary power to keep your mobile devices running smoothly throughout the day.
Conclusion
In conclusion, knowing whether your Belkin power bank is charging or not is crucial for ensuring that you have a reliable and convenient source of power for your mobile devices. By following the tips and steps mentioned in this article, you can easily determine if your power bank is charging, such as checking the LED indicators, ensuring the power bank is connected properly, and monitoring the charging time.
Remember that a fully charged power bank is a must-have accessory for anyone who is always on the go and heavily relies on their mobile devices. With a charged power bank, you won’t have to worry about running out of battery and missing important calls, messages, or updates. Additionally, make sure to use genuine Belkin products and always follow the manufacturer’s instructions to ensure optimal performance and safety.
Investing in a high-quality power bank, such as the Belkin range of power banks, is a wise decision that can greatly enhance your mobile experience. With their reliability, efficiency, and convenience, Belkin power banks are a trusted choice for keeping your devices powered up wherever you are. So, say goodbye to low battery anxiety and stay connected effortlessly with a Belkin power bank by your side.
FAQs
Q: How do I know if my Belkin power bank is charging?
A: To determine if your Belkin power bank is charging, simply look for the charging indicator light. Most Belkin power banks have an LED light that turns on when the power bank is being charged. The light may vary in color, but it typically turns solid or blinks to indicate that the battery is being charged. If the LED light is not turning on, try using a different charging cable or USB port to ensure that it is not a connectivity issue.
Q: How long does it take for a Belkin power bank to fully charge?
A: The charging time of a Belkin power bank depends on its capacity and the power source used for charging. However, on average, it takes around 2-4 hours to fully charge a Belkin power bank. This time may vary depending on the model and the charging speed supported by the power bank.
Q: Can I use my Belkin power bank while it is charging?
A: Yes, you can use your Belkin power bank while it is charging. Belkin power banks are designed to allow simultaneous charging and discharging. This means that you can charge your devices while the power bank itself is being charged. It is a convenient feature that ensures you have power available whenever you need it.
Q: How do I know if my Belkin power bank is fully charged?
A: When your Belkin power bank is fully charged, the LED indicator light will typically stop blinking and remain solid or turn off completely, depending on the model. You can also monitor the charging progress by checking the battery level on your device if it is connected to the power bank. Once the power bank is fully charged, it is recommended to disconnect it from the power source to avoid overcharging.
Q: How many times can a Belkin power bank charge my phone?
A: The number of times a Belkin power bank can charge your phone depends on its capacity and the battery size of your phone. Belkin power banks come in various capacities, ranging from 5,000mAh to 20,000mAh or even higher. As a general estimate, a 10,000mAh power bank should be able to charge an average smartphone 2-3 times before it needs to be recharged itself. However, keep in mind that battery life and charging efficiency may vary between different phone models.