
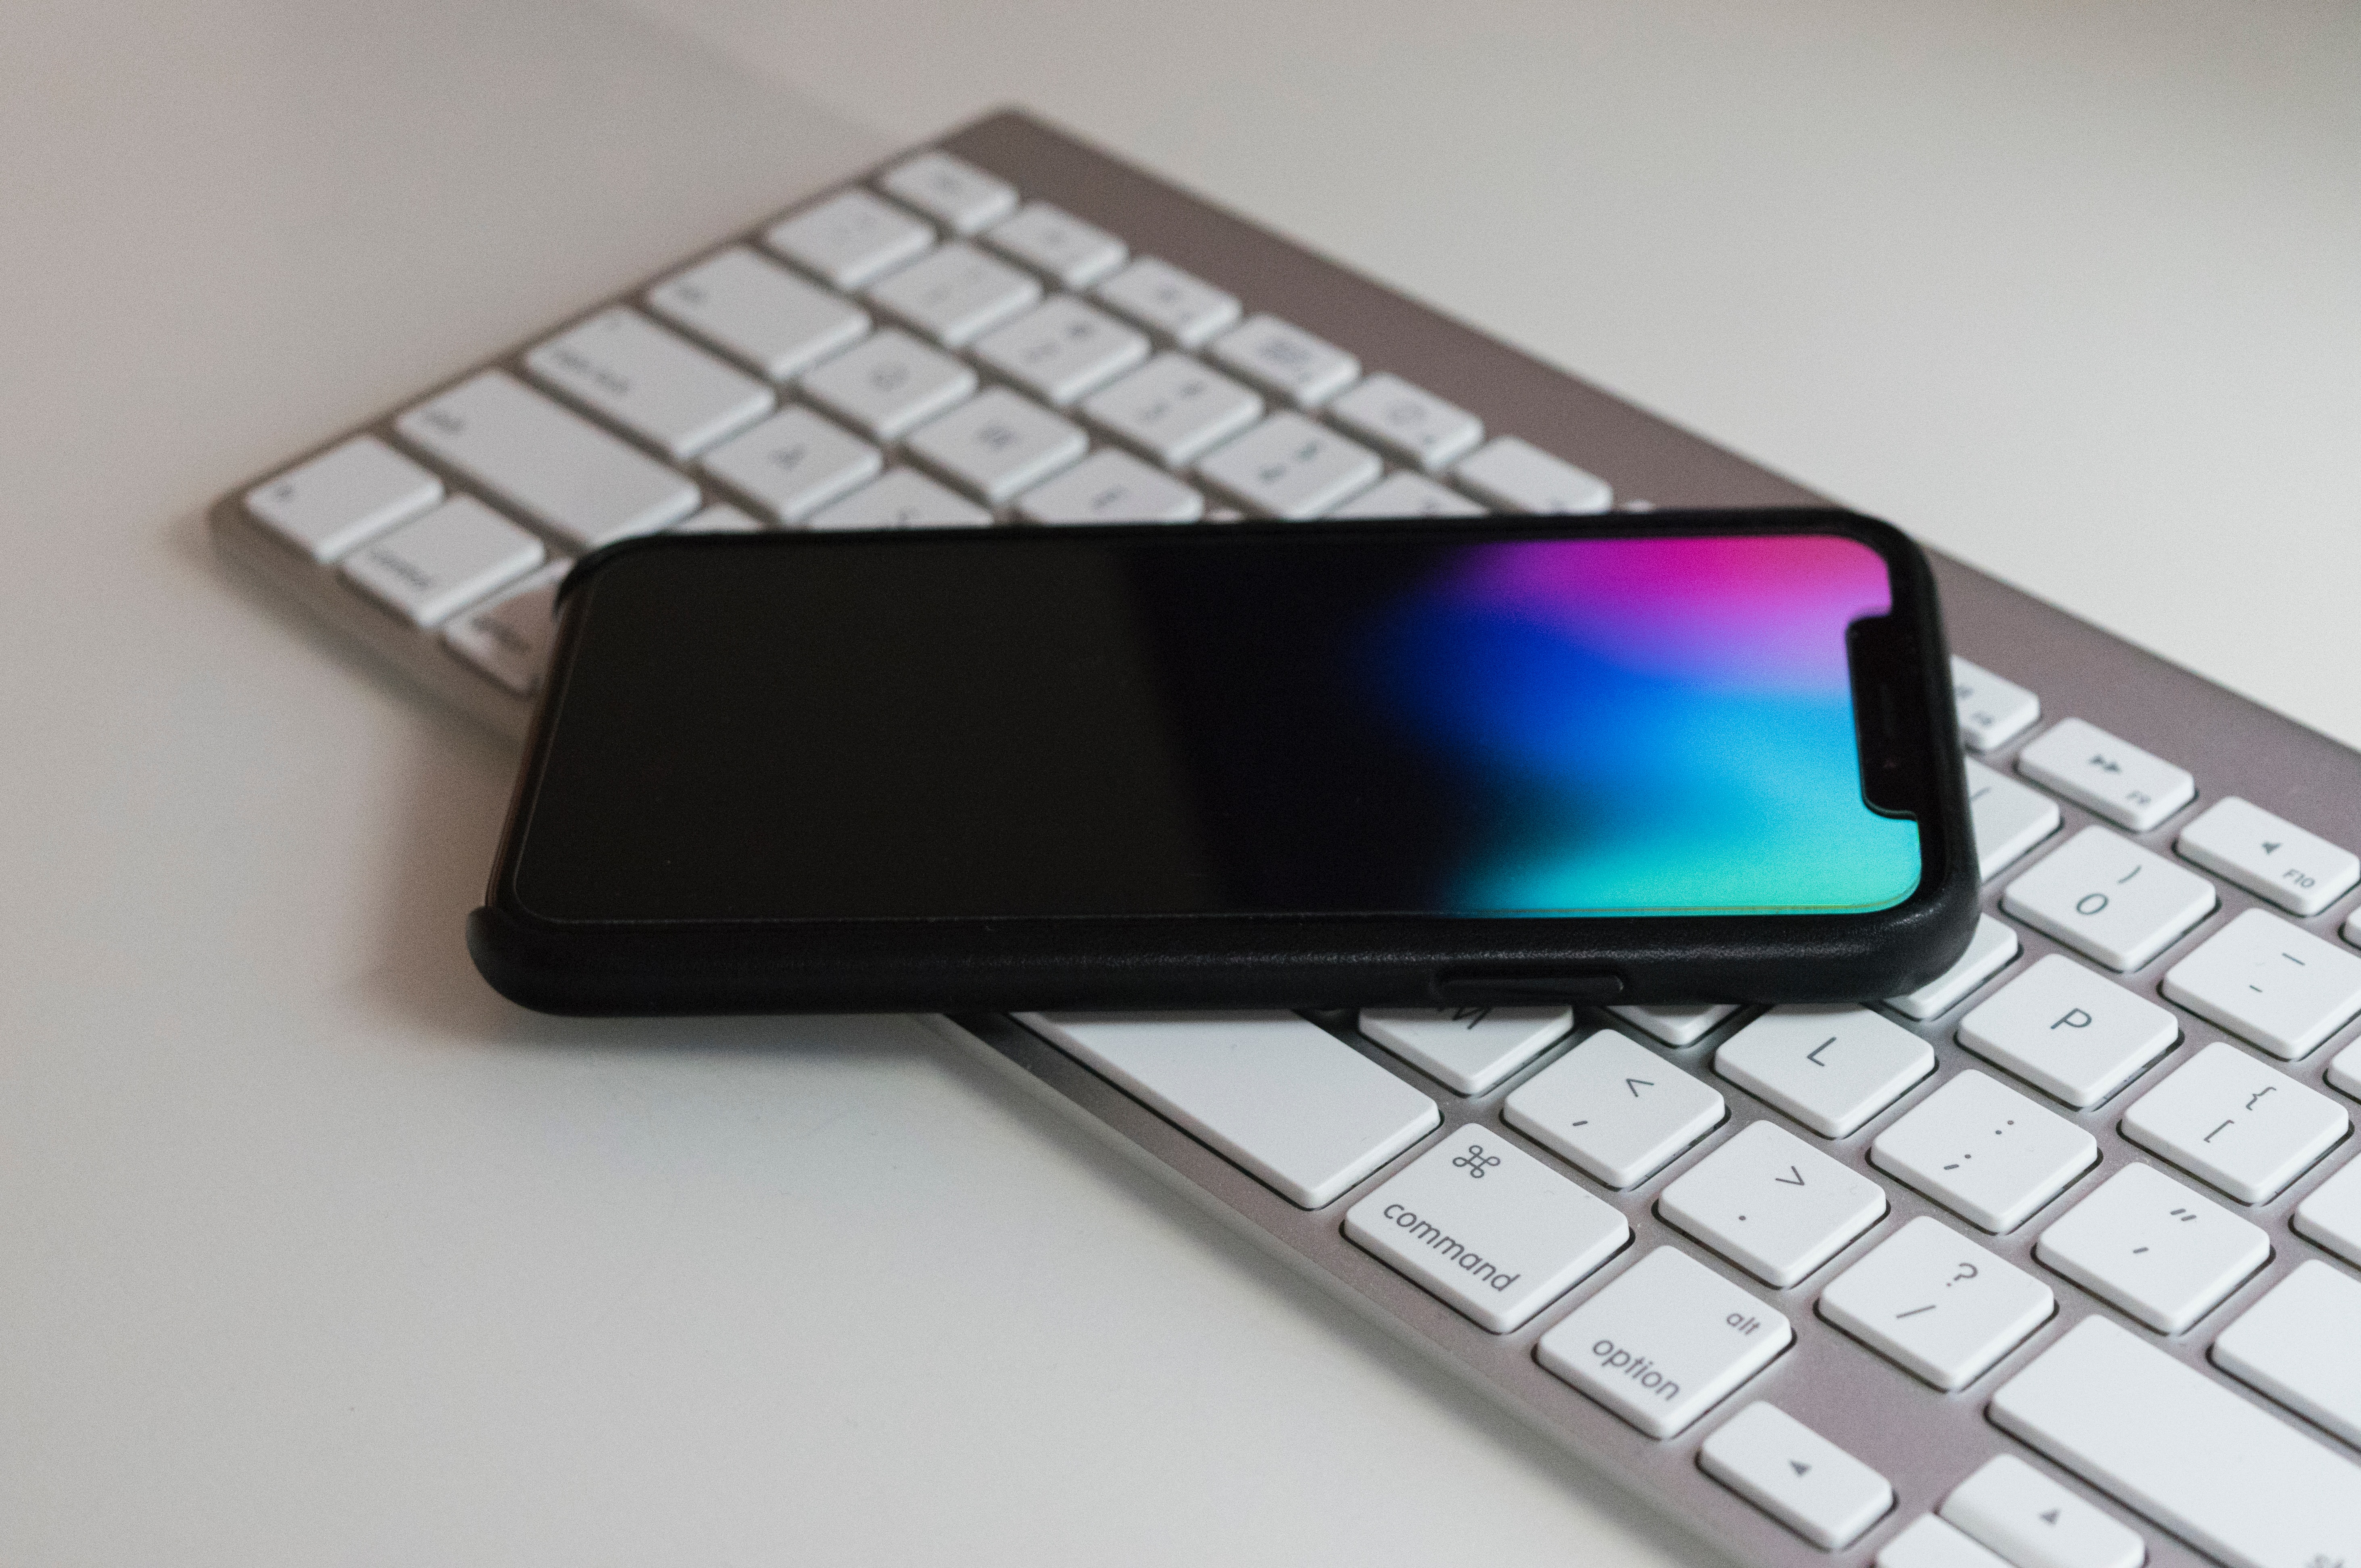
When it comes to protecting our beloved cell phones, one accessory that is often overlooked is the screen protector. These thin, transparent films are designed to safeguard our screens from scratches, dust, and fingerprints, ensuring a crystal-clear display for years to come. Among the many options available in the market, Belkin screen protectors stand out for their exceptional quality and ease of installation.
In this article, we will guide you through the step-by-step process of putting on a Belkin screen protector to help keep your phone’s screen in pristine condition. Whether you are a first-time user or have struggled with screen protector application in the past, we’ve got you covered with our detailed instructions and expert tips. So grab your phone, grab a Belkin screen protector, and let’s get started on protecting that beautiful display!
Inside This Article
Introduction
When it comes to protecting your smartphone’s screen, a reliable and durable screen protector is a must-have accessory. One popular option is the Belkin screen protector, known for its high-quality materials and easy application process. Whether you are a new smartphone user or simply looking to upgrade your screen protector, this article will guide you through the step-by-step process of putting on a Belkin screen protector, ensuring that your device remains scratch-free and in pristine condition.
With the ever-increasing advancements in technology, smartphones have become an integral part of our lives. From staying connected with loved ones to managing our daily tasks, it is essential to keep our devices protected from accidental drops, scratches, and spills. A screen protector acts as the first line of defense, shielding your phone’s delicate screen from potential damage.
Belkin, a renowned brand in the mobile accessory industry, offers a wide range of screen protectors designed to fit various smartphone models. These screen protectors are made from high-quality materials, such as tempered glass or flexible film, which offer excellent clarity and touchscreen sensitivity while providing superior protection.
Putting on a Belkin screen protector is a relatively straightforward process that can be done by anyone, even if you have no prior experience. By following the step-by-step guide outlined in this article, you can achieve a bubble-free and precise application, ensuring optimal protection for your smartphone’s screen.
So, if you’ve recently purchased a Belkin screen protector or are considering getting one, let’s dive into the materials you’ll need and the step-by-step process to apply it correctly on your smartphone.
Materials Needed
Before you begin applying a screen protector to your cell phone, gather the necessary materials to ensure a smooth and successful installation process. Having these items on hand will make the task easier and minimize the chances of any mistakes or issues:
- A Belkin screen protector: Choose the model that is compatible with your specific cell phone make and model. Belkin offers a wide range of screen protectors designed to fit various devices, so be sure to select the one that matches your phone.
- Microfiber cloth: This soft, lint-free cloth is ideal for cleaning your phone’s screen before applying the screen protector. It helps remove any dirt, fingerprints, or smudges, ensuring a clean and clear surface for the protector to adhere to.
- Dust removal stickers: These small adhesive strips are designed to lift away any remaining dust particles or debris from your phone’s screen. They are essential for achieving a bubble-free installation and maintaining optimal visibility.
- Applicator card: A plastic card, often included with the screen protector, is used to smooth out any air bubbles that may appear during installation. It helps ensure a secure and even bond between the screen protector and your phone’s display.
- Clear tape: In case you encounter any particularly stubborn bubbles or dust particles, clear tape can be used to lift them off the screen without damaging the protector or leaving behind residue.
- Patience and a steady hand: While not physical materials, these qualities are crucial for a successful screen protector installation. Take your time and follow the instructions carefully to achieve the best results.
By gathering these materials beforehand, you’ll have everything you need to effectively install your Belkin screen protector and protect your cell phone’s display from scratches, smudges, and daily wear and tear.
Step-by-Step Guide
Now that you have gathered all the necessary materials, let’s dive into the step-by-step process of putting on a Belkin screen protector:
- Start by cleaning your phone screen: Before applying the screen protector, it’s crucial to thoroughly clean your phone’s screen. Use a microfiber cloth or the cleaning wipes provided in the package to remove any dust, fingerprints, or smudges. Make sure to clean it from edge to edge, leaving no residue behind.
- Prepare the screen protector: Take the Belkin screen protector out of its packaging and handle it carefully to avoid any fingerprints or dirt from getting on the adhesive side. Many screen protectors come with a protective film on both sides, so remove the one labeled “back” or “adhesive” side first.
- Align the screen protector: Hold the screen protector by the edges and align it with your phone’s screen. Most screen protectors come with precise cutouts for the front camera, earpiece, and buttons, so ensure they align correctly. Take your time to position it accurately, as it can be challenging to adjust once it sticks to the screen.
- Apply the screen protector: Once you have aligned the screen protector, slowly lower it onto your phone’s screen. Start from the top and gently press it down, using your fingertips or a credit card wrapped in a soft cloth to smooth out any air bubbles or imperfections. Work your way down to the bottom, making sure it adheres evenly without any creases.
- Remove air bubbles: If you notice any air bubbles trapped beneath the screen protector, don’t worry. You can easily remove them by gently pushing them towards the nearest edge. Use your fingertips or a credit card wrapped in a soft cloth to smooth out the surface until all the bubbles have disappeared.
- Final touch-ups: Once the screen protector is applied and any air bubbles are removed, take a close look at the edges to ensure they are securely and evenly adhered to the phone’s screen. If you notice any lifting or gaps, gently lift the edge and press it down again to fix it.
- Allow it to set: Give the screen protector some time to set and adhere properly to the phone’s screen. It is recommended to wait at least 24 hours before placing your phone in a case or subjecting it to any excessive pressure or moisture.
And voila! You have successfully applied a Belkin screen protector to your phone, providing it with an extra layer of protection against scratches and smudges.
Final Tips and Recommendations
Now that you have successfully put on your Belkin screen protector, here are some final tips and recommendations to ensure its longevity and effectiveness:
- Keep your device clean: Regularly clean your device’s screen to remove fingerprints, dust, and debris. This will not only improve the clarity of the screen but also enhance the touch sensitivity.
- Handle with care: While the screen protector is designed to protect your device, it is still important to handle your device with care. Avoid dropping or mishandling your phone to prevent accidental damage to both the screen protector and your device.
- Avoid extreme temperatures: Exposure to extreme temperatures can cause the screen protector to peel or warp. Avoid placing your device in direct sunlight for extended periods or leaving it in a car on a hot day.
- Use a protective case: Consider using a protective case in addition to the screen protector for added protection. A sturdy case can help absorb the impact of accidental drops or bumps, reducing the risk of damage to your device.
- Regularly check for air bubbles: Over time, air bubbles may form under the screen protector. Check for any bubbles and use a microfiber cloth or a card to gently push them towards the edges, ensuring a smooth and flawless appearance.
- Replace when necessary: Even with proper care, screen protectors will eventually show signs of wear and tear. If you notice any scratches, cracks, or loss of adhesion, it is time to replace the screen protector to maintain the optimal protection for your device’s screen.
By following these tips and recommendations, you can extend the lifespan of your Belkin screen protector and keep your device’s screen looking like new. Remember, investing in a quality screen protector is an easy and affordable way to safeguard your device from scratches, smudges, and cracks, ensuring a pristine display for years to come.
Conclusion
In conclusion, putting on a Belkin screen protector is a simple and effective way to safeguard your mobile device from scratches, smudges, and other forms of damage. By following the step-by-step guide provided, you can ensure a smooth and bubble-free application. Remember to clean your screen thoroughly beforehand to achieve optimal adhesion. Additionally, take your time and use the provided tools to carefully align the screen protector with your device’s display. Once applied, the Belkin screen protector will provide an invisible shield while maintaining the clarity and functionality of your phone’s screen.
FAQs
1. How do I properly clean my phone screen before applying a Belkin screen protector?
Before applying a Belkin screen protector, it’s important to clean your phone screen thoroughly. Start by turning off your phone and removing any cases or covers. Use a microfiber cloth or a lint-free cloth to gently wipe away any dust, smudges, or fingerprints. You can also use a screen cleaning solution specifically designed for electronic devices. Ensure that the screen is completely dry before proceeding with the application of the screen protector.
2. What tools do I need to apply a Belkin screen protector?
Applying a Belkin screen protector is a relatively simple process that requires minimal tools. You will need a microfiber cloth or a lint-free cloth for cleaning the screen, a dust removal sticker or tape to remove any dust particles, and a squeegee or a credit card to remove air bubbles during the installation process. Belkin screen protectors usually come with an installation kit that includes these tools, making it easier for you to apply the protector with precision.
3. Can I reposition a Belkin screen protector once it has been applied?
While it is possible to reposition a Belkin screen protector immediately after application, it is always best to get it right the first time. The adhesive on the screen protector becomes stronger over time, making it difficult to reposition without damaging the protector or causing bubbles. Take your time and align the screen protector carefully before pressing it onto the screen. Applying it correctly from the beginning will ensure a smooth and bubble-free installation.
4. How do I remove a Belkin screen protector?
If you ever need to remove a Belkin screen protector from your device, start by using your fingernail or a card to gently lift one corner of the protector. Once the corner is lifted, slowly peel the protector off the screen, applying even pressure to avoid any residue or damage to the screen. If there is any adhesive residue left behind, you can use a mild adhesive remover or rubbing alcohol on a cloth to clean it off.
5. Do Belkin screen protectors affect the touch sensitivity of my phone?
No, Belkin screen protectors are designed to be ultra-thin and transparent, which means they should not affect the touch sensitivity of your phone. In fact, many Belkin screen protectors are engineered to enhance touch sensitivity, providing a smooth and responsive experience. However, it’s important to ensure that the screen protector is applied properly, without any air bubbles or misalignment, to maintain optimal touch sensitivity.