
Are you ready to unlock the full potential of your Netgear Nighthawk M1 mobile router? One of the essential steps is inserting a SIM card into your device. The SIM card allows you to connect to your mobile network provider and access high-speed internet on the go. While the process may seem a bit intimidating at first, don’t worry! In this article, we will provide you with a comprehensive guide on how to put a SIM card in your Netgear Nighthawk M1. Whether you’re a gadget enthusiast or a novice user, by following these step-by-step instructions, you’ll have your Nighthawk M1 ready to go in no time. So, let’s dive in and get your Netgear Nighthawk M1 all set up!
Inside This Article
- Overview
- Step 1: Gather the necessary tools
- Step 2: Locate the SIM card slot on the Netgear Nighthawk M1
- Step 3: Insert the SIM card into the Nighthawk M1
- Step 4: Power on the Nighthawk M1 and verify SIM card detection
- Troubleshooting tips for SIM card insertion issues
- Conclusion
- FAQs
Overview
Welcome to our guide on how to put a SIM card in the Netgear Nighthawk M1. The Netgear Nighthawk M1 is a powerful and versatile mobile router that allows you to connect multiple devices to the internet on the go. In order to get started, you’ll need to insert a SIM card into the device. This article will walk you through the process step by step, ensuring a smooth and successful SIM card installation.
Please note that the specific steps may vary slightly depending on the version of the Netgear Nighthawk M1 you have. However, the general concept remains the same.
Whether you’re a frequent traveler, a digital nomad, or simply looking for a reliable internet connection on the go, the Netgear Nighthawk M1 is an ideal companion. With its high-performance capabilities and easy-to-use interface, it provides a seamless online experience wherever you are.
Now, let’s get started with the step-by-step process of inserting a SIM card into the Netgear Nighthawk M1.
Step 1: Gather the necessary tools
Before you begin the process of inserting a SIM card into your Netgear Nighthawk M1, it’s important to gather the necessary tools. Here are the items you will need:
- Netgear Nighthawk M1: This is the device you will be inserting the SIM card into. Make sure your Nighthawk M1 is powered off during the process.
- SIM card: This is the small card provided by your mobile service provider that contains your phone number and other subscriber information. Ensure that you have an activated SIM card that is compatible with the Netgear Nighthawk M1.
- Pin or paperclip: You will need a small pin or paperclip to eject the SIM card tray on the Nighthawk M1.
Once you have gathered these tools, you are ready to move on to the next step of the process which involves locating the SIM card slot on the Netgear Nighthawk M1.
Step 2: Locate the SIM card slot on the Netgear Nighthawk M1
Now that you have gathered all the necessary tools, it’s time to locate the SIM card slot on the Netgear Nighthawk M1. The SIM card slot is an essential component of the device where you will insert your SIM card to enable cellular connectivity.
The SIM card slot on the Nighthawk M1 is typically located on the back or bottom of the device. Take a close look at the device and locate a small compartment or a panel with a SIM card icon or label. This indicates the presence of the SIM card slot.
Once you have identified the SIM card slot, use your fingers or a small tool to gently open the compartment or remove the panel. Be careful not to exert too much force to avoid damaging the device. Some models may have a small lever or latch that you can slide or press to access the SIM card slot.
After opening the compartment or removing the panel, you should see a tray or holder specifically designed to accommodate the SIM card. Take a moment to familiarize yourself with the tray and its orientation. Most devices have a clearly marked diagram or indicator that shows the correct position and alignment for inserting the SIM card.
Before inserting the SIM card, make sure to power off the Nighthawk M1 to prevent any potential damage to the device or the SIM card. This is an important precautionary step to ensure a safe SIM card insertion process.
Now that you have located the SIM card slot on the Netgear Nighthawk M1 and powered off the device, you are ready to move on to the next step: inserting the SIM card into the Nighthawk M1.
Step 3: Insert the SIM card into the Nighthawk M1
Inserting the SIM card into your Netgear Nighthawk M1 is a crucial step in setting up your device for mobile connectivity. Follow these simple steps to ensure a successful SIM card insertion:
Before proceeding, make sure you have gathered the necessary tools. You will need the Nighthawk M1 device, the SIM card provided by your network carrier, and a SIM card removal tool or a small paperclip.
1. Locate the SIM card slot on the Nighthawk M1. You will find it on the back or side of the device, usually marked with a small SIM card icon. Use the SIM card removal tool or unfolded paperclip to gently eject the SIM card tray from the slot.
2. Once the SIM card tray is ejected, carefully place your SIM card onto the tray. Make sure the metal contacts on the SIM card are facing down and aligned with the corresponding contacts on the tray. Ensure that the SIM card fits securely into the tray without any gaps.
3. Gently push the SIM card tray back into the slot until it clicks into place. Take care not to apply too much force, as this may damage the SIM card or the device. Ensure that the tray is fully inserted and flush with the device.
4. Power on the Nighthawk M1 by pressing and holding the power button until the device starts up. Once the device is powered on, it will automatically detect the SIM card. You may need to enter the PIN provided by your network carrier to unlock the SIM card.
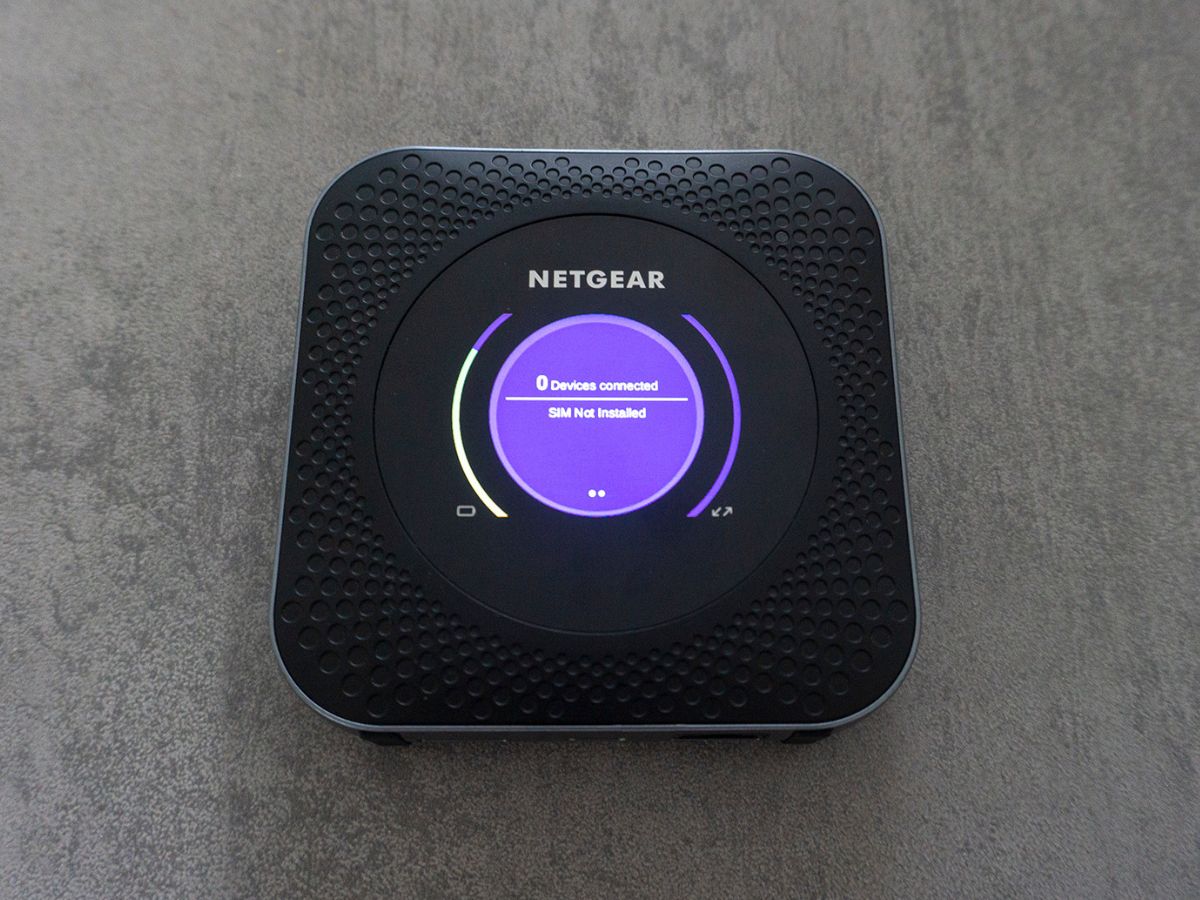
5. To verify that the SIM card has been successfully inserted, check the device display. You should see signal bars indicating the strength of the mobile network signal. If you see the signal bars, congratulations! Your SIM card has been successfully inserted and your Netgear Nighthawk M1 is ready to use.
If you encounter any issues with the SIM card insertion process, here are a few troubleshooting tips:
- Ensure that you are using the correct size SIM card for your Nighthawk M1. The device may require a standard, micro, or nano-sized SIM card.
- Double-check that the SIM card is correctly oriented with the metal contacts facing down and aligned with the tray contacts.
- If the SIM card is not being detected by the device, try gently removing and reinserting the SIM card, making sure it is securely in place.
- If you continue to experience issues, contact your network carrier for further assistance.
Following these steps will help ensure a seamless and successful SIM card insertion process, allowing you to enjoy the full capabilities of your Netgear Nighthawk M1 mobile hotspot.
Step 4: Power on the Nighthawk M1 and verify SIM card detection
Once you have successfully inserted the SIM card into the Netgear Nighthawk M1, it’s time to power on the device and ensure that the SIM card is detected. Follow these simple steps to complete this process:
1. Locate the power button on the Nighthawk M1. It is usually located on the side or top of the device.
2. Press and hold the power button for a few seconds until the device powers on. You may need to wait for a few moments as the Nighthawk M1 boots up.
3. Once the Nighthawk M1 is powered on, the device will start searching for a network signal. This process may take a few seconds or minutes, depending on your location and network coverage.
4. Look for the signal strength indicator on the Nighthawk M1’s display. It is usually represented by bars or dots, indicating the strength of the network signal. If the signal strength is strong, it means that the SIM card has been successfully detected and you are ready to connect to the internet.
5. To further ensure that the SIM card is correctly detected, you can check the status of the SIM card in the Nighthawk M1’s settings. Navigate through the device’s menu or web interface to locate the SIM card status. It should display information such as the SIM card’s phone number, network provider, and signal strength.
6. Finally, try accessing the internet using the Nighthawk M1. Open a web browser on your connected device and visit a website to verify that the SIM card is working and you have a stable internet connection.
If you encounter any issues during the power-on and SIM card detection process, try the following troubleshooting tips:
- Make sure the SIM card is inserted correctly and securely. Remove the SIM card and reinsert it, ensuring that it is properly aligned in the card slot.
- Check if the SIM card is compatible with the Nighthawk M1. Not all SIM cards are compatible with all devices, so make sure you have the right type of SIM card for the Nighthawk M1.
- Restart the Nighthawk M1 and repeat the power-on process. Sometimes a simple restart can resolve any temporary issues with SIM card detection.
- Contact your network provider for assistance. If the SIM card is not being detected despite following the correct steps, there may be an issue with the SIM card or your network account.
By following these steps and troubleshooting tips, you can successfully power on the Netgear Nighthawk M1 and verify the detection of your SIM card. Enjoy seamless internet connectivity and make the most of your mobile hotspot device!
Troubleshooting tips for SIM card insertion issues
If you are experiencing difficulties with inserting your SIM card into the Netgear Nighthawk M1, don’t worry, as there are a few troubleshooting tips you can try to resolve the issue. Here are some common problems and their solutions:
1. Check the SIM card compatibility: Ensure that the SIM card you are using is compatible with the Netgear Nighthawk M1. Some older or incompatible SIM cards may not fit properly or work correctly with the device.
2. Clean the SIM card and SIM card slot: Dust or debris can accumulate over time, leading to poor contact between the SIM card and the device. Use a clean, dry cloth to gently wipe the SIM card and the SIM card slot to remove any dirt or residue.
3. Ensure correct orientation: Make sure you are inserting the SIM card in the correct orientation. Refer to the device manual or check for any indications on the device itself to determine the right way to insert the SIM card.
4. Use gentle pressure: Apply gentle and even pressure when inserting the SIM card into the slot. Avoid using excessive force, as this can damage the SIM card or the device’s SIM card slot.
5. Try a different SIM card: If you are still experiencing issues, try inserting a different SIM card into the device. This can help determine whether the problem lies with the SIM card itself or the device’s SIM card slot.
6. Restart the device: Sometimes a simple restart can resolve minor software glitches that may be causing issues with SIM card detection. Turn off the device, remove the SIM card, wait for a few seconds, and then reinsert the SIM card and power on the device.
7. Update the device firmware: Check for any available firmware updates for your Netgear Nighthawk M1. Software updates can often address compatibility issues and improve the overall functionality of the device.
8. Contact customer support: If none of the above troubleshooting tips work, it may be best to reach out to the Netgear customer support team for further assistance. They can provide you with specific guidance to resolve the SIM card insertion issue.
By following these troubleshooting tips, you should be able to resolve most SIM card insertion issues with the Netgear Nighthawk M1. Remember to always handle the SIM card and device with care to prevent any accidental damage.
The Netgear Nighthawk M1 is a versatile and powerful mobile hotspot device that allows you to connect multiple devices to the internet while on the go. One key aspect of setting up the Nighthawk M1 is inserting the SIM card correctly. In this article, we have provided a step-by-step guide on how to properly insert the SIM card into your Netgear Nighthawk M1.
By following these instructions, you can ensure that your Nighthawk M1 is properly configured and ready to provide reliable and fast internet connectivity wherever you are. Remember to handle the SIM card with care to avoid any damage or misalignment.
With its impressive specifications and user-friendly design, the Netgear Nighthawk M1 is a popular choice for travelers, remote workers, and anyone in need of a reliable internet connection on the go. By mastering the process of inserting the SIM card, you can make the most of your Nighthawk M1 and stay connected wherever your adventures take you.
FAQs
1. How do I put a SIM card in the Netgear Nighthawk M1?
To insert a SIM card into the Netgear Nighthawk M1, follow these steps:
– Locate the SIM card slot on the device. It is usually located on the back or side of the Nighthawk M1, depending on the specific model.
– Use a SIM card removal tool or a small paperclip to eject the SIM card tray.
– Place the SIM card into the tray, making sure it is properly aligned with the SIM card slot.
– Gently push the tray back into the device until it clicks into place.
– Power on the Nighthawk M1 and wait for it to recognize the SIM card. You may need to enter your SIM card PIN if prompted.
– Once the SIM card is successfully inserted, you can start using your device to connect to mobile networks and access the internet.
2. What type of SIM card does the Netgear Nighthawk M1 use?
The Netgear Nighthawk M1 uses a nano-SIM card. Nano-SIM cards are the smallest type of SIM cards currently available and are commonly used in most modern smartphones and mobile devices.
3. Can I use any SIM card with the Netgear Nighthawk M1?
The Netgear Nighthawk M1 is typically designed to work with most standard nano-SIM cards. However, it’s always best to check with your mobile carrier to ensure compatibility and to obtain the correct SIM card for your specific device and cellular plan.
4. Can I change the SIM card in the Netgear Nighthawk M1?
Yes, you can change the SIM card in the Netgear Nighthawk M1 by following the same steps as inserting the SIM card. Simply eject the existing SIM card using a SIM card removal tool or a small paperclip and insert the new SIM card into the device. However, please note that you may need to contact your mobile carrier to ensure proper activation and configuration of the new SIM card.
5. Do I need a SIM card to use the Netgear Nighthawk M1?
Yes, you will need a compatible SIM card to use the Netgear Nighthawk M1. The SIM card is used to connect the device to your mobile carrier’s network, allowing you to access cellular data and connect to the internet. Without a valid and activated SIM card, the Nighthawk M1 will not be able to establish a connection and provide internet access.