
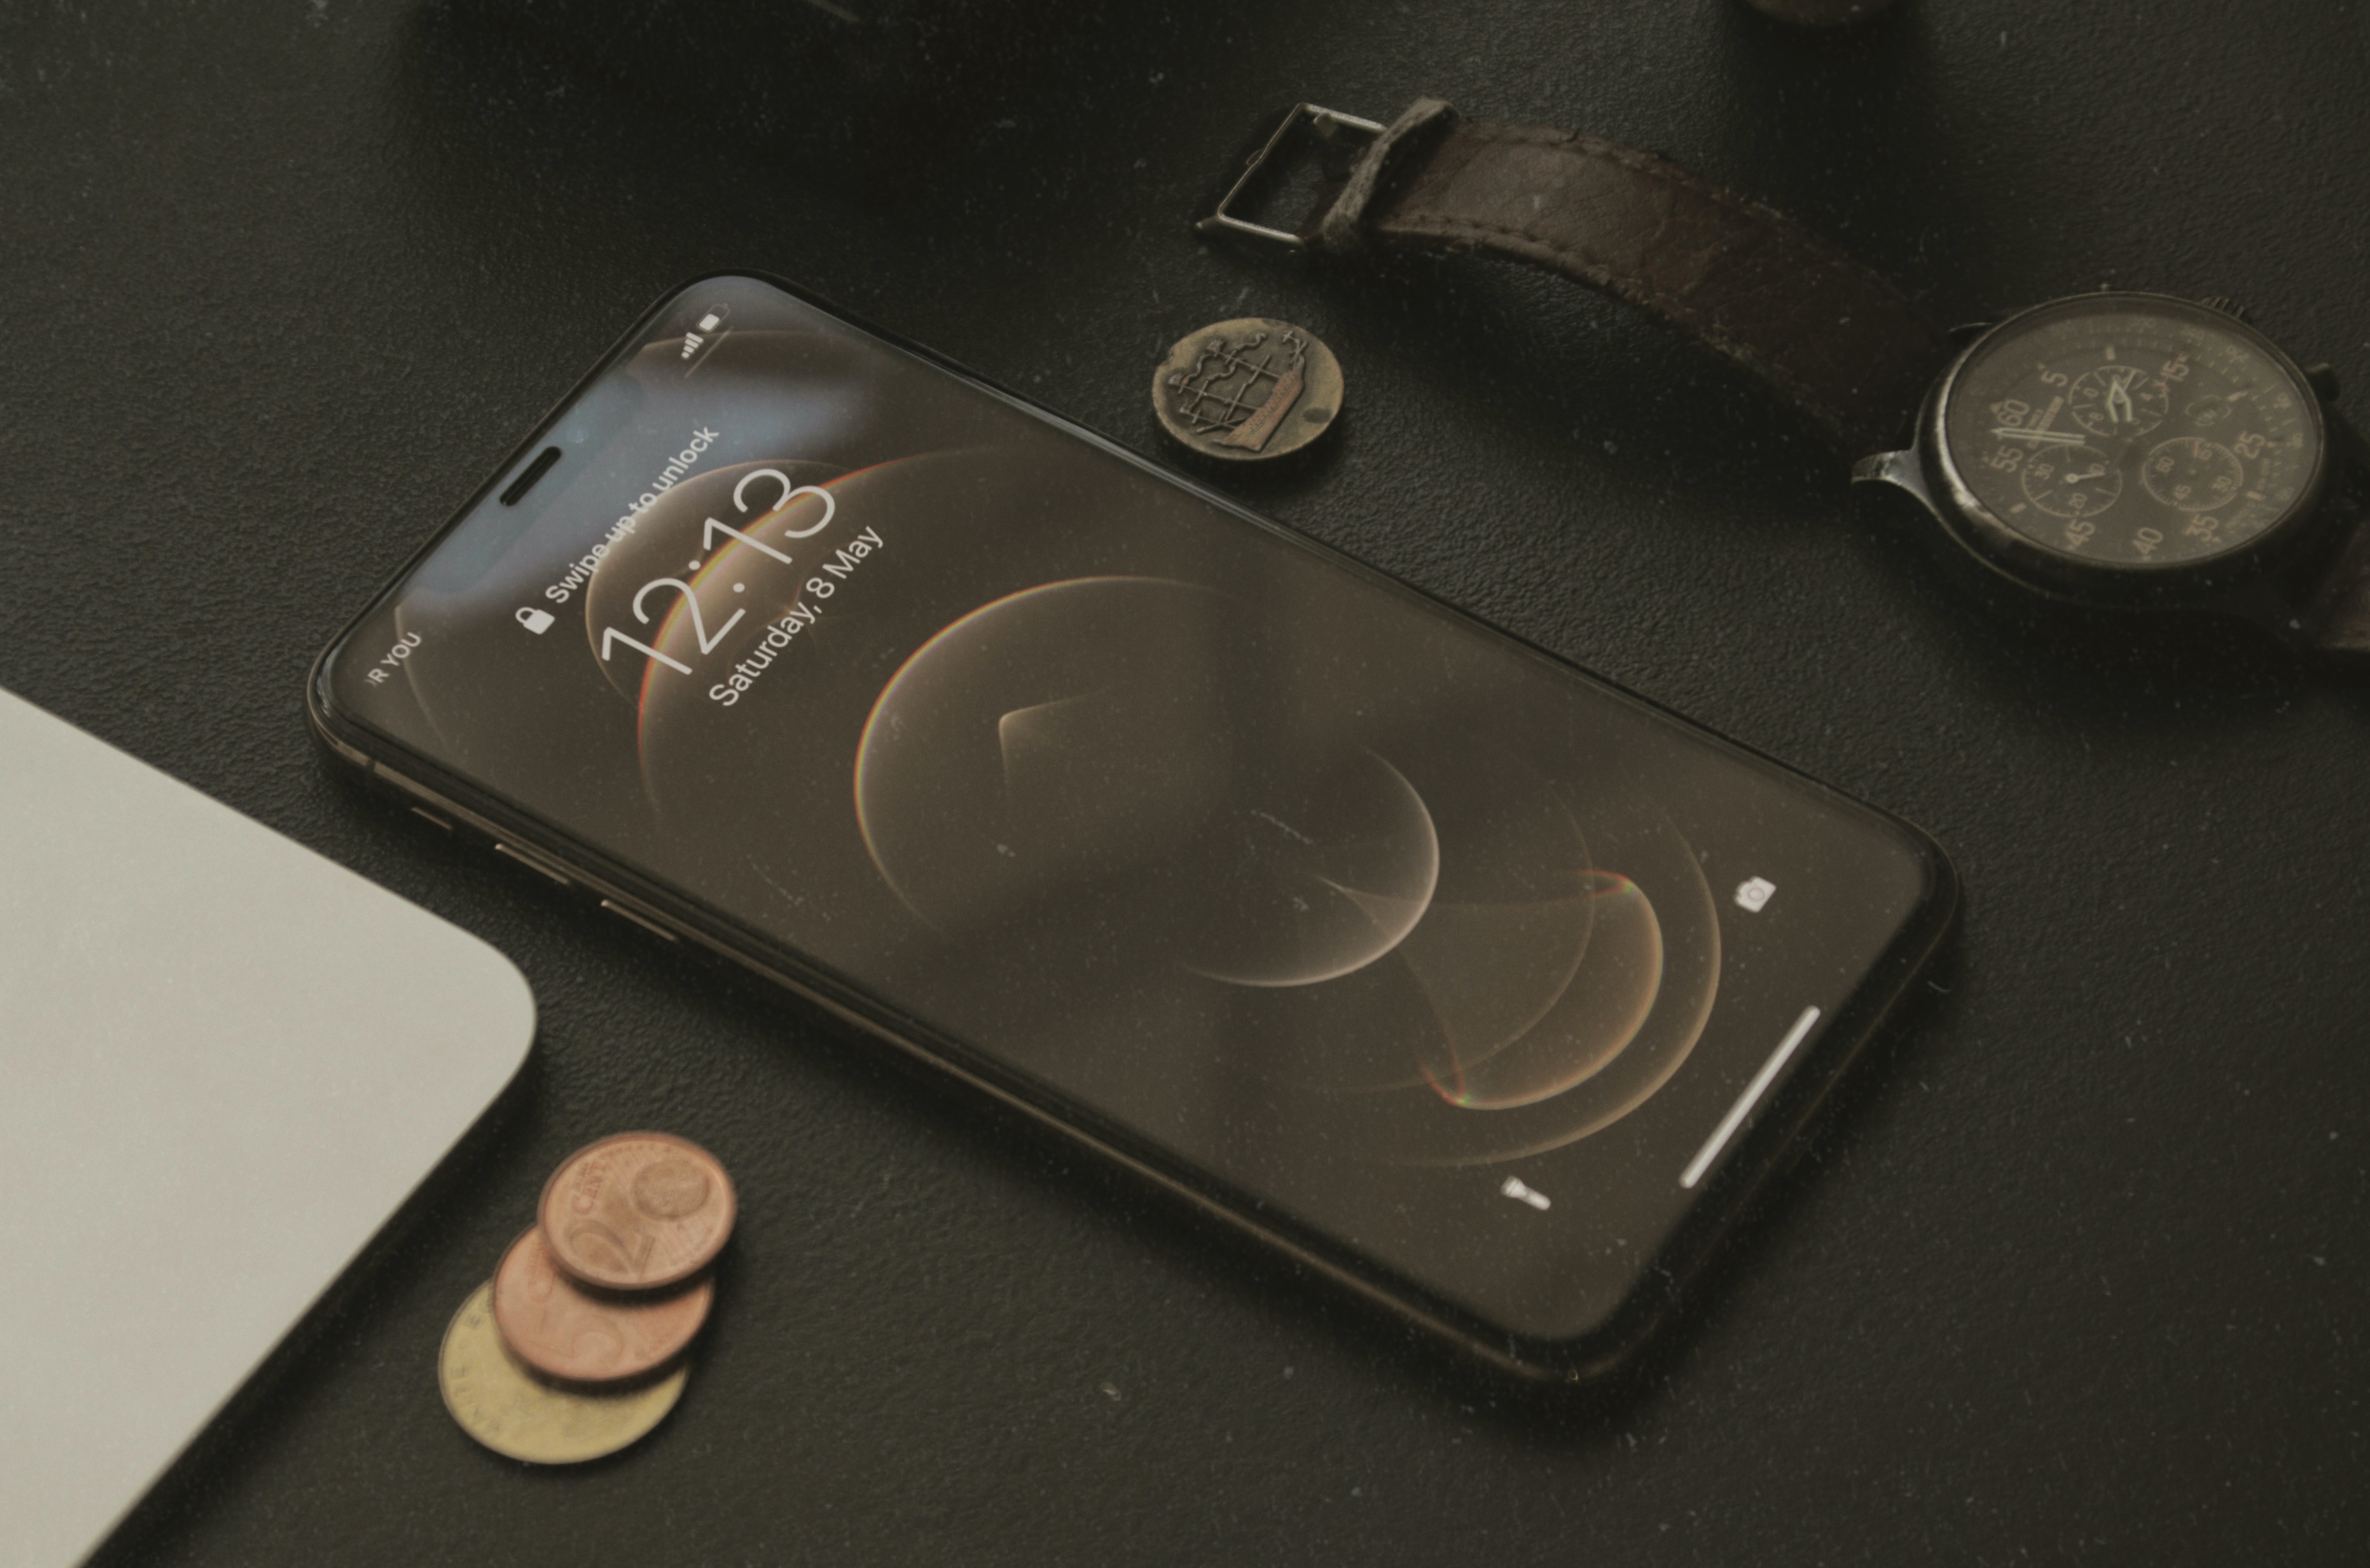
If you own a smartphone or a tablet, chances are you have come across the necessity of having a screen protector. These thin layers of protection shield your device’s screen from scratches, smudges, and even cracks, ensuring its longevity and maintaining its pristine condition. One popular brand that offers reliable screen protectors is Mr Shield. Their glass screen protectors are known for their durability and high-quality build.
However, there may come a time when you need to remove your Mr Shield Glass Screen Protector. Whether you want to replace it with a new one or simply need to clean your device, the process of removing the screen protector can seem a bit daunting. In this article, we will guide you through the steps to safely and successfully remove your Mr Shield Glass Screen Protector without damaging your device’s screen. So, let’s get started and learn how to remove a Mr Shield Glass Screen Protector hassle-free.
Inside This Article
- Introduction
- Preparing for Removal
- Removing the Mr Shield Glass Screen Protector
- Cleaning the Screen
- Conclusion
- Conclusion
- FAQs
Introduction
So you’ve been using the Mr Shield glass screen protector on your mobile device, but now it’s time to remove it. Whether you’re replacing it with a new one or switching to a different type of screen protector, knowing how to correctly remove the Mr Shield glass screen protector can save you from potential frustrations and ensure the process goes smoothly. In this article, we will guide you through the steps of removing the Mr Shield glass screen protector with ease.
Mr Shield glass screen protectors are known for their durability and superior protection against scratches and cracks. However, there may come a time when you need to remove it, whether it’s due to wear and tear or simply wanting to switch to a different brand. Whatever the reason, following the correct procedure is crucial to avoid damaging your device or leaving residue behind.
Before we dive into the actual removal process, it’s important to prepare yourself and gather the necessary tools. Make sure you have a clean and well-lit workspace, as removing a screen protector requires precision. Having a microfiber cloth and some rubbing alcohol or a screen cleaning solution handy will also be beneficial in the later steps.
Now that you’re all set, let’s move on to the step-by-step process of removing the Mr Shield glass screen protector from your device. Remember to follow each step carefully to ensure a successful removal.
Preparing for Removal
Before you dive into the process of removing your Mr Shield Glass Screen Protector, there are a few important steps you need to take to ensure a smooth and successful removal. Taking the time to properly prepare will not only make the removal process easier but also minimize the risk of damaging your device’s screen. Here’s what you need to do:
- Gather the necessary tools: To remove the screen protector, you will need a few tools handy. These include a microfiber cloth, a credit card or a thin, flat object with a smooth edge, and a cleaning solution (preferably alcohol-based). Having these tools ready will make the process much simpler.
- Find a clean and well-lit workspace: It is crucial to work in a clean and well-lit area when removing the screen protector. This will help you to clearly see what you’re doing and prevent any dust or debris from getting trapped between the screen and the protector.
- Power off your device: Before attempting to remove the screen protector, it is essential to power off your device. This will prevent any accidental button presses or navigation that may interfere with the removal process.
- Remove any phone cases or covers: If your device has a protective case or cover, it’s a good idea to remove it before starting the removal process. This will give you better access to the screen protector and help prevent any unnecessary strain or pressure on the device.
- Ensure your hands are clean: Clean hands are crucial when working with your device. Wash your hands thoroughly to remove any dirt, oils, or residue that may transfer onto the screen or interfere with the removal process.
By following these pre-removal steps, you’ll be well-prepared to safely and effectively remove your Mr Shield Glass Screen Protector.
Removing the Mr Shield Glass Screen Protector
Now that you have prepared the necessary tools and have cleaned the screen, you are ready to remove the Mr Shield Glass Screen Protector. Follow these steps to ensure a smooth and successful removal process:
- Start by locating one corner of the screen protector. You can use your fingernail or a thin card to lift the corner slightly. Avoid using any sharp objects that may damage the screen or the protector.
- Gently peel back the corner of the screen protector, taking care not to apply too much force. Slowly and steadily peel it off, making sure to maintain a consistent and controlled motion.
- If you encounter any resistance during the removal process, stop and assess the situation. It’s important not to rush or force the removal, as this could lead to damage to the screen or the protector.
- If the screen protector does not come off easily, you can try using a hairdryer on a low heat setting to warm up the adhesive. This can help loosen the bond and make it easier to remove.
- Continue peeling off the screen protector, working your way across the entire surface. Take your time and be patient to ensure a clean removal.
- Once you have successfully removed the Mr Shield Glass Screen Protector, examine the screen for any remaining adhesive residue. If you notice any, you can use a microfiber cloth lightly dampened with rubbing alcohol to gently rub away the residue. Be sure to use gentle, circular motions and avoid applying excessive pressure.
- After removing any adhesive residue, use a clean microfiber cloth to wipe down the screen and ensure it is free from any dirt or smudges.
Following these steps will help you safely remove the Mr Shield Glass Screen Protector without causing any damage to your device’s screen. Remember to handle the screen protector and your device with care throughout the removal process to avoid any accidents or mishaps.
Cleaning the Screen
Once you have successfully removed the Mr Shield glass screen protector from your cell phone, it’s important to give your screen a thorough cleaning. The removal process may leave behind some residue or smudges, but with a few simple steps, you can have your screen looking brand new again.
Here is how you can effectively clean your screen:
- Prepare the cleaning solution: Start by mixing a small amount of mild liquid soap with water in a spray bottle or a small bowl. Avoid using harsh chemicals or abrasive cleaners, as they can damage the screen.
- Dampen a microfiber cloth: Moisten a microfiber cloth with the cleaning solution. Make sure the cloth is not dripping wet, as excess moisture can seep into the phone and cause damage.
- Gently wipe the screen: Begin by gently wiping the screen in a circular motion. Pay attention to any stubborn smudges or fingerprints and apply a bit more pressure if needed. Avoid using excessive force, as it can scratch the screen.
- Focus on the edges: Take extra care to clean the edges of the screen where the screen protector was attached. Use a clean corner of the cloth to reach into the corners and crevices.
- Dry the screen: Once you have cleaned the screen, use a dry microfiber cloth to wipe away any remaining moisture. Make sure the screen is completely dry before turning the phone back on or applying a new screen protector.
It’s important to note that regular cleaning of your phone’s screen can help prevent the buildup of dirt, dust, and oils, which can affect the touch sensitivity and clarity of the screen. Consider incorporating screen cleaning into your regular device maintenance routine to keep your screen looking pristine.
Remember, always follow the manufacturer’s guidelines for cleaning your specific device. If you are unsure about the appropriate cleaning methods, consult the user manual or contact the manufacturer for guidance.
Conclusion
Removing a Mr Shield Glass Screen Protector from your phone can seem like a daunting task, but with the right preparation and techniques, it can be easily accomplished. By following the steps outlined in this article, you can safely remove the screen protector without damaging your device.
Remember, always start by preparing the necessary tools and creating a clean and well-lit workspace. Take your time while removing the screen protector, being gentle and patient to avoid any accidental damage. Use the recommended techniques such as lifting the corner and slowly peeling off the protector.
Once the screen protector is removed, make sure to clean the screen thoroughly to remove any adhesive residue or dust particles. Use a microfiber cloth or a screen cleaning solution to achieve a pristine surface.
Replacing a damaged or old screen protector is essential for maintaining the clarity and protection of your phone’s display. With the right steps and proper technique, you can easily remove the Mr Shield Glass Screen Protector and replace it with a new one to keep your phone looking its best.
Remember, if you feel unsure about removing the screen protector yourself, it’s always a good idea to seek professional assistance or advice. They will have the expertise and tools necessary to safely remove the screen protector without causing any harm to your device.
Now that you know how to remove a Mr Shield Glass Screen Protector, you can confidently take the necessary steps to replace it when needed. Enjoy a clear and scratch-free display on your mobile device!
Conclusion
In conclusion, removing a Mr Shield Glass Screen Protector from your phone can be a simple and straightforward process. By following the steps outlined in this article, you can ensure that your screen protector is safely and effectively removed, allowing you to replace it with a new one or enjoy your phone’s bare screen. Remember to exercise caution and patience during the removal process to avoid any damage to your phone’s screen. If you encounter any difficulties or have concerns, it’s recommended to seek professional assistance or refer to the manufacturer’s guidelines. Now that you know how to remove a Mr Shield Glass Screen Protector, you can keep your phone’s screen looking pristine and continue to enjoy its functionality without any hindrance.
FAQs
1. How do I remove the Mr Shield Glass Screen Protector from my phone?
Removing the Mr Shield Glass Screen Protector is a simple process. Start by carefully peeling off one corner of the screen protector using your fingernail or a plastic card. Gently lift the protector until it comes off completely. If there are any stubborn adhesive residues left on the screen, you can use a microfiber cloth and a small amount of rubbing alcohol to clean it.
2. Can I reuse the Mr Shield Glass Screen Protector after removing it?
No, the Mr Shield Glass Screen Protector is designed for one-time use only. Once it has been removed from your phone, it cannot be reapplied. It is recommended to replace the screen protector with a new one to ensure optimal protection for your device’s screen.
3. Will removing the Mr Shield Glass Screen Protector leave any residue on my phone’s screen?
If the screen protector is removed correctly and with care, it should not leave any residue on your phone’s screen. However, if there are any adhesive remnants remaining, you can use a microfiber cloth and a small amount of rubbing alcohol to gently clean the screen. Make sure to apply the alcohol to the cloth and not directly onto the screen to prevent any liquid damage to your device.
4. Can I remove the Mr Shield Glass Screen Protector if it is cracked or damaged?
If the screen protector is cracked or damaged, it is recommended to replace it as soon as possible. Attempting to remove a cracked or damaged screen protector may lead to the risk of sharp shards or fragments getting stuck on the phone’s screen or causing harm to the user. Safely dispose of the damaged protector and install a new one to ensure proper protection for your phone.
5. Can I remove the Mr Shield Glass Screen Protector without affecting the clarity of my phone’s screen?
The Mr Shield Glass Screen Protector is designed to be highly transparent and should not affect the clarity of your phone’s screen. However, during the removal process, it is important to be gentle and avoid pressing too hard to prevent any pressure marks or damage to the screen. Follow the instructions provided by Mr Shield to ensure a smooth removal process without compromising the screen’s clarity.