
Setting up an event for axes joystick is an essential step to ensure smooth and precise control in various applications. Whether you are a gaming enthusiast looking to optimize your gameplay or a programming novice trying to integrate joystick functionality into your project, understanding how to set up events for axes joystick is crucial.
In this article, we will guide you through the process of setting up events for axes joystick. We will explore the necessary steps and provide you with valuable insights to make the most out of your joystick experience. Whether you are using a joystick for gaming, virtual reality simulations, or other applications, this guide will equip you with the knowledge and skills required to set up events and maximize joystick functionality.
Inside This Article
- Overview of Axes Joystick
- Step 1: Connecting the Joystick
- Step 2: Configuring Event Settings
- Step 3: Testing the Joystick Events
- Step 4: Fine-tuning Event Parameters
- Troubleshooting Tips
- Conclusion
- FAQs
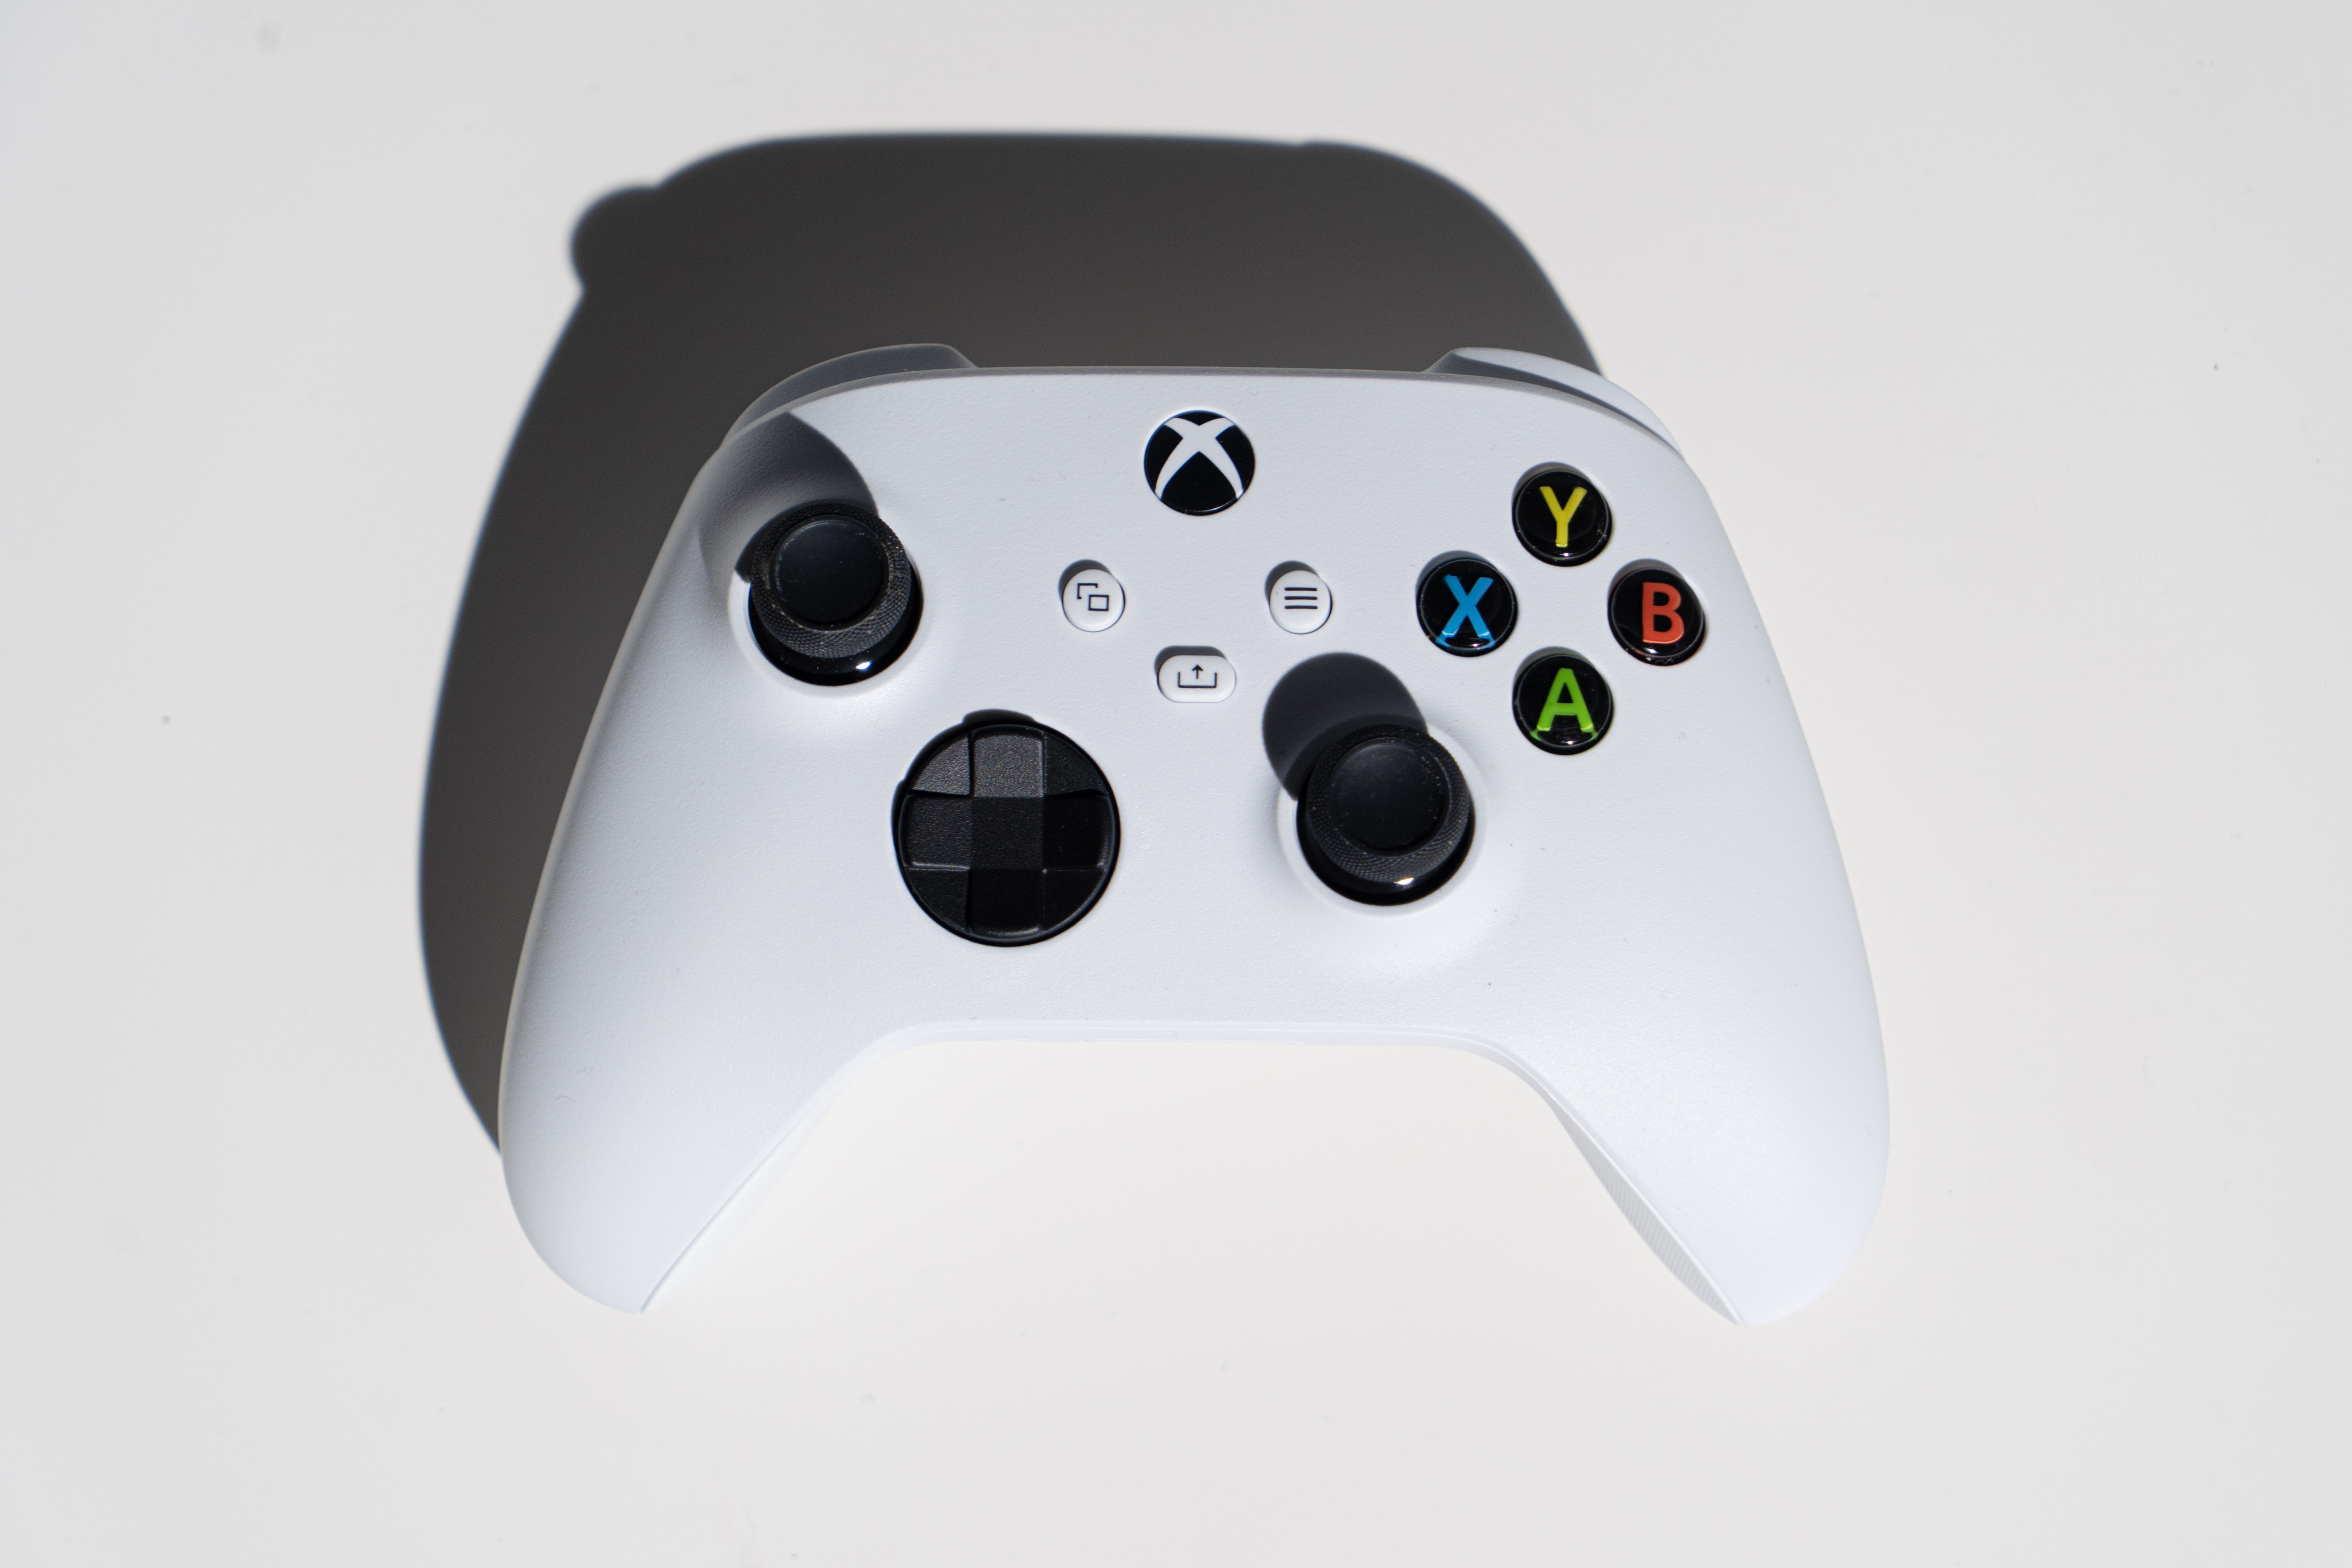
Overview of Axes Joystick
An axes joystick is a type of input device used to control the movement of an object in certain applications, particularly in gaming and simulation. It is designed to provide users with a more immersive experience by offering precise and intuitive control over various movements.
The joystick typically consists of a handle or stick that can be tilted or moved in different directions along various axes. These axes represent different movement parameters, such as forward/backward, left/right, up/down, and rotation. The joystick is equipped with sensors that detect the position and movement of the stick along each axis.
The axes joystick is commonly used in a range of applications, including flight simulators, racing games, virtual reality (VR) experiences, and robotics. Depending on the device and its capabilities, the joystick may have multiple axes, allowing for more complex and nuanced movements.
The axes joystick can be connected to a computer or gaming console using either wired or wireless connections. It often utilizes USB or Bluetooth technology for seamless connectivity and compatibility with a wide range of devices.
When using an axes joystick, it is important to ensure that it is properly calibrated and configured to suit individual preferences and the specific requirements of each application. This involves setting up the joystick inputs, adjusting sensitivity, dead zones, and mapping the joystick axes to the desired movements in the software or game settings.
Overall, the axes joystick provides users with enhanced control and immersion, making it a popular choice among gamers, flight enthusiasts, and simulation enthusiasts. With its precise movement detection and customizable settings, it allows for a more immersive and enjoyable experience in various applications.
Step 1: Connecting the Joystick
Connecting the joystick is the first step in setting up your axes joystick for events. Follow these instructions to ensure a proper connection:
1. Locate the USB port on your computer or gaming console where you will connect the joystick. It is usually labeled with the USB symbol.
2. Take the USB cable that came with your joystick and plug one end into the USB port on your computer or gaming console.
3. Now, take the other end of the USB cable and insert it into the USB port on the joystick. Make sure it is securely plugged in.
4. Some joysticks may also require additional connections, such as audio or power cables. Refer to the manufacturer’s instructions to properly connect any additional cables.
5. Once all the necessary connections have been made, double-check that everything is secure and properly plugged in.
With the joystick successfully connected, you can move on to the next step of configuring the event settings.
Step 2: Configuring Event Settings
Configuring the event settings for your axes joystick is an essential step to ensure that it operates according to your preferences and requirements. By customizing the event settings, you can optimize the performance and functionality of your joystick, making it more intuitive and responsive.
Follow these steps to configure the event settings for your axes joystick:
- Open the joystick control software or driver program on your computer. This software will allow you to access and modify the event settings for your joystick.
- Select the specific axes joystick you want to configure if you have multiple connected to your computer. This step is important to ensure that you are modifying the correct joystick settings.
- Look for the “Event Settings” or similar option within the software. This option will enable you to customize the different events and actions associated with your axes joystick.
- Click on the “Event Settings” option to open a menu or dialogue box where you can make adjustments.
- Explore the available event settings and options. This may include sensitivity, deadzone, button assignments, axes inversion, and more.
- Adjust the sensitivity setting to define how responsive the joystick should be to your movements. Higher sensitivity values result in quicker response times, while lower values make the joystick movements more subtle.
- Configure the deadzone setting, which determines the minimum input required to trigger movement. Setting a small deadzone means even slight movements will be registered, while a larger deadzone requires more significant input to initiate movement.
- Assign buttons to specific functions or actions. This allows you to have quick access to certain commands without needing to reach for the keyboard or mouse.
- Consider inverting axes if you prefer a different orientation for your joystick movements. This can be particularly helpful if you find the default orientation uncomfortable or counterintuitive.
- Save your event settings once you are satisfied with the changes you’ve made. Some joystick control software will have a “Save” or “Apply” button to confirm your modifications.
It’s important to keep in mind that the available event settings may vary depending on the specific axes joystick model and the software you are using. The steps provided above serve as a general guideline and may need to be adjusted slightly based on your specific setup.
By taking the time to configure the event settings, you can personalize your axes joystick to suit your gaming or application needs. Experiment with different settings to find the ideal setup that maximizes your control and comfort.
Step 3: Testing the Joystick Events
Once you have successfully connected and configured your Axes Joystick, the next step is to test the joystick events. This step is crucial to ensure that the joystick is functioning correctly and is able to transmit the desired inputs.
To begin testing, open the software or game that you intend to use the joystick with. Make sure that the application supports joystick inputs, as not all programs are joystick-compatible. Consult the documentation or settings of the software to confirm its compatibility.
Once the application is open, move the axes on your joystick to determine if the corresponding movements are accurately reflected on the screen. For example, if you move the joystick forward, the on-screen character or object should move forward as well.
Test the functionality of each axis individually by moving them one at a time. This will help identify any issues with specific axes or directional inputs. Take note of any abnormalities or unexpected behavior during the testing process.
Another important aspect of testing joystick events is checking the responsiveness and sensitivity of the joystick. Test how quickly and smoothly the joystick responds to your inputs. Ensure that it registers even subtle movements and does not exhibit any delays or lag.
During the testing phase, it is also essential to evaluate the accuracy of the joystick. Pay attention to whether the joystick consistently registers the correct movements or if it occasionally registers incorrect inputs. Precision is crucial, especially in games or applications that require precise control.
While testing, you can also check if any additional buttons or features on the joystick are functioning as intended. These could include programmable buttons, turbo settings, or other specialized functions. Make sure to test them thoroughly to ensure their proper operation.
If you encounter any issues or inconsistencies during the testing process, refer back to the documentation or user manual that came with your joystick. Troubleshooting tips provided by the manufacturer can often help resolve common problems or issues.
By thoroughly testing the joystick events, you can ensure that your Axes Joystick is functioning optimally and providing an enjoyable and seamless experience. Once you are satisfied with the testing results, you can proceed to the next step of fine-tuning the event parameters.
Step 4: Fine-tuning Event Parameters
Once you have successfully connected and configured your axes joystick, the next step is to fine-tune the event parameters. This involves adjusting various settings to personalize the joystick’s response and sensitivity to your liking.
Here are some important parameters that you can fine-tune:
- Deadzone: The deadzone is the area around the joystick’s neutral position where no input is registered. This is done to prevent accidental movements. You can adjust the deadzone to make it smaller or larger depending on your preference and the sensitivity of your joystick.
- Sensitivity: Sensitivity determines how responsive the joystick is to your movements. You can increase the sensitivity to have faster and more precise movements, or decrease it for slower and smoother movements. It is recommended to start with a moderate sensitivity and adjust it until you find the right balance.
- Range: The range setting allows you to limit the maximum and minimum values that the joystick can output. This can be useful if you want to prevent extreme values that may cause unintended actions. Adjusting the range can help optimize the joystick’s performance according to your needs.
- Invert Axis: Some joysticks allow you to invert the axis, which means that moving the joystick up will register as moving it down, and vice versa. This can be helpful if you prefer a different orientation for your joystick’s movements.
- Response Curve: The response curve determines how the joystick’s input is translated into a corresponding output. Different response curves can create different mapping between the joystick’s movement and the output. Experimenting with different response curves can help you find the one that feels most natural and comfortable for you.
It is important to note that the options for fine-tuning event parameters may vary depending on the software or game you are using. Some software may have more advanced settings that allow for a more precise customization of the joystick’s behavior.
Take your time to understand the options available to you and experiment with different settings until you find the optimal configuration that suits your preferences and enhances your gaming experience.
Remember, fine-tuning event parameters is an iterative process. It may take some trial and error to find the perfect settings that feel just right for you. Don’t be afraid to test different configurations and make adjustments until you achieve the desired response from your axes joystick.
Troubleshooting Tips
Having trouble with your Axes Joystick? Don’t worry, we’ve got you covered! Here are some troubleshooting tips to help you identify and resolve any issues you may encounter:
1. Check the connections: Ensure that all cables are securely connected to the joystick and the device it is connected to. Loose or faulty connections can cause communication problems, so make sure everything is tightly plugged in.
2. Update drivers: If your joystick is not functioning properly, it may be due to outdated or incompatible drivers. Check the manufacturer’s website for the latest driver updates and install them accordingly. This should resolve any compatibility issues and optimize the performance of your joystick.
3. Calibrate the joystick: Sometimes, the joystick’s calibration can be off, leading to inaccurate input or unresponsive controls. Most joysticks come with calibration software or settings that allow you to recalibrate the device. Follow the manufacturer’s instructions to calibrate the joystick properly.
4. Check the software settings: Ensure that the joystick is configured correctly in the software or game you are using. Check the input settings in the software and make any necessary adjustments to match the joystick’s capabilities and functions.
5. Test on a different device or software: To pinpoint whether the issue is with the joystick or the device/software you are using, try connecting the joystick to a different device or using it with a different software/game. If the joystick works fine with other devices or software, the problem may lie within the original device or software.
6. Clean the joystick: Over time, dust, dirt, or debris can accumulate on the joystick’s buttons or sensors, affecting its performance. Gently clean the joystick using a soft cloth or compressed air to remove any debris. Be careful not to use any liquids that could damage the joystick.
7. Seek technical support: If you have tried all the troubleshooting steps and are still experiencing issues with the joystick, it may be time to reach out to the manufacturer’s technical support. They can provide further guidance and assistance in resolving the problem.
Remember, troubleshooting steps may vary depending on the specific model and manufacturer of the joystick. Always refer to the user manual or contact the manufacturer for specific instructions tailored to your device.
By following these troubleshooting tips, you can quickly identify and resolve common issues with your Axes Joystick, ensuring a smooth and enjoyable gaming experience.
Conclusion
Setting up an event for the Axes Joystick can greatly enhance the functionality and user experience of mobile applications. By following the steps outlined in this article, users can take full advantage of the joystick’s capabilities and tailor it to their specific needs. Whether it’s for gaming, navigation, or any other purpose, the Axes Joystick offers precise control and intuitive interaction. From configuring the input thresholds to mapping the axes to desired actions, these customization options allow users to create a truly personalized experience.
With its ease of use and versatility, the Axes Joystick is an indispensable tool for mobile application developers looking to improve user engagement. By incorporating this feature, developers can offer a more immersive and intuitive experience to their users, increasing the overall usability and enjoyment. So, whether you’re a gamer, a designer, or just someone who appreciates a well-customized mobile experience, don’t hesitate to explore the possibilities of setting up events for the Axes Joystick in your applications.
FAQs
Q: How do I set the event for Axes Joystick?
Setting the event for Axes Joystick can be done by following a few simple steps. To start, ensure that you have the necessary software and drivers installed for your joystick. Then, open the control panel or settings menu of your operating system. Look for the joystick settings or controller configuration option. In this menu, you should find an option to calibrate or set the axes for your joystick. Select the axes you want to set events for and choose the desired action or event for each axis. Save your settings and you should now have the event set for your Axes Joystick.
Q: Can I set different events for each axis of my joystick?
Yes, you can set different events for each axis of your joystick. Most modern joysticks and controller software allow you to customize the actions or events for each axis individually. This gives you the flexibility to assign different functions to different axes based on your preferences or the requirements of the game or application you are using. Simply access the joystick settings or controller configuration menu and select the desired action or event for each axis.
Q: How do I calibrate the axes on my joystick?
Calibrating the axes on your joystick is important to ensure accurate and precise control. To calibrate your joystick’s axes, follow these steps:
1. Open the control panel or settings menu of your operating system.
2. Look for the joystick settings or controller configuration option.
3. In the joystick settings menu, you should find a calibration option. Select it.
4. Follow the on-screen instructions to calibrate each axis of your joystick. This usually involves moving the joystick through its full range of motion in each direction.
5. Once calibration is complete, save your settings. Your joystick axes should now be properly calibrated.
Q: Can I set dead zones for the axes on my joystick?
Yes, setting dead zones for the axes on your joystick can help eliminate unintended movement or twitchy controls. Dead zones are specific areas around the center position of each axis where no input is registered. This means that slight movements or imprecise inputs in these zones will be ignored, providing a more stable and accurate control experience. To set dead zones for your joystick axes, access the joystick settings or controller configuration menu and look for the dead zone adjustment option. Adjust the sliders or values to set the desired dead zone size for each axis.
Q: What are some common events I can set for the axes of my joystick?
There are various events you can set for the axes of your joystick, depending on the software or game you are using. Some common events include:
1. Movement: Assigning the joystick axes to control character or vehicle movement.
2. Camera Control: Using the joystick axes to control the camera angle or viewpoint in a game or application.
3. Menu Navigation: Assigning axes to navigate through menus or select options.
4. Weapon or Tool Selection: Using joystick axes to cycle through weapons or tools in a game.
5. Vehicle Control: Setting the axes to control throttle, steering, or other vehicle functions.
6. Flight Control: Assigning joystick axes for aircraft control, such as pitch, roll, and yaw.
These are just a few examples, and the available events may vary depending on the software or game. Refer to the documentation or settings menu of your specific software for more customization options.