
Having a cracked screen protector on your mobile device can be frustrating and worrisome. Not only does it compromise the aesthetics of your phone, but it also puts your device at risk of further damage. However, there’s no need to panic! In this article, we will guide you through the steps to take if you find yourself with a cracked screen protector. From assessing the damage to finding a suitable replacement, we’ve got you covered. By following the tips and tricks we provide, you can ensure the protection of your cell phone screen and restore its functionality in no time. So, let’s dive in and discover what you should do if your screen protector is cracked!
Inside This Article
- Introduction
- Assess the damage
- Remove the cracked screen protector
- Clean the screen
- Replace the screen protector
- Conclusion
- Conclusion
- FAQs
Introduction
Having a cracked screen protector can be a worrisome situation for anyone who relies on their mobile device. Whether it’s on your smartphone or tablet, a cracked screen protector not only detracts from the aesthetics of your device, but it also compromises the functionality and protection it provides. However, there’s no need to panic! In this article, we will guide you through the steps to take if your screen protector is cracked, helping you regain the sleek appearance and safeguard your device effectively.
Before diving into the steps to address a cracked screen protector, it’s important to understand why using a screen protector is crucial in the first place. In a world where smartphones and tablets have become essential tools for communication, entertainment, and productivity, screen protectors play a vital role in safeguarding the delicate display from scratches, cracks, and other damage. They act as a sacrificial layer, absorbing any impact or abrasion that would otherwise harm the screen itself. So, when your screen protector becomes cracked, it’s essential to address the issue promptly to maintain optimal protection for your device.
Now that we understand the importance of a screen protector, let’s delve into the steps you should take if yours becomes cracked. By following these guidelines, you can ensure a seamless transition back to a smooth, protected display on your mobile device.
Assess the damage
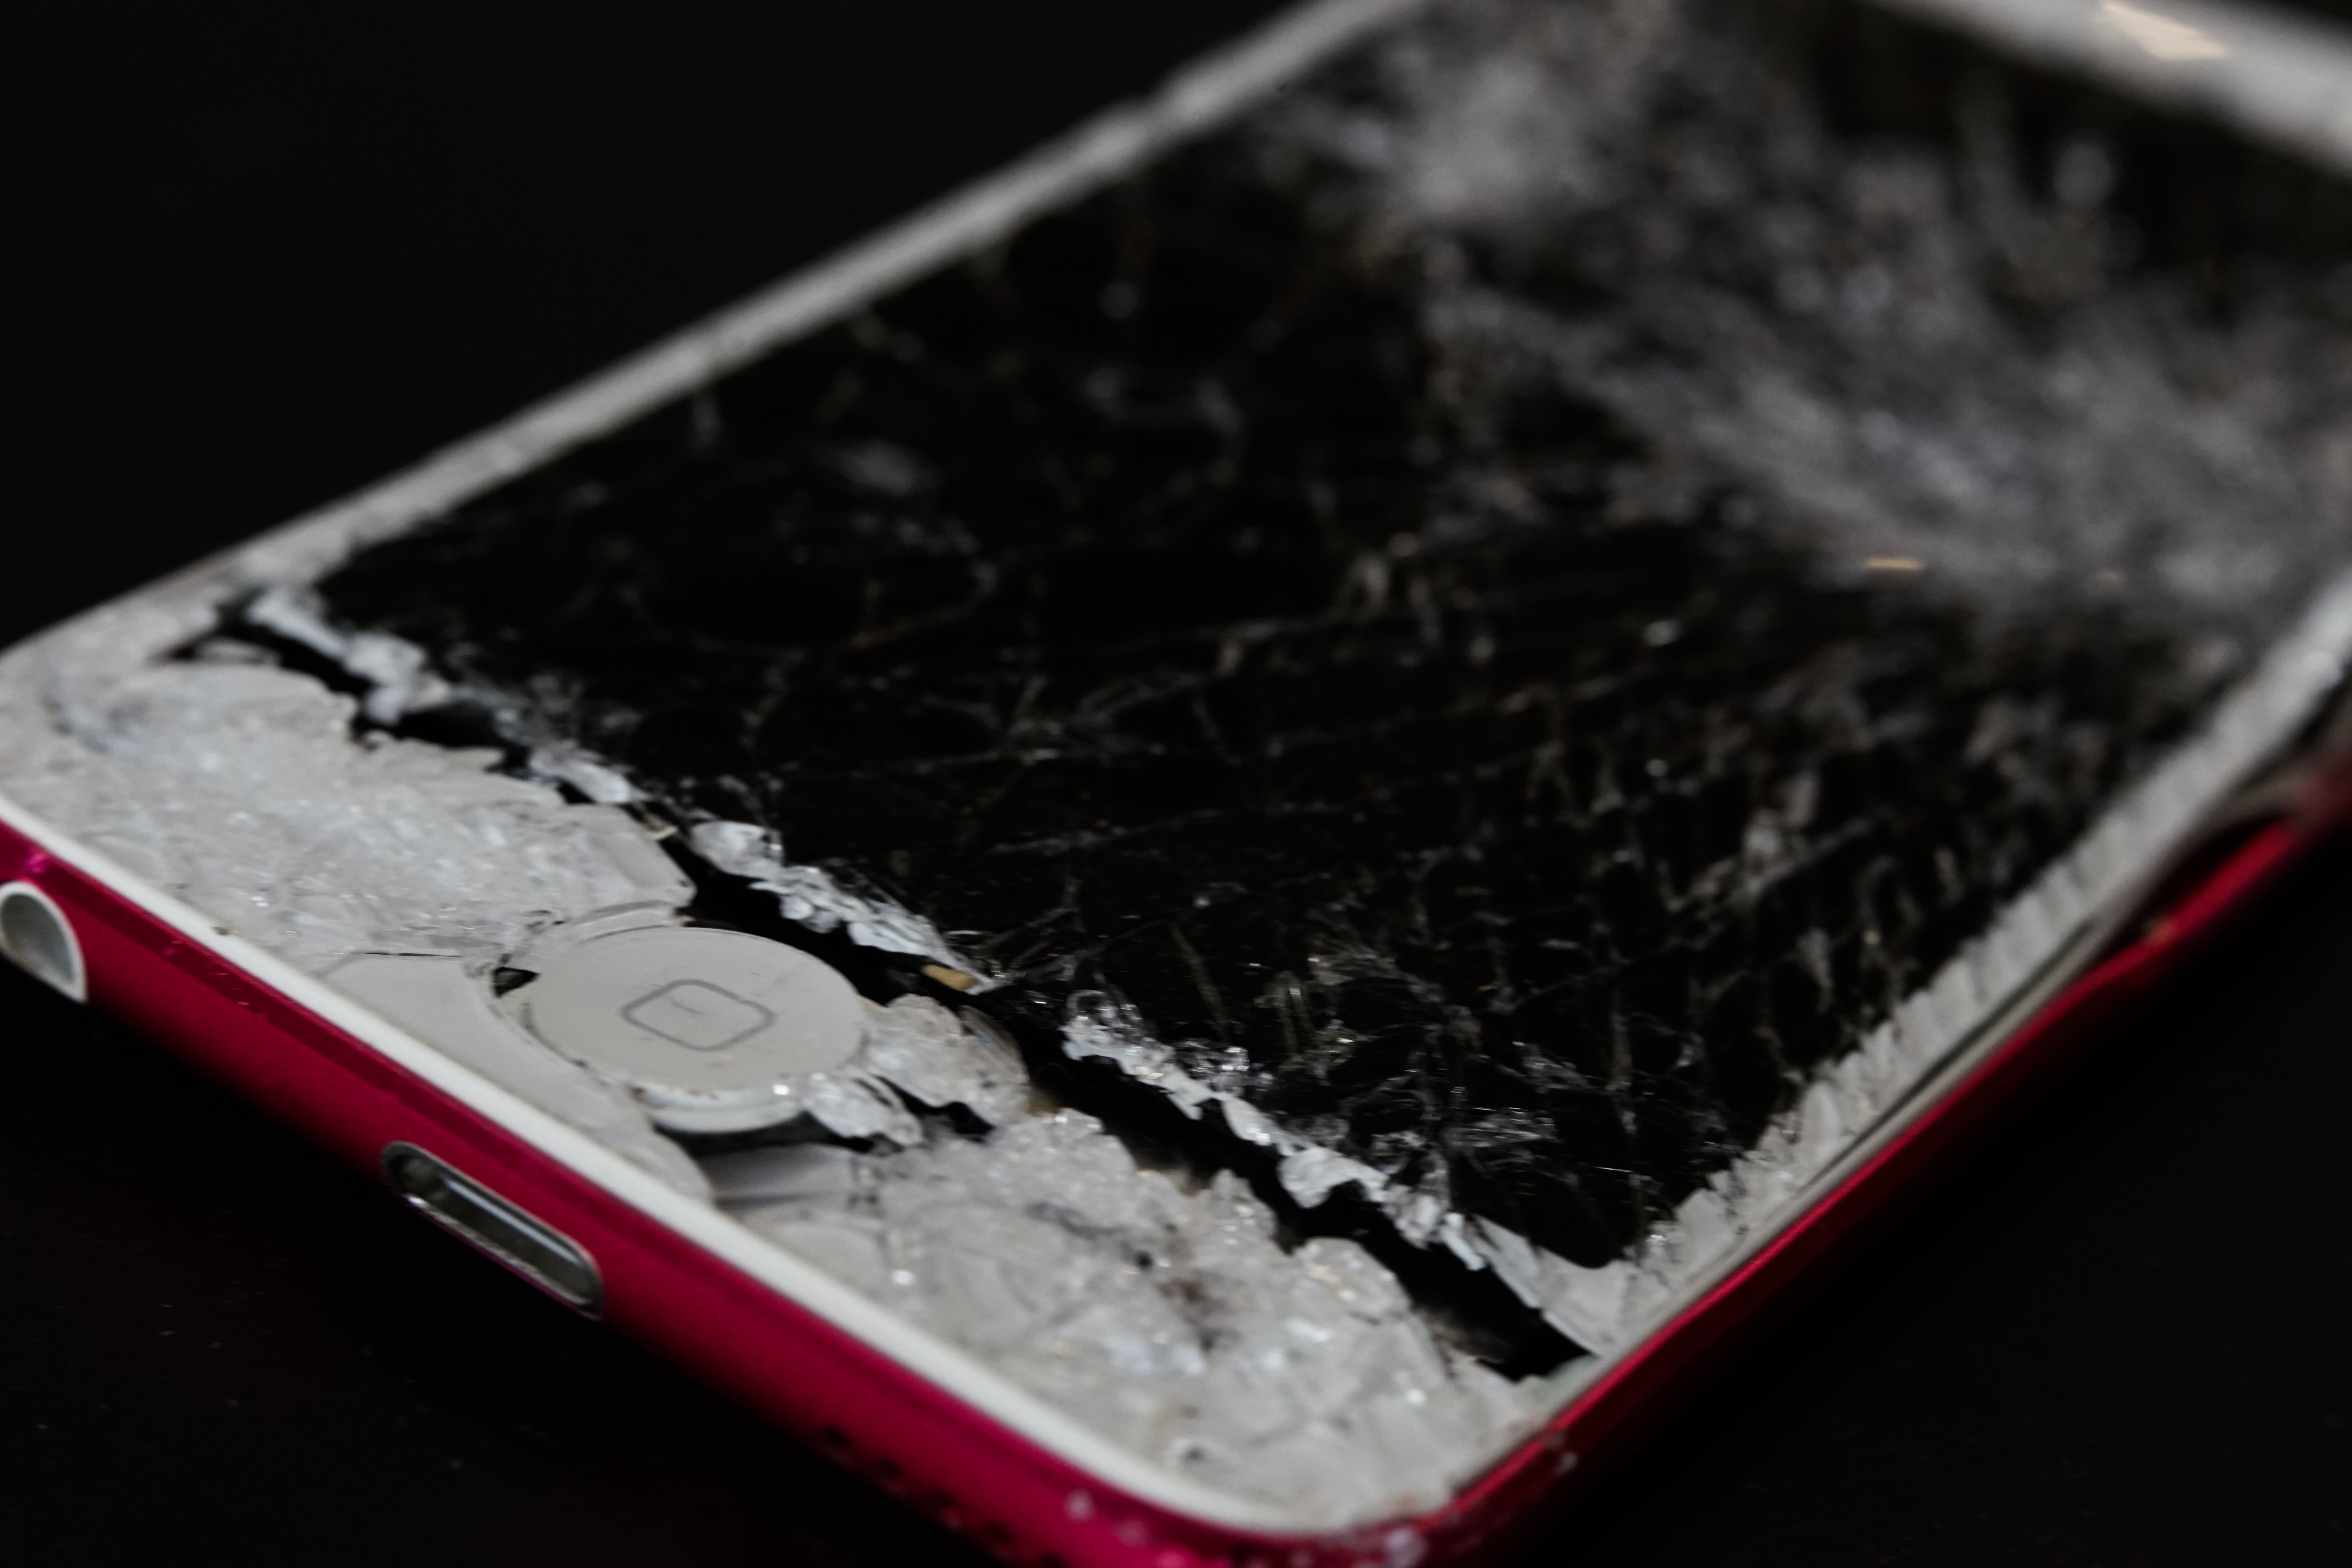
When you notice that your screen protector is cracked, the first step is to assess the extent of the damage. Take a closer look at the crack and determine whether it is a minor crack or a major one.
A minor crack may be small and not obstruct the visibility or functionality of your device’s screen. It may be a surface-level crack that does not affect the touch sensitivity or display quality. In such cases, you may be able to continue using your device without immediate intervention.
On the other hand, a major crack may cover a significant portion of the screen protector and can impair the touch response or disrupt the display. It may even have sharp edges that pose a risk of scratching your fingers or causing further damage.
By assessing the damage, you can determine the urgency of the situation and decide on the next steps to take. It will also help you understand whether the crack can be repaired or if a replacement screen protector is necessary.
Remove the cracked screen protector
Once you have assessed the damage to your screen protector, the next step is to remove it. While it may seem like a simple task, it’s important to proceed with caution to avoid causing further damage to your device.
To remove the cracked screen protector, follow these steps:
- Prepare the necessary tools: You will need a microfiber cloth, a plastic card (such as a credit card or ID card), and some adhesive tape.
- Power off your device: Before removing the screen protector, it is recommended to power off your device to ensure safety and proper handling.
- Start from the corner: Gently lift one corner of the screen protector using the plastic card. Be careful not to use excessive force to prevent any scratches or cracks on the actual screen.
- Peel off the protector: Once you have lifted the corner, slowly and carefully peel off the screen protector from one side to the other. Use the plastic card to assist you in separating the protector from the screen.
- Remove any adhesive residue: After removing the screen protector, you may notice some adhesive residue left on the screen. Take a piece of adhesive tape and dab it onto the affected areas to lift off any remaining residue.
- Clean the screen: Once you have removed the screen protector and adhesive residue, use a microfiber cloth to gently clean the screen. Make sure to remove any dust, fingerprints, or smudges from the surface.
Remember to handle your device with care during this process. Avoid using sharp objects or excessive force that could potentially damage the screen or other components.
Now that you have successfully removed the cracked screen protector, you can proceed to the next step of cleaning the screen.
Clean the screen
Once you have removed the cracked screen protector, it is important to clean the screen thoroughly before applying a new one. A clean screen will ensure proper adhesion and prevent any dust or debris from getting trapped between the screen and the new protector. Follow these steps to clean the screen effectively:
- Power off your device: Before you start cleaning the screen, make sure to power off your device. This will prevent any accidental touches or damage to the screen during the cleaning process.
- Gather the necessary cleaning supplies: You will need a microfiber cloth and a non-abrasive cleaning solution. Avoid using harsh chemicals or abrasive materials as they can damage the screen.
- Dampen the cloth: Moisten the microfiber cloth with the cleaning solution. Make sure it is not dripping wet, as excessive moisture can seep into the device and cause damage.
- Gently wipe the screen: Use the dampened microfiber cloth to wipe the screen in gentle, circular motions. Pay close attention to areas with smudges, fingerprints, or debris. Avoid pressing too hard, as this can damage the screen or leave streaks.
- Dry the screen: After wiping the screen with the cleaning solution, use a dry part of the microfiber cloth to remove any remaining moisture. This will ensure a streak-free and clean surface.
- Inspect the screen: Take a close look at the screen to ensure that it is free from any dust, smudges, or residue. If needed, repeat the cleaning process until the screen is completely clean.
By cleaning your screen properly, you are creating an optimal surface for the new screen protector to adhere to. This will help to maintain the clarity and responsiveness of your device, while also protecting it from scratches and damage.
Replace the screen protector
Once you have removed the cracked screen protector and cleaned your screen, it’s time to replace it with a new one. Follow these steps to ensure a smooth and successful replacement:
- Select the right screen protector: There are various types of screen protectors available in the market, including tempered glass and plastic film protectors. Consider the level of protection you need and choose a high-quality screen protector that is compatible with your specific phone model.
- Prepare the screen protector: If your new screen protector comes with a cleaning kit or guide stickers, make sure to use them. Clean the protector with a microfiber cloth and align it properly with your phone screen before proceeding.
- Peel off the backing: Most screen protectors come with a protective film or backing. Carefully peel off the backing, making sure not to touch the adhesive side of the protector with your fingers.
- Align and apply: Align the screen protector with your phone’s screen, taking care to match the cutouts for the front camera, speaker, and home button. Once aligned, gently press down on the center of the screen protector and let the adhesive do its work. Use a soft cloth or a squeegee to smooth out any bubbles or creases.
- Final adjustments: If you notice any misalignment or bubbles, lift the protector gently and adjust it as needed. Be careful not to touch the adhesive side too much, as it may reduce its effectiveness.
- Allow it to set: Give your new screen protector some time to set and adhere to your phone’s screen. Avoid using your phone or pressing down on the protector for at least an hour to allow the adhesive to bond properly.
It’s essential to follow the manufacturer’s instructions provided with your screen protector for the best results. Each brand and type of protector may have specific guidelines or additional steps to consider.
Remember, even with a new screen protector, it’s still important to handle your phone with care to prevent any cracks or damage. Avoid dropping your phone, exposing it to extreme temperatures, or placing it in situations where it could come into contact with sharp objects or excessive pressure.
By properly replacing your screen protector and taking precautions to protect your phone, you can keep your device’s screen safe and maintain its visual clarity for a long time.
Conclusion
In conclusion, dealing with a cracked screen protector on your mobile device can be frustrating, but it is a problem that can be solved. By following the steps outlined in this article – assessing the damage, removing the cracked screen protector, cleaning the screen, and replacing it with a new one – you can restore the functionality and aesthetics of your device.
Remember to take your time and handle the process with care to avoid any further damage. Whether you choose a tempered glass or a film screen protector, make sure to follow the installation instructions provided and ensure a smooth and bubble-free application. Taking proactive measures to protect your screen can go a long way in maintaining the longevity of your device.
Additionally, always make sure to invest in high-quality screen protectors from reputable manufacturers. While accidents can still happen, using a reliable and durable screen protector can provide an added layer of defense against scratches, cracks, and other damage.
Lastly, remember that prevention is the best approach. Handle your device with care, consider using a protective case in addition to a screen protector, and avoid placing your phone in situations where it is prone to potential damage.
By taking these precautions and following the steps mentioned in this article, you can ensure the safety and longevity of your device’s screen. So, don’t let a cracked screen protector dampen your mobile experience. Take action and give your device the protection it deserves.
Conclusion
In conclusion, if your screen protector is cracked, there are several steps you can take to remedy the situation and protect your device. First, assess the severity of the crack to determine if it is affecting the functionality of your screen. If it is a minor crack, you may choose to continue using the screen protector until you can replace it. However, if the crack is significant or interfering with the visibility or touch sensitivity of your screen, it is best to remove the damaged protector.
Once the cracked screen protector is removed, clean the screen thoroughly to remove any residue. You can then choose to apply a new screen protector or consider other protective options such as tempered glass or liquid screen protectors. Remember to carefully follow the manufacturer’s instructions when applying a new protector to ensure correct installation.
Ultimately, taking care of your screen protector is essential to maintaining the integrity of your device’s screen. Regularly inspect your screen protector for any signs of damage and replace it as needed. By doing so, you can prolong the lifespan of your device and keep it looking pristine.
FAQs
Q: Can I still use my phone if my screen protector is cracked?
A: Yes, you can still use your phone if the screen protector is cracked. However, it is advisable to replace the cracked screen protector as soon as possible to avoid any further damage to your phone’s screen.
Q: How do I remove a cracked screen protector?
A: To remove a cracked screen protector, start by using a thin plastic card, such as a credit card or a guitar pick, to gently lift the corner of the protector. Then, slowly peel off the protector from one side to the other, making sure not to apply too much pressure to avoid scratching your phone’s screen.
Q: Can a cracked screen protector protect my phone’s screen?
A: While a cracked screen protector may still provide some level of protection, its effectiveness will be significantly reduced compared to an intact protector. It is recommended to replace the cracked screen protector with a new one to ensure optimal protection for your phone’s screen.
Q: How often should I replace my screen protector?
A: The lifespan of a screen protector can vary depending on its quality and usage. However, it is generally recommended to replace the screen protector every 6 to 12 months or sooner if it becomes cracked, scratched, or begins to peel off.
Q: Are all screen protectors compatible with my phone model?
A: No, not all screen protectors are compatible with every phone model. It is important to choose a screen protector that is specifically designed for your phone model to ensure proper fit and coverage. Consult your phone’s manufacturer or check the product description for compatibility information before purchasing a screen protector.