
Welcome to the world of virtual reality! Imagine immersing yourself in a whole new dimension, experiencing the thrill of a roller coaster ride or exploring far-off places, all from the comfort of your living room. With the advancements in technology, creating your own virtual reality headset has become more accessible than ever before. In this article, we will guide you through the process of making a VR headset using your smartphone, transforming it into a gateway to a virtual world of limitless possibilities. Whether you’re a tech enthusiast or simply curious about the wonders of virtual reality, get ready to delve into an exciting DIY project that will revolutionize the way you experience entertainment and adventure. Are you ready to embark on this thrilling journey? Let’s get started!
Inside This Article
- Materials Needed
- Step 1: Creating the VR Headset
- Step 2: Assembling the Phone Holder
- Step 3: Adjusting the Head Strap
- Step 4: Testing the VR Headset
- Troubleshooting Tips
- Conclusion
- FAQs
Materials Needed
Creating your own VR headset with a phone is an exciting and cost-effective way to dive into the world of virtual reality. To get started, you’ll need a few essential materials and tools. Gather the following items before beginning your DIY project:
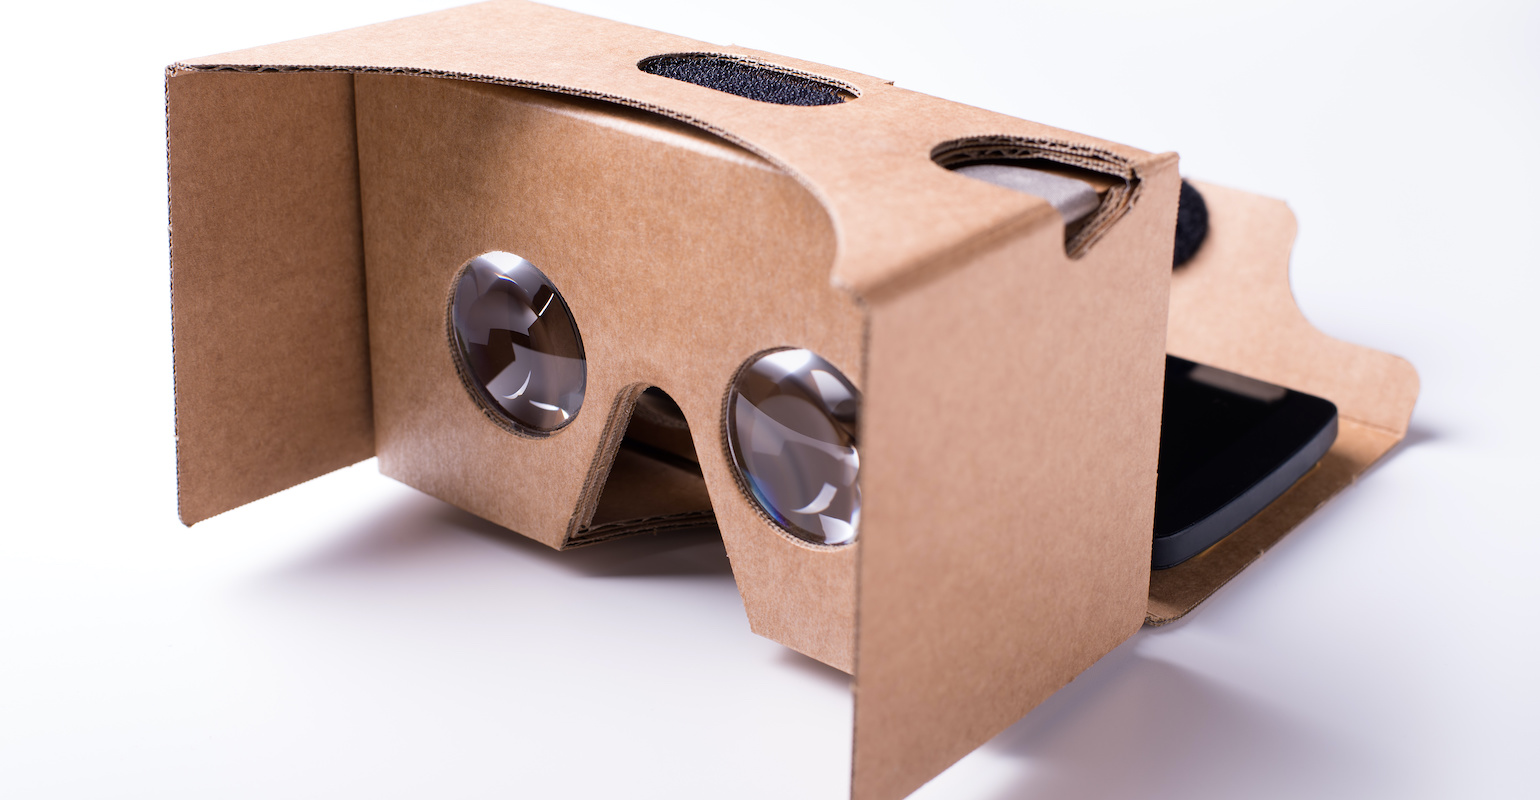
- A Cardboard VR Kit: Look for a cardboard VR kit that is compatible with your phone. These kits are affordable and readily available online or at local tech stores.
- A Smartphone: Any smartphone with a gyroscope sensor will work for this project. Make sure it fits properly in the cardboard VR kit and has a high-resolution display to enhance the virtual reality experience.
- Scissors: A pair of sharp scissors will come in handy for cutting out the necessary shapes from the cardboard VR kit.
- Glue or Tape: Depending on the specific cardboard VR kit you’re using, you may need glue or tape to secure different parts together.
- Velcro Strips or Elastic Bands: These will be used to create an adjustable head strap for a comfortable fit.
- A Marker: Use a marker to trace and mark the cardboard pieces for cutting and assembling.
Once you have gathered these materials, you’re ready to move on to the next steps in creating your own VR headset. Remember to take your time and follow the instructions provided with your specific cardboard VR kit for the best results.
Step 1: Creating the VR Headset
Creating your own VR headset using your smartphone is an exciting and innovative way to immerse yourself in virtual reality experiences. In this step-by-step guide, we will walk you through the process of constructing a simple, yet effective VR headset.
The first thing you’ll need is a cardboard box or any similar material that is sturdy enough to hold your phone. This will serve as the main structure of your VR headset. Look for a box that can comfortably fit your phone and has enough space for your eyes to view the screen.
Next, gather some cutting tools such as scissors or a craft knife. Carefully measure and mark the area where your phone will sit inside the box. Make sure to leave openings for the camera, buttons, and ports, so you can still access them while using the VR headset.
Once you have marked the dimensions, cut out the designated area for the phone. Take your time and be precise to ensure a snug fit. You can also use adhesive or tape to secure the edges of the opening and reinforce the structure.
Now, it’s time to prepare the lenses. You can purchase affordable VR lenses online or salvage them from an old pair of binoculars or magnifying glasses. These lenses will create the 3D effect and enhance your VR experience. Place the lenses in the provided slots or attach them to the front of the box.
Lastly, customize your VR headset. Get creative and add embellishments or decorations to make it unique to your style. You can paint the box, add stickers, or even attach straps to secure it comfortably on your head.
That’s it! You have successfully created your own VR headset using everyday materials. Now, it’s time to move on to the next step of assembling the phone holder.
Step 2: Assembling the Phone Holder
Once you have created the basic framework for your DIY VR headset, the next step is to assemble the phone holder. This crucial component ensures that your phone stays securely in place and provides an optimal viewing experience.
Here is a step-by-step guide to help you assemble the phone holder:
- Start by measuring the width and height of your phone. This will help you determine the dimensions of the phone holder and ensure a snug fit.
- Using a sturdy and lightweight material such as cardboard or plastic, cut out a rectangular piece that matches the dimensions of your phone. Make sure to leave space for the screen and buttons.
- On one side of the rectangular piece, cut out a smaller rectangular shape that will act as a slot for inserting your phone. The slot should be slightly smaller than the width of your phone to ensure a tight fit.
- Next, fold the sides of the rectangular piece upwards to create a 90-degree angle. This will form a secure enclosure for your phone.
- To make the phone holder more stable, you can reinforce the corners with adhesive tape or glue.
- Attach the phone holder to the front of the VR headset using Velcro strips or adhesive. Make sure it is centered and securely affixed.
By following these steps, you can quickly assemble the phone holder for your DIY VR headset. Remember to double-check the measurements to ensure a proper fit for your phone. Once the phone holder is securely in place, you are one step closer to immersing yourself in a virtual reality experience.
Step 3: Adjusting the Head Strap
Adjusting the head strap on your DIY VR headset is essential to ensure a comfortable and secure fit. Here’s how to properly adjust the head strap:
1. Find the Right Fit: Start by loosening the head strap so that it’s easy to put on. Place the headset on your head, aligning the lenses with your eyes. The strap should rest on the back of your head, just above the neck. Adjust the strap until the headset feels snug but not too tight.
2. Secure the Side Straps: Once you’ve found the right fit, secure the side straps. These straps typically have Velcro or buckle closures that you can tighten or loosen as needed. Fasten the straps snugly but comfortably to keep the headset in place during use.
3. Adjust the Top Strap: Many DIY VR headsets have a top strap that helps distribute the weight and enhance stability. Adjust this strap to ensure a balanced and secure fit. The top strap should rest comfortably on the top of your head without placing excessive pressure.
4. Test the Fit: After adjusting the head strap, test the fit by moving your head from side to side and up and down. The headset should stay in place without feeling loose or shifting. If necessary, make additional adjustments to achieve the desired fit.
5. Comfort is Key: Keep in mind that wearing a VR headset for extended periods can become uncomfortable. Make sure to take short breaks and adjust the straps if you start feeling any discomfort or pressure points on your head or face.
6. Share the Experience: Once you’ve adjusted the head strap to your liking, you’re ready to dive into the world of virtual reality. Enjoy the immersive experience and don’t forget to share your VR adventures with friends and family!
By following these steps and properly adjusting the head strap, you’ll ensure a comfortable and secure fit for your DIY VR headset, allowing you to fully enjoy the virtual reality experience.
Step 4: Testing the VR Headset
Now that you have successfully created and assembled your own VR headset using your phone, it’s time for the exciting part – testing it out! Testing the VR headset will allow you to experience immersive virtual reality and explore a wide range of 3D content and applications.
Here are some steps to follow when testing your VR headset:
- Ensure that your phone is fully charged and has enough storage space for the VR content.
- Launch the VR app or game of your choice on your phone. There are numerous VR apps available on both the App Store and Google Play Store, catering to various interests and preferences. From virtual tours to thrilling games, the possibilities are endless.
- Place your phone securely into the phone holder on the VR headset. Make sure it is centered and positioned correctly to avoid any blurry visuals or discomfort while wearing the headset.
- Put on the VR headset and adjust the head strap to ensure a comfortable fit. The headset should rest snugly on your face, with the lenses aligned properly with your eyes.
- Once you have the headset on, grab the controller or use the head-tracking function to navigate through the VR environment. Most VR apps and games come with interactive controls, allowing you to move, interact, and explore virtual worlds.
- Take your time to explore and immerse yourself in the virtual reality experience. Look around, interact with objects, and embrace the sense of presence that VR provides. Feel free to experiment with different apps and games to find what suits your interests best.
- Pay attention to any discomfort or motion sickness that you may experience while using the VR headset. If you feel any discomfort, take a break and remove the headset. It’s important to ease into longer VR sessions gradually to allow your body to adjust.
- Once you are done with your VR experience, carefully remove the headset and store it in a safe place. Clean the lenses with a microfiber cloth to keep them free from fingerprints or smudges that can impact the visual quality.
Remember, VR technology is constantly evolving, and new experiences are being released regularly. Keep an eye out for updates, new apps, and games that will enhance your VR journey even further.
Troubleshooting Tips
While making your own VR headset with a phone can be an exciting and inexpensive way to experience virtual reality, you may encounter a few challenges along the way. Here are some troubleshooting tips to help you overcome common issues:
1. Blurry or distorted image: If the image appears blurry or distorted when you put on the VR headset, check the focus adjustment of your phone. Look for a focus slider or setting within the VR app or adjust the position of your phone within the headset to achieve a clearer image.
2. Head tracking issues: If the virtual environment seems to lag or your head movements are not accurately tracked, ensure that your phone’s gyroscope and accelerometer are functioning properly. Restarting your phone or recalibrating the sensors can often resolve this issue.
3. Overheating: Extended usage of your phone within the VR headset can lead to overheating, causing the device to slow down or shut off to prevent damage. If you encounter this problem, take breaks between VR sessions to allow your phone to cool down. You can also remove the phone from the headset for better airflow.
4. Compatibility issues: Not all phones are compatible with every VR headset. Make sure your phone meets the recommended specifications for the VR headset you are using. Additionally, double-check that your VR app is compatible with your specific phone model to avoid performance issues or app crashes.
5. Motion sickness: Some individuals may experience motion sickness or dizziness while using a VR headset. This can be caused by a variety of factors, including the latency of the VR app, the quality of the VR content, or an individual’s sensitivity to virtual reality experiences. Taking frequent breaks and starting with shorter VR sessions can help reduce the likelihood of experiencing motion sickness.
6. Poor audio quality: If you are experiencing poor audio quality while using the VR headset with your phone, check the connection between your phone and the headset’s audio output. Ensure that the audio jack is fully plugged in and there are no loose connections. You can also try using a different pair of headphones or earphones for improved sound quality.
7. App crashes or freezing: If the VR app crashes or freezes frequently, make sure you have the latest version of the app installed. Clearing the app cache or reinstalling the app can also help resolve stability issues. If the problem persists, try using a different VR app to see if the issue is specific to the app or your phone.
By following these troubleshooting tips, you can overcome some of the most common problems that may arise when making and using a VR headset with your phone. Remember to read the user manual or documentation provided with your VR headset for specific troubleshooting guidance related to your device.
Conclusion
Creating your own VR headset using a mobile phone is an exciting and accessible way to immerse yourself in virtual reality experiences. By following the steps outlined in this article, you can easily transform your smartphone into a powerful VR device without breaking the bank.
Remember to choose a compatible virtual reality app or game and invest in a good quality cardboard or plastic VR headset. This will ensure a comfortable and immersive experience, allowing you to explore virtual worlds, watch 360-degree videos, and play interactive games.
Whether you’re a tech enthusiast, a gaming enthusiast, or simply curious about the possibilities of virtual reality, making your own VR headset is a fun and rewarding project. So, grab your mobile phone, get creative, and dive into the exciting world of virtual reality!
FAQs
1. Can I make a VR headset using my smartphone?
Yes, you can easily make a VR headset using your smartphone. There are various DIY methods available that allow you to transform your phone into a virtual reality headset.
2. What materials do I need to make a VR headset with my phone?
To make a VR headset with your phone, you will need a cardboard or plastic viewer kit, lenses, Velcro straps, and a compatible smartphone. These materials are readily available online or at your local electronics store.
3. Are there any specific smartphone requirements for making a VR headset?
Most VR headset viewer kits are compatible with a wide range of smartphones, including iPhone and Android devices. However, it’s important to check the specifications of the viewer kit to ensure it supports the size and dimensions of your smartphone.
4. How do I assemble a VR headset using my phone?
The assembly process may vary depending on the viewer kit you purchase, but it generally involves inserting the lenses into the designated slots, attaching the Velcro straps to secure your smartphone, and following the provided instructions for optimal viewing experience.
5. What apps or content can I experience with a VR headset and my phone?
Once you have your VR headset ready, you can explore a wide variety of virtual reality apps and content available for smartphones. These range from immersive games and virtual tours to educational experiences and 360-degree videos. You can find VR apps on app stores specific to your smartphone’s operating system.