
Are you passionate about cooking and want to share your culinary skills with the world? Well, you’re in luck! With the advancements in smartphone technology, making cooking videos has never been easier. Whether you’re a professional chef or an enthusiastic home cook, all you need is a smartphone to capture and showcase your delicious creations.
In this article, we will guide you on how to make cooking videos with your smartphone. We’ll cover everything from choosing the right equipment and setting up proper lighting, to capturing mouth-watering close-up shots and editing your videos for maximum impact. With these tips and tricks, you’ll be well on your way to creating engaging and professional-looking cooking videos that will delight and inspire your audience.
Inside This Article
- Choosing the right equipment for shooting
- Setting up your smartphone for cooking videos
- Planning and Organizing Your Cooking Video
- Filming techniques and tips for capturing a great cooking video
- Conclusion
- FAQs
Choosing the right equipment for shooting
When it comes to creating a captivating cooking video with your smartphone, having the right equipment is crucial. By investing in the right tools, you can ensure that your videos have exceptional image quality, clear audio, and smooth recording. Here are some key equipment you should consider:
1. Smartphone with a high-quality camera: The first and most important piece of equipment is, of course, your smartphone. Look for a phone with a high-resolution camera, preferably one with optical image stabilization (OIS) to reduce shakiness and ensure steady footage.
2. External microphone: While most smartphones have built-in microphones, they may not provide the best audio quality, especially in a noisy cooking environment. Investing in an external microphone can greatly enhance the sound in your videos, making it crisp and clear for your viewers.
3. Tripod or stabilizer: To achieve steady shots and avoid shaky footage, consider using a tripod or stabilizer for your smartphone. This will help maintain a professional look and eliminate distractions caused by camera movements during the cooking process.
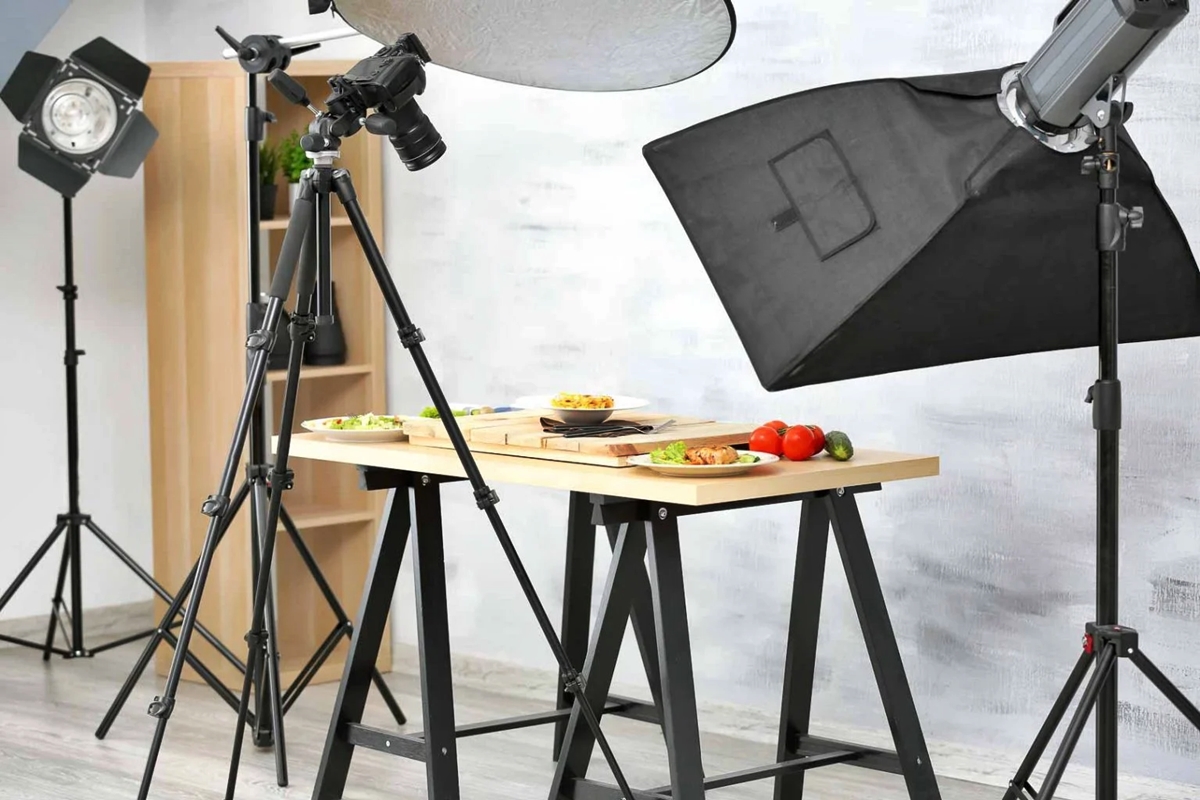
4. Additional lighting: Good lighting is essential for capturing vibrant colors and details in your cooking videos. If the natural light in your kitchen is not sufficient, consider investing in small LED lights or a ring light to ensure your videos are well-lit and visually appealing.
5. Props and accessories: Depending on the style and theme of your cooking videos, you may want to add some props and accessories to enhance the visual appeal. These can include cutting boards, utensils, colorful backgrounds, and anything that adds personality and creativity to your videos.
Remember, the goal is to create high-quality content that engages your audience and keeps them coming back for more. So, make sure to choose equipment that suits your needs and budget while delivering professional-looking results. With the right equipment in hand, you’ll be well on your way to creating visually stunning cooking videos that stand out from the crowd.
Setting up your smartphone for cooking videos
When it comes to capturing high-quality cooking videos with your smartphone, it’s essential to set up your device correctly. By optimizing your smartphone settings, you can ensure that your videos look professional and visually appealing. Here are a few steps to help you get started:
1. Clean your lens: Before you start filming, make sure to clean the lens of your smartphone camera. Smudges and dirt can degrade the quality of your videos, so grab a microfiber cloth and wipe away any grime.
2. Adjust the resolution: Check the video resolution settings on your smartphone. For optimal results, set the resolution to the highest possible quality. This will ensure that your videos are sharp and clear when viewed on different devices.
3. Enable gridlines: Many smartphone cameras offer the option to display gridlines on the screen. These gridlines help you align your shots and maintain a balanced composition. Enable the gridlines in your camera settings to make your cooking videos visually pleasing.
4. Use the right lighting: Lighting plays a crucial role in the quality of your videos. When shooting cooking videos, it’s best to use natural light whenever possible. Position yourself near a window or in a well-lit area of your kitchen. If the lighting is insufficient, consider investing in a portable LED light for better illumination.
5. Enable stabilization: Shaky footage can be distracting and unprofessional. Most smartphones have built-in stabilization features that reduce camera shake. Activate the stabilization option in your camera settings to ensure smooth and steady videos.
6. Adjust white balance: The white balance setting on your smartphone helps maintain accurate color representation in your videos. You can either set it to auto or manually adjust it according to the lighting conditions. Experiment with different settings to find what works best for your cooking videos’ aesthetic.
7. Turn off notifications: To avoid interruptions while filming, make sure to turn off any notifications on your smartphone. Notifications can distract you and disrupt the flow of your cooking video. Put your device on silent mode or enable the Do Not Disturb feature.
8. Use a tripod or stabilization stand: For steady shots and smooth camera movements, invest in a tripod or stabilization stand. These accessories hold your smartphone securely, allowing you to focus on your cooking without worrying about holding the phone steady.
By following these steps to set up your smartphone for cooking videos, you can ensure that your footage is of the highest quality. Remember to experiment with different settings and techniques to find the perfect setup for your cooking videos.
Planning and Organizing Your Cooking Video
Creating a successful cooking video requires careful planning and organization. Here are some key steps to help you get started:
- Choose your recipe: Decide on the dish you want to showcase in your cooking video. Consider selecting a recipe that is visually appealing and has clear steps that can be easily followed by viewers.
- Prepare your mise en place: Before you start recording, make sure all your ingredients are prepped and ready to go. Chop vegetables, measure out spices, and have everything within easy reach to ensure a smooth cooking process.
- Create a script or outline: While some cooking videos may be more spontaneous, having a script or outline can help keep you organized and ensure you cover all the necessary steps. Include key points, ingredients, and any special techniques you want to highlight.
- Consider your video style: Think about the overall aesthetic and style you want to achieve with your cooking video. Are you going for a bright and cheerful vibe, or perhaps a more rustic and cozy feel? Plan your set design, props, and lighting accordingly.
- Set up your shooting area: Choose a well-lit area in your kitchen where you will film your cooking video. Make sure the background is clean and clutter-free, and consider adding some decorative elements to enhance the visual appeal.
- Test your camera angles: Experiment with different camera angles to find the ones that work best for your recipe. Consider overhead shots, close-ups of ingredients, and shots of your hands in action. Test the angles and make any necessary adjustments before filming.
- Organize your filming process: Create a timeline for your cooking video, breaking it down into clear sections. This will help you stay on track and ensure you cover all the necessary steps without rushing through the process. It will also make editing much easier later on.
- Prepare for potential challenges: Anticipate any potential challenges or obstacles you may encounter while filming, such as noisy appliances or interruptions. Take steps to mitigate these issues beforehand to ensure a smooth recording session.
- Engage with your audience: While planning and organizing your cooking video, consider ways to interact with your viewers. Ask questions, encourage them to try the recipe, and respond to comments and feedback. This will help create a sense of community and connection.
- Review and revise: After filming your cooking video, take some time to review the footage and make any necessary edits or adjustments. Trim any unnecessary parts, add captions or music if desired, and ensure the video flows smoothly from start to finish.
By carefully planning and organizing your cooking video, you will be well-prepared to create a visually stunning and engaging piece of content that will captivate your audience and inspire them to try your delicious recipe.
Filming techniques and tips for capturing a great cooking video
When it comes to creating a captivating cooking video with your smartphone, the filming techniques you employ can make all the difference. Whether you’re a seasoned filmmaker or just starting out, these tips will help you capture mouthwatering footage that will have viewers eagerly hitting that ‘play’ button.
1. Lighting is key: Good lighting is essential for showcasing your culinary masterpiece. Natural light is your best friend, so try to shoot near a window or outside during the day. If you’re shooting in the evening or in a dimly lit area, consider using additional lighting sources like a ring light or softbox to create a well-lit scene.
2. Steady hands or tripod: Shaky footage can be distracting and take away from the overall viewing experience. To ensure smooth and stable shots, either practice holding your phone steady or invest in a tripod for your smartphone. A tripod will give you more control over your angles and allow you to focus on the cooking process without worrying about camera shake.
3. Get up close and personal: One of the advantages of shooting with a smartphone is the ability to get close-up shots of your ingredients and techniques. Zoom in on the chopping board, capture the sizzle of the ingredients hitting the pan, and showcase the intricate details of your plating. These close-ups add visual interest and give viewers a more immersive experience.
4. Use different angles and perspectives: Experiment with different camera angles to add variety and visual appeal to your cooking video. Capture overhead shots to show the entire cooking process, try shooting from a low angle to give the viewer a unique perspective, or get creative with a tracking shot as you move around the kitchen. Mixing up the angles will make your video more dynamic and engaging.
5. Shoot in landscape mode: While it may be tempting to shoot in portrait mode for easier handling, shooting your cooking video in landscape mode is essential for a professional look. Landscape mode captures a wider field of view, which allows viewers to see more of the cooking process and creates a more cinematic feel.
6. Pay attention to audio: Great visuals are important, but don’t overlook the audio aspect of your cooking video. Ensure that the audio is clear and free from background noise. Consider using an external microphone or recording voiceovers separately to ensure high-quality sound.
7. Edit with precision: Once you have captured your footage, the final step in creating a great cooking video is the editing process. Trim out any unnecessary footage, add transitions, and consider using text overlays to share important steps or recipe details. Use editing software or mobile apps to enhance the colors and make your video visually appealing.
By following these filming techniques and tips, you can create cooking videos that not only showcase your culinary skills but also captivate and engage your audience. Remember to experiment, have fun, and let your creativity shine through!
Conclusion
FAQs
1. Can I use any smartphone to make cooking videos?
Yes, you can use any smartphone to make cooking videos as long as it has a decent camera and sufficient storage capacity to handle video recording.
2. Do I need any special equipment besides my smartphone?
While having additional equipment like a tripod, a smartphone stabilizer, and good lighting can enhance the quality of your cooking videos, they are not necessary. You can still create engaging videos using just your smartphone.
3. What are some tips for filming cooking videos with a smartphone?
– Ensure a clean and well-lit kitchen area.
– Use the rear camera for better quality videos.
– Shoot in landscape mode for a better viewing experience.
– Experiment with different angles and perspectives.
– Invest in a microphone for better audio quality.
– Edit your videos using a user-friendly mobile editing app.
4. How can I optimize my cooking videos for SEO?
To optimize your cooking videos for SEO, consider the following tips:
– Use relevant keywords in the video title, description, and tags.
– Write a detailed video description that includes relevant keywords and a brief summary of the recipe.
– Add timestamps to the video description for specific steps or sections in the recipe.
– Encourage viewers to engage with your video by liking, commenting, and sharing.
– Share your videos on social media platforms and embedding them on your blog or website.
5. How can I make my cooking videos stand out?
To make your cooking videos stand out, you can:
– Add a personal touch by sharing interesting anecdotes or tips during the video.
– Include an eye-catching thumbnail that accurately represents the recipe.
– Use creative editing techniques like time-lapse or stop-motion to add visual interest.
– Use high-quality visuals and appealing plating to make the food more enticing.
– Stay consistent with your video style and branding.