
In today’s digital age, smartphones have become an integral part of our lives. They not only help us stay connected with friends and family, but also serve as a versatile tool to capture and share our most cherished moments. One of the latest trends in mobile photography is taking a “bothie” – a term coined by Nokia to describe a photo that combines both a selfie and a regular photo in one frame.
If you own a Nokia phone, you’re in luck! Nokia phones come equipped with a unique feature that allows you to effortlessly take bothies with just a few taps. In this article, we’ll guide you through the process of using this feature and share some tips to help you capture stunning bothies. So, grab your Nokia phone and get ready to explore the world of bothies!
Inside This Article
- What is a Bothie?
- Step 1: Check Your Nokia Phone Compatibility
- Step 2: Adjust the Camera Settings
- Step 3: Find the Perfect Angle
- Step 4: Capture the Bothie
- Step 5: Share and Enjoy your Bothie
- Tips and Tricks for Taking a Great Bothie
- Conclusion
- FAQs
What is a Bothie?
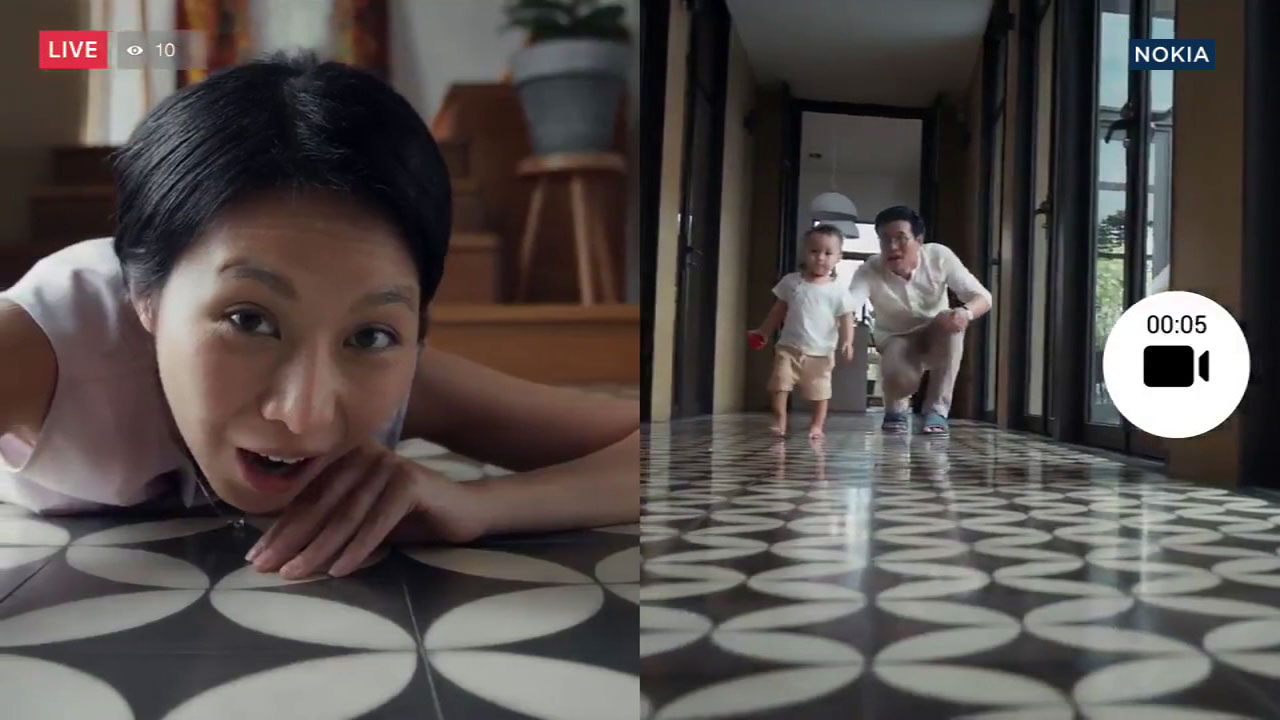
A Bothie is a term coined by Nokia to describe a unique feature available on some of their smartphones that allows you to capture photos or videos using both the front and rear-facing cameras simultaneously. In essence, it combines a selfie with a regular photo or video, giving you the ability to showcase both yourself and your surroundings in a single image or clip.
This innovative feature has gained popularity among smartphone users who want to capture and share their experiences from a new perspective. The Bothie feature not only offers a creative way to document your moments but also allows you to interact more effectively with your audience by providing a more comprehensive view of the scene.
Whether you’re exploring a beautiful destination, attending a social event, or simply hanging out with friends, using the Bothie feature adds an exciting and dynamic touch to your photos and videos. With just a few simple steps, you can capture and share memorable moments with your Nokia phone.
Step 1: Check Your Nokia Phone Compatibility
Before diving into the world of capturing bothies, the first step is to ensure that your Nokia phone is compatible with this feature. Not all Nokia phone models support bothie mode, so it’s crucial to check if your device has this capability.
To do this, go to your phone’s settings and look for the camera settings. Within the camera settings, you should be able to find an option for bothie mode or dual-sight mode. If you see this option, congratulations! Your Nokia phone is compatible with taking bothies.
If, however, you don’t find this option in your camera settings, it means that your phone may not have the necessary hardware or software to support bothies. In that case, you may need to consider upgrading to a compatible Nokia phone to enjoy this innovative feature.
It’s important to note that bothie mode is not available on all Nokia phone models, so compatibility may vary. Refer to your phone’s user manual or check the official Nokia website for a complete list of devices that support bothies.
Step 2: Adjust the Camera Settings
Once you have confirmed that your Nokia Phone supports the Bothie feature, it’s time to fine-tune the camera settings to capture the perfect shot. Here’s how you can do it:
1. Open the camera app on your Nokia Phone and switch to the Bothie mode. This will activate dual capture mode, allowing you to use both the front and rear cameras simultaneously.
2. Check the resolution settings. It’s important to ensure that you’re using the highest resolution available to capture the finest details in your Bothie. Go to the camera settings menu and select the highest resolution option.
3. Enable the stabilization feature. Bothies often involve capturing yourself and the surrounding environment. To avoid shaky footage, turn on the stabilization feature in the camera settings. This will help to minimize camera shake and ensure smoother videos.
4. Adjust the exposure settings. Depending on the lighting conditions, you may need to adjust the exposure to ensure a balanced and well-lit Bothie. Use the exposure slider in the camera app to increase or decrease the brightness level.
5. Experiment with the focus settings. If you want to draw attention to a specific object or person in your Bothie, try adjusting the focus settings. Tap on the screen to focus on a particular area or subject and create a visually appealing composition.
6. Explore other camera settings. Depending on your Nokia Phone model, you might have additional camera settings that can enhance your Bothie experience. Take some time to familiarize yourself with these settings and explore their potential.
By adjusting the camera settings according to your preferences, you can capture stunning Bothies that showcase both you and the world around you. Don’t be afraid to experiment with different settings and unleash your creativity!
Step 3: Find the Perfect Angle
Now that you have checked your Nokia phone compatibility and adjusted the camera settings, it’s time to find the perfect angle to capture your bothie. The angle at which you hold your phone can greatly impact the composition and overall aesthetic of your photo.
Here are a few tips to help you find the ideal angle:
- Consider the subject: Identify the main subjects or elements you want to capture in your bothie. Whether it’s a group of friends, a scenic view, or an event, understanding the focal points will guide your angle selection.
- Experiment with heights: Varying the height at which you hold your phone can create different perspectives and storytelling opportunities. Try shooting from eye level, crouching down, or even getting an overhead shot for a unique look.
- Use leading lines: Look for natural lines or objects that lead the viewer’s eye towards the subjects in your bothie. This could be a road, a pathway, or even a row of trees. Incorporating leading lines can add depth and visual interest to your photo.
- Consider the background: Take a moment to survey the background of your shot. Ensure there are no distracting elements that could take away from your subjects. Look for clean and uncluttered backgrounds that complement the overall composition.
- Utilize symmetry: Symmetry can create a visually striking and balanced bothie. Look for symmetrical elements in your surroundings, such as a line of buildings or a reflection in water, and position your phone accordingly to capture the symmetry.
Remember, the perfect angle may differ depending on the specific scenario. Play around with different angles and perspectives, and don’t be afraid to get creative. Trust your instincts and capture the moment from a viewpoint that best tells your story.
Once you have found the perfect angle, you are ready to move on to the next step and capture your bothie with your Nokia phone!
Step 4: Capture the Bothie
Now that you have adjusted the camera settings and found the perfect angle, it’s time to capture the bothie with your Nokia phone. Follow these steps to ensure you get the best shot:
1. Set the timer: If you want to include yourself in the bothie, it’s best to set a timer. This allows you to position yourself properly before the photo is taken. Most Nokia phones offer a timer option in the camera settings. Set the timer to a suitable duration, such as 5 or 10 seconds.
2. Maintain a steady hand: To capture a clear and sharp bothie, it’s important to hold your Nokia phone steady while taking the photo. This helps to eliminate camera shake and produce a crisp image. You can also try using a tripod or a stable surface to keep the phone steady if needed.
3. Smile and pose: Whether you’re taking a bothie with friends or capturing a memorable moment with your loved ones, don’t forget to smile and pose for the camera. Express your personality and create a fun atmosphere to make the bothie more engaging and memorable.
4. Experiment with composition: Play around with different composition techniques to add interest to your bothie. Try placing the subjects off-center, use leading lines, or include elements from the surroundings to create a visually appealing photo. Be creative and don’t be afraid to try new angles or perspectives.
5. Capture the moment: Once everything is set, it’s time to press the shutter button and capture the bothie. Hold the phone steady and wait for the timer to countdown if you have set one. If not, simply take the photo at the right moment, making sure both you and the other subject are in the frame.
6. Review and retake if necessary: After capturing the bothie, take a moment to review the photo. Check for any blurriness, poorly composed elements, or any other imperfections. If you’re not satisfied with the result, don’t hesitate to retake the bothie until you get the perfect shot.
Remember, taking a bothie is all about capturing shared moments and creating memories with your Nokia phone. So have fun, be spontaneous, and enjoy the process of capturing these unique photos.
Step 5: Share and Enjoy your Bothie
Now that you’ve captured the perfect bothie on your Nokia phone, it’s time to share and enjoy it with others. Here are some simple steps to help you make the most of your bothie:
1. Share on Social Media: Show off your creative bothie skills by sharing your photo on social media platforms like Instagram, Facebook, or Twitter. Add a catchy caption and relevant hashtags to attract more attention.
2. Send it to Friends and Family: If you want to make someone’s day, send your bothie directly to your loved ones. Whether it’s through messaging apps or email, sharing your bothie with friends and family will bring a smile to their faces.
3. Create a Bothie Album: If you love collecting memories, start an album dedicated to bothies on your phone. You can revisit these cherished moments whenever you want and share the entire album with others.
4. Print and Display: Turn your favorite bothie into a physical print and proudly display it at home or in your workspace. This way, you can relive the moment whenever you see it and spark conversations with visitors.
5. Enter Photo Contests: Many online platforms and mobile apps host photo contests. Participate and submit your best bothie for a chance to win prizes and recognition. It’s an exciting way to showcase your photography skills.
6. Get Creative with Editing: To make your bothie even more captivating, try editing it with filters, stickers, or other photo editing tools. Enhance the colors, add text or borders, and unleash your artistic side.
7. Share with the Nokia Community: Nokia phones often have dedicated communities and forums where users can connect and share their experiences. Join these communities and post your bothie to engage with fellow Nokia enthusiasts.
8. Create a Bothie Series: Take your bothie game to the next level by creating a series of bothies with different themes or locations. This will not only keep you engaged but also help you showcase your creativity to a wider audience.
Remember, the whole purpose of taking a bothie is to capture and share moments from multiple perspectives. So, go ahead and share your bothie masterpiece with the world!
Tips and Tricks for Taking a Great Bothie
Taking a bothie with your Nokia phone can be a fun and unique way to capture moments with your friends and family. To ensure you get the best bothie possible, here are some tips and tricks to keep in mind:
- Make sure everyone is in the frame: When taking a bothie, it’s important to ensure that all the subjects you want to include in the photo are visible. Arrange yourselves accordingly to fit within the frame of the front and rear cameras.
- Use the right lighting: Lighting plays a crucial role in any photo, and bothies are no different. Try to find a well-lit area or use natural light to avoid dark or shadowy images. If you’re in a low-light situation, consider using the flash or adjusting the exposure settings on your Nokia phone.
- Strike a balance: Bothies are all about capturing two perspectives in one frame. Make sure that both the front and rear cameras are evenly balanced so that neither side dominates the photo. Experiment with different angles and compositions to find the perfect balance for your bothie.
- Be aware of your surroundings: Pay attention to the background in your bothie. Ensure that there are no unwanted objects or distractions that may take away from the main subjects. A clutter-free background will make your bothie look clean and professional.
- Use the timer: If you want to be a part of the bothie but also want to hold the phone, make use of the timer feature on your Nokia phone. Set a timer, position the phone correctly, and strike your pose before the camera clicks. This way, you can be in the bothie without having to hold the phone.
- Edit and enhance: After capturing your bothie, don’t hesitate to edit and enhance it using editing apps or built-in editing features on your Nokia phone. Adjust the brightness, contrast, and colors to make your bothie truly shine.
- Experiment with different modes: Nokia phones come equipped with various camera modes like portrait mode, panorama, or even selfie mode. Feel free to experiment with these modes to add creativity and variety to your bothies.
- Have fun with filters: Filters can add a unique touch to your bothies. Explore the different filter options on your Nokia phone’s camera and find one that enhances the mood or atmosphere of your bothie.
- Get creative with composition: Don’t be afraid to play around with different compositions when taking a bothie. Experiment with different angles, perspectives, and framing techniques to create visually interesting and compelling bothies.
By keeping these tips and tricks in mind, you’ll be able to take great bothies with your Nokia phone that capture the essence of your memorable moments. So grab your Nokia phone, gather your friends or family, and start snapping those amazing bothies!
In conclusion, the ability to take a “bothie” with your Nokia phone adds a new level of creativity and versatility to your photography experience. Whether you are capturing precious moments with loved ones or expressing yourself through artistic self-portraits, the bothie feature allows you to tell a more complete story in a single image.
Nokia’s innovative technology and commitment to pushing the boundaries of smartphone photography have made them a pioneer in the industry. With their dual-sight feature, you can effortlessly switch from a regular photo to a bothie, capturing not only what’s in front of you but also your own reactions and emotions.
So why settle for just a selfie when you can take a bothie? Embrace the power of dual-sight photography and elevate your mobile photography experience with Nokia.
FAQs
Q: Can I take a bothie with any Nokia phone?
A: Bothie functionality is available on select Nokia smartphone models. It is best to check the specifications of your specific Nokia phone model to confirm if it supports the bothie feature.
Q: How do I enable the bothie mode on my Nokia phone?
A: To enable the bothie mode on your Nokia phone, open the camera app and switch to the front-facing camera. Look for the option to enable bothie or dual capture in the camera settings. Once enabled, you can capture both photos and videos simultaneously using the front and rear cameras.
Q: Can I customize the split-screen layout for bothie mode?
A: Yes, most Nokia phones allow you to customize the split-screen layout for bothie mode. You can adjust the position and size of the front and rear camera feeds according to your preference, offering a unique and personalized bothie experience.
Q: Can I capture bothie photos and videos using third-party camera apps?
A: While the bothie feature is typically built into the native camera app on Nokia phones, certain third-party camera apps may also offer this functionality. However, it is important to note that the availability and performance of bothie mode may vary depending on the app and device compatibility.
Q: Can I edit bothie photos and videos after capturing them?
A: Yes, you can edit bothie photos and videos on your Nokia phone, just like any other media file. You can use the default gallery or video editing app on your device, or explore third-party editing apps available on the app store to enhance and modify your bothie content as desired.