
Are you looking to capture those important moments on your iPhone by shooting video? Well, you’re in luck! With the latest update to the iPhone’s camera software, you can now zoom in while recording video. This feature allows you to get closer to the action and capture all the details with ease.
In this article, we will guide you on how to zoom in on your iPhone while shooting video. Whether you’re recording a family event, a concert, or simply capturing everyday moments, this zooming feature will take your videos to the next level.
So, if you’re ready to enhance your video footage and make it more engaging, continue reading and discover the simple steps to zoom in on your iPhone while in video mode.
Inside This Article
- Zooming in on iPhone while shooting video
- Accessing the zoom controls
- Using pinch-to-zoom gesture
- Utilizing the zoom slider
- Considering digital vs optical zoom – Understanding the difference between digital and optical zoom – Pros and cons of each zoom type for shooting videos on the iPhone
- Tips for capturing better zoomed-in videos
- Troubleshooting zooming issues
- Conclusion
- FAQs
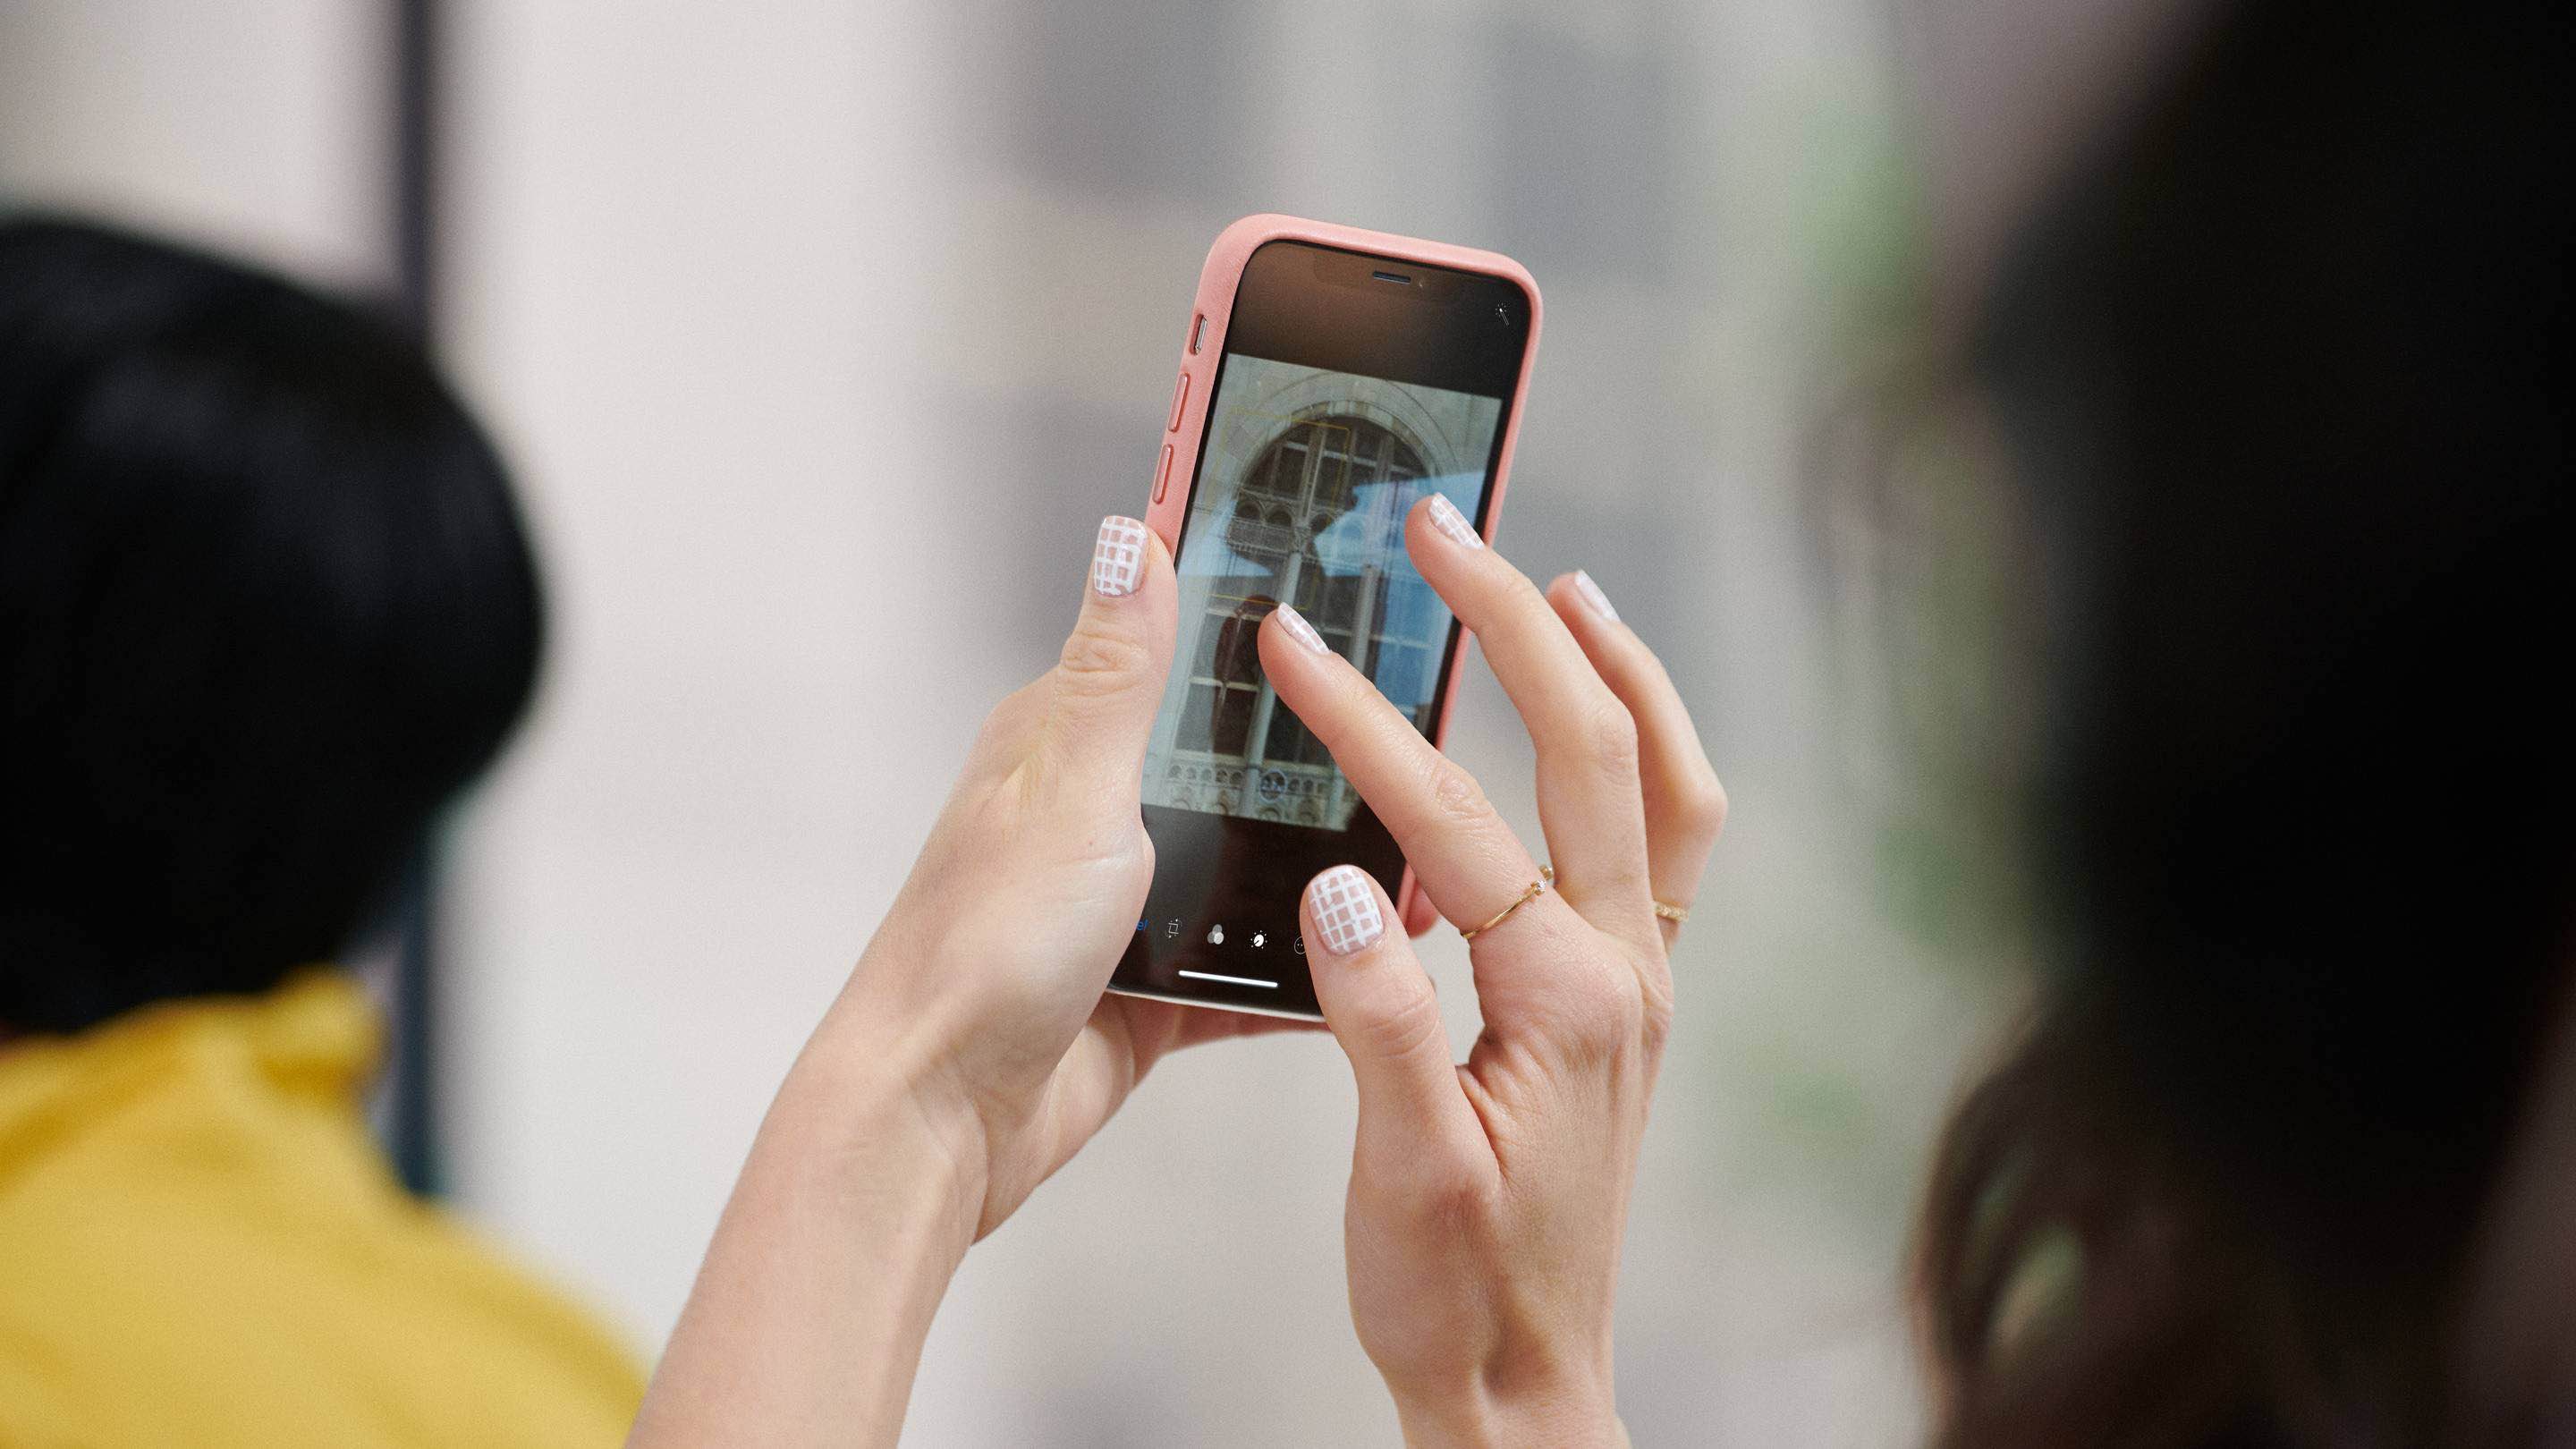
Zooming in on iPhone while shooting video
Have you ever wanted to capture a close-up shot while recording a video on your iPhone? With the built-in zoom feature, you can easily zoom in on your subject and get those detailed shots without compromising the resolution. In this article, we will guide you through the process of zooming in on your iPhone while shooting video.
The first step is to enable the zoom feature on your iPhone. To do this, go to the Settings app and tap on “Accessibility”. From there, select “Zoom” and toggle the switch to “On”. This will activate the zoom feature and make it accessible while shooting video.
Once you have enabled zoom, it’s time to start shooting video with the zoom function. Open the Camera app on your iPhone and select the video mode. You will notice a zoom slider at the bottom of the screen. This slider allows you to adjust the magnification level of the zoom.
To zoom in on your subject, simply slide the zoom slider towards the right. As you move the slider, you will see the video feed zoomed in, giving you a closer view of the subject. Keep in mind that the maximum zoom level will depend on the capabilities of your iPhone model.
If you prefer a more intuitive way to zoom in, you can use the two-finger pinch gesture. While recording a video, place your two fingers on the screen and pinch them together. This action will zoom in on the subject. To zoom out, simply reverse the gesture by spreading your fingers apart.
Zooming in on your iPhone while shooting video offers more flexibility in capturing different perspectives and emphasizing specific details. However, it’s important to note that excessive zooming can result in a loss of image quality, especially if you are zooming in beyond the optical zoom range.
It’s worth mentioning that the zoom feature on iPhones also offers additional options and features. For instance, you can enable the zoom controller, which provides a small magnification window that you can drag around the screen. This allows you to zoom in on specific areas of the video while recording.
Additionally, you can customize the zoom region by adjusting the zoom level and the size of the zoom window. This gives you more control over the positioning and magnification of the zoom effect. Play around with these options to find the settings that work best for your video recording needs.
Now that you know how to zoom in on your iPhone while shooting video, you can start experimenting with different zoom levels and angles. Just remember to use zoom sparingly and judiciously to maintain the quality of your videos. Happy shooting!
Accessing the zoom controls
When shooting videos on your iPhone, the ability to zoom in and out can greatly enhance your footage. In this section, we will guide you through the process of accessing the zoom controls on your iPhone.
To begin, unlock your iPhone and locate the camera app on your home screen. The camera app is represented by a small camera icon and is typically found on the bottom right corner of your screen.
Once you have found the camera app, tap on it to open it. This will launch the camera interface, allowing you to start capturing videos.
Now that you have opened the camera app, you need to navigate to the zoom options. Look for a small zoom icon that resembles a magnifying glass or the letter “x” within a circle. It is usually located in the bottom left or right corner of the screen.
Once you have located the zoom icon, tap on it to access the zoom controls. This will open up a new panel or overlay on your screen, presenting you with various options for zooming in and out.
Now let’s explore the different zoom controls available on your iPhone. The most common control is the zoom slider, which allows you to manually adjust the magnification level. By sliding your finger left or right on the zoom slider, you can increase or decrease the zoom level.
In addition to the zoom slider, your iPhone also supports the two-finger pinch gesture for zooming in. Simply place two fingers on the screen and pinch them together to zoom in. To zoom out, reverse the gesture by spreading your fingers apart.
Furthermore, some iPhone models offer additional zooming options, such as the ability to enable digital zoom. Digital zoom uses software algorithms to enhance the zoom effect, but keep in mind that it may result in a loss of image quality.
Lastly, you may also have access to other advanced zoom features depending on your iPhone model and software version. These features can include optical zoom, which utilizes multiple lenses to achieve a higher level of magnification.
By accessing the zoom controls on your iPhone, you can take your video recordings to the next level by capturing close-up details or adjusting the perspective of your shots. Experiment with the different zoom options and find the settings that work best for your filming needs.
Using pinch-to-zoom gesture
One of the most intuitive ways to zoom in and out while shooting video on your iPhone is by using the pinch-to-zoom gesture. This gesture allows you to quickly and easily adjust the zoom level with just two fingertips. Here’s a step-by-step guide on how to use the pinch-to-zoom gesture:
- Open the Camera app on your iPhone and switch to video mode.
- Position your subject in the frame and determine the initial zoom level.
- Place two fingertips on the screen, close to each other, and start moving them apart to zoom in. To zoom out, simply reverse the gesture by moving your fingertips closer together.
- As you pinch your fingers to zoom in or out, keep an eye on the preview to ensure that you’re getting the desired zoom level.
- Continue adjusting the zoom level by pinching or spreading your fingertips until you achieve the perfect shot.
- Once you’re satisfied with the zoom level, tap the shutter button to start recording your video.
Here are some tips to help you control the zoom level smoothly and effectively:
- Start with subtle adjustments: Instead of making drastic zoom changes all at once, start with small pinches or spreads to gradually adjust the zoom level.
- Practice coordination: Keep in mind that the pinch-to-zoom gesture requires coordination between your fingertips. Practice the gesture to improve your accuracy and control.
- Avoid abrupt changes: Toggling between extreme zoom levels in a short period can result in shaky and unstable footage. Aim for smooth and gradual changes to maintain video quality.
- Utilize a tripod or stabilizer: If you anticipate the need for precise and stable zooming during video recording, consider using a tripod or a stabilizer to minimize camera shakes.
- Experiment with zooming techniques: Play around with different zooming techniques, such as zooming in slowly for a dramatic effect or zooming out gradually to reveal a larger scene. This can add depth and visual interest to your videos.
By mastering the pinch-to-zoom gesture, you can effortlessly control the zoom level while shooting videos on your iPhone, resulting in professional-looking and visually captivating footage.
Utilizing the zoom slider
When shooting video on your iPhone, you can make use of the zoom slider to have precise control over the zoom level. This feature allows you to easily adjust the magnification of the camera while recording, giving you more flexibility in capturing the perfect shot.
To utilize the zoom slider, follow these steps:
1. Open the camera app on your iPhone and switch to video mode.
2. Locate the zoom slider, which is usually found on the bottom right corner of the screen.
3. Slide your finger up or down on the zoom slider to adjust the magnification level. Moving your finger upwards zooms in, while moving it downwards zooms out.
The zoom slider provides a smooth and seamless zooming experience, allowing you to effortlessly control the level of zoom while recording your video. It gives you the ability to gradually zoom in or out, making it easier to capture those distant subjects or get closer to the action as needed.
Furthermore, the zoom slider on the iPhone has built-in indicators to help you understand the zoom increments and the current zoom level. As you slide your finger along the zoom slider, you will notice the zoom level changing and a zoom indicator displaying the magnification percentage. This allows you to have a clear visual representation of how much you are zooming in or out.
The zoom increments on the slider typically range from 1x to the maximum zoom capability of your iPhone’s camera. This can vary depending on the model of your iPhone, but most devices offer at least 2x zoom, with some providing even higher zoom levels.
By utilizing the zoom slider, you can easily achieve the desired level of zoom for your video recordings. Whether you need to capture a close-up shot or want to include more of the surrounding scenery, the zoom slider gives you the control to adjust the zoom level precisely.
Experiment with the zoom slider to find the perfect zoom level that complements your video’s subject and composition. Practice using it in different situations to master the art of zooming in and out seamlessly while shooting video on your iPhone.
Considering digital vs optical zoom – Understanding the difference between digital and optical zoom – Pros and cons of each zoom type for shooting videos on the iPhone
When it comes to zooming in on your iPhone while shooting videos, you have two primary options to choose from: digital zoom and optical zoom. Understanding the difference between the two can help you make an informed decision on which zoom type to use for your video recording needs.
Digital Zoom:
Digital zoom is a software-based zoom feature that enlarges the image digitally, essentially cropping and stretching the pixels to create the illusion of magnification. While it may increase the apparent size of the subject, digital zoom does not actually bring you physically closer to the object you’re capturing.
Pros of Digital Zoom:
- Convenient: Digital zoom is readily available on most smartphones, including the iPhone, so you don’t need any additional accessories to use it.
- Flexible: With digital zoom, you can achieve higher levels of magnification compared to optical zoom, allowing you to zoom in further on distant subjects.
- Compact and Lightweight: Since digital zoom is a software-based feature, there are no additional lenses or equipment required, making it an ideal choice for those looking for portability.
Cons of Digital Zoom:
- Loss of Image Quality: As digital zoom simply enlarges the existing pixels, it can result in a loss of image quality, making the video appear pixelated or grainy.
- Limited Details: Since digital zoom relies on pixel manipulation, it cannot capture fine details as effectively as optical zoom.
- Ineffective in Low-Light Conditions: In low-light situations, digital zoom can amplify noise and reduce overall image clarity, resulting in poorer quality videos.
Optical Zoom:
Optical zoom, on the other hand, is a hardware-based zoom method that utilizes the camera lens to physically magnify the image, bringing you closer to the subject without sacrificing image quality.
Pros of Optical Zoom:
- Improved Image Quality: Optical zoom preserves image quality by using the physical lens to magnify the subject, resulting in clearer and sharper videos.
- Greater Detail Capture: With its ability to physically zoom in, optical zoom captures finer details that may be missed with digital zoom.
- Enhanced Low-Light Performance: Optical zoom is more effective in low-light conditions, as it does not amplify noise or distort the image like digital zoom.
Cons of Optical Zoom:
- Requires Additional Equipment: Unlike digital zoom, which is built-in, optical zoom requires a smartphone lens attachment or a phone with a built-in optical zoom feature. This adds bulk and may be less convenient for everyday use.
- Limited Magnification Levels: Optical zoom has a limited range of magnification levels compared to digital zoom, so it may not be suitable for extreme close-ups or faraway subjects.
When shooting videos on your iPhone, it’s important to consider the pros and cons of digital zoom and optical zoom. If convenience and flexibility are your priorities, digital zoom may be a suitable option. However, if you value image quality and detail capture, optical zoom is the way to go.
Tips for capturing better zoomed-in videos
When it comes to capturing zoomed-in videos on your iPhone, there are a few key tips and techniques that can greatly enhance the quality of your footage. Consider these recommendations for better composition, stability, lighting, and minimizing shakiness:
1. Pay attention to composition: Just because you’re zoomed in doesn’t mean you should neglect the composition of your shot. Take the time to frame your subject properly, ensuring that it remains in focus and well-positioned within the frame. Keep in mind the rule of thirds and consider the overall visual balance of the scene.
2. Maintain stability: Zooming in can amplify even the tiniest camera movements, resulting in shaky footage. To minimize this, use both hands to hold your iPhone firmly, or consider using a tripod or stabilizer for added stability. This will help ensure smoother and more professional-looking videos.
3. Utilize proper lighting: Good lighting is essential for capturing high-quality videos, especially when zoomed in. Make sure your subject is well-lit and avoid shooting in low-light situations, as this can lead to grainy and noisy footage. Consider natural lighting or using external lighting sources to achieve the best results.
4. Be mindful of focus: When zoomed in, maintaining focus becomes crucial. The iPhone’s autofocus feature will work to keep your subject in focus, but it’s always a good idea to double-check and manually adjust if necessary. Tap on the screen to lock the focus and exposure before you start recording.
5. Minimize movement and panning: To prevent excessive shakiness and maintain a smooth video, avoid unnecessary movement and panning while zoomed in. Instead, focus on capturing steady shots and letting the subject be the primary focus of the frame.
6. Experiment with different zoom levels: Don’t be afraid to experiment with different zoom levels to find the right balance. Sometimes a slight zoom can add emphasis or detail to your shot without compromising stability. Play around with different levels of zoom to find the optimal setting for your desired shot.
By following these tips and techniques, you can capture better zoomed-in videos on your iPhone. Remember, practice makes perfect, so keep exploring and experimenting to master the art of capturing stunning footage.
Troubleshooting zooming issues
When it comes to zooming in while shooting video on your iPhone, you may occasionally encounter some difficulties. In this section, we will discuss common problems and provide troubleshooting tips to help you address zoom-related issues effectively.
1. Zoom not functioning:
If you find that the zoom feature is not working on your iPhone while shooting video, there are a few steps you can take to troubleshoot the problem. First, make sure that the zoom feature is enabled in your camera settings. You can check this by going to “Settings” > “Camera” > “Enable Zoom.” If it is already enabled, try toggling it off and back on again to reset it. If the issue persists, you may need to restart your iPhone and try again.
2. Zoom level stuck:
Sometimes, the zoom level may become stuck at a certain magnification and can’t be adjusted. To resolve this issue, try the following troubleshooting steps. First, close the Camera app completely and reopen it. This can sometimes reset any glitches causing the zoom level to freeze. If that doesn’t work, try restarting your iPhone or updating to the latest iOS version. If the problem persists, you may need to contact Apple support for further assistance.
3. Blurry zoomed-in footage:
If you notice that the zoomed-in footage on your iPhone appears blurry, there are a few factors to consider. First, ensure that there is enough light in the scene. Low-light conditions can result in grainy or blurry footage, especially when zoomed in. Additionally, check to see if you have optical image stabilization (OIS) enabled. OIS helps reduce blur caused by camera shake. If it is already enabled, try steadying your hand while recording or using a tripod for more stability.
4. Zoom controls not responsive:
If you find that the zoom controls on your iPhone are not responding as expected, there are a couple of troubleshooting steps you can take. First, check if your iPhone’s screen is clean and free from any obstructions. Sometimes, dirt or debris on the screen can interfere with touch sensitivity. Gently clean the screen and try again. If the problem persists, try resetting your iPhone’s settings by going to “Settings” > “General” > “Reset” > “Reset All Settings.” Note that this will reset all your personalized settings, so proceed with caution.
5. Zoom functions unavailable in certain apps:
Not all video recording apps may support the zoom feature on your iPhone. If you are using a third-party app and can’t find the zoom option, it could be because the app does not have the necessary functionality. In such cases, try using the default Camera app on your iPhone, as it provides a wide range of features, including zooming in while shooting video.
By following these troubleshooting tips, you can effectively address common zoom-related issues while shooting video on your iPhone. Remember to update your device’s software regularly to ensure optimal performance and make the most out of the zoom feature.
The ability to zoom in while shooting video on your iPhone is a valuable feature that can enhance your videography skills and create more dynamic and engaging content. Whether you’re capturing a breathtaking landscape or recording a memorable moment with friends and family, being able to zoom in allows you to get closer to the action and capture every detail with precision.
iPhones are equipped with advanced camera technology that provides a high-quality zoom function, enabling you to zoom in smoothly without sacrificing the clarity and sharpness of your video. By mastering the art of zooming in while shooting, you can add depth and creativity to your videos, elevating them to the next level.
With the simple steps outlined in this article, you now have the knowledge to effectively zoom in on your iPhone while shooting video. So grab your iPhone, unleash your creativity, and start capturing incredible moments with the power of zoom.
Conclusion
Zooming in while shooting video on your iPhone is a game-changer that allows you to bring your videos to life and capture stunning footage. With the ability to focus on details and emphasize certain elements, you can create captivating videos that leave a lasting impact on your audience.
So, whether you’re a filmmaker, vlogger, or simply a smartphone enthusiast, make use of this powerful feature and unlock the full potential of your iPhone camera. Practice, experiment, and discover new ways to use zoom in your videos to take your videography skills to new heights.
Remember, the best way to become proficient in using the zoom feature is through hands-on experience. So, don’t hesitate to pick up your iPhone and start exploring the endless creative possibilities that await you with zoom!
FAQs
1. Can I zoom in while shooting a video on my iPhone?
Absolutely! The latest iPhone models offer the option to zoom in while capturing video. This feature allows you to get closer to the subject and capture more detail without needing to physically move closer.
2. How do I zoom in on my iPhone while shooting video?
To zoom in on your iPhone while recording a video, simply open the camera app and swipe up or down on the screen. This will activate the zoom feature, and you can adjust the zoom level by pinching in or out on the screen.
3. Does zooming in affect the video quality on my iPhone?
Yes, zooming in on your iPhone while recording video can affect the overall quality of the footage. As you zoom in, the image may become slightly pixelated or less sharp. It’s important to find the right balance between zooming in for desired framing and maintaining optimal video quality.
4. Are there any limitations to zooming in on my iPhone while shooting video?
While the zoom feature on iPhones offers great flexibility, there are a few limitations to keep in mind. The more you zoom in, the more susceptible the video becomes to camera shake or instability. Additionally, zoomed-in footage may appear slightly grainier, especially in low-light conditions.
5. Can I use third-party apps to enhance the zoom capabilities on my iPhone?
Yes, there are several third-party apps available on the App Store that can enhance the zoom capabilities on your iPhone. These apps offer advanced features like digital zoom, manual focus, and even image stabilization to help you achieve professional-level results while shooting videos.