
The Motorola Razr is a stylish and feature-packed smartphone that offers a seamless music experience. Whether you're a music enthusiast or simply enjoy listening to your favorite tunes on the go, knowing how to add music to your Motorola Razr is essential for maximizing your enjoyment of the device. By understanding the various methods available for adding music to your Razr, you can effortlessly create a personalized music library that suits your preferences. From transferring music files via USB to utilizing music streaming services, there are multiple ways to enhance your Razr with a diverse collection of songs. In this article, we'll explore the step-by-step process of adding music to your Motorola Razr, ensuring that you can enjoy your favorite tracks wherever you go.
Inside This Article
- Step 1: Connect Your Motorola Razr to Your Computer
- Step 2: Transfer Music Files to Your Motorola Razr
- Step 3: Set Up Your Music Library on Your Motorola Razr
- Conclusion
- FAQs
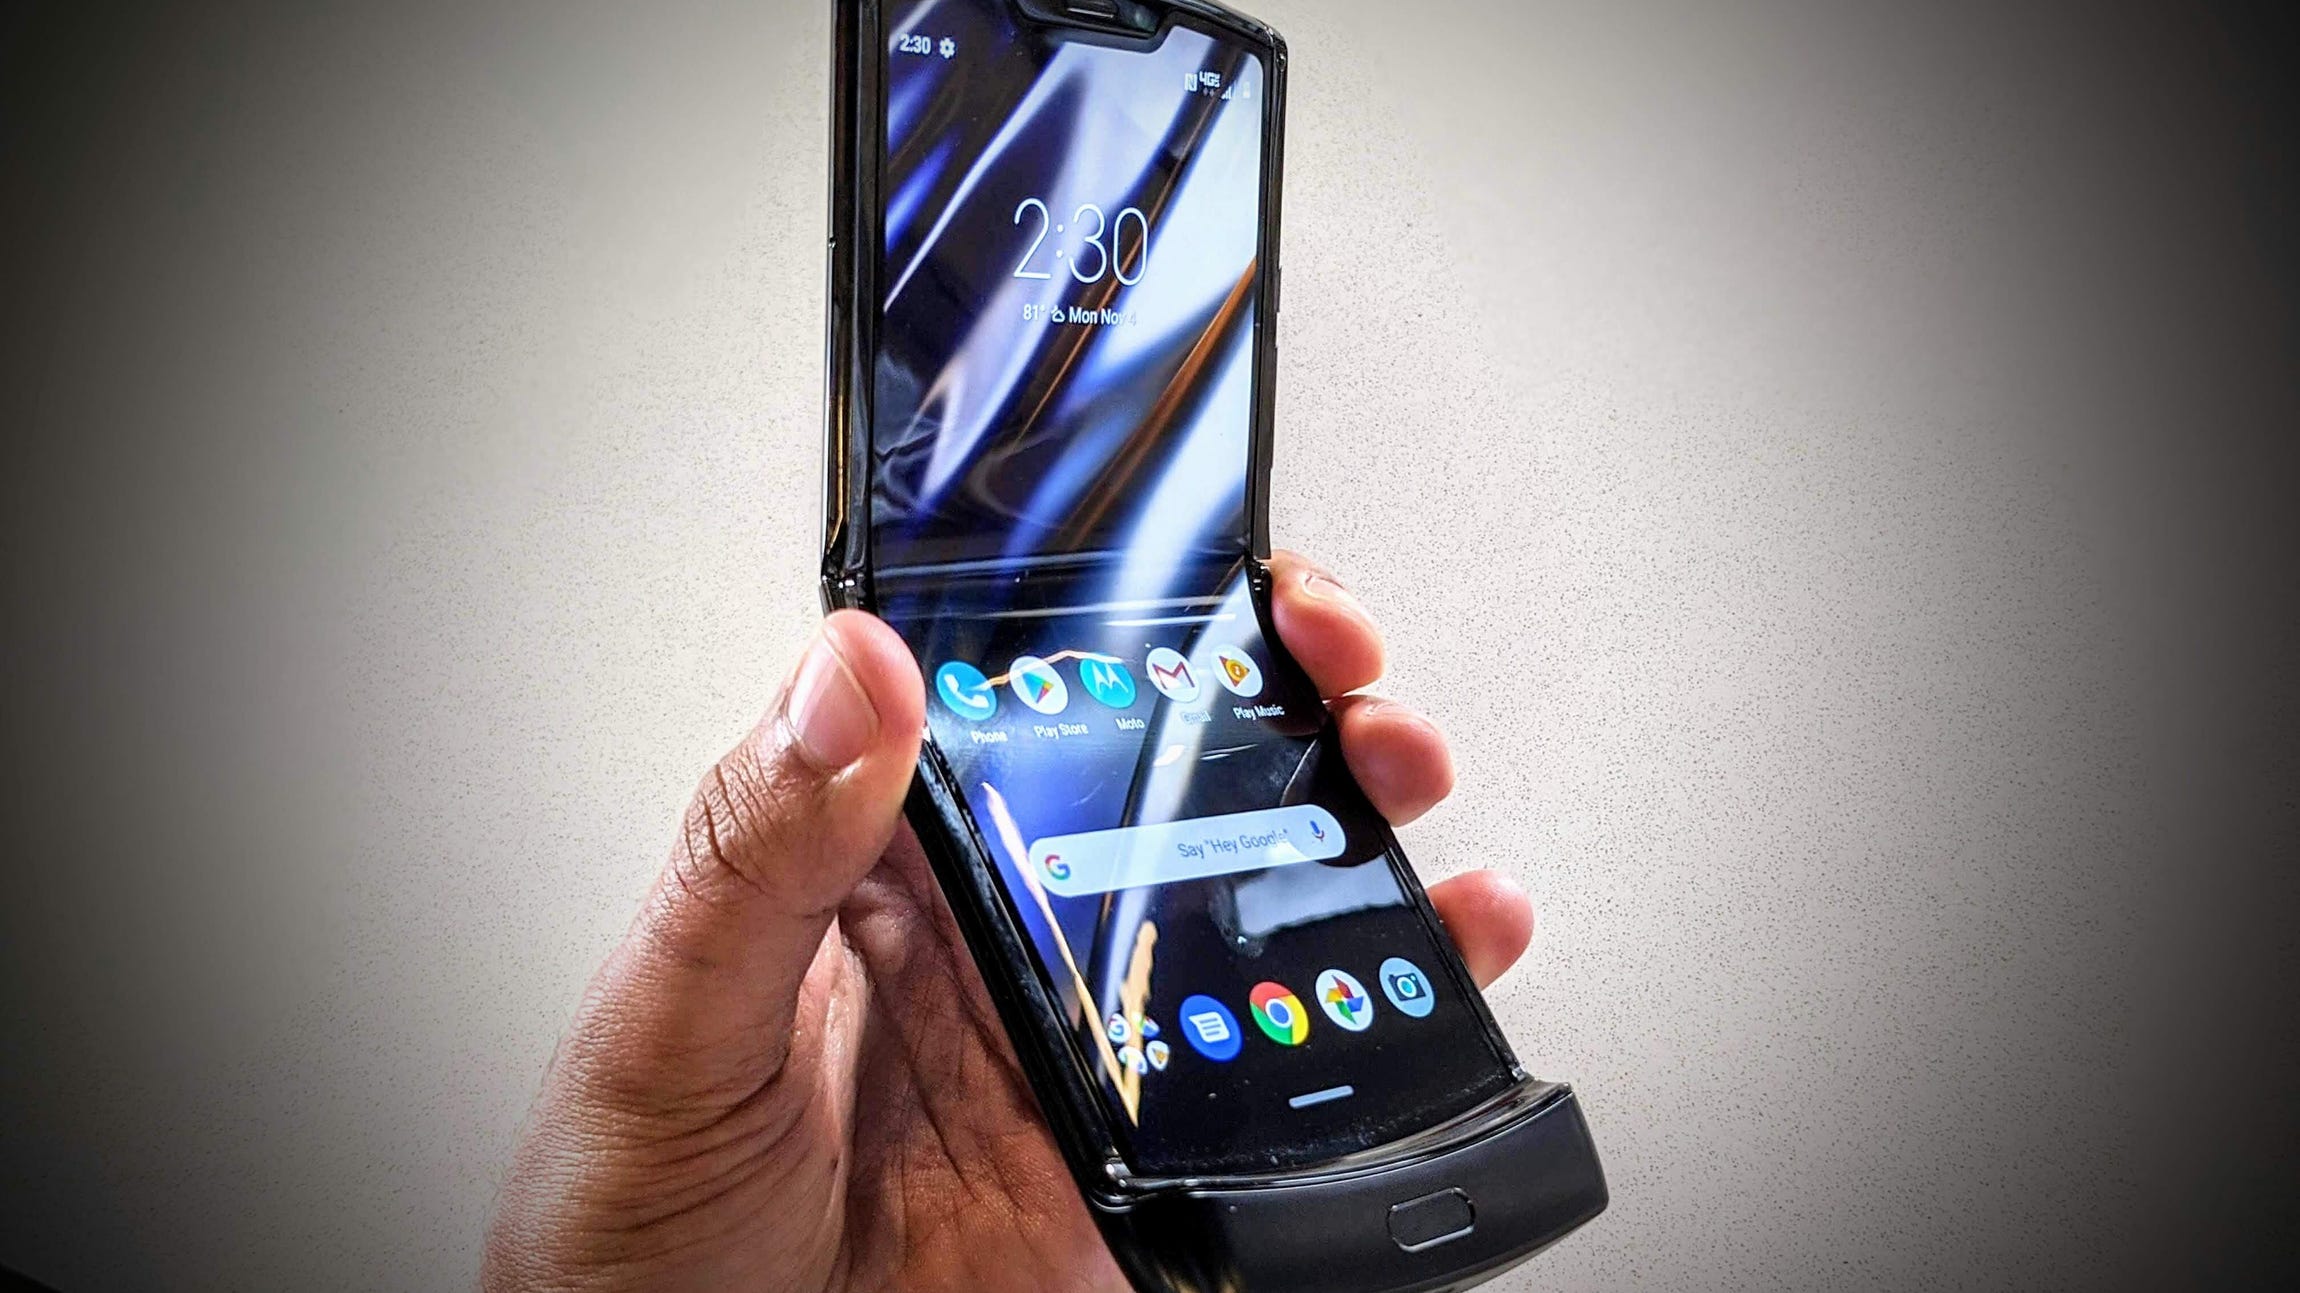
Sure, here's the content for "Step 1: Connect Your Motorola Razr to Your Computer" section:
Step 1: Connect Your Motorola Razr to Your Computer
Connecting your Motorola Razr to your computer is the first step in adding music to your device. This process allows you to transfer your favorite songs from your computer to your Razr, ensuring that you have a personalized music collection at your fingertips.
To begin, you will need a USB cable that is compatible with your Motorola Razr and your computer. This cable is essential for establishing a physical connection between the two devices, enabling seamless data transfer.
Once you have the USB cable ready, locate the USB port on your Motorola Razr. This port is typically found at the bottom or on the side of the device, depending on the model. Insert one end of the USB cable into this port securely, ensuring a proper connection.
Next, locate an available USB port on your computer. This is where you will connect the other end of the USB cable. Insert the USB connector into the USB port on your computer, making sure it fits snugly to establish a stable connection.
After connecting your Motorola Razr to your computer via the USB cable, your computer will recognize the device as an external storage device. This recognition is essential for the subsequent steps of transferring music files to your Razr.
Step 2: Transfer Music Files to Your Motorola Razr
After connecting your Motorola Razr to your computer, it’s time to transfer your favorite music files to your device. This process allows you to enjoy your personalized music collection on the go, whether you’re commuting, working out, or simply relaxing.
First, locate the music files on your computer that you want to transfer to your Motorola Razr. These could be MP3, WAV, or other compatible audio file formats. Organize the files into a specific folder on your computer to streamline the transfer process.
Next, open the file explorer or music management software on your computer. Identify the folder containing the music files you wish to transfer. Once located, select the desired music files within the folder. You can choose individual songs or entire albums, depending on your preferences.
Once the music files are selected, right-click on the chosen files and select the “Copy” option from the context menu. Alternatively, you can use the keyboard shortcut (Ctrl + C on Windows or Command + C on Mac) to copy the selected music files.
After copying the music files, navigate to the folder representing your Motorola Razr within the file explorer or music management software. This is where you will paste the music files you previously copied. Right-click within the folder and select the “Paste” option from the context menu, or use the keyboard shortcut (Ctrl + V on Windows or Command + V on Mac) to paste the music files.
Once the music files are successfully pasted into the designated folder on your Motorola Razr, you can safely disconnect your device from the computer. Your favorite music is now readily available on your Motorola Razr, allowing you to enjoy your personalized playlist wherever you go.
Step 3: Set Up Your Music Library on Your Motorola Razr
Now that you’ve successfully transferred music files to your Motorola Razr, it’s time to organize and set up your music library for easy access and enjoyment. Setting up your music library ensures that you can find and play your favorite tunes without any hassle. Follow these simple steps to set up your music library on your Motorola Razr.
1. Organize Your Music: Start by organizing your music files into specific folders based on your preferences. You can create folders for different genres, artists, or albums, making it easier to navigate through your music collection on your Motorola Razr.
2. Update Music Metadata: Check and update the metadata of your music files to ensure that the correct information, such as song titles, album names, and artist details, is associated with each track. This step helps your music library appear neat and organized on your device.
3. Create Playlists: Take advantage of the playlist feature on your Motorola Razr to curate custom playlists for different moods or occasions. Whether it’s a workout playlist or a collection of relaxing tunes, creating playlists allows for quick access to your favorite songs.
4. Set Up Music Apps: If you use music streaming apps or have downloaded music management apps, take the time to set them up on your Motorola Razr. This ensures seamless integration and access to a wider range of music content.
5. Personalize Your Music Library: Customize your music library settings to suit your preferences. You can adjust display options, sorting preferences, and audio settings to enhance your overall music listening experience on your Motorola Razr.
By following these steps to set up your music library on your Motorola Razr, you can create an organized and personalized music collection that aligns with your musical tastes and preferences.
Conclusion
Adding music to your Motorola Razr is a seamless process that allows you to enjoy your favorite tunes on the go. Whether you prefer transferring music from your computer or downloading tracks directly to your device, the options are versatile and user-friendly. With the ability to organize your playlists and customize your music experience, the Motorola Razr offers a convenient and enjoyable way to listen to music while embracing the innovative features of this iconic smartphone. By following the simple steps outlined in this guide, you can effortlessly enhance your Razr with a personalized soundtrack that complements your lifestyle.
Certainly! Here are the FAQs for "How To Add Music To Motorola Razr":
**FAQs**
- Can I add music to my Motorola Razr without using a computer?
- What audio formats are supported by the Motorola Razr for music playback?
- Is there a specific app I need to use to transfer music to my Motorola Razr?
- Can I create playlists on my Motorola Razr to organize my music?
- **Does the Motorola Razr support streaming music services?