
So you’ve just purchased a Plantronics Savi headset and you’re excited to start using it. But now comes the question: How do you pair your new headset to the base? This step is crucial in order to ensure a seamless and reliable connection between your headset and the base, enabling you to make and receive calls with ease.
In this article, we will guide you through the process of pairing your Plantronics Savi headset to the base. Whether you’re a tech-savvy enthusiast or a beginner in the world of wireless headsets, we’ve got you covered. So let’s dive in and get your Plantronics Savi headset up and running in no time!
Inside This Article
Pairing Steps
Pairing your Plantronics Savi headset to the base is a simple process that allows you to enjoy the convenience and functionality of a wireless headset. Follow the steps below to pair your headset to the base and start experiencing hands-free communication.
Before you begin, make sure you have your Savi headset and base charged and ready for pairing.
Step 1: Connecting the Base to Power
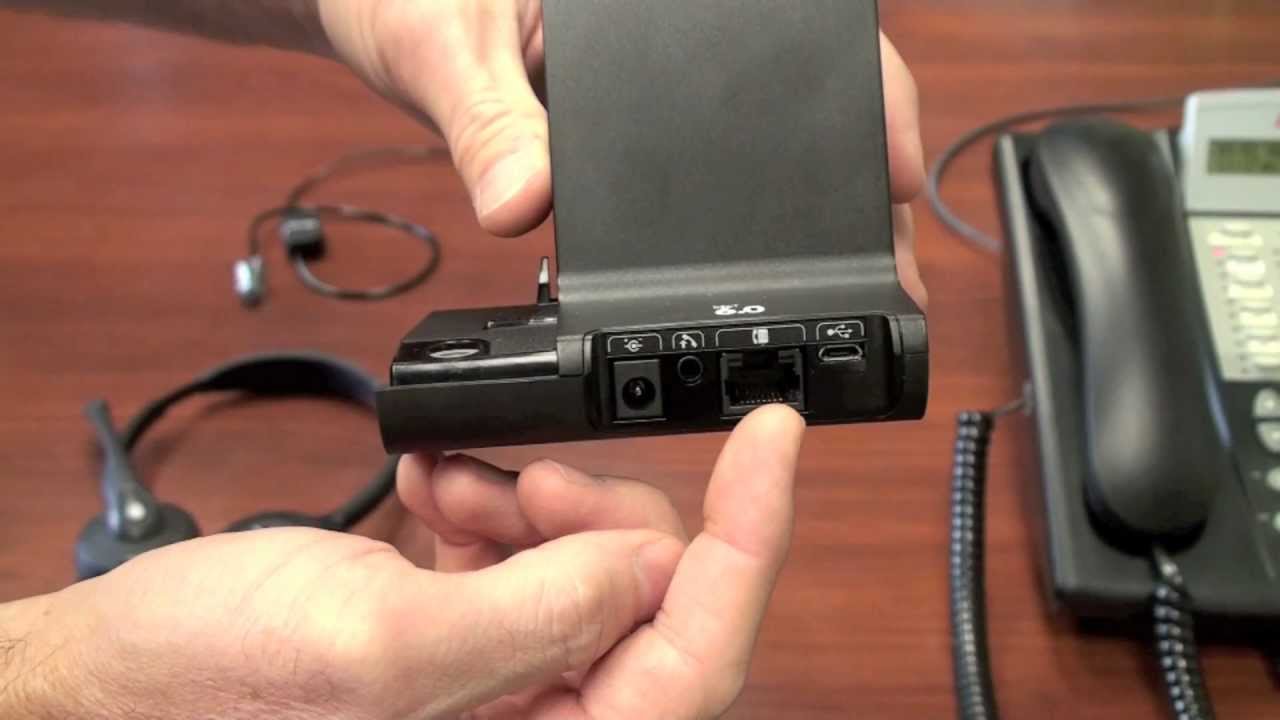
Start by plugging the power adapter into the base and connecting it to a power source. Ensure that the base is placed in a location where it can be easily accessed and reach your phone or computer.
Step 2: Placing the Headset in Pairing Mode
To put your Plantronics Savi headset into pairing mode, press and hold the “Pair” button located on the base for approximately 5 seconds. You will notice that the headset LED starts to flash, indicating that it is now in pairing mode.
Step 3: Pairing the Headset to the Base
Now that your headset is in pairing mode, it’s time to pair it with the base. On the base unit, locate the subscription button or the “Subscription” LED, depending on the model. Press and hold the subscription button or press the LED until it starts flashing.
Next, bring the headset close to the base unit and wait for them to establish a connection. Once the pairing process is complete, the LED on the base unit should stop flashing, indicating a successful pairing.
Congratulations! You have successfully paired your Plantronics Savi headset to the base. Now you can enjoy the freedom of hands-free communication and take advantage of the various features offered by your Savi headset.
If you encounter any issues during the pairing process, refer to the user manual provided with your headset or consult the manufacturer’s website for troubleshooting tips and additional support.
Resetting the Headset
There may be instances where you need to reset your Plantronics Savi headset to resolve any connectivity issues or to troubleshoot performance problems. Resetting the headset can help it regain its original settings and eliminate any configuration glitches that may have occurred. Here’s a step-by-step guide on how to reset your Plantronics Savi headset:
1. First, make sure that the headset is powered off by pressing and holding the power button until the LED indicators turn off.
2. Locate the subscription button on the base of the headset. This is a small button usually situated on the side or back of the base.
3. Press and hold the subscription button for approximately 5 seconds. You will notice that the LED indicators on the base will start to blink rapidly, indicating that the reset process has begun.
4. While the LED indicators are still blinking rapidly, power on your Plantronics Savi headset by pressing and holding the power button until the LED indicators on the headset turn on.
5. Once the LED indicators on the headset and base have stopped blinking and remain solid, this indicates that the reset process is complete. Your Plantronics Savi headset is now ready to be paired with the base again.
It’s worth noting that resetting your Plantronics Savi headset will erase any previously paired devices and settings. Therefore, you will need to re-pair your headset with the base as if you were setting it up for the first time.
Resetting your headset is a simple yet effective troubleshooting step that can help resolve many common connectivity issues. If you are still experiencing problems after resetting your Plantronics Savi headset, it is recommended to consult the user manual or reach out to Plantronics customer support for further assistance.
Troubleshooting Tips
Having trouble pairing your Plantronics Savi headset to the base? Don’t worry, we’ve got you covered! Here are some troubleshooting tips to help you get your headset and base connected and working properly.
1. Double-check the power connection: Make sure that the base of your Plantronics Savi headset is properly connected to a power source. Sometimes a loose power connection can cause pairing issues.
2. Ensure the headset is in pairing mode: Put your headset in pairing mode by following the manufacturer’s instructions. Typically, this involves pressing and holding a button on the headset until the LED indicator starts flashing, indicating that it’s ready to pair.
3. Reset the headset: If you’re still having trouble pairing, try resetting your Plantronics Savi headset. To do this, locate the reset button on the headset, usually found near the charging port. Use a small object like a paperclip to press and hold the reset button for a few seconds. This will restore the headset to its factory settings and may resolve any pairing issues.
4. Check the headset and base compatibility: Ensure that your Plantronics Savi headset and base are compatible with each other. Sometimes, different models or generations of headsets and bases may not be fully compatible, resulting in pairing difficulties. Refer to the manufacturer’s compatibility guide or website for more information.
5. Clear any interference: Wireless devices and other electronic equipment in close proximity to the headset and base may interfere with the pairing process. Move any potential sources of interference away from the headset and base, and try pairing again.
6. Update firmware and drivers: Check if there are any available firmware updates or driver updates for your Plantronics Savi headset or base. Updating the firmware can often resolve compatibility issues and improve overall performance.
7. Contact customer support: If all else fails, don’t hesitate to reach out to Plantronics customer support. They have a dedicated team of experts who can assist you with any technical issues you may encounter during the pairing process.
By following these troubleshooting tips, you should be able to successfully pair your Plantronics Savi headset to the base and enjoy wireless communication without any hassle. Happy pairing!
Additional Resources
If you’re encountering any issues while pairing your Plantronics Savi headset to the base, don’t worry! There are plenty of resources available to help you navigate through the process smoothly.
1. Plantronics User Manual: The first place to turn to is the user manual that comes with your Plantronics Savi headset. It provides detailed step-by-step instructions on how to pair your headset to the base, along with troubleshooting tips for common issues.
2. Plantronics Support Website: Visit the official Plantronics support website to access a wealth of information and resources. You can find FAQs, video tutorials, troubleshooting guides, and more. The website is designed to help you quickly find the answers you need to resolve any pairing issues.
3. Online Forums and Communities: Engage with other Plantronics users in online forums and communities. These platforms provide a space to ask questions, share experiences, and learn from others who may have encountered similar pairing issues. It’s a great way to connect with experts and gain insights from the community.
4. Contact Plantronics Support: If you’ve exhausted all other resources and still need assistance, don’t hesitate to reach out to Plantronics support directly. They have a dedicated team of experts who can guide you through the pairing process or troubleshoot any technical difficulties you may be facing.
Remember, pairing your Plantronics Savi headset to the base should be a straightforward process, but sometimes unexpected challenges can arise. By utilizing these additional resources, you can ensure a smooth and successful pairing experience with your Plantronics Savi headset.
Conclusion
Pairing your Plantronics Savi headset to the base is a straightforward process that allows you to enjoy the full functionality and convenience of your device. By following the simple guidelines provided by Plantronics, you can easily establish a secure and reliable connection between your headset and base.
Once paired, you will have the freedom to take calls, listen to music, and engage in conversations with clarity and comfort. The versatility of the Plantronics Savi headset, combined with its seamless integration with the base, ensures a hassle-free user experience.
Remember to refer to the user manual or the Plantronics website for detailed instructions specific to your headset model. With the correct pairing process, you can maximize the capabilities of your Plantronics Savi headset and enjoy the benefits of wireless freedom and exceptional audio quality.
FAQs
**Q: How do I pair my Plantronics Savi headset to the base?**
To pair your Plantronics Savi headset to the base, follow these steps:
1. Turn on your Plantronics Savi headset by pressing the power button until the LED indicator lights up.
2. Put the headset into pairing mode by pressing and holding the connect button on the base for about 10 seconds. The LED indicator on the base will start flashing.
3. On your headset, press and hold the call control button and the volume up button at the same time until the LED indicator on the headset starts flashing blue and red.
4. The base will now search for the headset and establish a connection. Once the pairing is successful, the LED on the base will stop flashing and become solid.
5. Your Plantronics Savi headset is now paired with the base and ready to use.
**Q: How do I know if my Plantronics Savi headset is connected to the base?**
Once you have paired your Plantronics Savi headset to the base, there are a few ways to check the connection:
– Look for a solid LED indicator on both the headset and the base. A solid LED indicates a successful connection.
– Make a test call or play audio on your device and listen through the headset. If you can hear the sound clearly, it means the headset is connected.
**Q: Can I pair my Plantronics Savi headset with multiple bases?**
Yes, you can pair your Plantronics Savi headset with multiple bases. This feature is particularly useful if you have several workstations or devices that you frequently switch between.
To pair your headset with another base, simply repeat the pairing process mentioned earlier for each additional base.
**Q: How far can I roam with my Plantronics Savi headset?**
The range of your Plantronics Savi headset may vary depending on the specific model and the surrounding environment. In general, the headset has a range of up to 350 feet (106 meters) in a typical office setting.
Keep in mind that the range can be affected by obstructions such as walls or furniture. For optimal performance, it is recommended to stay within the range specified by the manufacturer.
**Q: How do I adjust the volume on my Plantronics Savi headset?**
To adjust the volume on your Plantronics Savi headset, follow these steps:
– On the headset, locate the volume buttons. These buttons are typically labeled with “+” and “-” symbols.
– Press the “+” button to increase the volume or the “-” button to decrease the volume.
– Continue pressing the respective buttons until you reach your desired volume level.
– You can also adjust the volume directly from your connected device, such as a mobile phone or computer, if it supports headset volume control.
If you are still experiencing issues with adjusting the volume, refer to the user manual or reach out to Plantronics customer support for further assistance.