
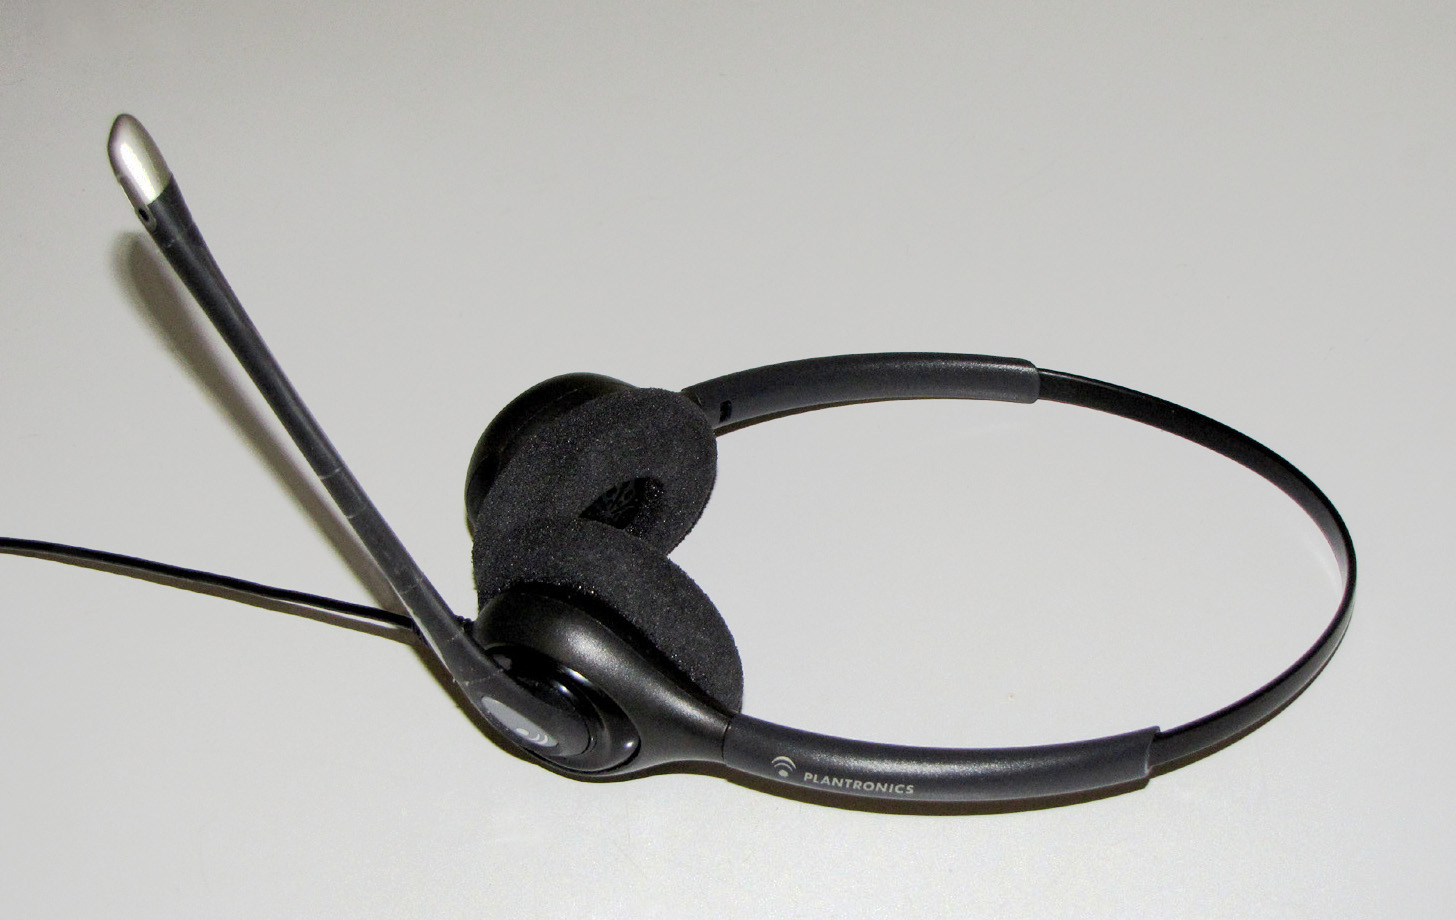
If you’ve recently purchased a Plantronics headset, you may be wondering how to pair it with your devices. Plantronics headsets are known for their exceptional audio quality and user-friendly interface, making them a popular choice among mobile accessory enthusiasts. In this article, we’ll guide you through the simple steps to pair your Plantronics headset with your smartphone, tablet, or other compatible devices. Whether you’re a first-time user or just need a refresher, we’ve got you covered with easy-to-follow instructions and helpful tips. So let’s dive in and get your Plantronics headset paired and ready for a seamless wireless audio experience!
Inside This Article
- Bluetooth Pairing Steps
- Pairing with Android Devices
- Pairing with iOS Devices
- Troubleshooting and Tips
- Conclusion
- FAQs
Bluetooth Pairing Steps
In order to pair your Plantronics headset with a device, you’ll need to follow a few simple steps. Whether you’re connecting it to your smartphone, tablet, or computer, the process is quite similar. Let’s dive into the Bluetooth pairing steps:
- Step 1: Turn on your Plantronics headset by pressing and holding the power button until the indicator light starts flashing. This indicates that the headset is now in pairing mode.
- Step 2: On your device, enable Bluetooth by going to the settings menu. Look for the Bluetooth option and toggle it on. Make sure your device is discoverable so that it can detect your Plantronics headset.
- Step 3: Once Bluetooth is enabled on your device, it will start scanning for nearby devices. In the list of available devices, you should see your Plantronics headset listed. Tap on it to initiate the pairing process.
- Step 4: At this point, your device may prompt you to enter a passcode or PIN to complete the pairing. For most Plantronics headsets, the default passcode is “0000” (four zeros). However, it’s always a good idea to refer to the user manual or check the Plantronics website for specific instructions.
- Step 5: Once you’ve entered the passcode, your device will establish a Bluetooth connection with your Plantronics headset. You’ll typically see a confirmation message or an indicator light on both your device and the headset, indicating a successful pairing.
And voila! Your Plantronics headset is now paired with your device and ready to use. From making hands-free calls to listening to music or even participating in virtual meetings, you can now enjoy the convenience and freedom that a wireless headset provides.
It’s important to note that the pairing process may vary slightly depending on the specific Plantronics headset model and the device you’re connecting it to. If you encounter any difficulties during the pairing process, refer to the user manual or visit the Plantronics support website for troubleshooting tips.
Pairing with Android Devices
If you have an Android smartphone or tablet, pairing your Plantronics headset is a straightforward process. Just follow these simple steps:
1. Turn on your Android device and go to the Settings menu.
2. Locate the “Bluetooth” option and tap on it to open the Bluetooth settings.
3. Make sure the Bluetooth feature is enabled on your Android device. You can do this by toggling the switch next to Bluetooth to the “On” position.
4. Now, turn on your Plantronics headset by pressing and holding the power button for a few seconds until the LED light starts flashing or the voice prompt indicates it is in pairing mode.
5. On your Android device, tap on the “Scan” or “Search for Devices” button to initiate a scan for nearby Bluetooth devices.
6. Your Android device will display a list of available Bluetooth devices, including your Plantronics headset. Look for the name of your headset in the list and tap on it to begin the pairing process.
7. Once your Android device successfully pairs with your Plantronics headset, you will see a confirmation message on the screen. At this point, your headset is ready to use.
8. You can now test your headset by making a call or playing some music. The audio should be routed through your Plantronics headset, providing you with a hands-free and convenient experience.
It is important to note that the specific steps may vary depending on the version of Android and the model of your Plantronics headset. However, the general process remains similar across different devices.
Continue reading for troubleshooting tips in case you encounter any issues during the pairing process.
Pairing with iOS Devices
If you own an iOS device, such as an iPhone or an iPad, you’ll be pleased to know that pairing your Plantronics headset is a straightforward process. Just follow the steps below:
1. Start by ensuring that your iOS device has Bluetooth connectivity. You can do this by going into the “Settings” app, selecting “Bluetooth,” and making sure it is turned on.
2. Next, power on your Plantronics headset by pressing and holding the power button until you see the LED indicator light up. The exact location of the power button may vary based on the specific model of your headset, so consult the user manual if you’re unsure.
3. Once your headset is powered on, put it into pairing mode. This can typically be done by either pressing and holding the Bluetooth button or following a specific combination of button presses, as outlined in the user manual. Look for a solid LED light or an indication that the headset is in pairing mode.
4. Now, switch back to your iOS device and navigate to the Bluetooth settings. You should see a list of available devices. Locate your Plantronics headset in the list and tap on it to initiate the pairing process.
5. After tapping on your Plantronics headset, your iOS device will attempt to pair with it. You may be prompted to enter a passcode or confirm the pairing request. Follow the on-screen instructions and enter the necessary information to complete the pairing process.
6. Once the pairing is successful, you’ll see a notification confirming the connection between your iOS device and Plantronics headset. At this point, you can start using your headset for calls, music, or any other supported audio functions.
It’s important to note that the pairing procedure may differ slightly between different models of iOS devices and Plantronics headsets. If you encounter any difficulties or variations in the process, consult the user manual specific to your device and headset.
With your Plantronics headset successfully paired with your iOS device, you can now enjoy the convenience and freedom it provides. Whether you want to make hands-free calls, listen to music on the go, or use voice commands with virtual assistants like Siri, your Plantronics headset will enhance your mobile experience.
Troubleshooting and Tips
Even with the best technology, occasional hiccups can happen. If you encounter any issues while pairing your Plantronics headset, don’t worry. We’ve got you covered with some troubleshooting tips to help you get back on track.
1. Ensure Bluetooth Compatibility: Double-check that your device supports Bluetooth connectivity and is compatible with the Plantronics headset model you’re trying to pair. Refer to the headset’s user manual or visit the Plantronics website for compatibility information.
2. Restart Your Devices: Sometimes, a simple restart can resolve connectivity issues. Turn off both your Plantronics headset and the device you’re trying to pair it with. Then, power them back on and attempt the pairing process again.
3. Reset the Headset: If the pairing process still fails, resetting your Plantronics headset may help. Look for the reset button or sequence in the headset’s user manual and follow the instructions carefully. After resetting, try pairing the headset again.
4. Update Firmware: Outdated firmware can cause compatibility issues. Check if there are any firmware updates available for your Plantronics headset model. Visit the Plantronics website or use the Plantronics hub software to download and install any available updates.
5. Move Closer: If you’re experiencing weak or intermittent connectivity, try moving closer to the paired device. Physical obstructions and distance can affect the signal strength. Being in close proximity can help establish a stable connection.
6. Remove Interference: Nearby electronic devices or Wi-Fi networks can interfere with the Bluetooth signal. Move away from crowded areas or power off other devices that may cause interference during the pairing process.
7. Clean the Headset: Accumulated dirt or debris on the headset’s connectors or charging port can hinder proper pairing. Use a soft cloth or an electronics-safe cleaning solution to gently clean the headset and ensure optimal connectivity.
8. Try a Different Device: If all else fails, try pairing your Plantronics headset with a different device. This will help determine if the issue lies with the headset or the original device you were trying to pair it with.
9. Contact Plantronics Support: If you’ve exhausted all troubleshooting options and are still unable to pair your headset, don’t hesitate to reach out to Plantronics support. Their experienced team can provide further assistance and guide you through any additional steps.
By following these troubleshooting tips, you can overcome common hurdles and successfully pair your Plantronics headset with your preferred device.
Conclusion
Pairing your Plantronics headset is a simple process that allows you to enjoy wireless convenience and hands-free communication. By following the steps outlined in this article, you can easily connect your headset to your mobile device or computer.
Once paired, you can take advantage of the many features and functions of your Plantronics headset, including crystal clear audio, noise cancellation, and easy call management. Whether you’re using your headset for work, gaming, or simply enjoying music, having a seamless connection enhances your overall experience.
Remember to keep your headset charged and firmware updated to ensure optimal performance and compatibility. Explore the FAQs section for further information and troubleshooting tips.
With your Plantronics headset properly paired, you can now enjoy the freedom of wireless communication and take your mobile experience to the next level.
FAQs
1. How do I pair my Plantronics headset with my mobile phone?
To pair your Plantronics headset with your mobile phone, follow these steps:
- Make sure your headset is charged and turned on.
- On your phone, go to the Bluetooth settings.
- Select “Pair a new device” or a similar option.
- Wait for your phone to scan for available devices.
- When your headset appears in the list, select it to begin the pairing process.
- Follow any additional instructions that may appear on your phone or headset’s screen.
- Once the pairing is complete, you should see a confirmation message on both your phone and headset.
2. How do I determine the compatibility of a mobile accessory with my phone?
To determine the compatibility of a mobile accessory with your phone, there are a few factors to consider:
- Check the product description or packaging for compatibility information.
- Look for compatibility logos or labels such as “Made for iPhone” or “Works with Android.”
- Research the specific model of your phone and the accessory to see if there are any reported compatibility issues.
- Read user reviews and forums to see if other users have successfully used the accessory with a similar phone model.
3. Can I use wireless charging with any mobile phone?
No, not all mobile phones are compatible with wireless charging. Wireless charging requires a specific hardware component called a Qi wireless receiver. If your phone does not have this receiver built-in or does not support wireless charging, you will not be able to use wireless charging with your device.
4. How do I clean my mobile phone case?
To clean your mobile phone case, follow these steps:
- Remove your phone from the case.
- Use a soft, lint-free cloth to wipe down the case and remove any dust or debris.
- If there are any visible stains or marks, dampen the cloth with a mild solution of water and gentle soap.
- Gently scrub the stained areas of the case, being careful not to get any liquid into the phone’s ports or openings.
- Rinse the cloth with clean water and wipe away any soap residue from the case.
- Allow the case to air dry completely before placing your phone back into it.
5. How do I prevent my mobile phone screen from getting scratched?
To prevent your mobile phone screen from getting scratched, consider the following tips:
- Use a screen protector to add an extra layer of protection.
- Avoid placing your phone in the same pocket as keys, coins, or other hard objects that could scratch the screen.
- Keep your phone in a protective case when not in use.
- Avoid placing your phone face-down on hard surfaces.
- Regularly clean your phone’s screen using a microfiber cloth to remove any dirt or debris that could scratch the surface.