
Welcome to our guide on how to connect your Logitech wireless headset to your Xbox One! Playing games on your Xbox One is an immersive experience, and having a high-quality headset can enhance your gaming sessions. Logitech is known for producing top-notch wireless headsets that offer superior sound quality and comfort.
Connecting your Logitech wireless headset to your Xbox One is a simple process, but it may seem a bit daunting if you’re not familiar with the setup. In this article, we will walk you through the steps to ensure a seamless connection, so you can enjoy crystal-clear audio while gaming.
Whether you’re a casual gamer or a hardcore enthusiast, having a reliable and feature-packed wireless headset can take your Xbox One gaming experience to the next level. So, let’s get started and get you connected to your Logitech wireless headset!
Inside This Article
- Connecting Logitech Wireless Headset to Xbox One
- Step 1: Check Compatibility
- Step 2: Power on the Headset
- Step 3: Activate Pairing Mode
- Step 4: Connect the Headset to Xbox One Controller
- Conclusion
- FAQs
Connecting Logitech Wireless Headset to Xbox One
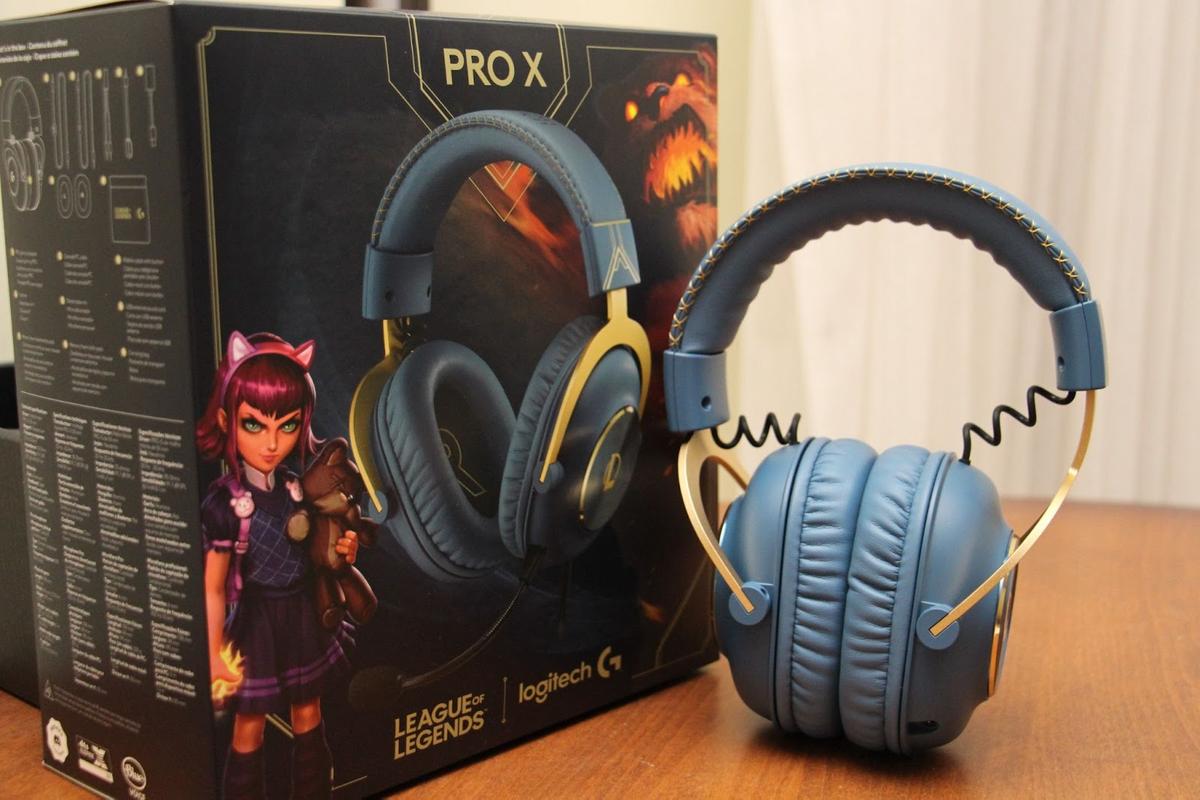
Logitech is known for producing high-quality wireless headsets that provide an immersive gaming experience. If you are a proud owner of a Logitech wireless headset and want to connect it to your Xbox One console, we’ve got you covered. Follow the steps below to seamlessly pair your headset with the Xbox One and start enjoying crystal-clear audio during your gaming sessions.
Step 1: Check Compatibility
Before you start the pairing process, it’s important to ensure that your Logitech wireless headset is compatible with the Xbox One. Check the headset’s user manual or visit the Logitech website to confirm compatibility. If your headset supports Xbox One connectivity, proceed to the next step.
Step 2: Connect the Headset to the Xbox One Console
To connect your Logitech wireless headset to the Xbox One console, follow these simple steps:
- Insert the wireless USB dongle that comes with your Logitech headset into one of the available USB ports on the Xbox One console.
- Turn on your Xbox One console and ensure that the headset is turned on as well. Most Logitech headsets have a power switch or button that you can press to turn them on.
- Press and hold the pairing button on the wireless USB dongle for a few seconds until the LED light starts flashing. This puts the dongle into pairing mode.
- On your Logitech headset, locate the pairing button (usually located on the earcup) and press and hold it until the LED indicator starts flashing. This puts the headset into pairing mode.
- Once the dongle and headset are in pairing mode, they will automatically establish a wireless connection. The LED lights on both devices should stop flashing once the connection is established.
Step 3: Configure Audio Settings on Xbox One
After successfully connecting your Logitech wireless headset to the Xbox One, you need to configure the audio settings on the console:
- On your Xbox One controller, press the Xbox button to open the guide.
- Navigate to the “System” tab, and select “Settings.”
- Under the “Settings” menu, go to “Audio” and select “Headset Audio.”
- Adjust the volume, chat mixer, and chat audio settings according to your preferences.
- Ensure that the “Headset Mic” option is set to “On” if you want to use the microphone on your Logitech wireless headset.
Step 4: Test and Adjust Audio Output
Once you’ve configured the audio settings on your Xbox One, it’s time to test the audio output and make any necessary adjustments:
- Launch a game or a multimedia application on your Xbox One console.
- Put on your Logitech wireless headset and adjust it for a comfortable fit.
- Experience the immersive sound quality and adjust the volume using the controls on your headset.
- If you are not satisfied with the audio output, return to the audio settings and make further adjustments as needed.
That’s it! By following these simple steps, you can connect your Logitech wireless headset to the Xbox One and enjoy a superior gaming experience with enhanced audio quality. Whether you’re engaging in intense battles or immersing yourself in rich storytelling, your Logitech headset will elevate your gaming sessions to new heights. Happy gaming!
Step 1: Check Compatibility
Before attempting to connect your Logitech wireless headset to your Xbox One console, it’s important to ensure that they are compatible with each other. This step is crucial because not all wireless headsets are supported by the Xbox One.
Start by checking the official compatibility list provided by Xbox or Logitech. These lists will provide you with the necessary information regarding which headsets are compatible with the Xbox One console. Ensure that your Logitech wireless headset is included on the list.
If you’re unsure if your headset is compatible, you can also check the specifications and documentation provided by Logitech. Look for any mentions of Xbox One compatibility or if the headset supports the necessary audio profiles required by the console.
It’s worth noting that some wireless headsets may require additional accessories or adapters to function properly with the Xbox One. Make sure to check if any additional equipment is needed and have it ready before proceeding to the next steps.
By verifying the compatibility of your Logitech wireless headset with the Xbox One console, you can avoid any potential issues and ensure a seamless connection and audio experience while gaming.
Step 2: Power on the Headset
Once you have successfully connected your Logitech wireless headset to your Xbox One console, the next step is to power on the headset. This will allow you to start using it for in-game audio, communication, and other headset features.
To power on your Logitech wireless headset, locate the power button on the headset itself. The exact location of the power button may vary depending on the model of your Logitech headset, so be sure to refer to the user manual for specific instructions.
Once you have located the power button, press and hold it for a few seconds. Keep holding the power button until you see an indicator light or hear a beep sound, indicating that the headset has powered on.
It’s important to ensure that the headset has enough battery charge before powering it on. If your Logitech wireless headset has a built-in rechargeable battery, make sure to charge it fully before attempting to power it on. This will ensure optimal performance and prevent any potential interruptions during your gaming sessions.
After powering on the headset, you may need to wait a few seconds for the headset to establish a wireless connection with your Xbox One console. Once the headset is connected, you should be able to hear audio from the console through the headset.
If you encounter any issues with powering on the headset or establishing a wireless connection, refer to the troubleshooting section of your Logitech headset’s user manual or visit the Logitech support website for further assistance.
Step 3: Activate Pairing Mode
Once you have successfully connected your Logitech wireless headset to your Xbox One console, the next step is to activate the pairing mode on the headset. This will allow the console to recognize and communicate with your headset wirelessly.
To activate pairing mode, follow these steps:
- Make sure the headset is turned off.
- Locate the power button or pairing button on your Logitech wireless headset. This may be a physical button or a combination of buttons. Consult the user manual for your specific headset model if you’re unsure.
- Press and hold the power button or pairing button for a few seconds until you see the LED indicator light start flashing. This indicates that the headset is now in pairing mode.
- On your Xbox One console, navigate to the settings menu by pressing the Xbox button on your controller and selecting the gear icon.
- Within the settings menu, select the “Devices & connections” option.
- From the devices menu, choose the “Bluetooth & other devices” option.
- Select “Add Bluetooth or other devices” and choose the “Everything else” option.
- Your Xbox One console will now start searching for available devices. Make sure your Logitech wireless headset is in close proximity to the console.
- Once your headset appears on the list of available devices, select it and follow any on-screen prompts to complete the pairing process.
After successfully pairing your Logitech wireless headset with your Xbox One console, you should now be able to enjoy a seamless and wireless gaming experience. Ensure that the headset is set as the default audio device in the Xbox One audio settings, and adjust the volume levels to your preference.
Step 4: Connect the Headset to Xbox One Controller
Once you have successfully connected your Logitech wireless headset to your Xbox One console, the next step is to connect it to the Xbox One controller. This will allow you to have full control over your audio experience while gaming on your Xbox One.
To connect the headset to the Xbox One controller, follow these simple steps:
- Turn on your Xbox One controller by pressing the Xbox button in the center.
- Locate the 3.5mm headphone jack on the bottom of the controller.
- Take the 3.5mm audio cable that came with the Logitech wireless headset and insert one end into the headphone jack on the controller.
- If your Logitech wireless headset has a detachable microphone, connect it to the headset by plugging it into the designated port.
- Make sure the volume control on the headset is set to an appropriate level for your comfort.
- Now, put on your Logitech wireless headset and adjust it to fit comfortably over your ears.
- You are now ready to enjoy immersive audio while gaming on your Xbox One!
Remember, the Logitech wireless headset is designed to enhance your gaming experience by providing high-quality audio and clear communication with your teammates. With the headset connected to your Xbox One controller, you can fully immerse yourself in the game and communicate effectively with your friends.
Whether you’re playing a first-person shooter, a racing game, or a role-playing adventure, the Logitech wireless headset will take your gaming sessions to the next level.
If you ever encounter any issues with the audio or microphone, make sure to check the audio settings on your Xbox One console and adjust them accordingly. You can also consult the user manual or contact Logitech’s customer support for further assistance.
So, go ahead and connect your Logitech wireless headset to your Xbox One controller and get ready for an incredible gaming experience!
In conclusion, connecting your Logitech wireless headset to your Xbox One is a straightforward process that can greatly enhance your gaming experience. By following the steps outlined in this article, you can enjoy the convenience of wireless audio and clear communication with your fellow gamers.
Remember to ensure that your headset is compatible with the Xbox One and that you have the necessary components, such as the wireless receiver, if required. Additionally, keep your headset firmware up to date to take advantage of any performance improvements.
With your Logitech wireless headset seamlessly integrated with your Xbox One, you can immerse yourself in the game, communicate effectively with teammates, and enjoy an enhanced audio experience. So, gear up, get ready, and dive into your gaming adventures with the best audio quality and convenience that your Logitech wireless headset provides.
FAQs
Q: Can I connect my Logitech wireless headset to Xbox One?
A: Yes, you can connect your Logitech wireless headset to Xbox One by following a few simple steps.
Q: What do I need to connect my Logitech wireless headset to Xbox One?
A: To connect your Logitech wireless headset to Xbox One, you will need the headset itself, an Xbox One console, and the wireless receiver that comes with the headset.
Q: How do I connect the Logitech wireless headset to Xbox One?
A: To connect your Logitech wireless headset to Xbox One, first, plug the wireless receiver into the USB port on the front of your Xbox One console. Then, turn on your headset and press the pairing button on both the receiver and the headset. They should sync automatically.
Q: Are there any additional settings or configurations I need to adjust on Xbox One?
A: Typically, you won’t need to adjust any additional settings on your Xbox One. However, if you’re experiencing any issues with audio or mic functionality, you can check the audio settings on your console and ensure that the Logitech wireless headset is selected as the audio device.
Q: Can I use the Logitech wireless headset for both game audio and chat?
A: Yes, the Logitech wireless headset can be used for both game audio and chat on Xbox One. The headset is equipped with a built-in microphone, allowing you to communicate with your friends while gaming.