
Are you tired of having a plain, boring phone case? Why not add a personal touch and show off your creativity by crocheting your very own phone case? Not only will it protect your phone from scratches and drops, but it will also be a unique accessory that reflects your individual style. Crocheting a phone case is a fun and rewarding project that doesn’t require much experience or materials. Whether you’re a seasoned crochet enthusiast or a beginner looking for a new challenge, this article will provide you with step-by-step instructions and valuable tips to help you create a beautiful and functional phone case. So, grab your crochet hook and let’s get started!
Inside This Article
- Materials Needed
- Step 1: Choosing the Yarn and Hook
- Step 2: Measuring the Phone
- Step 3: Making a Foundation Chain
- Step 4: Creating the Phone Case Body
- Step 5: Working the Edging
- Step 6: Fastening Off and Finishing Touches
- Conclusion
- FAQs
Materials Needed
When it comes to crocheting a phone case, you will need a few basic materials to get started. Here’s what you’ll need:
- Yarn: Choose a yarn that is suitable for your project. Cotton yarn is a popular choice for phone cases as it is durable and machine washable. You can also experiment with different yarn weights and textures to achieve the desired look and feel.
- Crochet hook: The size of the hook will depend on the yarn you are using and the desired tension of your stitches. Consult the yarn label for the recommended hook size or use a hook that you are comfortable with.
- Tapestry needle: This needle will come in handy for weaving in loose ends and finishing off your project. Choose a needle with a large eye, making it easier to thread the yarn.
- Scissors: A sharp pair of scissors is essential for cutting the yarn and trimming any excess.
- Phone: Of course, you will need a phone to measure and ensure that the case fits snugly. Make sure to choose a phone that you frequently use or have the dimensions of for accuracy.
Once you have gathered these materials, you are ready to start crocheting your phone case. The right combination of yarn and hook, along with a well-fitted case, will not only protect your phone but also showcase your creativity and personal style.
Step 1: Choosing the Yarn and Hook
When it comes to crocheting a phone case, selecting the right yarn and hook is crucial. The choice of materials will determine the final look and functionality of your phone case. Here are a few factors to consider before making your selection:
1. Yarn Weight: The weight of the yarn determines the thickness and density of your project. For a phone case, it is advisable to choose a lightweight yarn that will provide a snug fit and not add too much bulk. You can opt for a fine or sport weight yarn for a sleek and slim phone case.
2. Yarn Composition: Different types of yarn offer different characteristics. Some common options for phone cases include cotton yarn, which is durable and moisture-wicking, or acrylic yarn, which is lightweight and easy to care for. Consider the benefits of each type and choose the one that best suits your needs.
3. Hook Size: The hook size determines the tightness or looseness of your stitches. For a phone case, you’ll want to choose a hook size that creates a dense fabric to protect your phone. A smaller hook size, such as a 3.5mm or 4mm, will work well for most phone cases, but be sure to check your yarn label for the recommended hook size.
4. Color Selection: While color is not directly related to the functionality of your phone case, it can add a personal touch and make your creation more visually appealing. Consider the color preferences of the phone’s owner or choose a color that matches their style or case. Remember, the goal is to create something that they will love and enjoy using.
By carefully considering these factors, you can choose the perfect yarn and hook for your phone case project. Remember, experimentation is key, and don’t be afraid to mix and match different yarn types and colors to create a unique and custom look.
Step 2: Measuring the Phone
Before you start crocheting your phone case, it’s important to measure your phone to ensure a perfect fit. Different phones come in various sizes and dimensions, so taking accurate measurements is crucial.
Here’s a step-by-step guide to measuring your phone:
- Get a measuring tape or ruler: To measure your phone, you’ll need a measuring tape or ruler that displays measurements in inches or centimeters.
- Measure the height and width: Start by measuring the height of your phone from the top to the bottom. Place the measuring tape or ruler vertically along the side of your phone and note down the measurement. After that, measure the width of your phone by placing the tape or ruler horizontally across the widest part of your phone.
- Measure the depth: The depth of your phone is equally important to consider. Measure the thickness of your phone by placing the measuring tape or ruler vertically on the side of your phone and measuring from the front to the back.
- Record the measurements: After taking the height, width, and depth measurements, write them down for future reference. Make sure to note the measurements in either inches or centimeters, whichever unit you prefer.
By accurately measuring your phone, you can create a custom-fit phone case that will snugly hold your device while allowing easy access to buttons, ports, and the screen.
Step 3: Making a Foundation Chain
Before we dive into the actual crocheting process, we need to start by making a foundation chain. This chain will serve as the base for our phone case.
To make a foundation chain, you will need the yarn and crochet hook that you chosen in the previous step. Remember, the size of the crochet hook should match the thickness of the yarn you are using.
Here’s how you can make a foundation chain:
- Hold the crochet hook in your dominant hand and make a slipknot at the end of the yarn. This will create a loop around the hook.
- Insert the hook into the loop and use your hand to hold the loop tight.
- With the hook, grab the yarn and pull it through the loop on the hook. This will create your first chain stitch.
- Continue to pull the yarn through each loop on the hook to create additional chain stitches. The number of chain stitches you make will depend on the width of your phone. It’s a good idea to measure the foundation chain against your phone to ensure the proper fit.
- Once you have completed the desired number of chain stitches, you have successfully made your foundation chain.
It’s important to keep the tension of your foundation chain consistent. Avoid making the stitches too tight or too loose, as this can affect the overall appearance and fit of the phone case.
With the foundation chain complete, you are ready to move on to the next step: creating the body of the phone case.
Step 4: Creating the Phone Case Body
Now that you have completed the foundation chain, it’s time to start creating the body of the phone case. This step will involve working rows of stitches to build up the fabric and create a snug and protective case for your phone.
Here’s how you can proceed:
- Row 1: Start by turning your work and stitching into the second chain from the hook. This will be your first stitch. Continue stitching a row of single crochet stitches until you reach the end of the row.
- Row 2 onwards: Turn your work and stitch one chain to serve as the turning chain. This will mark the beginning of each new row. Then, work single crochet stitches into each stitch across the row until you reach the end.
- Repeat Row 2: Continue repeating Row 2 until the height of the phone case matches the measurement you took earlier. Make sure to periodically check the fit of your phone to ensure it’s the right size and adjust the number of rows if needed.
As you work the rows, it’s important to maintain a consistent tension to ensure an even and neat appearance. If you’re new to crocheting, don’t worry if your stitches look a bit uneven at first. With practice, your tension will improve, and the stitches will become more consistent.
Remember to periodically try on the phone case to check the fit. It should have a snug but not too tight fit, allowing for easy insertion and removal of the phone. Additionally, keep in mind that different devices may have different dimensions, so adjust the number of rows accordingly if you’re making the case for a different phone model.
Once you’ve completed the necessary number of rows, you’re ready to move on to the next step: working the edging.
Step 5: Working the Edging
After completing the main body of your phone case, it’s time to add a neat and decorative edging. This step will not only give your phone case a finished look, but it will also provide additional protection to the edges of your crocheted piece. Here’s how you can work the edging:
- Choose a Stitch: There are numerous crochet stitches you can use for the edging. Some popular options include single crochet, double crochet, or even a simple slip stitch. Choose a stitch that complements the pattern and style of the phone case.
- Start at a Corner: Begin by attaching your yarn at one of the corners of the phone case. Insert your hook into the first stitch of the edge and pull through a loop of the edging yarn. This will create a slip stitch to secure the yarn.
- Work Along the Edge: Move your hook along the edge of the phone case, working the chosen stitch in each stitch or space along the side. Make sure to maintain a consistent tension to ensure an even and neat-looking edging.
- Corners: When you reach a corner, you can choose to either work multiple stitches in the same stitch to create a rounded corner or work a stitch decrease to give a slightly more pointed corner. Experiment with different techniques to achieve the desired look.
- Continue: Keep working the chosen stitch along all the edges of the phone case until you reach the starting point.
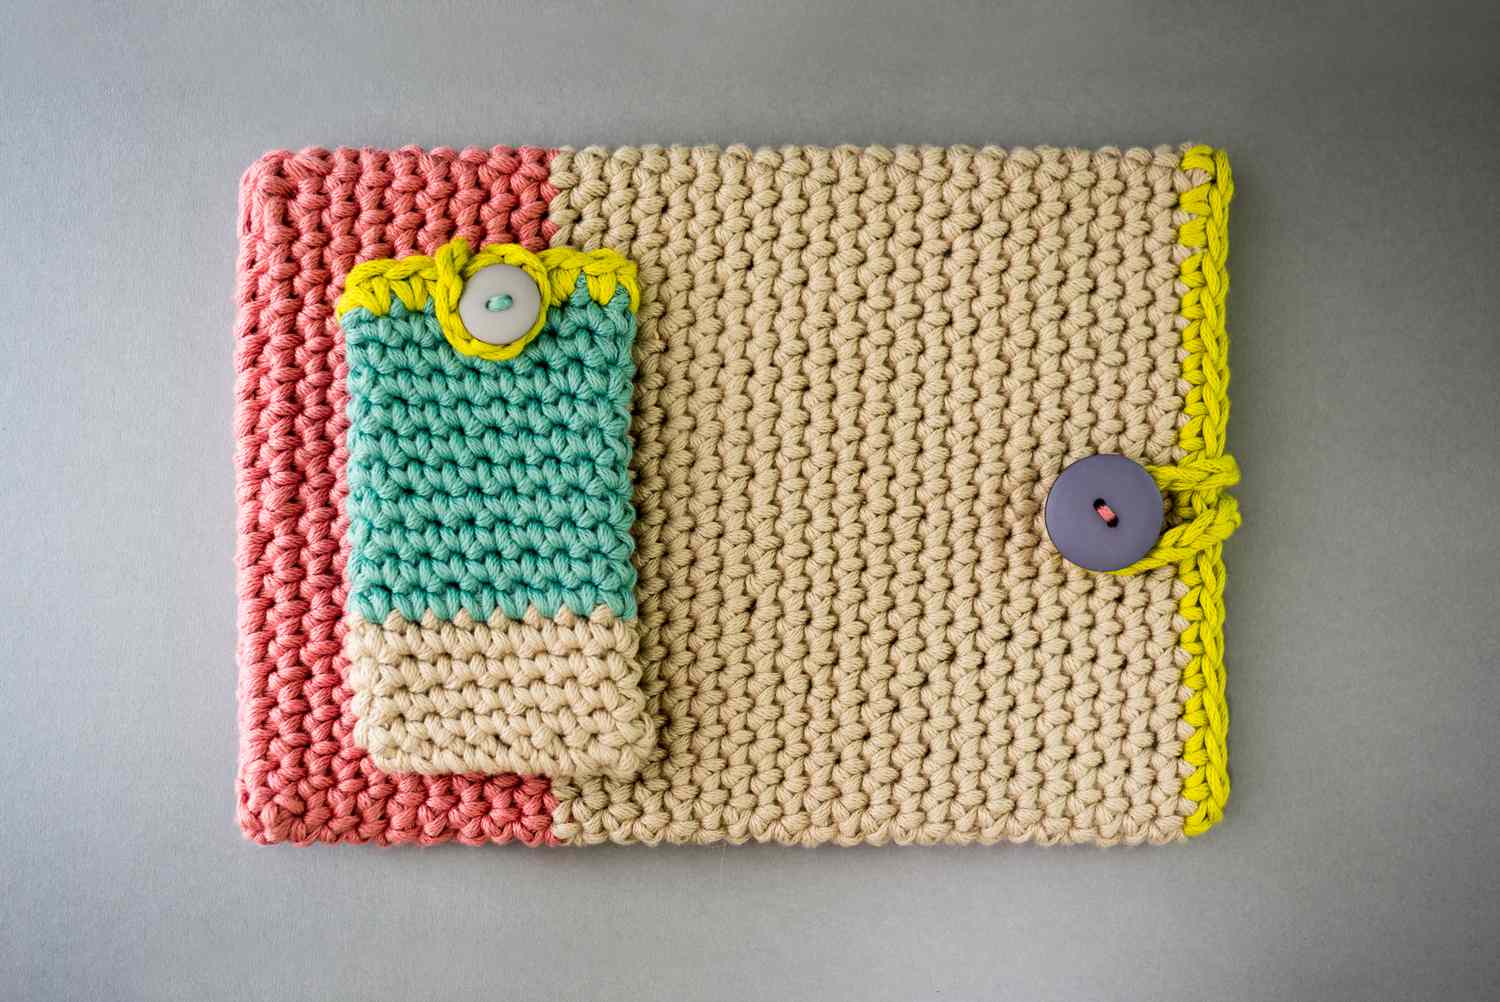
Working the edging is a great opportunity to add some extra flair to your phone case. You can experiment with different stitches, colors, or even incorporate small embellishments such as beads or buttons. Get creative and let your personal style shine through!
Step 6: Fastening Off and Finishing Touches
Once you have completed the main body of your phone case, it’s time to finalize the project by fastening off and adding some finishing touches.
To fasten off, simply cut the yarn, leaving a tail of about 6 inches. Pull the yarn through the loop on your hook and give it a gentle tug to secure it. Weave in the loose ends using a yarn needle, making sure to hide them within the stitches for a neat finish.
Now, it’s time for the fun part – adding some finishing touches to your phone case to make it truly unique. Here are a few ideas to get you started:
- Buttons and Embellishments: Sew on some decorative buttons or embellishments to add a touch of personality to your phone case. You can choose buttons in different shapes, sizes, and colors to match your style.
- Embroidery: Use embroidery thread to add intricate designs or patterns to your phone case. This can be as simple as stitching your initials or creating a beautiful floral motif.
- Appliques: Cut out fabric or felt shapes, such as flowers, hearts, or stars, and sew them onto the surface of your phone case. This is a great way to add texture and dimension to your creation.
- Tassels or Pom-Poms: Attach tassels or pom-poms to the bottom corners of your phone case for a playful and trendy look. You can experiment with different yarn colors to create a vibrant and eye-catching accessory.
- Personalization: Get creative with personalization options, such as adding your name or a favorite quote using embroidery or fabric markers. This will make your phone case truly one-of-a-kind and reflect your personal style.
Remember, the finishing touches are where you can truly let your creativity shine. Feel free to experiment with different materials, colors, and techniques to make your phone case uniquely yours.
Once you are satisfied with the final touches, your crocheted phone case is ready to be used and admired. Slip your phone inside the case and enjoy the satisfaction of having a handmade accessory that not only protects your phone but also showcases your crochet skills.
So go ahead, grab your crochet hook, choose some colorful yarn, and get started on crafting your very own phone case. With a little time and creativity, you’ll have a stylish and functional accessory that will make your phone stand out from the crowd.
Conclusion
In conclusion, crocheting a phone case can be a fun and rewarding DIY project. Not only does it allow you to showcase your creativity and personal style, but it also provides a unique and custom protective accessory for your cell phone. By following the step-by-step instructions and tips mentioned in this article, you will be able to create a beautiful phone case that reflects your individuality.
Remember to choose the appropriate yarn and crochet hook size, and consider incorporating additional embellishments or stitches to add extra flair. With practice, you’ll become more proficient in crocheting and be able to experiment with different patterns and designs.
Not only are crocheted phone cases practical, but they also make for wonderful handmade gifts for loved ones. So why not give it a try? Grab your crochet hook and start creating a one-of-a-kind phone case that will showcase your skills and protect your device in style.
FAQs
1. What materials do I need to crochet a phone case?
To crochet a phone case, you will need the following materials:
– Crochet hook (size appropriate for the desired tightness of your stitches)
– Yarn (choose a yarn weight that is suitable for your chosen crochet pattern)
– Scissors
– Tapestry needle (for weaving in loose ends)
– Embellishments (optional – buttons, beads, etc.)
2. How do I choose the right crochet pattern for a phone case?
When choosing a crochet pattern for a phone case, consider the size of your phone and the level of protection you desire. Look for patterns that include specific measurements for different phone models or provide instructions on customizing the size. Additionally, consider the style and design of the pattern, ensuring it matches your personal taste and the look you want to achieve.
3. What are some popular crochet stitches used for phone cases?
There are various crochet stitches you can use for phone cases, depending on the desired outcome and level of complexity. Some popular stitches include:
– Single crochet: Creates a dense and sturdy fabric.
– Shell stitch: Adds a decorative touch with clusters of stitches.
– Granny square: Creates a classic and textured design.
– Tunisian stitch: Provides a unique and dense fabric with a woven appearance.
4. Can I crochet a phone case for any type of phone?
Yes, you can crochet a phone case for any type of phone. However, it is essential to consider the dimensions and shape of the phone when selecting or adjusting a crochet pattern. You may need to modify the pattern or use different yarn weights and hook sizes to ensure a proper fit for the specific phone model.
5. Are there any tips for crocheting a phone case?
Here are some helpful tips for crocheting a phone case:
– Always check your gauge before starting to ensure the right fit.
– Consider adding a lining or using a tighter stitch pattern for additional protection.
– Use a stitch marker to keep track of your rounds or rows.
– Experiment with different yarn colors and embellishments to personalize your phone case.
– Don’t forget to leave openings for buttons, camera lenses, and charging ports when customizing the pattern.