
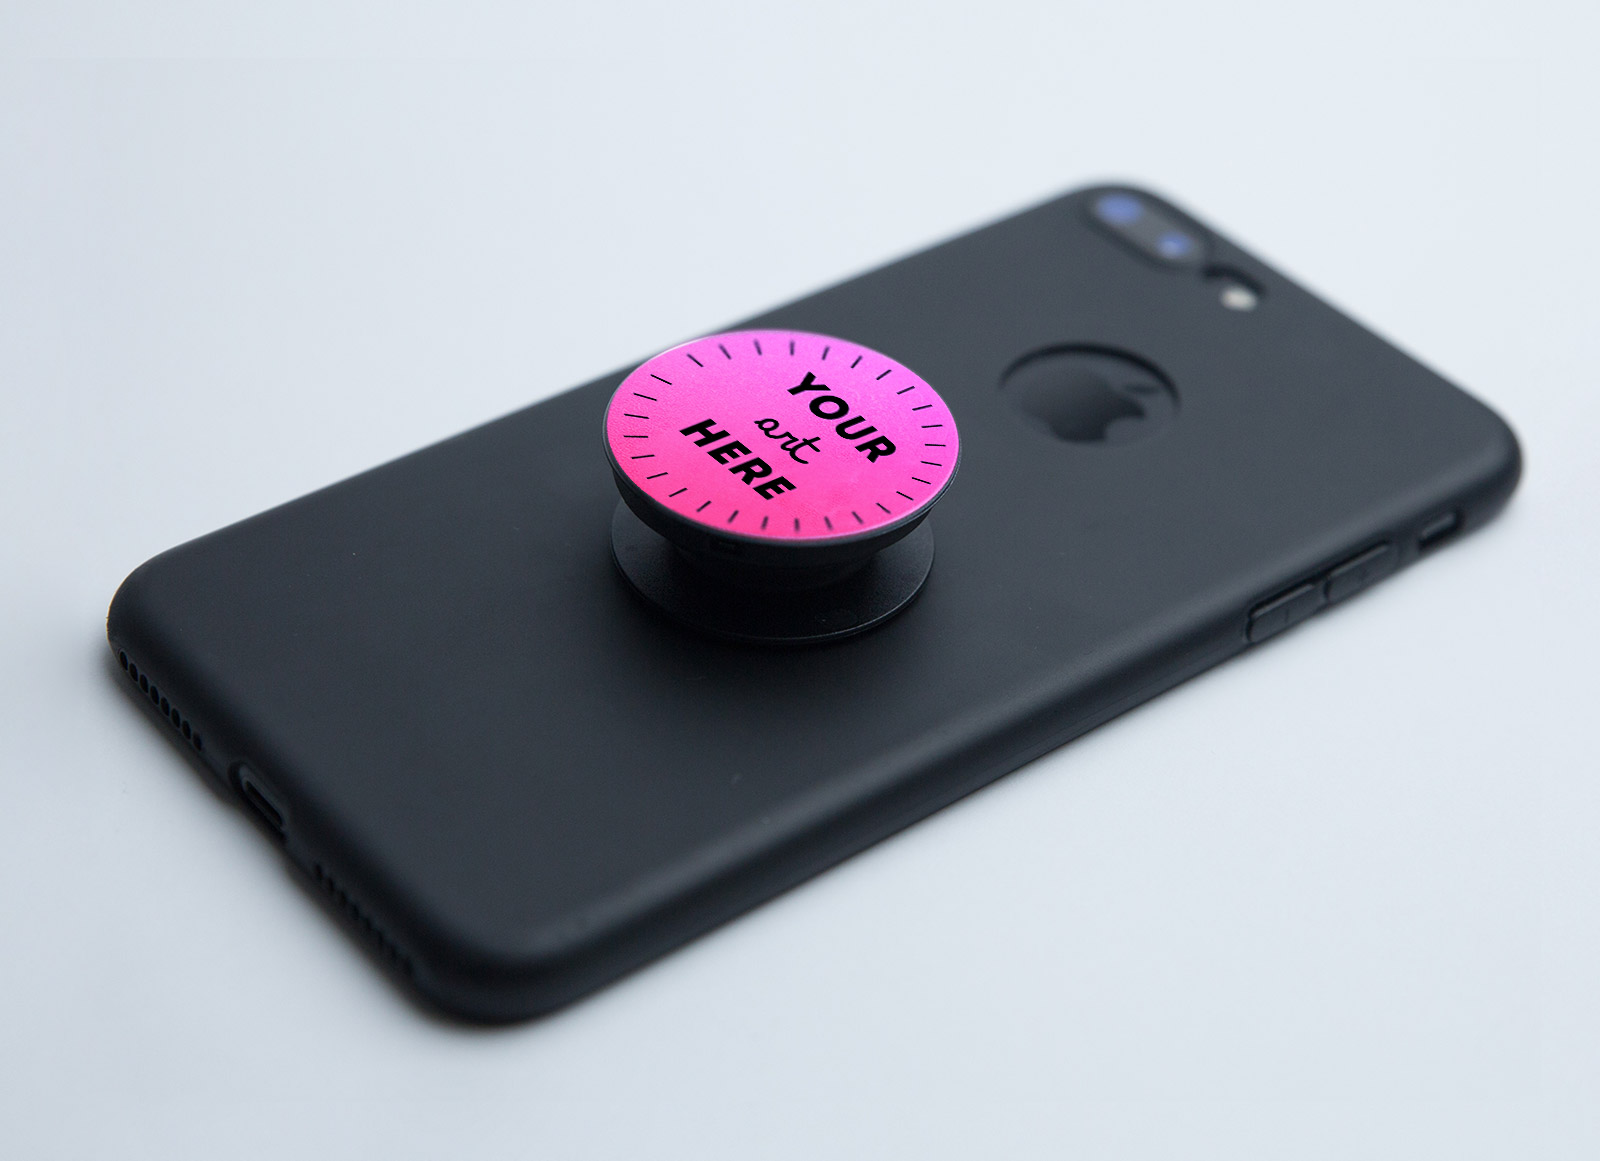
Are you looking for a creative way to personalize your mobile phone and enhance its functionality? Look no further than designing your own Popsocket! Popsockets have become wildly popular mobile accessories that not only add a unique flair to your device but also provide added grip and convenience when handling your phone.
In this article, we will guide you through the process of designing a Popsocket using Photoshop. Whether you’re a graphic design enthusiast or just someone who loves to put a personal touch on your gadgets, this step-by-step tutorial will help you unleash your creativity and create a one-of-a-kind Popsocket that reflects your style and personality.
So why settle for ordinary when you can create something extraordinary? Grab your imagination and let’s dive into the world of designing Popsockets in Photoshop.
Inside This Article
- Obtaining the Popsocket Design Template
- Importing and Preparing Your Artwork
- Customizing the Popsocket Design
- Adding Finishing Touches to the Design
- Conclusion
- FAQs
Obtaining the Popsocket Design Template
Designing a custom popsocket in Photoshop is a fun and creative way to personalize your phone accessory. Before you dive into the design process, you’ll need to obtain a popsocket design template. This template will serve as the foundation for your artwork and ensure proper sizing and placement when the design is printed and applied to the popsocket.
To obtain the popsocket design template, there are a few options you can explore:
1. Manufacturer’s Website:
Many popsocket manufacturers provide design templates on their websites. These templates are typically available for free and are specifically tailored to their products. Visit the website of the popsocket manufacturer you plan to purchase from and look for a section dedicated to custom designs or resources for designers. They may offer downloadable templates in various file formats, such as PSD (Photoshop), AI (Adobe Illustrator), or PDF.
2. Online Design Marketplaces:
Alternatively, you can also search for popsocket design templates on online design marketplaces. Websites like GraphicRiver, Creative Market, or Etsy often have a wide selection of pre-made templates that you can purchase and customize. These templates are usually created by professional designers and come in a variety of styles and designs.
3. Design Communities and Forums:
Another option is to join design communities and forums where designers share resources and templates. Platforms like Behance, Dribbble, or Reddit’s design-oriented subreddits can be great sources for finding popsocket design templates. Engage with the community, ask for recommendations, or simply search within these platforms using relevant keywords like “popsocket template” or “phone accessory design template.”
Once you have obtained the popsocket design template, download it and open it in Photoshop. This template will serve as the canvas for your design, providing guidelines for the safe area and bleed area to ensure your artwork is properly placed and won’t get cut off during printing.
Remember to always check the specific requirements and guidelines provided with the template to ensure your design meets the manufacturer’s specifications.
Now that we’ve obtained the popsocket design template, we’re ready to move on to the next step: importing and preparing your artwork in Photoshop.
Importing and Preparing Your Artwork
Now that you have the popsocket design template ready, it’s time to import and prepare your artwork. Follow these steps to ensure that your design aligns perfectly with the popsocket:
- Open the popsocket design template in Photoshop: Launch Adobe Photoshop and open the popsocket design template file that you downloaded earlier. This template provides the exact dimensions and guidelines for your artwork.
- Import your artwork: Using the “File” menu, select “Place Embedded” or “Place Linked” to import your artwork into the template. This will add your design as a separate layer.
- Resize and reposition: Adjust the size and position of your artwork layer to fit within the designated area of the popsocket template. Use the transform controls or the transform menu (Edit > Transform) to make any necessary adjustments.
- Ensure high resolution: It’s important to use high-resolution artwork to achieve a crisp and clear design on your popsocket. Make sure that your artwork is at least 300 pixels per inch (PPI) to ensure optimal print quality.
- Check alignment and bleed: Use the template guides to align your artwork properly. Make sure that important elements of your design are not too close to the edges, as they may get cut off during the manufacturing process. Allow for a bleed area around the edges to account for any minor shifts during printing.
Once you have imported and prepared your artwork following these steps, you are ready to move on to the next stage of customizing your popsocket design. It’s time to bring your creativity to life and make your popsocket truly unique!
Customizing the Popsocket Design
Once you have imported and prepared your artwork, it’s time to move on to the fun part – customizing the popsocket design. This is where you can let your creativity shine and make your popsocket truly unique.
Here are some steps to guide you through the customization process:
- Choose your design elements: Decide on the colors, patterns, and graphics you want to incorporate into your popsocket design. Consider the theme or style you want to achieve, whether it’s bold and vibrant, minimalistic and elegant, or anything in between.
- Layer your design: Use Photoshop’s layer functionality to organize and work with your design elements more effectively. Create separate layers for different elements of your design, such as the background, graphics, text, and any additional decorative elements.
- Experiment with blending modes: Blending modes allow you to combine different layers and create interesting effects. Play around with blending modes like Multiply, Screen, Overlay, and Soft Light to give your design more depth and visual appeal.
- Add text and custom fonts: If you want to include text in your popsocket design, choose a font that complements your overall design style. You can either use the default fonts in Photoshop or import your own custom fonts to give your design a more personalized touch.
- Apply filters and effects: Explore Photoshop’s wide range of filters and effects to enhance your design further. Experiment with options like Gaussian Blur, Drop Shadow, Gradient Overlay, or even create a custom filter to achieve a specific look or texture.
- Consider placement and sizing: Keep in mind the dimensions and shape of the popsocket when positioning and sizing your design elements. Make sure important elements are not obscured or distorted when the popsocket is attached to a phone.
- Preview and make adjustments: Regularly preview your design on a popsocket template or a mock-up image of a phone to see how it looks in a realistic context. Make any necessary adjustments to ensure that your design translates well to the physical product.
Remember, the customization possibilities are endless, so don’t be afraid to experiment and explore different options. Take your time, play around with different techniques, and trust your creative instincts to craft a popsocket design that stands out.
Adding Finishing Touches to the Design
Once you have customized the main design of your Popsocket, it’s time to add those finishing touches that will make your design stand out. Here are some tips to help you give your design that extra polish:
- Experiment with color: Play around with different color schemes to make your design pop. You can use complementary colors or go for a bold and vibrant look. Remember, colors can evoke emotions and create visual interest.
- Add textures and patterns: Incorporating textures and patterns can add depth and visual appeal to your Popsocket design. It can be as simple as incorporating a subtle gradient or using a textured brush to create interesting effects.
- Consider typography: If your design includes text, pay attention to the font choice and typography. Experiment with different fonts and sizes to ensure readability. You can also add effects like drop shadows or outlines to make the text stand out against the background.
- Use filters and effects: Apply filters and effects to your design to enhance the overall look. Depending on your design style, you can add a vintage filter, a grunge effect, or even a subtle blur to create a sense of depth.
- Include branding elements: If you’re designing a Popsocket for a business or brand, make sure to incorporate branding elements such as logos or slogans. This will help reinforce brand recognition and create a cohesive design.
- Don’t forget about the back: While the front of the Popsocket is the main focus, don’t neglect the back. Consider adding a logo, pattern, or even a motivational quote to the back of the Popsocket to create a full design experience.
Remember, the finishing touches should complement your overall design and make it more visually appealing. Take your time to experiment and fine-tune these details until you are satisfied with the final result.
Conclusion
In conclusion, designing a PopSocket in Photoshop is an exciting and creative process that allows you to personalize and enhance the functionality of your mobile device. By following the steps outlined in this article, you can create a unique and eye-catching PopSocket that reflects your style and personality.
Photoshop provides a wide range of design tools and features that make it easy to experiment with different shapes, colors, and patterns. Whether you want to showcase your favorite artwork, display a motivational quote, or create a custom design, Photoshop offers endless possibilities for creating a PopSocket that stands out from the crowd.
Remember to consider the placement and balance of your design to ensure optimal functionality. A well-designed PopSocket not only adds a touch of customization to your phone but also offers a convenient grip and stand for everyday use.
So, grab your creative toolkit and dive into the world of PopSocket design with Photoshop. Unleash your artistic side and create a PopSocket that will make your phone a true reflection of your personal style.
FAQs
Q: What is a Popsocket?
A: A Popsocket is a small grip and stand that you can attach to the back of your phone or other electronic devices. It helps you securely hold your device, provides a comfortable grip, and allows you to prop up your phone for hands-free use.
Q: How do I design a Popsocket in Photoshop?
A: To design a Popsocket in Photoshop, follow these steps:
- Create a new document with the desired dimensions for your Popsocket design.
- Add your design elements or custom artwork using various Photoshop tools.
- Once you are satisfied with your design, save it as a high-resolution image.
- Send the design to a professional Popsocket printing service that offers customization.
- Follow the specific instructions provided by the printing service to complete your order.
Q: What are the dimensions for a Popsocket design?
A: The standard Popsocket dimensions are 39.74mm (diameter) x 7.4mm (height). However, it is essential to check with the specific printing service you choose, as dimensions may vary slightly between different manufacturers.
Q: What file format should I use for my Popsocket design in Photoshop?
A: It is recommended to save your Popsocket design in a high-resolution file format such as JPEG or PNG. These formats maintain the quality and clarity of your design when printed.
Q: Can I design a Popsocket with multiple colors?
A: Yes, you can design a Popsocket with multiple colors. Photoshop offers various tools, such as the brush tool or shape tool, that allow you to add colors and create complex designs. Ensure that your design is visually appealing and compatible with the printing requirements of your chosen Popsocket manufacturer.