
In the fast-paced world of technology, capturing stunning videos has become a common trend. One exciting technique that has gained popularity is the hyperlapse, a dynamic time-lapse method that creates captivating footage by capturing movement over longer distances. If you’re looking to up your videography game and achieve smooth, professional-looking hyperlapse shots, a monopod can be a game-changer.
A monopod is a single-legged support that provides stability and flexibility while filming. It offers various advantages over handheld shooting, allowing you to maintain balance and reduce camera shake. In this article, we will delve into the fascinating world of hyperlapse photography and explore how to achieve a stellar hyperlapse finish with the help of a monopod. From choosing the right monopod to mastering the technique, we’ve got you covered. So, let’s get started on your journey to capturing breathtaking hyperlapse videos!
Inside This Article
- What is a Hyperlapse Finish?
- Choosing the Right Monopod for a Hyperlapse Finish
- Setting Up your Monopod for Hyperlapse Finish
- Tips and Techniques for Achieving a Smooth Hyperlapse Finish
- Conclusion
- FAQs
What is a Hyperlapse Finish?
A Hyperlapse Finish is a technique used in photography and videography to create smooth and fluid camera movements that give the illusion of time-lapse footage. This technique involves capturing a series of photos or video frames while moving the camera in small increments over a long distance. The end result is a visually captivating sequence of shots that can make even mundane subjects come to life.
Unlike traditional time-lapse, which involves capturing footage at fixed intervals, a Hyperlapse Finish allows for more creative freedom in terms of movement and speed. It enables the photographer or videographer to create dynamic and dramatic shots by seamlessly blending different locations and perspectives into a single, continuous sequence.
The key to a successful Hyperlapse Finish is maintaining a consistent and smooth camera movement throughout the entire sequence. This requires precision and stability, which is where a monopod comes into play.
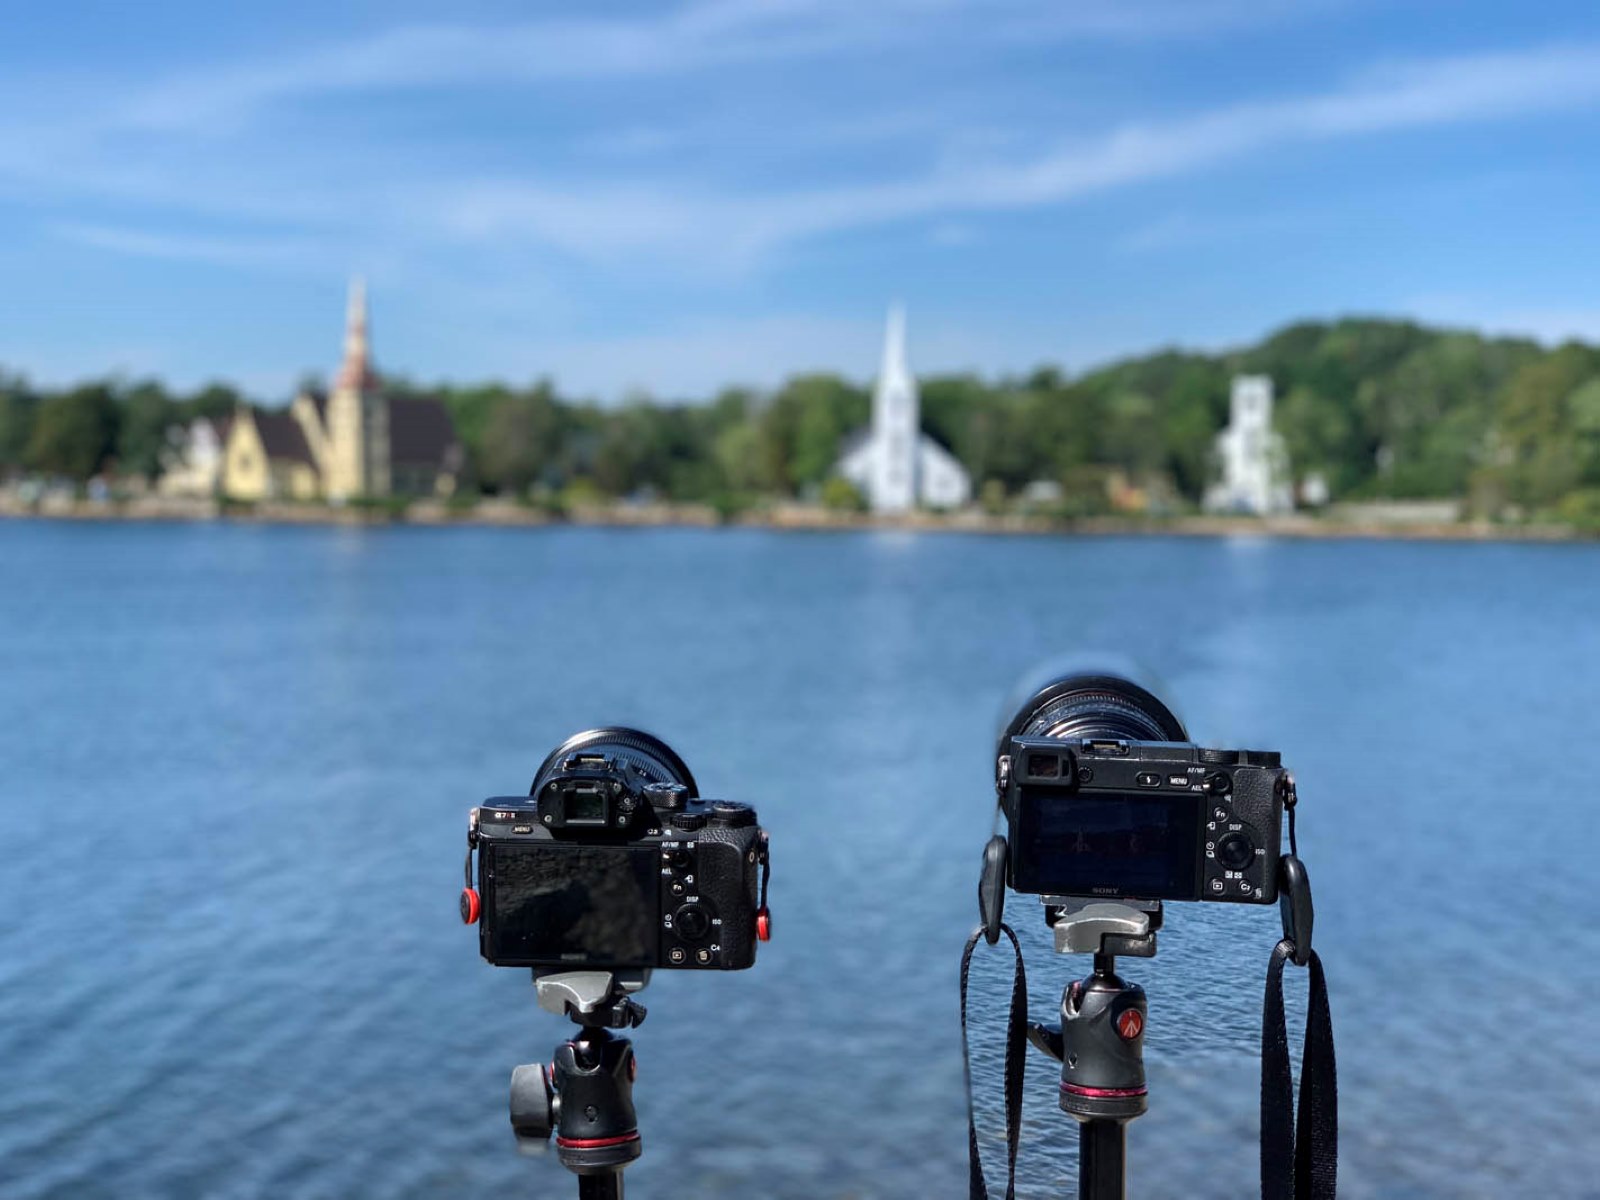
Using a monopod is ideal for achieving a Hyperlapse Finish as it provides stability and support for the camera while allowing for easy movement and adjustments. By attaching your camera to a monopod, you can minimize camera shake and capture crisp, high-quality footage.
Not only does a monopod provide stability, but it also offers the flexibility to extend the camera height, tilt, and pan smoothly. This makes it easier to create smooth transitions between shots, even when covering long distances. With a monopod, you have greater control over the camera movement and can achieve professional-looking results.
Choosing the Right Monopod for a Hyperlapse Finish
When it comes to capturing a hyperlapse finish, choosing the right monopod is crucial. A monopod is a single-legged support that provides stability and allows you to smoothly pan and tilt your camera during the hyperlapse. With a wide variety of monopods available on the market, it’s important to consider a few key factors before making your selection.
1. Sturdiness: The monopod should be sturdy enough to support the weight of your camera and any additional accessories you may be using. Look for a monopod made from durable materials like aluminum or carbon fiber, which offer both strength and lightweight portability. This will ensure that your hyperlapse shots are stable and free from unwanted vibrations.
2. Height and Adjustability: Consider the height of the monopod as well as its adjustability options. Look for a monopod that can extend to a comfortable height for your shooting purposes. Additionally, check if it has a quick-release mechanism or adjustable legs that allow you to easily change the height and angle of your camera during the hyperlapse.
3. Compatibility: Ensure that the monopod you choose is compatible with your camera and any other accessories you plan to use, such as smartphone adapters or external microphones. Check for the appropriate mounting options, such as a standard 1/4-inch screw or a specialized mounting plate, to securely attach your gear to the monopod.
4. Grip and Stability: Look for a monopod with a comfortable grip, such as a foam or rubberized handle, to provide a secure hold while shooting. Additionally, consider features like a spiked foot or rubberized base for added stability on different surfaces. These features will help you maintain control over your camera and ensure smooth movements during the hyperlapse.
5. Portability: Depending on your shooting style and travel plans, portability may be an essential consideration. Choose a monopod that is lightweight and easily collapsible, allowing you to pack it in your camera bag or carry it without adding too much weight or bulk to your gear. This will make it convenient for you to take it on your hyperlapse adventures.
By considering these factors, you can find the perfect monopod to elevate your hyperlapse finish. Remember to prioritize sturdiness, adjustability, compatibility, grip, and portability when making your selection. With the right monopod in hand, you’ll be ready to capture stunning hyperlapse shots with ease and precision.
Setting Up your Monopod for Hyperlapse Finish
Setting up your monopod correctly is crucial to achieving a smooth and stable hyperlapse finish. Here are some steps to follow:
1. Choose the right monopod: Ensure that you have a sturdy and reliable monopod that can support the weight of your camera and provide stability during the hyperlapse. Look for monopods made from high-quality materials and with features such as adjustable height and a secure locking mechanism.
2. Attach your camera: Securely mount your camera onto the monopod using a compatible camera mount. Ensure that the camera is properly balanced and tightened to avoid any movement or vibrations during the hyperlapse process.
3. Set up your shot: Before starting the hyperlapse, plan your route and determine the key points or landmarks you want to capture. Position yourself and the monopod accordingly to achieve the desired composition and perspective.
4. Adjust the monopod height: Depending on the scene and the effect you want to achieve, adjust the height of the monopod to the desired level. This will help you capture different angles and perspectives during the hyperlapse.
5. Lock the monopod: Once you have set the desired height and position, make sure to lock the monopod securely. This will prevent any accidental movements or collapse of the monopod during the hyperlapse, ensuring stability and smooth footage.
6. Enable stabilization features: If your camera or lens has built-in stabilization features, make sure to activate them. This will further enhance the stability of your footage and reduce any unwanted camera shake or vibrations.
7. Test the stability: Before starting the actual hyperlapse, test the stability of the monopod by gently shaking it. Ensure that it is firmly in place and there are no loose parts or wobbling. This will give you confidence and peace of mind during the hyperlapse process.
8. Consider using a remote trigger: To minimize any camera shake caused by pressing the shutter button, consider using a remote trigger or a wireless shutter release. This will allow you to trigger the camera without physically touching it, resulting in cleaner and sharper footage.
By following these steps, you can properly set up your monopod for a hyperlapse finish. Remember to double-check the stability of your monopod before starting the hyperlapse and make any necessary adjustments along the way to ensure smooth and stunning footage.
Tips and Techniques for Achieving a Smooth Hyperlapse Finish
Creating a hyperlapse finish can add a captivating and dynamic element to your videos. However, achieving a smooth hyperlapse finish requires careful planning and execution. Here are some tips and techniques to help you capture a stunning hyperlapse finish.
1. Choose the Right Location: Select a location that offers interesting scenery and a clear path for movement. Avoid areas with heavy foot traffic or other distractions that can disrupt the smooth motion of your hyperlapse.
2. Plan your Route: Before starting your hyperlapse, map out the route you will be taking. Consider the distance and the time it will take to complete the hyperlapse. Planning your route will ensure that you capture a consistent and fluid motion in your video.
3. Use a Stabilization Device: To achieve a smooth hyperlapse finish, it’s crucial to use a stabilizing device such as a monopod. A monopod provides stability and reduces camera shake, resulting in smoother footage.
4. Set a Consistent Pace: Maintain a steady and consistent pace throughout your hyperlapse. Avoid sudden movements or changes in speed, as this can create jerky footage. Remember, smooth and steady is key.
5. Focus on Framing: Pay attention to the framing and composition of your hyperlapse. Ensure that your subject stays within the frame and that the overall composition is aesthetically pleasing. Avoid cutting off important elements and maintain a balanced composition.
6. Time your Shots: Consider the time of day and lighting conditions when shooting your hyperlapse finish. Golden hour, which occurs during sunrise and sunset, can add a beautiful warm glow to your footage. Experiment with different lighting conditions to achieve the desired look.
7. Edit and Enhance: Once you’ve captured your hyperlapse footage, use video editing software to enhance and refine your video. Add stabilization effects, adjust the speed, and apply color grading techniques to give your hyperlapse finish a professional and polished look.
8. Practice and Patience: Like any skill, capturing a smooth hyperlapse finish takes practice and patience. Take the time to experiment, learn from your mistakes, and refine your technique. With practice, you’ll be able to master the art of creating stunning hyperlapse finishes.
By following these tips and techniques, you’ll be well on your way to achieving a smooth hyperlapse finish in your videos. So grab your monopod, find the perfect location, and let your creativity soar!
In conclusion, a hyperlapse finish using a monopod is a fantastic way to add an exciting and cinematic touch to your videos. By following the steps outlined in this article, you can capture dynamic and smooth footage that will leave your viewers impressed.
Using a monopod provides stability and eliminates the need to physically hold your camera, allowing for smoother panning and movement. The key to a successful hyperlapse finish is to plan your route, set the proper interval for capturing frames, and utilize software or editing techniques to create the final hyperlapse effect.
Whether you’re creating a travel vlog, showcasing a location, or simply experimenting with creative video techniques, a hyperlapse finish with a monopod will help take your videos to the next level. So grab your monopod, hit the streets, and get ready to capture some stunning hyperlapse footage!
FAQs
1. What is a hyperlapse?
2. What is a monopod?
3. How can I achieve a hyperlapse finish with a monopod?
4. Do I need any additional equipment to achieve a hyperlapse finish with a monopod?
5. Can I achieve a hyperlapse finish with a monopod using a smartphone?