
Are you looking to enhance your gaming experience on Windows 10? One feature that can greatly improve your gameplay is joystick vibration. Joystick vibration helps to immerse you in the game by providing tactile feedback, making your gaming sessions more exciting and realistic. Whether you’re playing action-packed games or engaging in intense battles, the vibration feature adds an extra level of immersion. However, some users might face difficulties in enabling joystick vibration on Windows 10. In this article, we will guide you step by step on how to enable joystick vibration in Windows 10, ensuring that you can enjoy the full gaming experience that your joystick has to offer.
Inside This Article
- Preparing your joystick
- Enabling Joystick Vibration in Windows 10
- Troubleshooting joystick vibration issues in Windows 10
- Conclusion
- FAQs
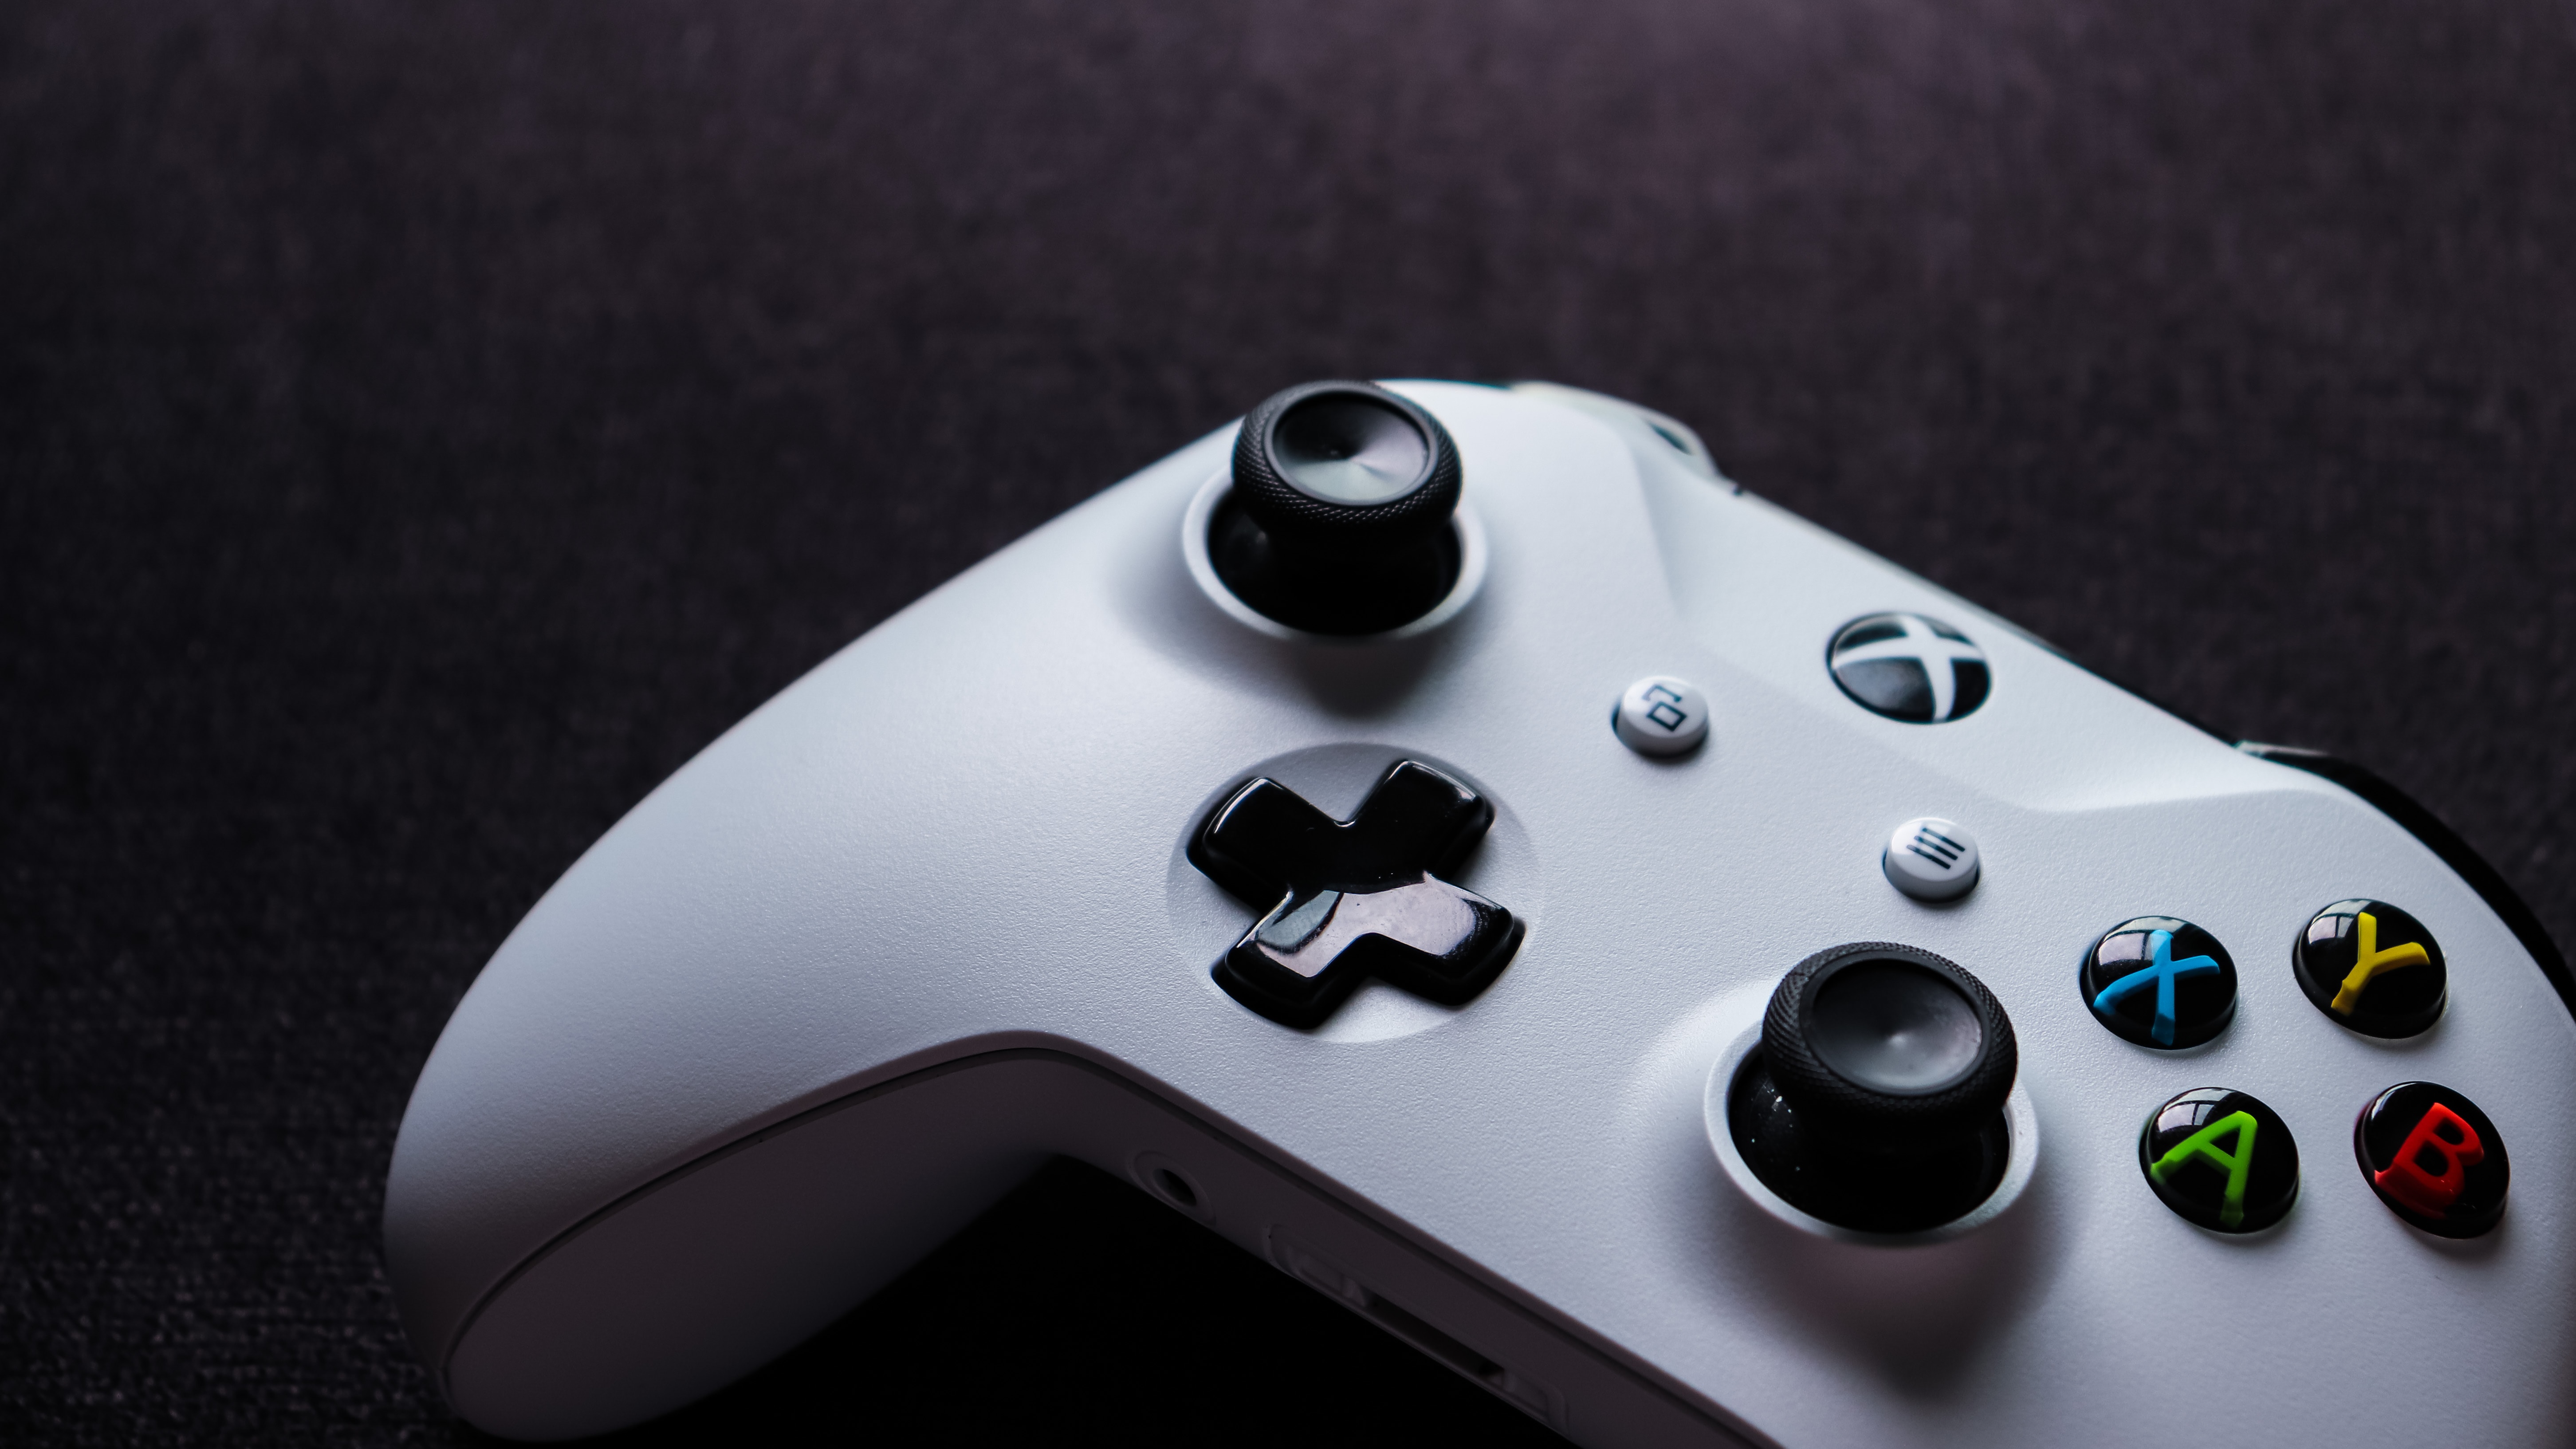
Preparing your joystick
Before you can enable joystick vibration in Windows 10, it’s important to ensure that your joystick is properly prepared. Here are a few steps you can follow to get your joystick ready:
-
Check compatibility: First, make sure that your joystick is compatible with Windows 10. Check the manufacturer’s website or user manual for any specific compatibility requirements.
-
Install drivers: Ensure that you have the latest drivers for your joystick installed on your computer. You can usually find these drivers on the manufacturer’s website. Follow the instructions provided to install the drivers correctly.
-
Calibrate your joystick: It’s crucial to calibrate your joystick for optimal performance. Open the Control Panel on your Windows 10 computer and navigate to the “Game Controllers” section. Locate your joystick in the list of connected devices and click on “Properties.” From there, follow the on-screen instructions to calibrate your joystick.
-
Connect your joystick: Ensure that your joystick is properly connected to your computer. If it is a wired joystick, make sure that the USB cable is securely plugged into the appropriate port. If it is a wireless joystick, follow the manufacturer’s instructions to establish a stable connection.
By following these steps, you will have your joystick prepared and ready for enabling vibration in Windows 10. With a properly set up joystick, you can enhance your gaming experience and feel the vibrations that add an extra layer of immersion to your gameplay.
Enabling Joystick Vibration in Windows 10
If you’re a fan of gaming on your Windows 10 PC, you’ve probably experienced the thrill of using a joystick or gamepad for a more immersive gaming experience. One key feature that can enhance your gaming experience is joystick vibration. Joystick vibration allows you to feel the action in your hands, adding an extra layer of realism to your gameplay. In this article, we’ll guide you through the steps to enable joystick vibration in Windows 10.
Before you can enable joystick vibration, it’s important to ensure that your joystick or gamepad supports this feature. Most modern joysticks and gamepads come with built-in vibration motors, but if you’re unsure, you can refer to the product’s documentation or contact the manufacturer for confirmation.
Once you have confirmed that your joystick supports vibration and it is connected to your Windows 10 PC, follow these steps to enable joystick vibration:
- Open the Start menu and click on the “Settings” gear icon.
- In the Settings window, click on the “Devices” option.
- In the left sidebar, select “Controllers & Bluetooth Devices.”
- Under the “Other devices” section, you should see your connected joystick or gamepad listed.
- Click on your joystick or gamepad to open its settings.
- In the settings window, you should see an option to enable or disable vibration.
- Toggle the switch to the “On” position to enable joystick vibration.
- Close the settings window.
Now that you have successfully enabled joystick vibration, you can test it out in your favorite games. Many games provide options to customize the intensity of joystick vibration, allowing you to fine-tune your gaming experience to your preference.
It’s worth noting that not all games support joystick vibration, so make sure to check the game’s settings or documentation to ensure compatibility. Additionally, some games may have separate settings for enabling or disabling vibration, so be sure to explore the game’s options thoroughly.
If you’ve followed the steps above and are still experiencing issues with joystick vibration, there are a few troubleshooting steps you can try:
- Make sure your joystick or gamepad is properly connected to your PC. Ensure that the USB cable or wireless connection is secure.
- Check for any available driver updates for your joystick. Visit the manufacturer’s website or use Windows Update to check for the latest drivers.
- If you’re using a wireless joystick or gamepad, ensure that the batteries are properly charged or replace them if necessary.
- Try connecting your joystick or gamepad to a different USB port on your PC.
By following these steps and troubleshooting tips, you should be able to successfully enable joystick vibration in Windows 10 and enhance your gaming experience. So go ahead, dive back into your favorite games, and enjoy the added immersion that joystick vibration brings to your gameplay.
Troubleshooting joystick vibration issues in Windows 10
If you’re experiencing issues with joystick vibration in Windows 10, don’t worry. There are several troubleshooting steps you can take to resolve the problem and get your joystick vibrating again. Here are some common solutions to try:
1. Check joystick compatibility: Ensure that your joystick is compatible with Windows 10. Some older or generic joysticks may not have vibration support or may require additional drivers to enable this feature. Check the manufacturer’s website or product documentation to confirm compatibility and ensure you have the latest drivers installed.
2. Verify joystick settings: Open the Windows Game Controllers settings by typing “Game Controllers” in the search bar and selecting “Set up USB game controllers.” Select your joystick from the list and click on “Properties.” Navigate to the “Settings” tab and make sure that the “Enable Vibration” option is checked. If it’s already enabled, try unchecking and rechecking the box to refresh the settings.
3. Update joystick drivers: Outdated or corrupted drivers can cause issues with joystick vibration. Visit the manufacturer’s website and look for driver updates specific to your joystick model. Download and install the latest drivers, then restart your computer to ensure the changes take effect.
4. Calibrate your joystick: Sometimes, improper calibration can cause vibration issues. Open the Windows Game Controllers settings, select your joystick, and click on “Properties.” Go to the “Settings” tab and click on “Calibrate.” Follow the on-screen instructions to calibrate your joystick and ensure that all settings are properly configured.
5. Test the joystick on another device: If the vibration issue persists, try connecting your joystick to another computer or gaming console to see if the problem is specific to your Windows 10 setup. If the joystick works fine on another device, it’s likely that there’s an issue with your computer’s USB ports or drivers, which you can troubleshoot separately.
6. Disable and re-enable joystick vibration: In some cases, disabling and re-enabling the joystick vibration feature can help resolve any software conflicts or glitches. In the Windows Game Controllers settings, uncheck the “Enable Vibration” option, wait a few seconds, and then re-check it. Check if the vibration now works as expected.
7. Contact joystick manufacturer or support: If none of the above solutions work, it’s recommended to reach out to the joystick manufacturer’s support team for further assistance. They may have additional troubleshooting steps specific to your joystick model or be able to provide a firmware update to address the vibration issue.
By following these troubleshooting steps, you should be able to resolve most joystick vibration issues in Windows 10. Remember to keep your drivers up to date and check for firmware updates regularly to ensure optimal compatibility and performance with your joystick.
Conclusion
In conclusion, enabling joystick vibration in Windows 10 can greatly enhance your gaming experience. By following the simple steps outlined in this guide, you can ensure that your joystick is ready to deliver immersive feedback during gameplay.
Whether you’re battling enemies in an intense first-person shooter or navigating the treacherous tracks in a racing game, the vibration feature adds a new level of realism and immersion to your gaming sessions. It allows you to feel the impact of every explosion and the thrill of every high-speed maneuver.
Remember to check that your joystick is compatible with Windows 10 and has the necessary drivers installed. If you encounter any issues, refer to the troubleshooting section of this article or seek assistance from the manufacturer’s support team.
Now that you know how to enable joystick vibration in Windows 10, go ahead and enjoy your favorite games with enhanced tactile feedback. Get ready for a gaming experience that will truly bring your virtual adventures to life!
FAQs
1. Why should I enable joystick vibration in Windows 10?
Enabling joystick vibration in Windows 10 enhances your gaming experience by providing tactile feedback. It adds an extra layer of immersion, making gameplay more interactive and engaging.
2. How do I enable joystick vibration in Windows 10?
To enable joystick vibration in Windows 10, follow these steps:
- Connect your joystick/controller to your computer.
- Open the “Device Manager” by right-clicking on the “Start” button and selecting it from the menu.
- Expand the “Human Interface Devices” category.
- Find your joystick/controller from the list of devices and right-click on it.
- Select “Properties” from the context menu.
- In the Properties window, navigate to the “HID-compliant game controller” tab.
- Check the box next to “Enable vibration” or “Force feedback” (the wording may vary depending on your joystick/controller model).
- Click “OK” to apply the changes.
3. Can I adjust the joystick vibration intensity in Windows 10?
The ability to adjust joystick vibration intensity depends on the specific joystick/controller model and the software it uses. Some joysticks/controllers may provide built-in software or settings to customize vibration intensity, while others may not offer this feature. Check the documentation or the manufacturer’s website for your joystick/controller to see if vibration intensity can be adjusted.
4. What if my joystick/controller does not have vibration capabilities?
If your joystick/controller does not have vibration capabilities, enabling joystick vibration in Windows 10 will not have any effect. Joystick vibration is a hardware feature, so your joystick/controller must support it in order to enable and experience it.
5. Can I disable joystick vibration in Windows 10?
Yes, you can disable joystick vibration in Windows 10 by following similar steps to enabling it. In the “Properties” window of your joystick/controller (as mentioned in the previous question), uncheck the box next to “Enable vibration” or “Force feedback.” Click “OK” to save the changes, and the joystick vibration will be disabled.