
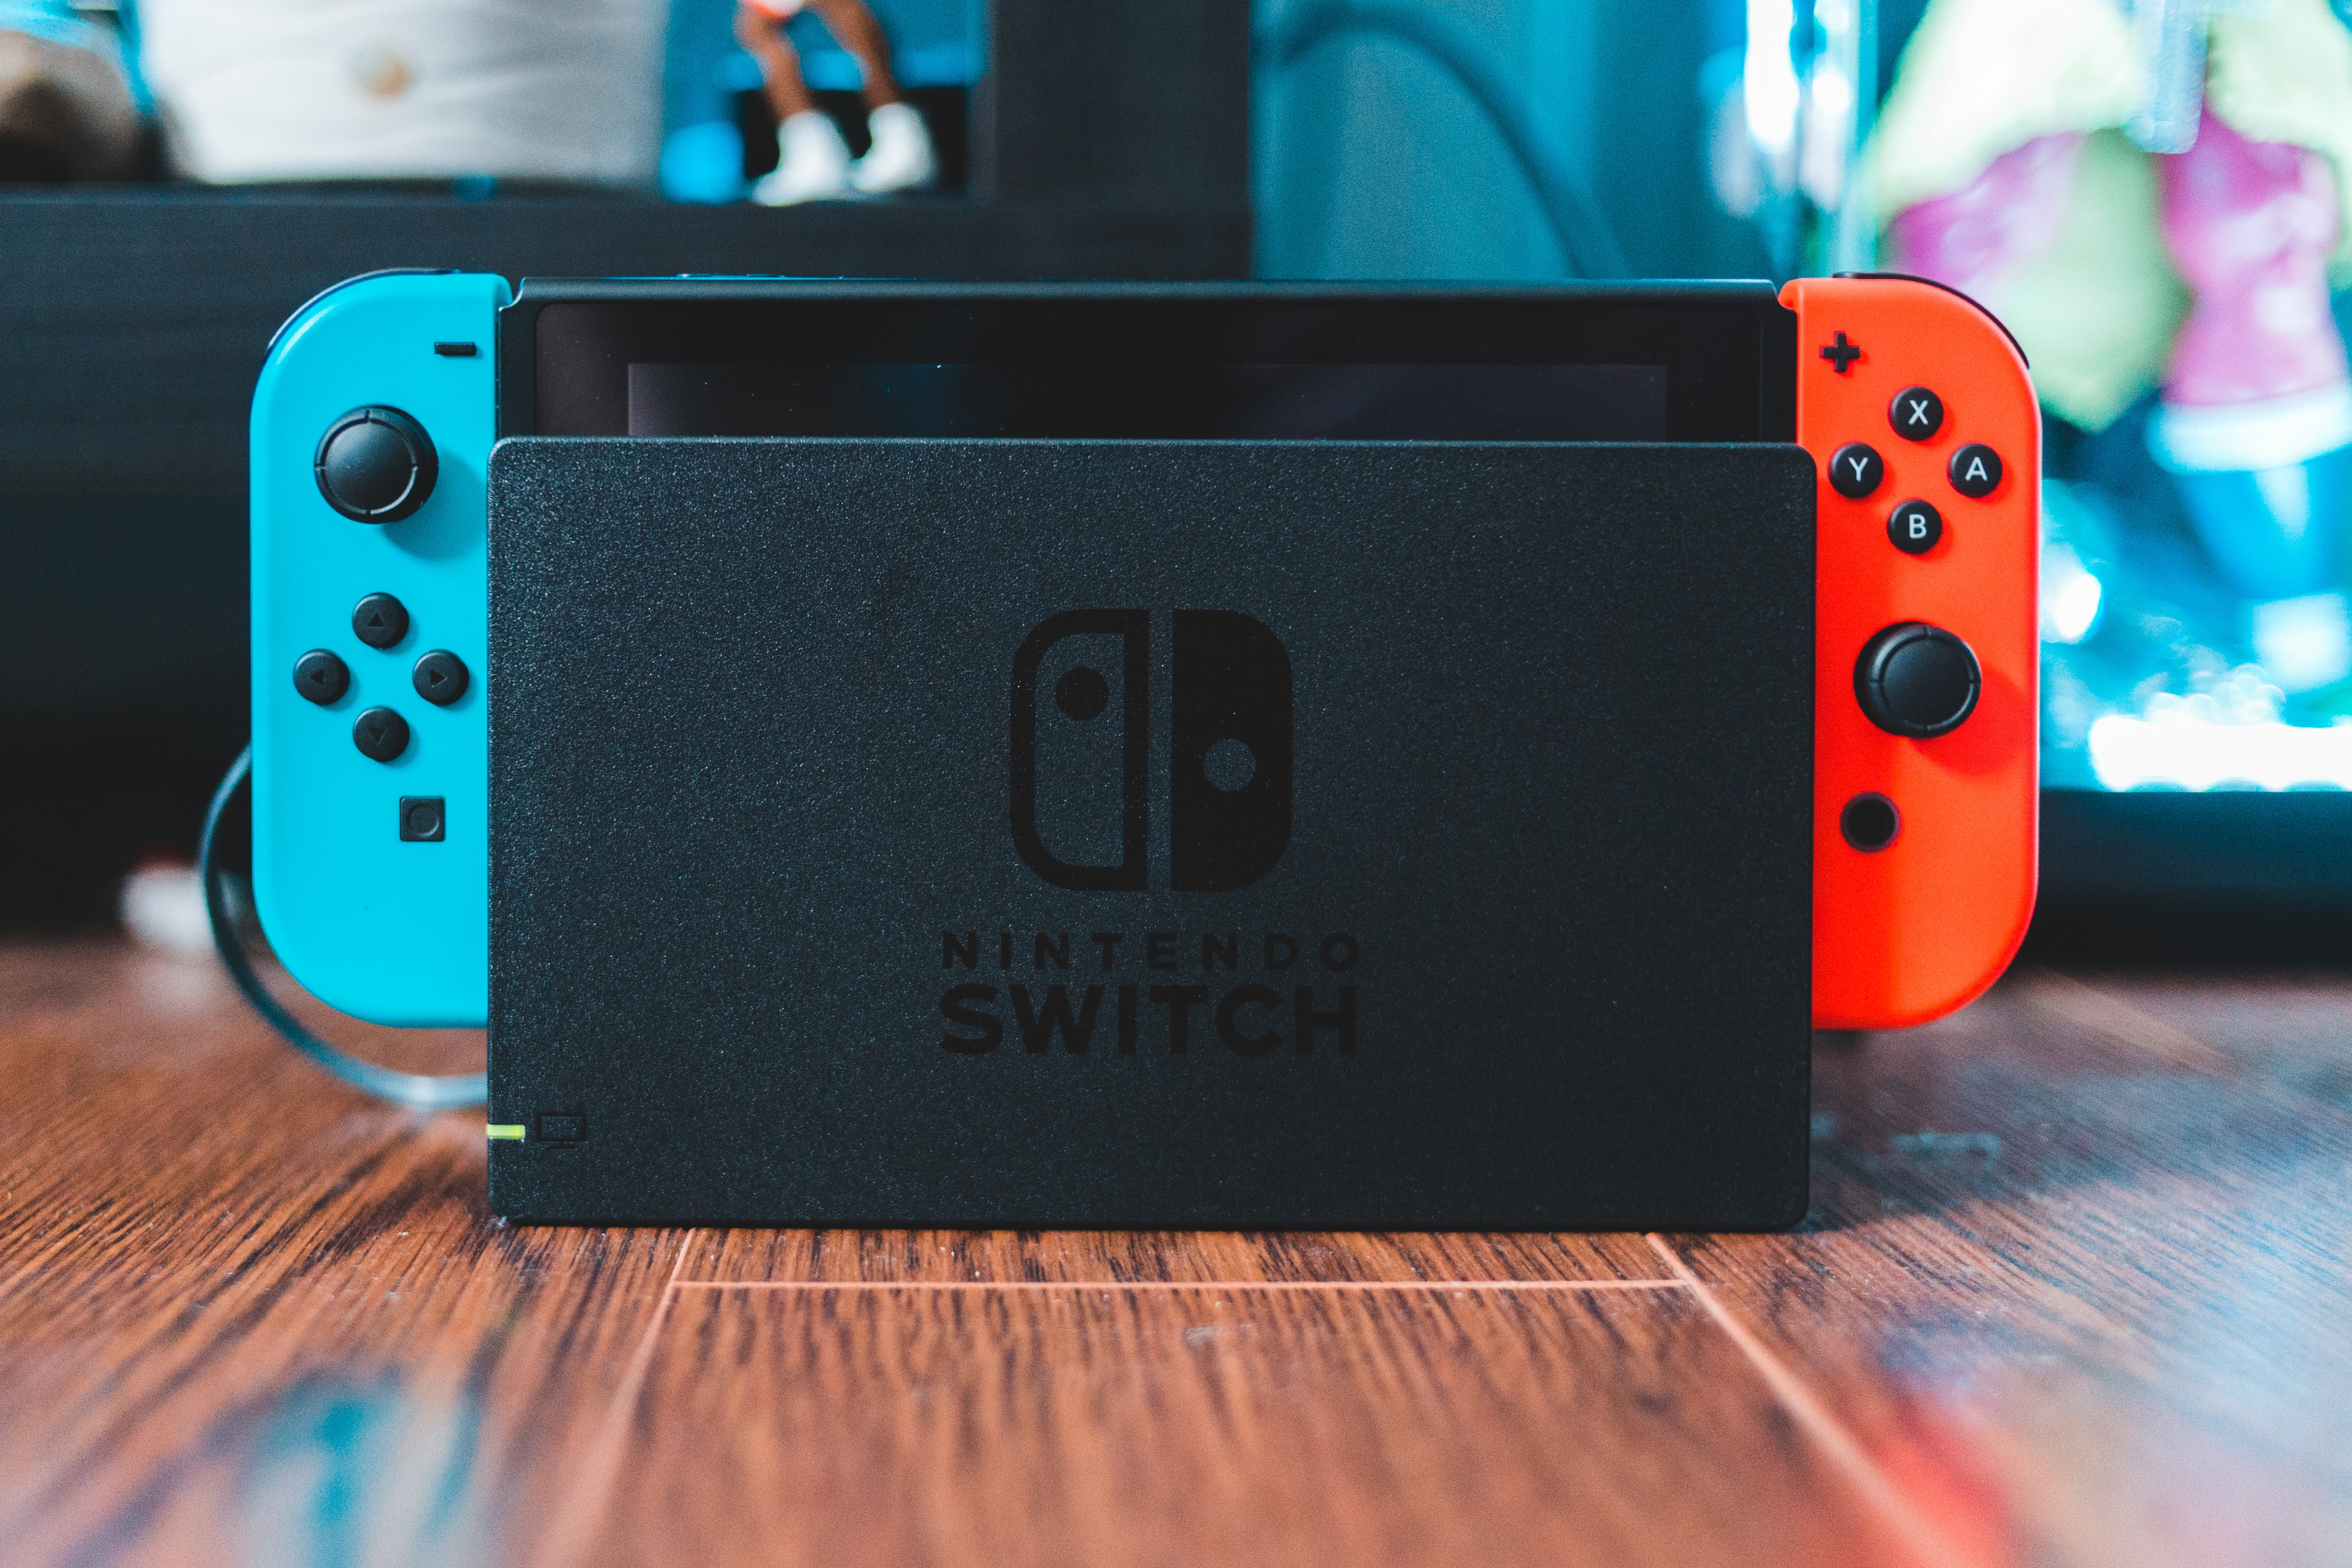
The Nintendo Switch is a popular gaming device known for its versatile gameplay and innovative features. One common issue that users may encounter is the joystick not clicking properly. This can be frustrating as it hampers gameplay and makes it difficult to navigate through games effectively. However, there are several solutions to this problem that can help you get your Nintendo Switch joystick clicking again. In this article, we will explore some possible reasons for this issue and provide step-by-step instructions on how to fix it. Whether it’s a hardware glitch or a simple calibration problem, we’ve got you covered. So, let’s delve into the troubleshooting methods and get your Nintendo Switch joystick back to clicking like it should!
Inside This Article
- Common Issues with Nintendo Switch Joystick
- Cleaning the Joystick
- Calibrating the Joystick
- Replacing the Joystick Module
- Conclusion
- FAQs
Common Issues with Nintendo Switch Joystick
The Nintendo Switch is a versatile gaming console that offers a unique gaming experience, but like any other electronic device, it can sometimes encounter issues. One of the most common problems users face with the Nintendo Switch is joystick issues. These issues can range from the joystick not clicking to drifting or unresponsive controls. If you are experiencing joystick problems with your Nintendo Switch, don’t worry – there are solutions available to help you fix these issues.
1. Joystick not clicking: One of the frustrating issues you may encounter is when your joystick is not clicking properly. This can greatly affect your gaming experience, as clicking the joystick is often used for various in-game actions. To fix this issue, you can try cleaning the joystick or calibrating it. If these steps don’t resolve the problem, it may be a hardware issue, and contacting Nintendo Support should be your next step.
2. Joystick drift: Another common issue with Nintendo Switch joysticks is drifting. This occurs when the joystick registers movement even when you are not touching it, causing your character or cursor to move involuntarily. It can be caused by dust or debris stuck in the joystick mechanism. Start by cleaning the joystick using a can of compressed air or a soft brush. If the issue persists, consider recalibrating the joystick or contacting Nintendo Support for further assistance.
3. Unresponsive controls: Sometimes, the joystick on your Nintendo Switch may become unresponsive, making it difficult to maneuver in games. This can be due to various factors, such as a low battery, interference from other wireless devices, or a software glitch. Start by ensuring that your Joy-Con controllers are fully charged. If the issue persists, try using the controller in handheld mode to check if the problem lies with the Joy-Con or the console itself. You can also try updating the system software to fix any software-related issues.
4. Contacting Nintendo Support: If you have tried troubleshooting the joystick issues mentioned above and still have no success, it may be time to contact Nintendo Support. Their team of experts can provide further guidance and assistance to resolve the problem. You can reach them through their website, email, or phone support.
Remember, joystick issues with your Nintendo Switch are common, but they can usually be fixed with proper troubleshooting steps. Whether it’s cleaning the joystick, calibrating it, or updating the system software, following these solutions can help you get back to enjoying your gaming experience without interruption.
Cleaning the Joystick
If you’re experiencing issues with your Nintendo Switch joystick not clicking, it may be due to dirt, dust, or debris that has accumulated on or around the joystick mechanism. Cleaning the joystick can often resolve this problem and restore its functionality. Here’s how you can clean the joystick:
1. Power off the Nintendo Switch
Before you start, make sure to power off your Nintendo Switch to prevent any accidental inputs. This will also ensure your safety while cleaning the joystick.
2. Remove the Joy-Con controllers
If you are cleaning the joy-con controller’s joystick, detach it from the main console by holding the release button on the back and slide it upwards. This will allow you to access the joystick more easily.
3. Use compressed air
Gently blow compressed air around and under the joystick to remove any loose debris or particles. Be careful not to blow the air directly into the joystick mechanism, as excessive force may damage it.
4. Clean with a microfiber cloth
Take a clean microfiber cloth and lightly dampen it with water or a mild cleaning solution. Gently wipe the joystick and the surrounding areas to remove any stubborn dirt or residue. Avoid using excessive moisture, as it may seep into the joystick and cause further damage.
5. Dry thoroughly
Make sure to dry the joystick and the surrounding areas completely before reassembling the Joy-Con controller or using the Nintendo Switch. Moisture can affect the functionality of the joystick and lead to more issues.
6. Reattach the Joy-Con controllers
If you detached the Joy-Con controllers, carefully slide them back into place on the Nintendo Switch until you hear a click. Make sure they are securely attached before powering on the console.
7. Test the joystick
After cleaning and reassembling, power on the Nintendo Switch and test the joystick to see if the clicking issue has been resolved. If the problem persists, you may need to try other troubleshooting methods or contact Nintendo support for further assistance.
By following these steps and cleaning your Nintendo Switch joystick, you can often restore its clicking functionality and enjoy a smoother gaming experience. Remember to keep your joystick clean regularly to avoid the accumulation of dirt and debris.
Calibrating the Joystick
Calibrating the joystick on your Nintendo Switch can help resolve issues such as unresponsive or inaccurate movements. This process recalibrates the joystick to ensure it accurately registers your inputs, providing a better gaming experience. Here’s how you can calibrate the joystick on your Nintendo Switch:
1. Navigate to the Home screen and select the “System Settings” option.
2. Scroll down and choose “Controllers and Sensors.”
3. Select “Calibrate Control Sticks.”
4. You will be prompted to hold the joystick in the neutral position, which means not pushing it in any direction. Follow the on-screen instructions to do this.
5. After holding the joystick in the neutral position, the calibration process will start. The screen will display a visualization of the joystick’s movements while it calibrates.
6. Once the calibration is complete, you will see a message confirming that the joystick has been calibrated.
7. Exit the settings menu and test the joystick by playing a game. It should now respond accurately to your inputs.
It’s important to note that if your joystick continues to have issues even after calibrating, there may be a hardware problem that needs to be addressed by contacting Nintendo Support or a professional console repair service.
Replacing the Joystick Module
If you’ve tried the previous troubleshooting steps and the joystick on your Nintendo Switch is still not clicking properly, you may need to replace the joystick module. Here’s a step-by-step guide on how to do it:
- Start by turning off your Nintendo Switch console and removing any attached accessories.
- Using a small Phillips head screwdriver, carefully remove the screws on the back of the Joy-Con controller to access the internal components. Keep the screws in a safe place to avoid losing them.
- Gently lift the backplate of the Joy-Con to reveal the joystick module. Be cautious not to pull it off forcefully, as there may be delicate ribbon cables attached.
- Locate the ribbon cable that connects the joystick module to the Joy-Con circuit board. Carefully disconnect the ribbon cable by gently pulling it straight out from the connector.
- Once the cable is detached, you can safely remove the old joystick module from the Joy-Con by unscrewing the screws that secure it in place. Keep the screws separate from the ones you removed from the backplate.
- Take the new joystick module and align it with the screw holes in the Joy-Con. Use the previously removed screws to secure it firmly in place. Make sure not to overtighten the screws to avoid damaging the module.
- Reconnect the ribbon cable to the Joy-Con circuit board by carefully inserting it back into the connector. Ensure that it is properly aligned and seated securely.
- Place the backplate of the Joy-Con back onto the controller and gently press it down to snap it into place. Use the previously removed screws to secure the backplate back onto the Joy-Con.
- Once everything is reassembled, turn on your Nintendo Switch and test the joystick by navigating through the menu or playing a game. It should now click properly and provide smooth movement.
If you are not confident in replacing the joystick module yourself, it is recommended to seek professional assistance or contact Nintendo Support for further guidance.
By following these steps, you can successfully replace the joystick module on your Nintendo Switch and restore proper functionality to your Joy-Con controller.
Whether you’re an avid gamer or just a casual player, experiencing issues with a joystick that isn’t clicking on your Nintendo Switch can be frustrating. However, with the right troubleshooting steps, you can get your joystick working properly again in no time.
By thoroughly cleaning the joystick, recalibrating it, or even replacing it if necessary, you can solve the problem and enjoy your gaming sessions without any hindrances. Remember to try simple solutions first and escalate to more complex ones if needed.
It’s essential to keep in mind that if your Nintendo Switch is still within warranty, it’s best to reach out to the manufacturer for assistance. They may be able to provide additional troubleshooting steps or even repair or replace the faulty joystick. Don’t hesitate to take advantage of their customer support, as they are there to help you.
So, don’t let a not-clicking joystick dampen your gaming experience. Take the necessary actions, follow the recommended steps, and get back to playing your favorite games on your Nintendo Switch without any issues. Happy gaming!
FAQs
1. Why is my joystick on the Nintendo Switch not clicking?
If your joystick on the Nintendo Switch is not clicking, it could be due to a few different reasons. One possibility is that there is debris or dust around the joystick mechanism, causing it to get stuck. Another possibility is that the joystick has worn out or is damaged, resulting in the lack of clicking sensation. In some cases, it could also be a software issue that can be resolved by updating the firmware on your Nintendo Switch. If the problem persists, it may be necessary to replace the joystick entirely.
2. How can I clean the joystick on my Nintendo Switch?
To clean the joystick on your Nintendo Switch, you can use compressed air or a small brush to gently remove any debris or dust that may be causing the issue. It’s important to be careful not to apply too much pressure or use any liquid cleaners, as this could damage the joystick further. If the problem persists after cleaning, it may be a sign that the joystick needs to be replaced.
3. Can I fix the joystick on my Nintendo Switch myself?
Fixing the joystick on your Nintendo Switch yourself is possible, depending on the extent of the problem. If it’s a simple issue like debris or dust, you can try cleaning it as mentioned above. However, if the joystick is worn out or damaged, it may require more technical expertise to replace it. If you’re comfortable with electronics and have experience with console repairs, you can find replacement joysticks online and follow tutorials or guides to replace it yourself. Otherwise, it’s best to reach out to a professional repair service.
4. How much does it cost to replace the joystick on a Nintendo Switch?
The cost of replacing the joystick on a Nintendo Switch can vary depending on where you get it done and the type of joystick you choose. DIY replacement joysticks can range from around $10 to $30, depending on the quality and brand. If you opt for professional repair services, the cost may be higher, typically ranging from $50 to $100 or more, including labor charges. It’s best to research and compare prices from different sources to find the most cost-effective option.
5. Can I prevent joystick issues on my Nintendo Switch?
While some joystick issues may occur naturally over time due to wear and tear, there are a few precautions you can take to help prevent them. Firstly, keep your Nintendo Switch and its components clean by regularly removing any debris or dust. Avoid putting unnecessary pressure on the joystick while playing, as this can accelerate wear. Additionally, consider using joystick covers or protective cases to offer some extra protection. Keeping your firmware up to date can also help resolve any software-related issues.