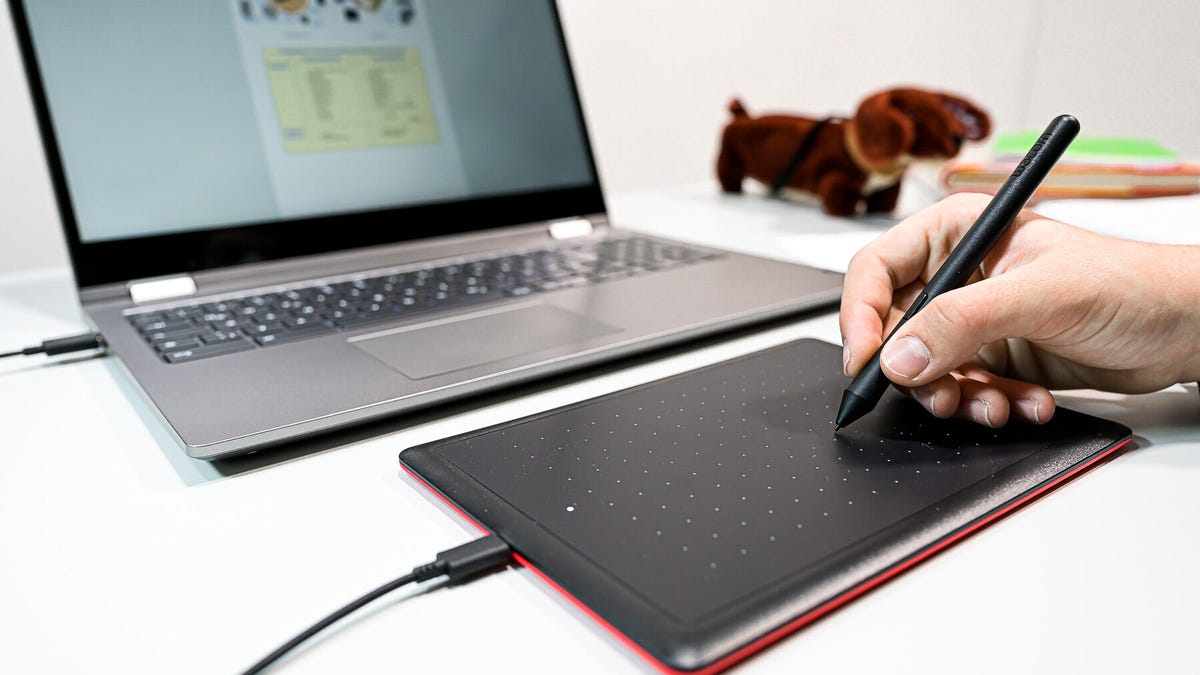
To get the stylus out of a Chromebook, press the button on the side of the device; the stylus will pop out. This is the standard method for any Chromebook with a built-in stylus, and it may also automatically open stylus tools on the screen.
How to get the stylus out of a Chromebook: the standard method
On a Chromebook with an integrated stylus, Google’s documented method is to press the button located on the side of the Chromebook. The stylus ejects from its garage or slot once the button is pressed. If you have turned on Open stylus tools when the stylus is removed in your Chromebook settings, the stylus tools will appear automatically after removal, giving you quick access to note-taking, drawing, or screen capture options.
Removing the stylus on a Samsung Chromebook
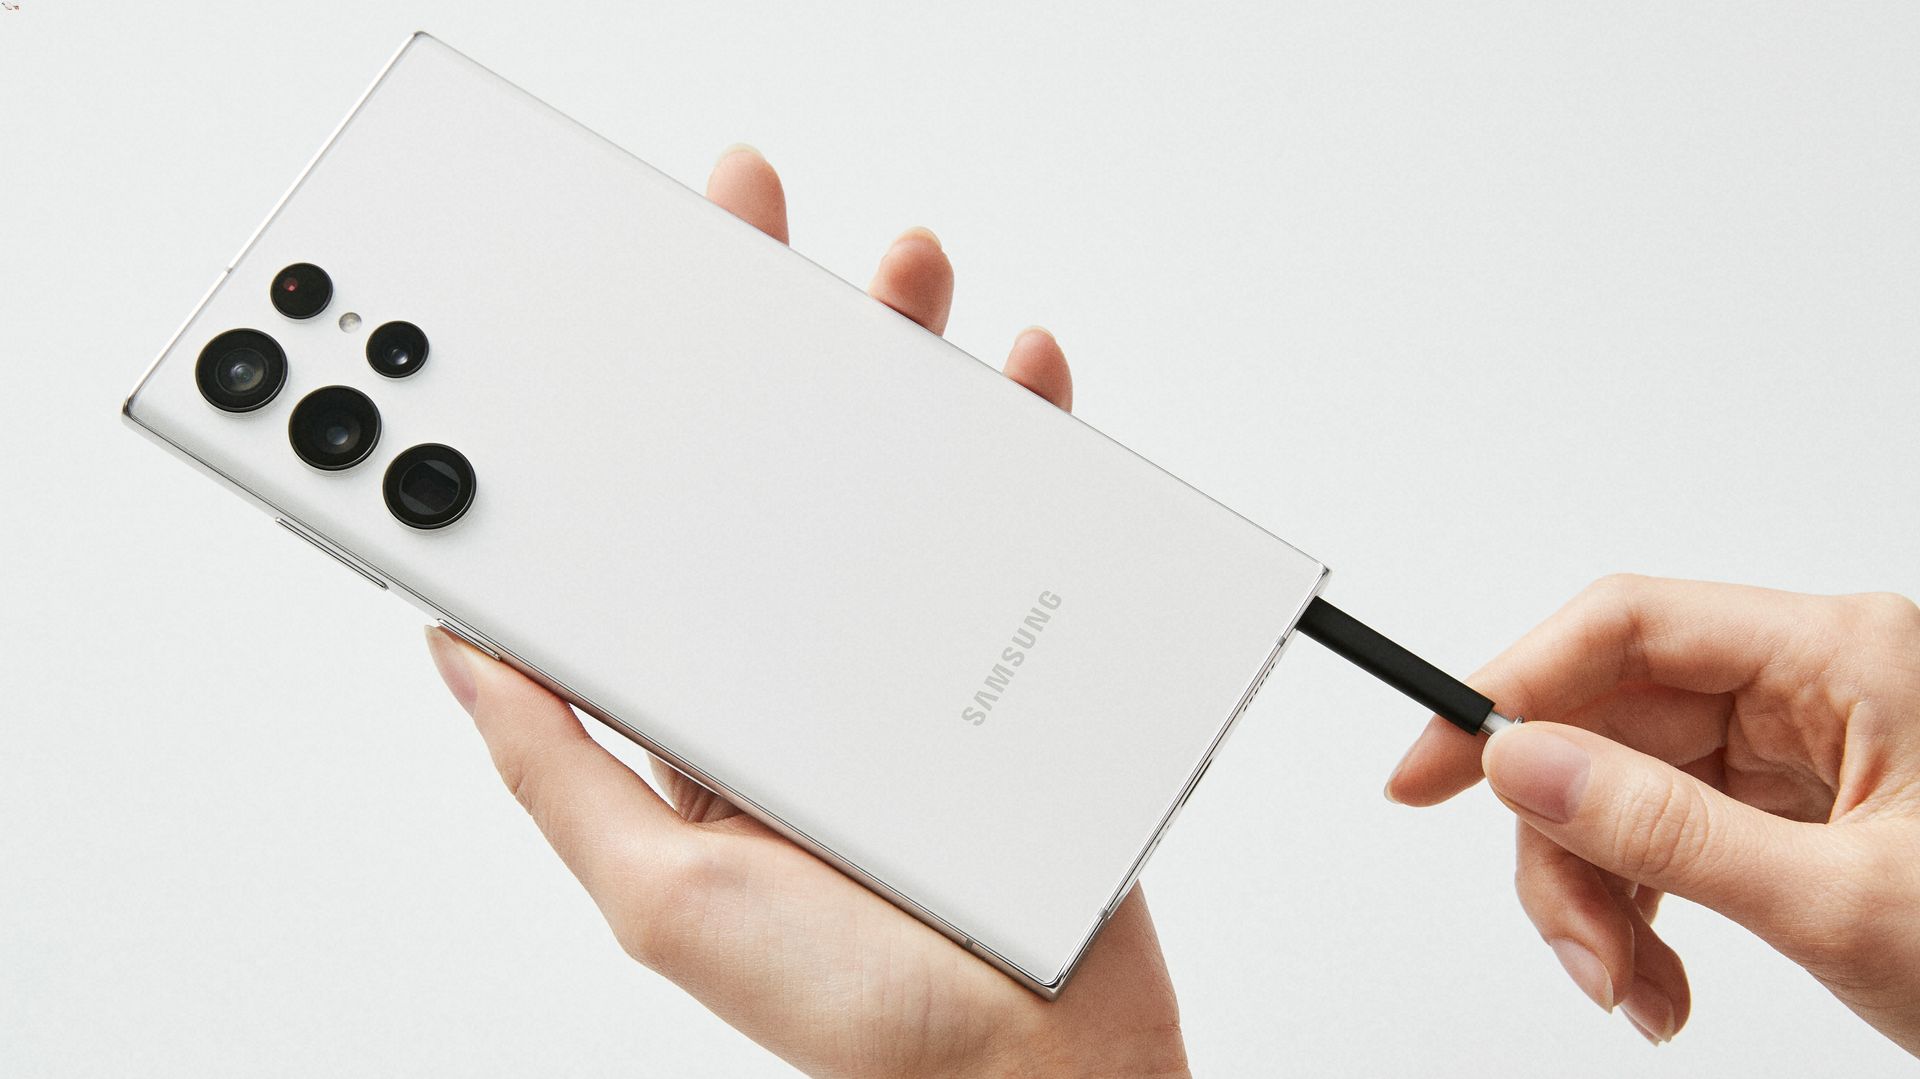
Samsung Chromebook models with a built-in stylus slot use a slightly different mechanism. To remove the stylus, push the end of the stylus inward until you hear a click, then pull it out. When reinserting the stylus, always push it in tip-first until it clicks into place. This prevents the stylus from becoming jammed or inserted the wrong way.
What to do if the stylus is stuck
If the stylus does not eject after pressing the side button or clicking it inward, stop immediately if you feel resistance. Do not use excess pressure, as this can damage the stylus or the Chromebook. Check whether the stylus was inserted the wrong way, Samsung notes that the stylus may be stuck if it was not inserted tip-first. If the stylus remains stuck and cannot be removed safely, Samsung says a replacement stylus can be purchased if needed.
Understanding your Chromebook's stylus
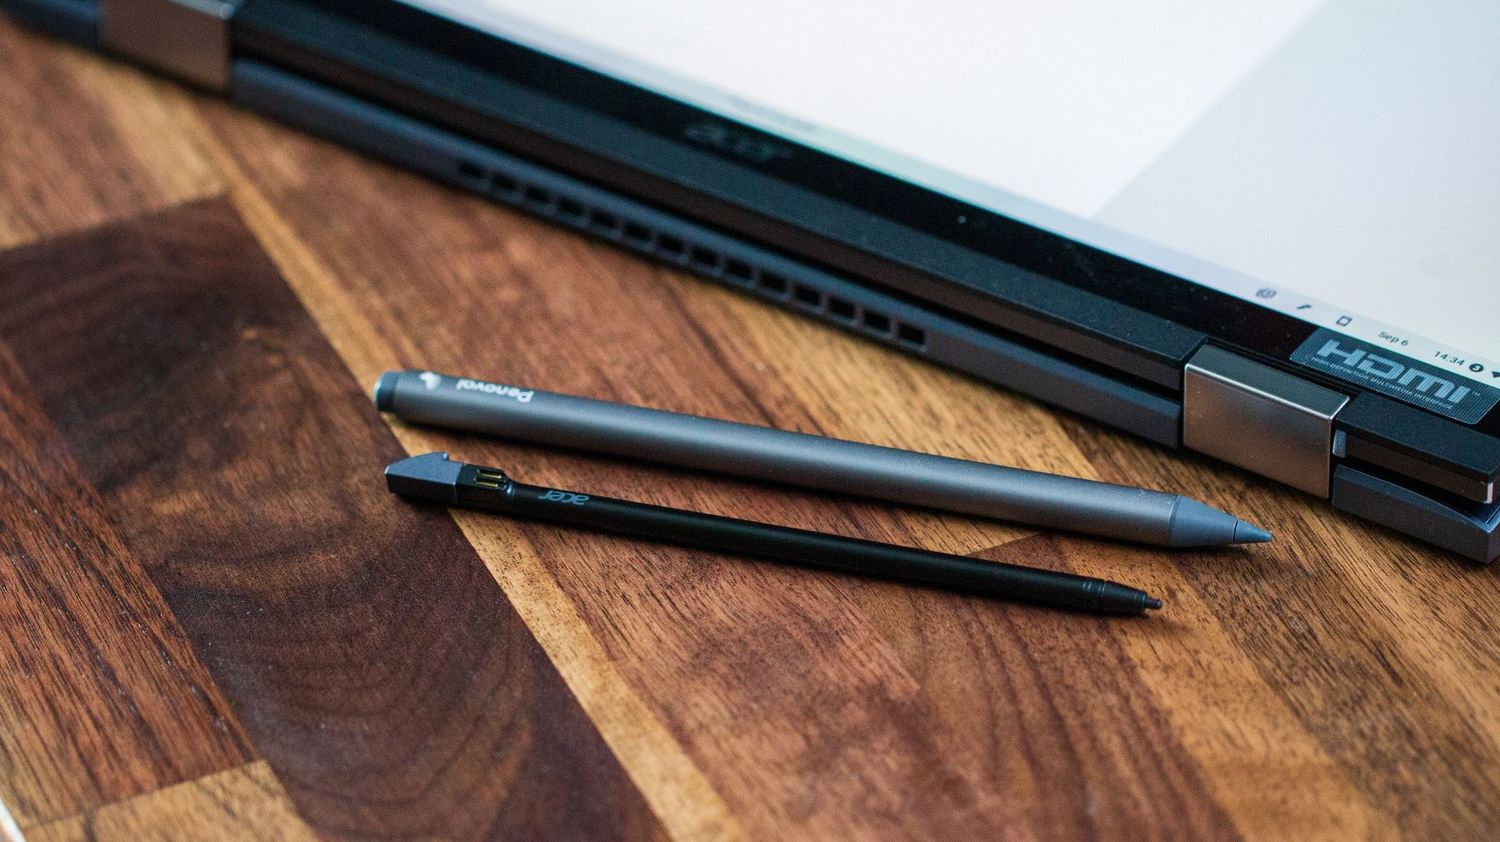
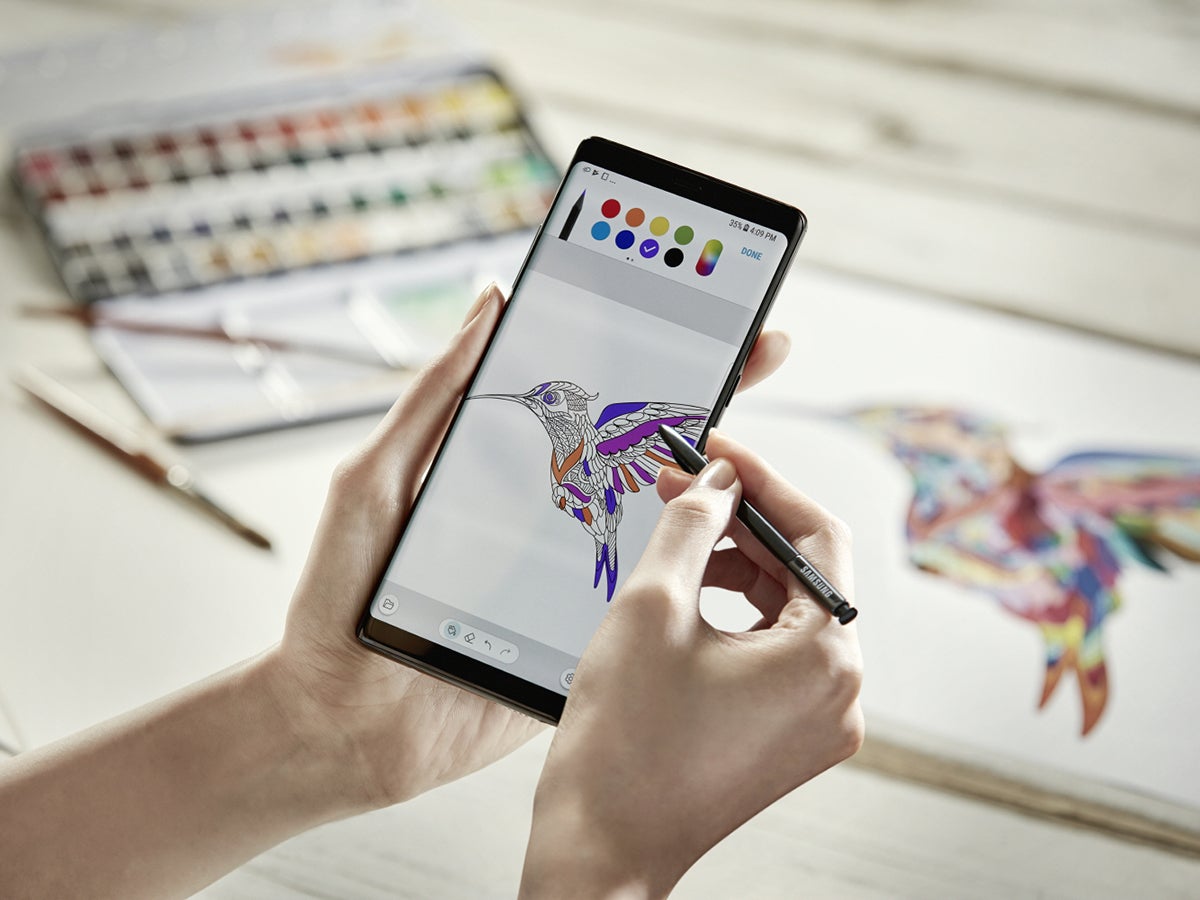
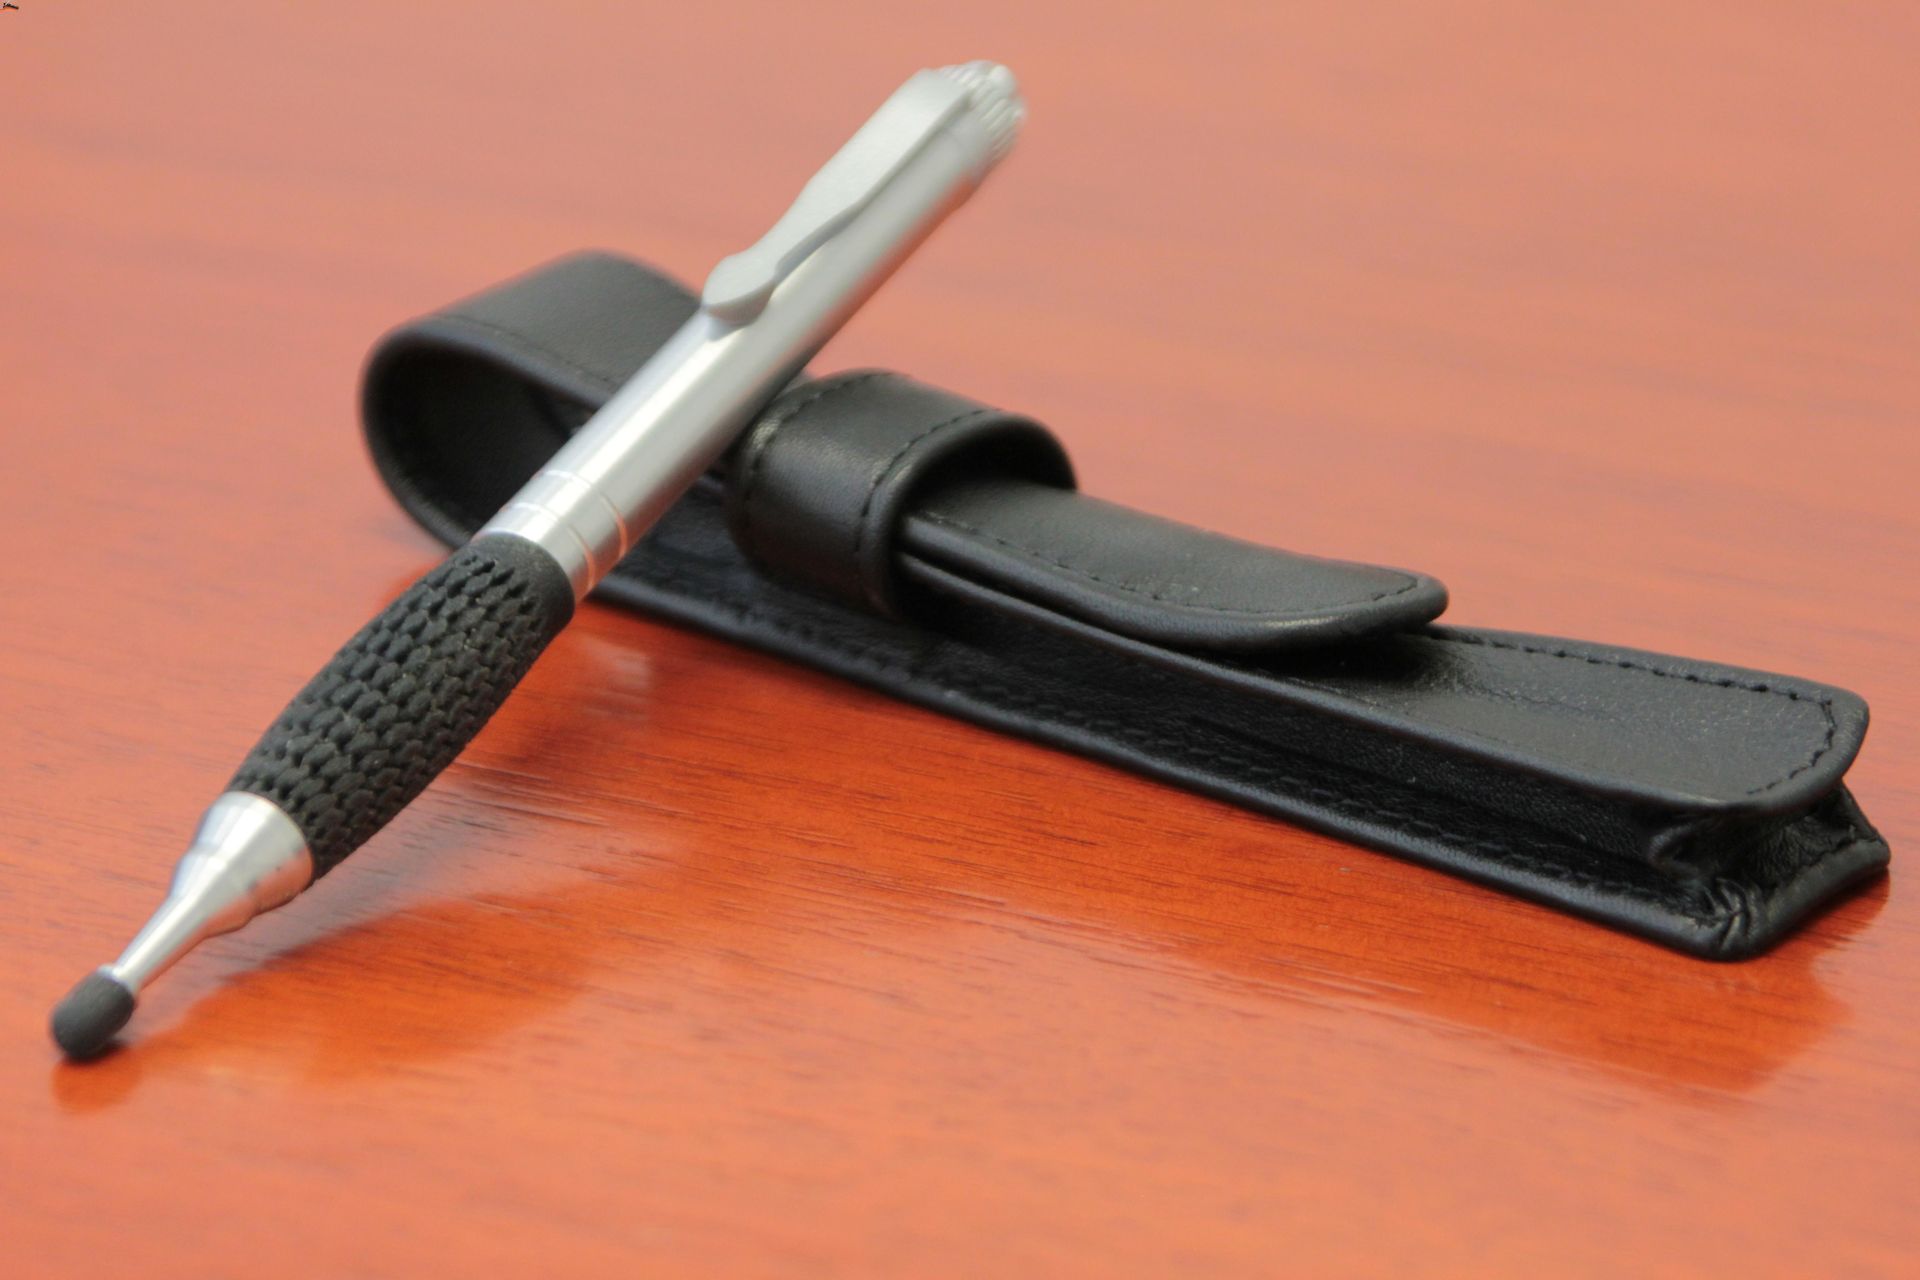
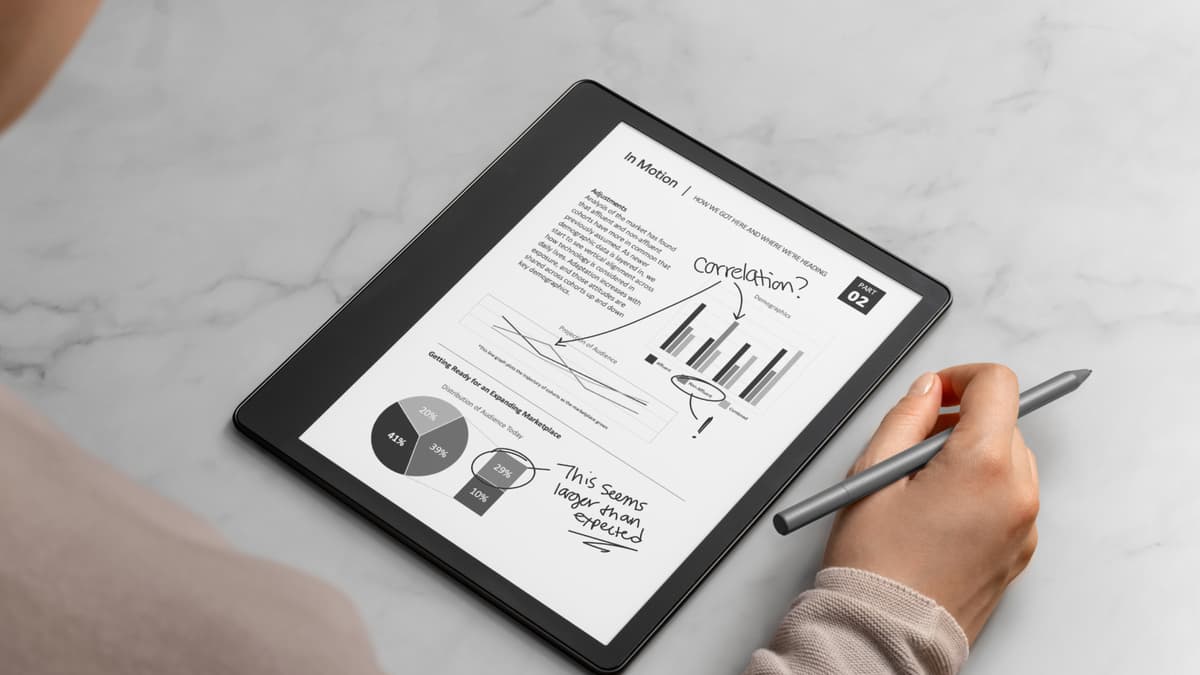
A built-in stylus is a pen-like accessory that comes with certain Chromebook models, stored in a dedicated garage or slot on the device. It allows you to interact with the touchscreen for drawing, note-taking, and navigation with pressure sensitivity. Not all Chromebooks include a stylus, and support varies by model and USI version. Google maintains a compatible USI Chromebook list, which shows support varies by model and USI version. A critical fact to know is that Bluetooth styluses are not supported on Chromebooks, only active styluses that use the built-in garage or USI protocol will work. For those new to the feature, the stylus pen usage and basics involve removing the pen from the slot and performing touch actions on the screen, with no additional pairing required.
Frequently Asked Questions
Can any stylus work with a Chromebook?
No. Google states that Bluetooth styluses are not supported on Chromebooks. Only styluses designed for the built-in garage or those that meet the USI standard will function correctly.
Where is the setting for automatic stylus tools?
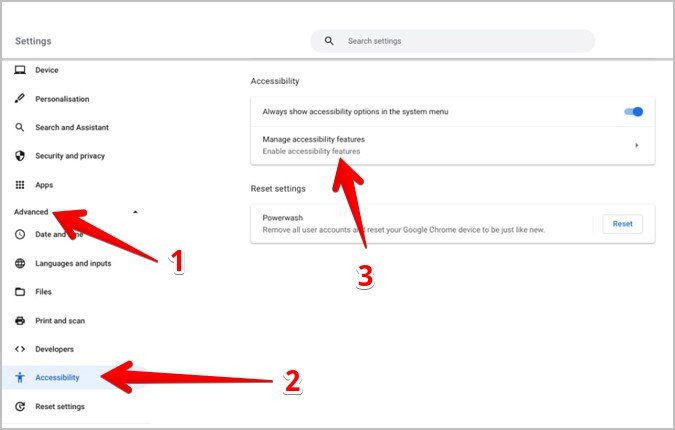
In your Chromebook settings, turn on Open stylus tools when the stylus is removed. This setting ensures that when you eject the stylus, a menu with note-taking and drawing tools appears automatically.
What if the stylus won't come out?
If the stylus does not eject, stop if you feel resistance. Google does not provide a backup release method, and Samsung advises against forcing it. Check that the stylus was inserted tip-first. If it remains stuck, a replacement stylus can be purchased.
How do I reinsert the stylus without jamming it?
Inserting it the wrong way can cause it to jam or become stuck in the slot.
Do all Chromebooks have a built-in stylus?
No. Only certain Chromebook models include a built-in stylus and garage. Check your device’s specifications or look for a stylus slot on the side of the Chromebook to confirm.
For the wider topic, see stylus pen usage and basics.
Related reading: How To Connect A Stylus To A Chromebook?.