
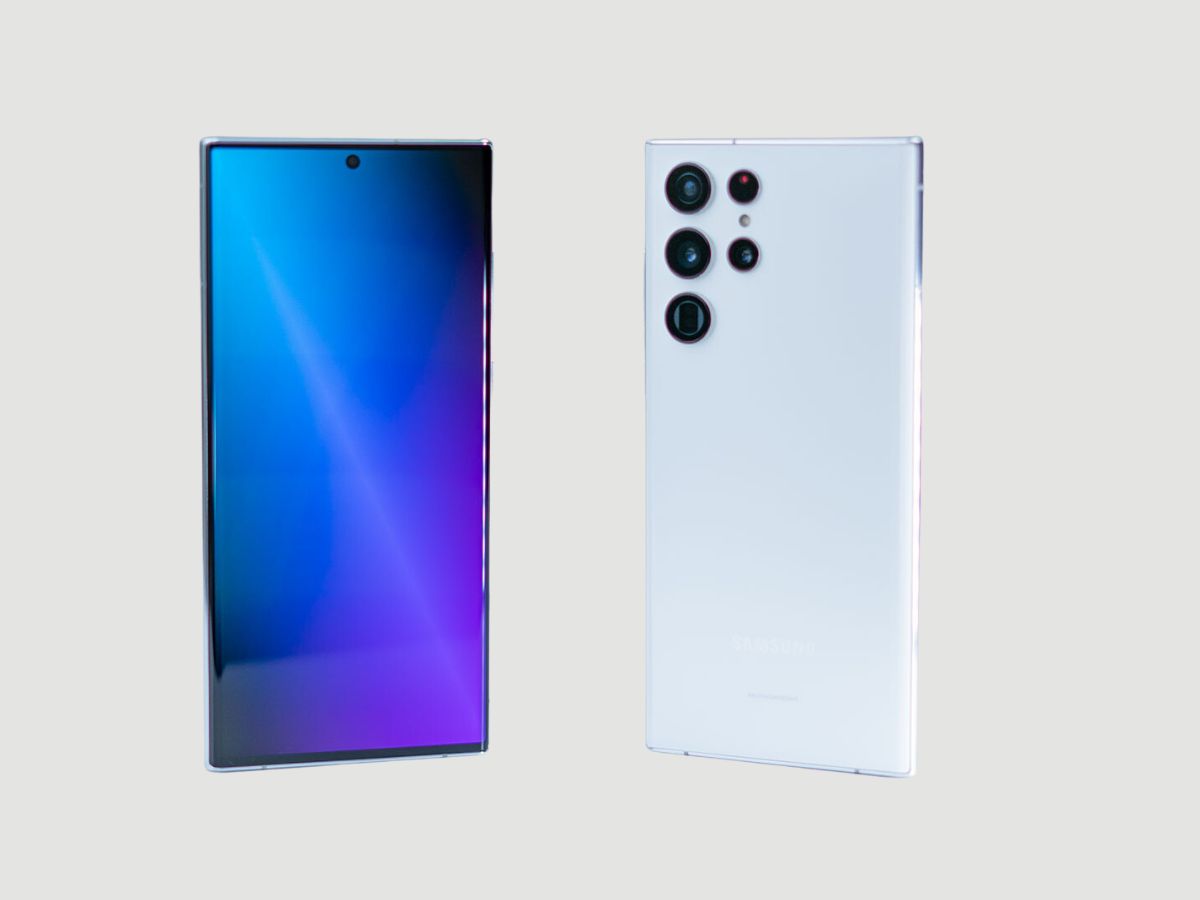
Are you excited about getting your hands on the latest Samsung S22 Ultra? Well, before you can start making calls and browsing the web, you’ll need to insert a SIM card into your new device. While this may seem like a simple task, it’s important to do it correctly to ensure proper network connectivity and functionality.
In this article, we will guide you through the step-by-step process of inserting a SIM card into the Samsung S22 Ultra. Whether you’re a seasoned smartphone user or a newbie, you’ll find all the information you need right here. So, let’s dive in and get your S22 Ultra ready for action!
Inside This Article
- Preparing to Insert SIM Card
- Locating the SIM Card Slot on the S22 Ultra
- Inserting the SIM Card into the S22 Ultra
- Activating the SIM Card on the S22 Ultra
- Conclusion
- FAQs
Preparing to Insert SIM Card
Before you begin the process of inserting a SIM card into your S22 Ultra, there are a few important steps you need to take to ensure a smooth and successful installation. Follow these guidelines to properly prepare:
- Power off your phone: To avoid any potential damage to your device or SIM card, it is crucial to turn off your S22 Ultra before attempting to insert or remove the SIM card. This will minimize the risk of electrical interference or any accidental actions that could lead to mishandling the SIM card.
- Gather the necessary tools: To insert your SIM card into the S22 Ultra, you will need a SIM card ejector tool or a small paperclip. These tools are typically provided in the box when you first purchase the phone. Make sure to have one handy before you proceed with the installation process.
- Have a SIM card ready: Ensure that you have an appropriate SIM card ready for the S22 Ultra. This phone typically requires a nano-SIM card. If you already have a SIM card, make sure it is compatible with the S22 Ultra and the network carrier you plan to use. If you don’t have a SIM card, you can obtain one from your network provider or purchase a compatible SIM card online or from a local store.
By following these preparatory steps, you will be ready to proceed with inserting the SIM card into your S22 Ultra with confidence. Having everything organized and ready beforehand will make the installation process much easier and smoother.
Locating the SIM Card Slot on the S22 Ultra
The Samsung Galaxy S22 Ultra is a powerful smartphone that offers a host of features and capabilities. One important aspect of using a smartphone is inserting a SIM card, which allows you to connect to a mobile network and make calls, send texts, and access the internet. If you’re wondering where to find the SIM card slot on the S22 Ultra, read on for a step-by-step guide.
Turn over the S22 Ultra and locate the SIM card tray. It is usually situated on the upper or lower edge of the device, depending on the phone model. Look for a small hole or a slot with a small metal pin symbol next to it. This is where the SIM card tray is located.
Take the SIM ejection tool provided with the phone or a small paperclip. Insert the tool or unfolded paperclip into the hole next to the SIM card slot. Apply gentle pressure until the SIM card tray pops out slightly.
Carefully pull out the SIM card tray from the device. You will see one or two slots on the tray, depending on the phone model. These slots are designed to accommodate the SIM card and, in some cases, an additional memory card.
Place the SIM card into the appropriate slot on the tray. Ensure that the gold contacts on the SIM card align with the connectors in the slot. If you are also inserting a memory card, make sure it is aligned properly as well.
Gently push the SIM card tray back into the device until it is fully inserted and flush with the rest of the phone. You may hear a slight click or feel a small resistance when the tray is securely in place.
That’s it! You have successfully located the SIM card slot on the S22 Ultra and inserted your SIM card. Now you can power on your device and start using your phone with the newly inserted SIM card.
It is important to note that the exact location of the SIM card slot may vary slightly depending on the phone model and design. If you’re having trouble finding the slot, consult the user manual or contact Samsung support for assistance.
Inserting the SIM Card into the S22 Ultra
Inserting the SIM card into your S22 Ultra is a simple process that allows you to connect to a mobile network and make calls, send messages, and access the internet. Follow these step-by-step instructions to insert your SIM card:
- Power off your S22 Ultra by pressing and holding the power button until the power menu appears. Tap on “Power off” to turn off the device.
- Locate the SIM card tray on the side of your S22 Ultra. It is usually found on the upper left or right side of the phone, depending on the model.
- Take the SIM card ejector tool that came with your device (or use a small paperclip) and insert it into the small hole next to the SIM card tray. Apply gentle pressure until the tray pops out.
- Remove the SIM card tray from the phone. You will see one or two slots on the tray, depending on whether your device supports dual SIM functionality.
- If you have a single SIM card, insert the SIM card into the appropriate slot on the tray. Make sure the gold contacts are facing downwards and align the notched corner of the SIM card with the notched corner of the tray.
- If you have a dual SIM device, consult your device’s user manual to determine which slot is designated for the primary SIM card. Insert the primary SIM card into the appropriate slot on the tray.
- If you have a second SIM card, insert it into the second slot on the tray. Again, ensure that the gold contacts are facing downwards and align the notched corner of the SIM card with the notched corner of the tray.
- Gently push the SIM card tray back into the phone until it is securely in place. Ensure that it is flush with the device’s frame.
- Power on your S22 Ultra by pressing and holding the power button until the device vibrates and the Samsung logo appears on the screen.
- Once your S22 Ultra has booted up, it will detect the SIM card(s) and you will be prompted to enter your PIN or unlock code. Follow the on-screen instructions to complete the setup process.
That’s it! You have successfully inserted the SIM card into your S22 Ultra. Now you can enjoy the full functionality of your device, including making calls, sending messages, and browsing the internet.
Activating the SIM Card on the S22 Ultra
Once you have successfully inserted the SIM card into your S22 Ultra, the next step is to activate it. Activating the SIM card is a crucial step that allows you to use the network services provided by your carrier. Here’s a step-by-step guide to help you activate your SIM card on the S22 Ultra:
- Power on your device: Ensure that your S22 Ultra is powered on and connected to a stable Wi-Fi or cellular network.
- Access the Settings menu: Swipe down from the top of your screen to access the notification panel. Tap on the settings icon, which looks like a gear.
- Select the SIM card settings: In the settings menu, scroll down and select “SIM card & network” or a similar option, depending on your device’s software version.
- Choose the SIM card slot: If your S22 Ultra supports dual SIM cards, you may need to choose the slot where you inserted your SIM card. Select the desired SIM slot from the available options.
- Enable the SIM card: In the SIM card settings, you should see an option to enable or activate your SIM card. Tap on it to proceed.
- Follow the on-screen instructions: The system will guide you through the activation process, which may involve verifying your identity, providing your carrier details, or entering an activation code. Follow the prompts and instructions on the screen to complete the activation.
- Restart your phone: Once the activation process is complete, it is recommended to restart your S22 Ultra to ensure that all the changes take effect properly.
- Test network connectivity: After the restart, check if your phone is successfully connected to the network by making a test call, sending a message, or accessing the internet. If everything works seamlessly, your SIM card should be activated and ready to use.
Activating a SIM card on the S22 Ultra is a straightforward process that ensures you can make calls, send messages, and access mobile data. In case you encounter any difficulties during the activation process, it is advisable to contact your carrier’s customer support for assistance. Enjoy the full functionality and connectivity of your S22 Ultra with your newly activated SIM card!
The process of inserting a SIM card into the S22 Ultra is relatively simple. By following the steps outlined in this article, you can easily ensure that your device is connected to a mobile network and ready to be used for calls, text messages, and data usage. Remember to handle the SIM card with care and make sure it is properly aligned before inserting it into the designated slot.
Having a working SIM card in your S22 Ultra is essential for staying connected on the go. Whether you’re using it for personal or professional purposes, having a reliable mobile network is crucial. With the help of this guide, you can confidently insert your SIM card into the S22 Ultra and enjoy uninterrupted connectivity on your device.
Now that you have successfully inserted your SIM card, you can start exploring all the features and capabilities of your S22 Ultra. Connect with friends and family, browse the internet, use your favorite apps, and make the most of your cutting-edge smartphone. Enjoy the seamless mobile experience provided by the S22 Ultra and stay connected wherever you go.
FAQs
1. How do I insert a SIM card into the S22 Ultra?
To insert a SIM card into the S22 Ultra, follow these steps:
– Power off your phone before starting.
– Locate the SIM card tray, usually on the side of the phone.
– Use the SIM card eject tool or a paperclip to gently push into the small hole on the SIM card tray.
– The tray should pop out slightly, allowing you to remove it.
– Place the SIM card into the slot on the tray, ensuring the gold contacts face down.
– Carefully insert the tray back into the phone until it clicks securely in place.
– Power on your phone, and your SIM card will be recognized.
2. Can I use a micro SIM card in the S22 Ultra?
No, the S22 Ultra uses a nano SIM card. Micro SIM cards are larger in size and are not compatible with the S22 Ultra. You will need to obtain a nano SIM card from your mobile service provider or request a SIM card swap if you currently have a micro SIM card.
3. Do I need to remove the SIM card tray to insert the SIM card?
Yes, to insert a SIM card into the S22 Ultra, you will need to remove the SIM card tray. The tray is easily accessible and can be removed using the provided SIM card eject tool or a paperclip. This allows you to insert or swap out the SIM card without the need to open up the device.
4. Can I use multiple SIM cards in the S22 Ultra?
Yes, the S22 Ultra supports dual SIM functionality. It has a dual SIM tray that allows you to insert two SIM cards simultaneously. This can be useful if you have two mobile service providers or if you travel frequently and want to use a local SIM card when abroad. Keep in mind that the second SIM slot is typically shared with the microSD card slot, so you have to choose between using a second SIM card or expanding storage with a microSD card.
5. What should I do if my SIM card is not detecting in the S22 Ultra?
If your SIM card is not detecting in the S22 Ultra, try the following:
– Ensure that the SIM card is inserted correctly, with the gold contacts facing down.
– Check if the SIM card is properly seated in the SIM card tray, and make sure the tray is securely inserted into the phone.
– Restart your phone to see if it recognizes the SIM card.
– If the issue persists, try using the SIM card in another device to determine if it’s a problem with the SIM card itself.
– Contact your mobile service provider for further assistance.