
Are you struggling to install a twist-on coax connector for your cell phone? Look no further! In this comprehensive guide, we will walk you through the step-by-step process of installing a twist-on coax connector, ensuring a stable and reliable connection for your mobile accessories. Whether you are a tech-savvy individual or a beginner, this article will provide you with all the information you need to successfully install a twist-on coax connector. Say goodbye to the frustration of poor signal strength and unreliable connections – by the end of this article, you will be equipped with the knowledge and skills to confidently install a twist-on coax connector like a pro. Let’s get started!
Inside This Article
- Tools and Materials Needed
- Step 1: Prepare the Coax Cable
- Step 2: Strip the Coax Cable
- Step 3: Insert the Coax Cable into the Connector
- Step 4: Twist on the Coax Connector
- Conclusion
- FAQs
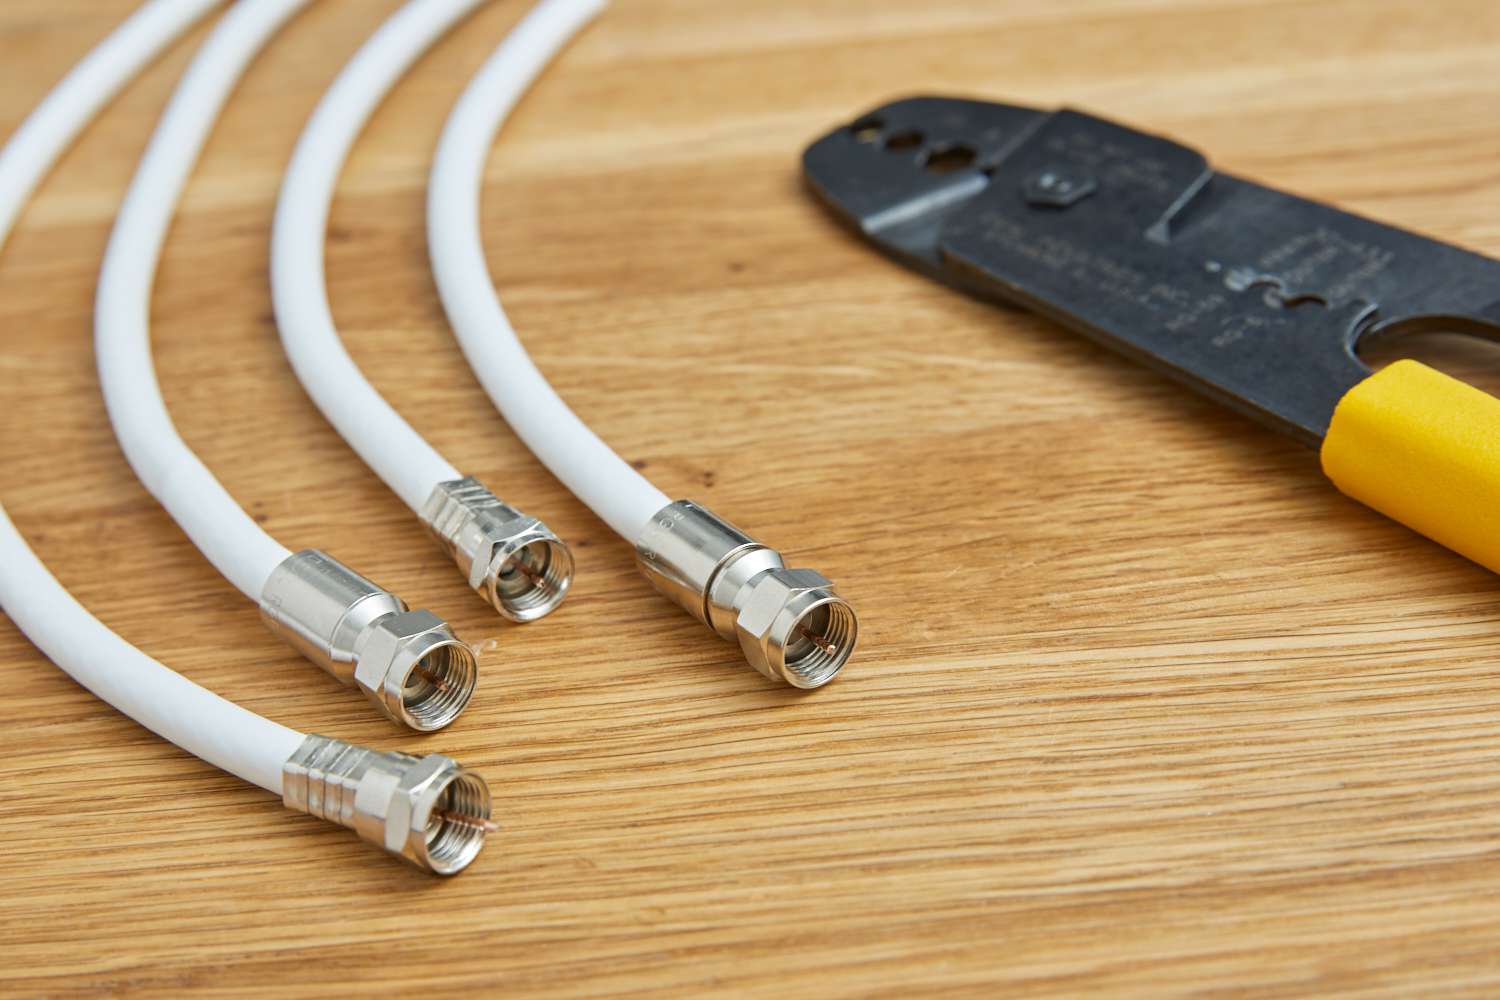
Tools and Materials Needed
When it comes to installing a twist-on coax connector, you’ll need a few essential tools and materials to get the job done right. Here’s a list of everything you’ll need:
- Coax cable: Make sure to choose the appropriate coax cable for your specific needs. Whether you’re setting up a TV antenna or installing a satellite dish, select a coax cable that matches your requirements.
- Cable stripper: A cable stripper is an essential tool for cleanly removing the outer insulation from the coax cable. This allows for a proper connection to be made with the twist-on connector.
- Twist-on coax connector: This is the main component you’ll be installing. Twist-on coax connectors are designed to securely attach to the coax cable without the need for any additional tools or crimping.
- Utility knife or scissors: These tools can be used to trim the coax cable if necessary, ensuring a clean and precise installation.
- Coaxial cable cutter: If you are working with multiple coax cables or need to cut the cable to a specific length, a coaxial cable cutter can be a helpful tool to have on hand.
By ensuring you have all the necessary tools and materials before you start the installation process, you’ll be well-prepared and have everything at your disposal to complete the job successfully.
Step 1: Prepare the Coax Cable
Before you can install a twist-on coax connector, it’s important to properly prepare the coax cable. This involves making sure the cable is clean, undamaged, and stripped of any insulation or shielding.
Here are the steps to follow in order to prepare the coax cable:
- Inspect the cable: Take a close look at the coax cable to ensure there are no visible cuts, kinks, or other damage. If you notice any issues, it’s best to replace the cable before proceeding.
- Clean the cable: Use a clean, lint-free cloth to wipe down the coax cable and remove any dirt or grime. This will help to ensure a secure connection.
- Measure and mark the cut: If you need to shorten the coax cable, measure the desired length and mark it with a pen or marker. Double-check your measurements before proceeding to the next step.
- Secure the cable: If the coax cable is attached to a wall or other surface, use cable clips or adhesive mounts to secure it in place. This will help prevent strain on the cable and maintain a clean installation.
By properly preparing the coax cable, you’ll create a solid foundation for the twist-on coax connector installation process. This will help ensure a reliable and high-quality connection for your television or other devices.
Step 2: Strip the Coax Cable
After preparing the coax cable in step 1, the next crucial step is to strip the coax cable. Stripping the cable involves removing the external covering and shielding to expose the inner conductor. This is an essential step before inserting the cable into the connector.
To strip the coax cable, you will need a coax cable stripper. This tool has adjustable blades that allow you to cut through the outer layers while leaving the inner conductor untouched. It is important to choose a coax cable stripper that is compatible with the size of your coax cable to ensure precise and clean cuts.
Begin by placing the coax cable into the coax cable stripper, aligning it with the appropriate notch for your cable’s diameter. Gently tighten the stripper until it grips the cable securely. Ensure that the stripping blades are in contact with the outer layers of the cable.
Once the stripper is securely in place, rotate it in a circular motion around the cable. The stripping blades will cut through the outer layers, gradually exposing the inner conductor. Take care to maintain a steady and even rotation to achieve a clean and smooth strip.
Continue rotating the stripper until the outer covering and shielding are completely removed, revealing the bare inner conductor. Be cautious not to cut too deeply or nick the inner conductor during the stripping process, as this can affect the overall performance of the coax cable.
After successfully stripping the coax cable, visually inspect the stripped section to ensure there are no anomalies or frayed portions on the exposed conductor. If you notice any irregularities, consider cutting off a small portion of the cable and repeating the stripping process.
By properly stripping the coax cable, you are now ready to insert it into the coax connector in the next step. Remember to handle the stripped cable with care to avoid any potential damage before completing the installation.
Step 3: Insert the Coax Cable into the Connector
Once you have properly stripped the coax cable in Step 2, it’s time to insert the cable into the connector. This step is crucial to ensure a secure and reliable connection. Follow these steps to insert the coax cable into the connector:
1. Take hold of the prepared coax cable and locate the opening of the connector.
2. Align the center conductor of the cable with the pin inside the connector. Gently insert the cable into the connector until the center conductor is fully inserted.
3. Make sure the dielectric insulation is flush with the connector’s body. This ensures that the cable is inserted correctly and that there are no gaps between the cable and the connector.
4. Push the cable all the way into the connector until it is fully seated. You may feel a slight resistance, which is normal.
5. Give the cable a gentle tug to test its security. It should be firmly held in place within the connector. If it comes out easily, you may need to redo the insertion process.
6. Once the cable is securely inserted, you can proceed to the next step of twisting on the coax connector.
Step 4: Twist on the Coax Connector
After properly inserting the coax cable into the connector, the next step is to twist the connector onto the cable. This step ensures a secure and reliable connection, preventing any signal loss or interference.
Here’s how you can twist on the coax connector:
1. Begin by holding the connector and the cable firmly in each hand. Make sure the connector is properly aligned with the cable.
2. Now, start twisting the connector clockwise onto the cable. Apply steady and even pressure as you twist to ensure a snug fit.
3. Continue twisting the connector until you feel resistance or until it cannot be twisted anymore. This indicates that the connector is securely fastened to the cable.
4. To double-check the tightness of the connection, gently tug on the connector and cable. If it doesn’t come loose or wiggle, you have successfully twisted on the coax connector.
5. Repeat the process for any additional coax cables that need connectors. Make sure to follow the same steps for each cable to ensure a consistent and reliable connection.
Remember, it’s essential to handle the coax cable and connectors with care during the twisting process. Avoid applying excessive force, as it can damage the cable or the connector.
By properly twisting on the coax connector, you can ensure a secure and reliable connection that will allow your equipment to deliver optimal performance.
Conclusion
Installing a twist-on coax connector is a straightforward process that can greatly benefit your home entertainment system. With the right tools and a little bit of know-how, you can easily connect your coaxial cables with confidence.
By following the steps outlined in this guide, you can ensure a secure and reliable connection that will result in better signal quality and improved performance. Whether you are setting up a new TV, connecting a cable box, or installing a satellite dish, mastering the art of twist-on coax connectors is a valuable skill.
Remember to gather all the necessary materials, choose the right connector for your cable, and carefully follow the step-by-step instructions. With practice and experience, you will become adept at installing twist-on coax connectors in no time.
So, go ahead and start enjoying your favorite TV shows, movies, and sporting events with a crystal-clear signal by mastering the art of installing twist-on coax connectors.
FAQs
Q: What is a twist-on coax connector?
A: A twist-on coax connector is a type of connector used to secure the ends of coaxial cables, commonly used for TV and internet connections. It has a threaded design that allows for easy installation by twisting the connector onto the cable.
Q: How do I install a twist-on coax connector?
A: To install a twist-on coax connector, start by stripping about 1 inch of the outer jacket from the end of the coaxial cable using a coaxial cable stripper. Then, carefully strip about 1/4 inch of the inner insulation from the exposed center conductor using wire strippers. Finally, insert the stripped end of the cable into the twist-on coax connector and twist the connector clockwise until it is securely attached.
Q: Are twist-on coax connectors reusable?
A: Twist-on coax connectors are generally not designed to be reusable. Once they are twisted onto the cable, attempting to remove them may damage the connector or the cable itself. It is recommended to use a new twist-on coax connector if you need to reterminate the cable.
Q: Can I use a twist-on coax connector for outdoor applications?
A: Twist-on coax connectors are primarily designed for indoor use. If you need to install a coaxial cable outdoors, it is recommended to use weatherproof connectors specifically designed for outdoor applications. These connectors provide better protection against moisture and other environmental factors.
Q: Do I need any special tools to install a twist-on coax connector?
A: No, you do not need any special tools to install a twist-on coax connector. The installation process can be done using a coaxial cable stripper and wire strippers, which are commonly available at hardware stores. These tools are easy to use and help ensure a clean and proper installation.