
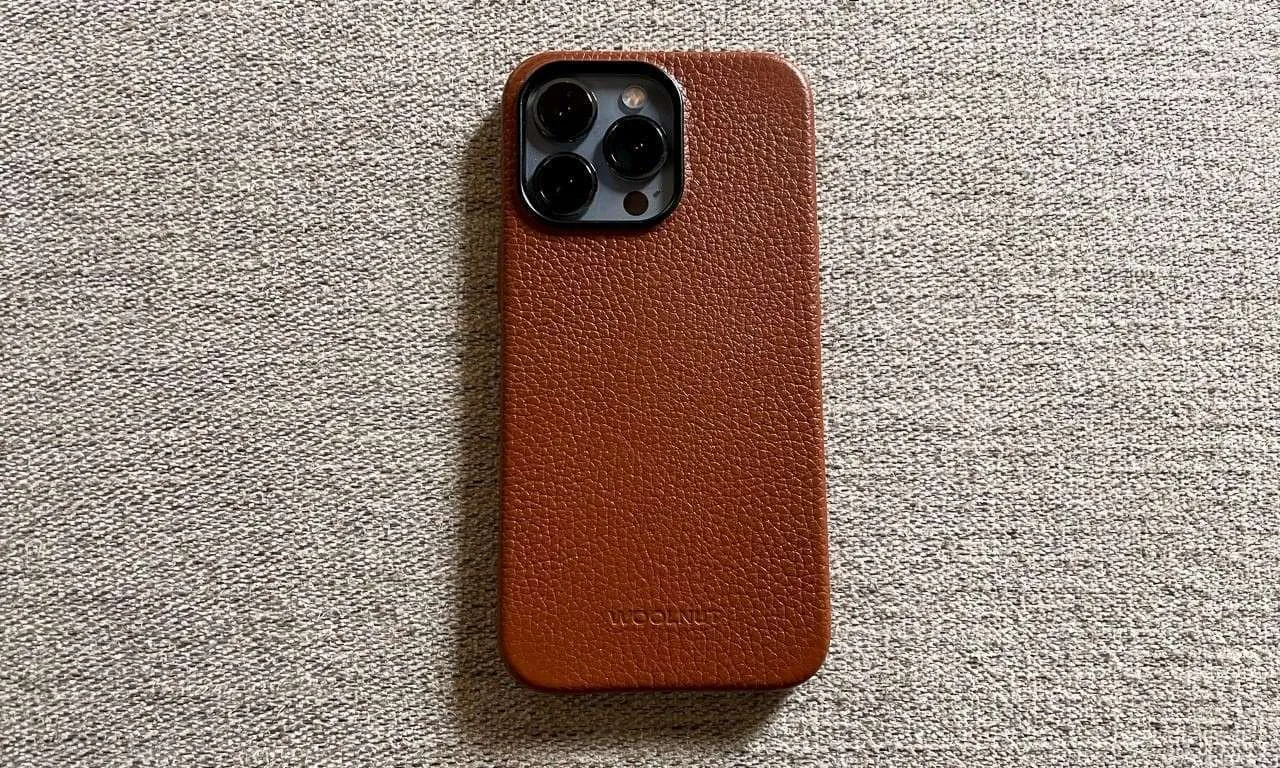
Are you looking for a stylish and protective phone case that stands out from the crowd? Look no further than a leather phone case. Leather phone cases offer a perfect blend of functionality and elegance, giving your phone a touch of sophistication while keeping it safe from everyday wear and tear.
In this article, we will guide you step-by-step on how to make your own personalized leather phone case. Whether you have a knack for DIY projects or simply want a unique case that reflects your style, making a leather phone case is a fun and rewarding experience.
Not only will you learn the basic techniques of working with leather, but you will also have the opportunity to create a case that is tailored to your taste. So, grab your tools, roll up your sleeves, and let’s embark on this leather crafting journey together!
Inside This Article
- Materials Needed
- Materials Needed
- Step 2: Adding Stitching Holes
- Step 3: Sewing the Pieces Together
- Step 4: Creating the Phone Slot
- Step 5: Adding Finishing Touches
- Conclusion
- FAQs
Materials Needed
Before you embark on making your own leather phone case, it’s important to gather all the necessary materials. Here’s a list of items you’ll need:
- Genuine leather: Choose a piece of leather that is durable and of high quality. You can find leather scraps or remnants at craft stores or online.
- Template or pattern: Look for a pre-made phone case template or create your own by measuring the dimensions of your phone. This will serve as your guide for cutting the leather.
- Sharp utility knife or leather cutting tool: This will be used to cut the leather according to the dimensions of the template.
- Awl: An awl is a pointed tool used to create stitching holes on the leather. It’s crucial for the sewing process.
- Waxed thread: Choose a strong and durable waxed thread that will securely hold the leather together. You can find a variety of colors to match your style.
- Needles: Select a needle that is suitable for leatherwork. A leather needle has a sharp point and will easily pierce through the material.
- Edge beveler or sandpaper: To smooth out the edges of the leather and give them a polished look, you’ll need either an edge beveler or some sandpaper.
- Leather glue: This adhesive will help secure the edges and prevent any unwanted movement while sewing the leather.
- Optional: Decorative elements such as studs, beads, or leather stamps to personalize your phone case.
Once you have gathered all these materials, you’ll be ready to move on to the next steps of creating your own leather phone case. So, let’s get started!
Materials Needed
To make a leather phone case, you will need the following materials:
- Leather: Choose a high-quality leather that is sturdy and durable. You can find leather at your local craft stores or online.
- Cardboard or Paper: Use this to create a template for your phone case. It will help ensure accurate measurements and cutting.
- Sharp Scissors or Utility Knife: These tools will be used to cut the leather to the desired size and shape.
- Needle and Thread: Opt for a strong nylon or waxed thread that will withstand regular use and provide reliable stitching.
- Ruler or Measuring Tape: Use these tools to measure the dimensions of your phone and determine the size of the case.
- Awl or Hole Punch: To create stitching holes in the leather, you will need an awl or a leather hole punch. This will make the sewing process easier.
- Edge Beveling Tool: This tool is optional but can be useful for smoothing the edges of the cut leather, giving it a polished look.
- Leather Glue: If desired, you can use leather glue to secure the edges of your phone case and give it added strength.
- Decorative Elements: If you want to add any embellishments or personal touches to your phone case, consider including decorative elements such as studs, gems, or leather stamps.
Gather these materials before starting the process to ensure a smooth and efficient creation of your leather phone case.
Step 2: Adding Stitching Holes
Once you have measured and cut the leather for your phone case, the next step is to add stitching holes. These holes will allow you to sew the pieces of leather together, creating a sturdy and durable case for your phone. Here’s how you can add stitching holes:
- Mark the stitching positions: Using a ruler and a leather marking pen or awl, mark the positions where you want to add the stitching holes. These positions will vary depending on the design and dimensions of your phone case.
- Create pilot holes: To make it easier to create the stitching holes, start by creating small pilot holes at each marked position. You can use a leather punch or an awl for this step. Make sure the pilot holes are evenly spaced and aligned.
- Create the stitching holes: With the pilot holes in place, you can now create the stitching holes. Use a leather stitching awl or pricking iron to pierce through the leather at each pilot hole. Apply gentle pressure and twist the awl or pricking iron to create clean and precise stitching holes.
When creating the stitching holes, make sure to maintain a consistent distance between them to ensure even and professional stitching. Also, be careful not to create holes that are too close to the edge of the leather, as they may weaken the structure of the phone case.
Once you have added all the stitching holes, it’s important to test the alignment and fit of the leather pieces before proceeding to the next step. This will ensure that the phone case will come together properly when it’s time to sew the pieces together.
Adding stitching holes is a crucial step in the process of making a leather phone case. These holes not only allow for secure stitching but also add to the overall aesthetic appeal of the case. Take your time to create clean and precise stitching holes, and you’ll be one step closer to completing your handmade leather phone case.
Step 3: Sewing the Pieces Together
Now that you have measured, cut, and prepared your leather pieces, it’s time to start sewing them together to assemble your phone case. Here is a step-by-step guide to help you through the process:
- Prepare your sewing tools: To sew the leather pieces together, you will need a leather needle, waxed thread, and a thimble to protect your finger.
- Thread the needle: Cut a length of waxed thread and thread it through the leather needle. Make sure to leave a tail at the end for tying knots.
- Position the pieces: Place the pieces of leather together with the wrong sides facing each other. Align the edges that need to be sewn together.
- Start sewing: Take the needle and insert it from the back of the leather, bringing it through the first stitching hole. Leave a small tail at the beginning of the stitch to secure it later.
- Create the stitch: Move the needle to the next stitching hole and bring it through from the back, making sure to go through both layers of leather. Pull the thread gently but firmly to create a tight stitch.
- Continue stitching: Repeat the previous step, moving from one stitching hole to the next, until you have sewn all the way around the edges of the case. Maintain an even distance between your stitches for a neat and professional look.
- Tie off the thread: When you reach the starting point, tie a secure knot with the tails of the thread. Insert the needle through the loop created by the thread and pull it tight. Trim any excess thread.
- Check the stitching: Inspect your stitches to ensure they are tight and even. Make any necessary adjustments or re-stitch any areas that may need it.
- Trim any excess: If there is any excess leather or thread sticking out, use sharp scissors to carefully trim it off, giving your phone case a clean and polished finish.
Once you have completed the sewing process, take a moment to appreciate your handiwork. Your carefully stitched leather phone case is now starting to take shape.
Step 4: Creating the Phone Slot
Now that you have sewn the main pieces of the leather phone case together, it’s time to create a slot where you can securely place your phone. Follow these steps to create the phone slot:
- Measure the dimensions of your phone: Start by measuring the width and length of your phone. These measurements will be used to determine the size of the slot.
- Mark the position for the phone slot: Using a ruler and a pencil or a leather marking tool, carefully mark the position for the phone slot on the inside of the main leather piece. Make sure to leave enough space on all sides to ensure a secure fit for your phone.
- Cut out the slot: Using a sharp utility knife or a leather cutting tool, carefully cut along the marked lines to create the slot. Take your time and make clean, straight cuts to ensure a professional finish.
- Optional: Add reinforcement to the slot edges: If you want to provide extra durability to the phone slot, you can reinforce the edges by gluing or stitching a small strip of leather along the cut edges. This will help prevent any fraying or damage over time.
- Check the fit: Before continuing with the final steps, double-check the fit of your phone in the slot. It should slide in easily but fit snugly to avoid any accidental slips or falls.
Creating the phone slot is a crucial step to ensure that your phone stays securely in place within the leather case. Take your time and be precise with your measurements and cuts to achieve the desired result.
Step 5: Adding Finishing Touches
Once you’ve completed the main construction of your leather phone case, it’s time to add some finishing touches to enhance its functionality and aesthetics. Follow these steps to give your phone case that professional, polished look:
1. Trim and Smooth the Edges
Using a leather edge beveler or an edge trimmer, carefully trim and smooth the raw edges of the leather around the case. This will give your phone case a clean and neat appearance.
2. Burnish the Edges
To further enhance the durability and appearance of the edges, use a burnishing tool and some leather burnishing cream. Apply the cream to the edges and rub the burnishing tool vigorously in a back-and-forth motion. This will create a smooth, glossy finish on the edges of your phone case.
3. Apply Leather Conditioner
To keep the leather moisturized and prevent it from drying out, apply a small amount of leather conditioner or leather balm to the surface of the phone case. Use a soft cloth to massage the conditioner into the leather, ensuring that it is evenly distributed and absorbed.
4. Add Personalization
If you want to make your phone case unique and personalized, consider adding some additional elements. You could engrave your initials or a design onto the leather using a leather stamping tool. Alternatively, you could attach small embellishments such as studs, gemstones, or charms to add some extra flair.
5. Test and Adjust Fit
Before you consider your phone case complete, make sure to test the fit of your phone once again. Slide it into the slot and ensure it fits snugly and securely. If necessary, make any adjustments to the phone slot or stitching to ensure a perfect fit.
By following these steps and adding these finishing touches, you will transform your DIY leather phone case into a professionally crafted accessory. Take pride in your creation and enjoy the satisfaction of using a unique and custom-made case for your phone!
Conclusion
In conclusion, making a leather phone case is a rewarding and creative endeavor that allows you to personalize and protect your mobile device. By following the step-by-step instructions outlined in this article, you can create a unique and stylish case that reflects your personality and meets your specific needs.
Remember to choose high-quality leather and invest in the necessary tools to ensure a durable and professional-looking finished product. Take your time, follow the instructions carefully, and don’t be afraid to unleash your creativity and add personal touches to the design.
Not only will making your own leather phone case save you money in the long run, but it will also provide you with a sense of accomplishment and the satisfaction of having a one-of-a-kind accessory. So, gather your materials, roll up your sleeves, and start crafting your very own leather phone case today!
FAQs
1. Can I make a leather phone case at home?
Yes, you can certainly make a leather phone case at home. With the right materials, tools, and a bit of patience, you can create a custom-made leather phone case that reflects your personal style. There are plenty of online tutorials and resources available to guide you through the process.
2. What materials do I need to make a leather phone case?
To make a leather phone case, you will need the following materials:
- A piece of high-quality leather
- Scissors or a utility knife
- Leather glue or adhesive
- A ruler or measuring tape
- A needle and thread or a sewing machine
- Optional: decorative elements like studs or stamps
3. How do I measure my phone for a leather case?
Measuring your phone accurately is crucial to ensure a proper fit for the leather case. Follow these steps to measure your phone:
- Take a measuring tape and measure the height of your phone from top to bottom.
- Measure the width of your phone from side to side.
- Note down these measurements, as they will help you determine the size of the leather piece needed for your phone case.
4. Can I personalize my leather phone case?
Absolutely! One of the great things about making your own leather phone case is the ability to add personal touches to it. You can choose to emboss your initials, add decorative elements like studs or crystals, or even paint the leather in your favorite colors. The options are endless, allowing you to create a unique and personalized phone case.
5. Is it difficult to make a leather phone case?
Making a leather phone case can be a fun and rewarding DIY project. While it may require some basic sewing skills and familiarity with working with leather, it is not overly difficult, especially with the wealth of tutorials and resources available. With practice and patience, you can create a professional-looking leather phone case that you can proudly use and show off.