
Are you facing the frustrating situation of losing or damaging one of your precious AirPods? Don’t worry; we’ve got you covered! In this article, we will guide you on how to pair replacement AirPods seamlessly.
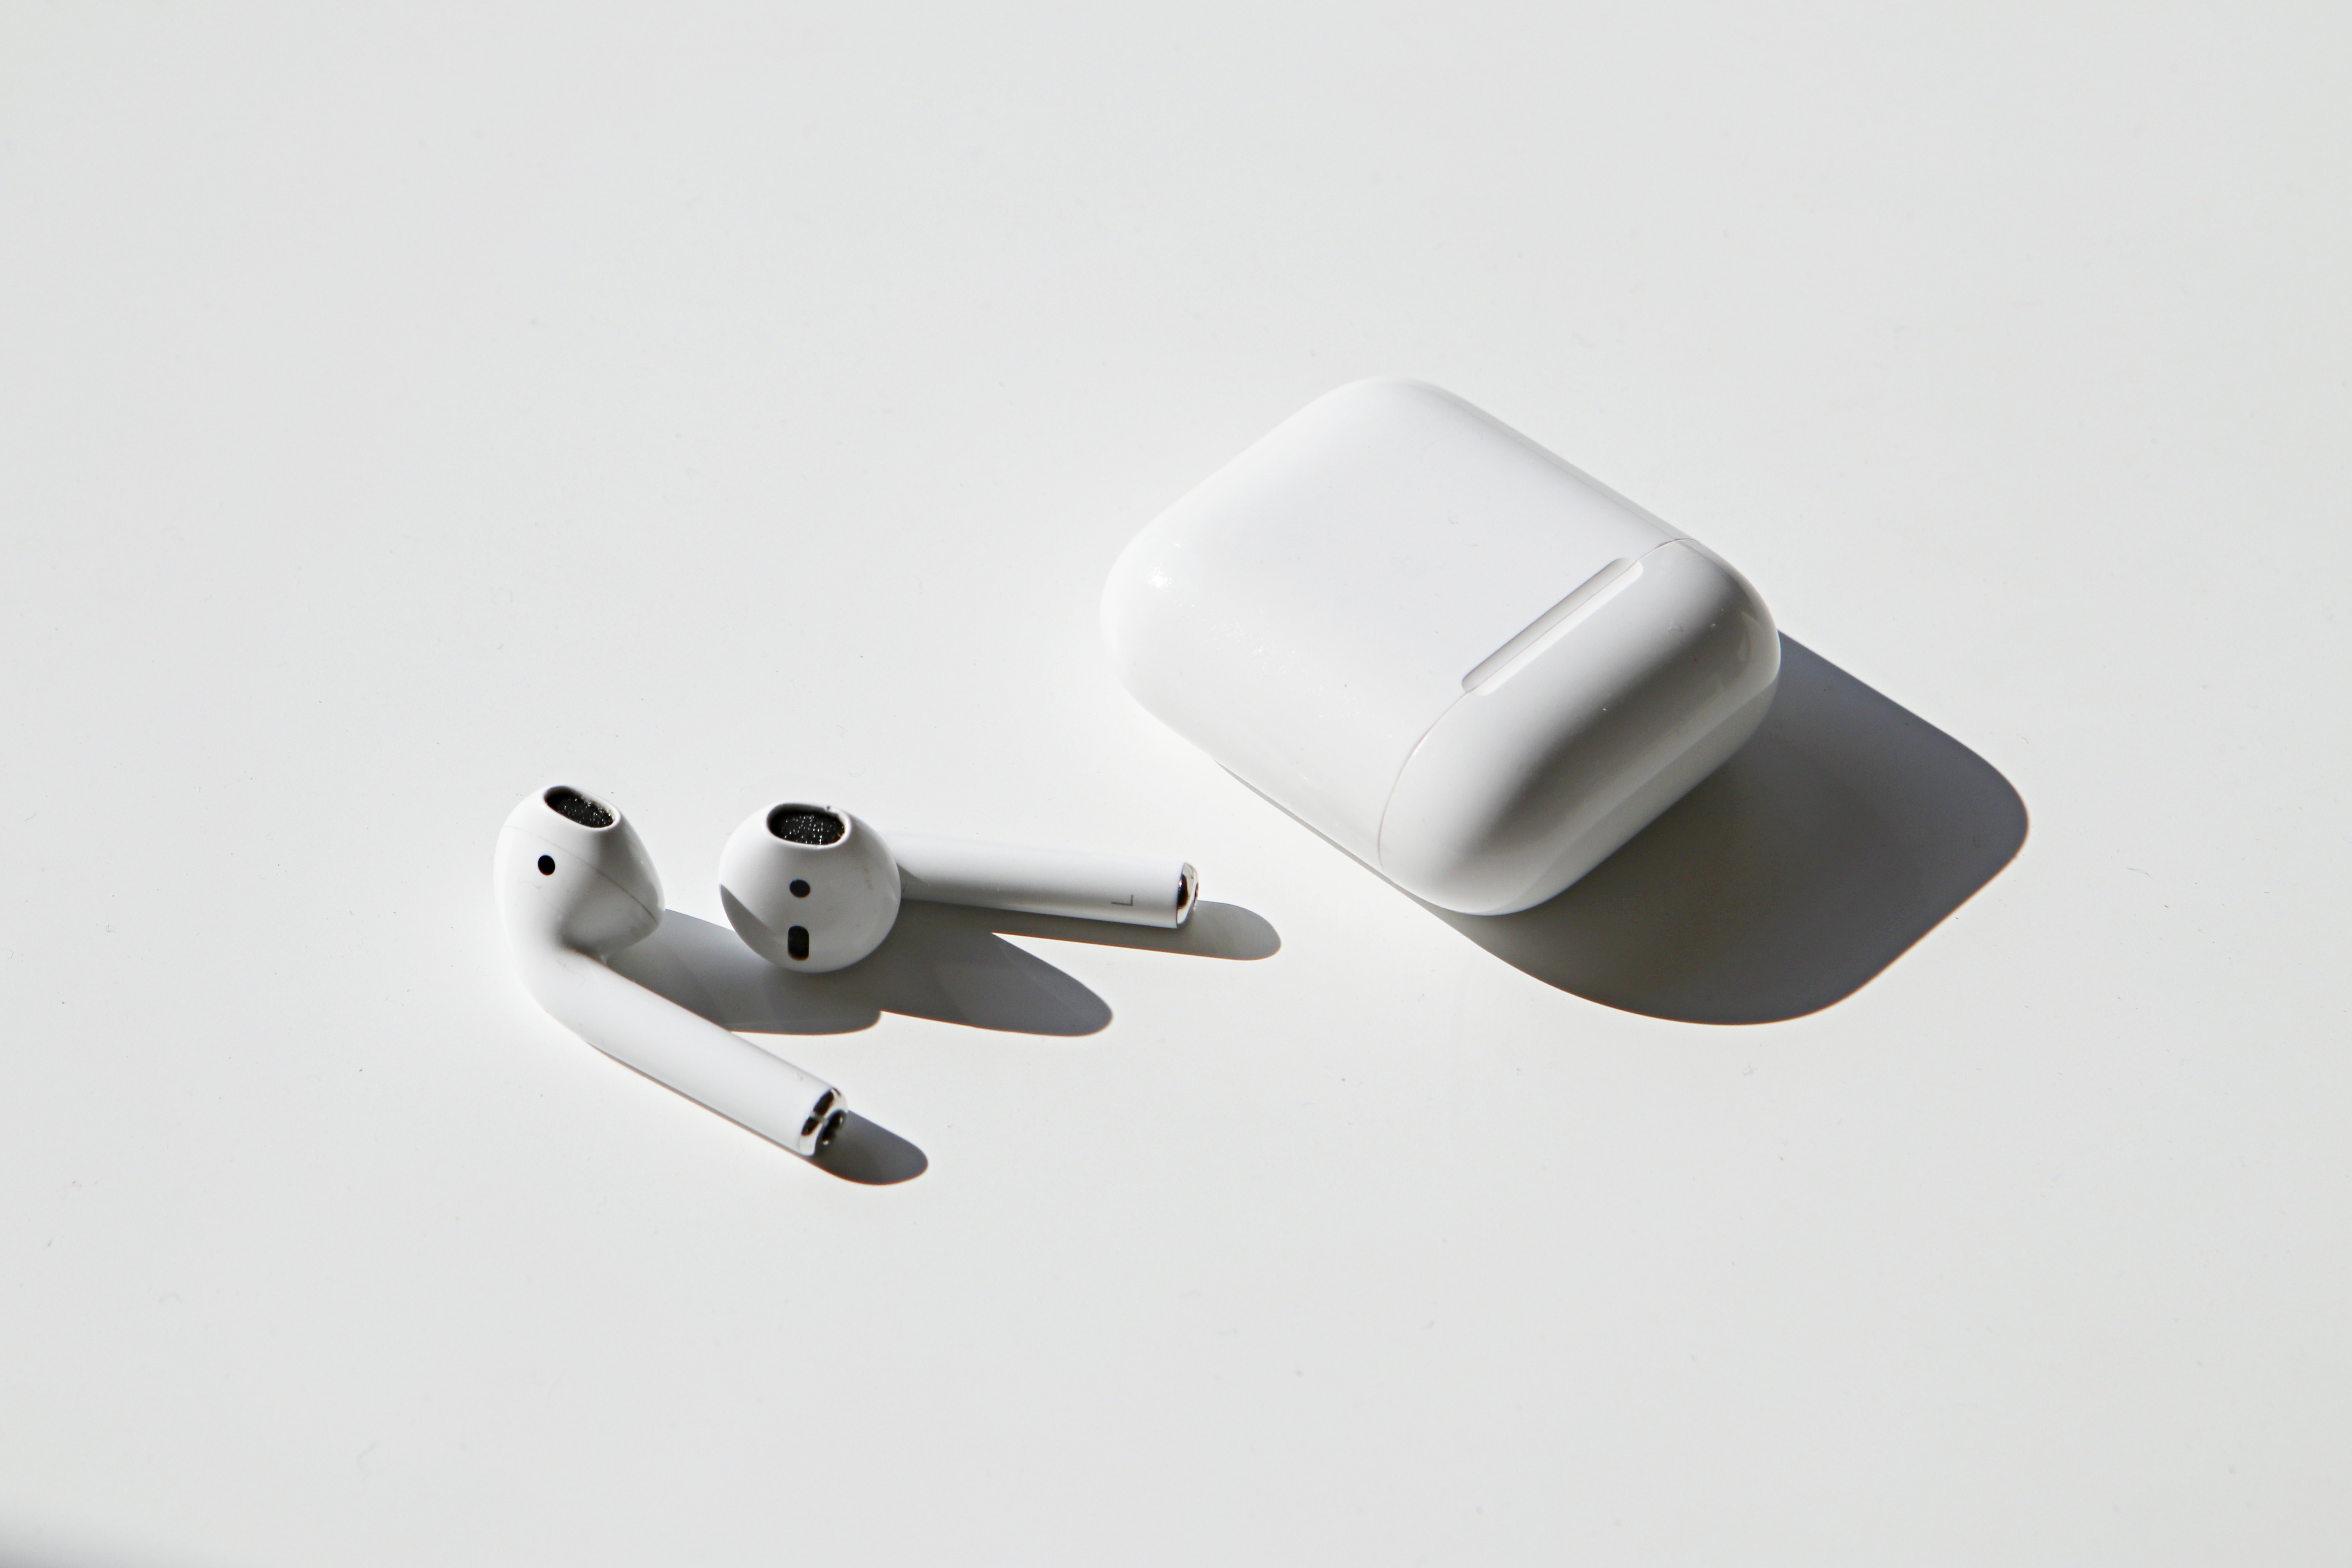
Apple’s AirPods have revolutionized the wireless earbud market, offering convenience and excellent audio quality in a compact design. However, accidents happen, and losing or damaging an AirPod can be a real setback. The good news is that you can replace a single AirPod without having to buy an entirely new set.
Whether you accidentally dropped your AirPod in a busy street or misplaced it somewhere in your house, finding a replacement is essential to continue enjoying the freedom and versatility these wireless earbuds offer.
So, if you’re ready to get your replacement AirPod up and running, let’s dive into the step-by-step process of pairing it with your existing set!
Inside This Article
- Introduction
- Step 1: Put the AirPods in pairing mode
- Step 2: Open the Bluetooth settings on your device
- Step 3: Select the AirPods from the list of available devices
- Step 4: Follow the on-screen instructions to complete the pairing process
- Step 5: Test the connection and enjoy your replacement AirPods
- Troubleshooting Tips
- Introduction
- Step 1: Put the AirPods in pairing mode
- Step 2: Open the Bluetooth settings on your device
- Step 3: Select the AirPods from the list of available devices
- Step 4: Follow the on-screen instructions to complete the pairing process
- Step 5: Test the connection and enjoy your replacement AirPods
- Troubleshooting tips
- Conclusion
- Conclusion
- FAQs
Introduction
Welcome to the world of mobile accessories, where functionality meets style. In today’s fast-paced world, having a reliable and high-quality set of mobile accessories is essential. From cases and chargers to headphones and screen protectors, these accessories enhance and personalize our mobile devices to suit our individual needs and preferences.
One popular mobile accessory that has gained significant popularity in recent years is the AirPods. These wireless earbuds developed by Apple provide a seamless and convenient audio experience for users. However, even the most well-made and carefully crafted accessories are not immune to loss or damage. If you find yourself in need of a replacement AirPod, fret not – we are here to guide you through the process of pairing your new AirPod with your device.
Pairing replacement AirPods is a relatively straightforward process that requires a few simple steps. Whether you lost one of your AirPods or need to replace a faulty one, follow the steps below to get your new AirPod up and running in no time.
Step 1: Put the AirPods in pairing mode
Pairing your replacement AirPods with your device is a simple process that starts with putting the AirPods in pairing mode. Follow the steps below to put your AirPods in pairing mode:
- Ensure that your replacement AirPods are charged and ready to be paired.
- If you have both AirPods, place them in the charging case and ensure that the case has enough battery.
- Open the lid of the charging case.
- Look for the small button on the back of the case. Press and hold this button until the LED on the front of the case starts blinking white.
- If you only have one AirPod, the LED on the front of the charging case should start blinking white even without pressing the button. In this case, proceed to the next step.
Now that your AirPods are in pairing mode, you can proceed to the next step of the pairing process.
Step 2: Open the Bluetooth settings on your device
Once you have successfully put your AirPods in pairing mode, the next step is to open the Bluetooth settings on your device. The process might slightly vary depending on the device you are using, but here is a general guideline:
- Unlock your device and go to the home screen. If you are using an iPhone, swipe up from the bottom edge of the screen to access the Control Center. If you are using an Android device, swipe down from the top edge of the screen to access the quick settings panel.
- Look for the Bluetooth icon, which is usually represented by a stylized “B” or the word “Bluetooth.”
- Tap on the Bluetooth icon to open the Bluetooth settings menu.
- Make sure that the Bluetooth toggle switch is turned on. It is usually located at the top of the Bluetooth settings menu or represented by a sliding switch.
- Your device will then start scanning for available Bluetooth devices. This process might take a few seconds.
- Once the AirPods appear on the list of available devices, tap on them to initiate the pairing process.
Keep in mind that the exact steps might vary depending on the device and operating system version you are using. If you are having trouble finding the Bluetooth settings, you can refer to the user manual or do a quick online search specific to your device model and operating system.
It is also worth mentioning that some devices might have additional steps or settings for pairing Bluetooth devices. For example, on certain Android devices, you might need to enable the “Visible” or “Discoverable” mode for your AirPods to show up in the available devices list.
Once you have successfully opened the Bluetooth settings and ensured that the Bluetooth toggle switch is turned on, you are ready to move on to the next step: selecting the AirPods from the list of available devices.
Step 3: Select the AirPods from the list of available devices
Once you have successfully accessed the Bluetooth settings on your device, it’s time to locate and select your AirPods from the list of available devices. Here’s how you can do it:
- Scroll through the list of available devices in the Bluetooth settings until you find the entry for your AirPods. They should be listed with a recognizable name, such as “AirPods” or “Your Name’s AirPods.”
- To ensure you are connecting to the correct AirPods, double-check the serial number listed on your replacement AirPods and verify that it matches the one displayed in the Bluetooth settings.
- Tap on the name or icon of your AirPods to select them. This will initiate the pairing process between your device and the AirPods.
Depending on your device, you may see a confirmation prompt or a pairing request. Follow any on-screen instructions that appear to complete the pairing process. This typically involves confirming a passcode that appears on both your device and the AirPods.
Once the pairing process is complete, you should see a confirmation message indicating that your AirPods are connected to your device. This means that your replacement AirPods are now paired and ready to use. Congratulations!
Step 4: Follow the on-screen instructions to complete the pairing process
Once you have selected the AirPods from the list of available devices, your device will guide you through the pairing process. This may involve confirming a passcode or entering a code displayed on your device or AirPods.
Follow the on-screen instructions carefully and complete any necessary steps to establish the connection between your device and the replacement AirPod. The process may vary slightly depending on the device you are using, but the overall steps will be similar.
During the pairing process, ensure that your replacement AirPods are near your device and that Bluetooth is enabled. This will ensure a strong and stable connection between the two devices.
Once you have successfully completed the pairing process, you will receive a confirmation message on your device, indicating that your replacement AirPod is now connected and ready to use.
It is important to note that pairing your replacement AirPods with your device does not automatically transfer any previous settings or preferences from your original set. If you had specific settings or customized features on your previous AirPods, you may need to adjust them again to your liking.
Additionally, if you have multiple devices connected to your Apple ID, such as an iPhone, iPad, and Mac, your replacement AirPods will automatically pair with all the devices associated with your Apple ID. This allows for seamless switching between devices without the need to manually pair each time.
Now that you have successfully completed the pairing process, it’s time to test the connection and enjoy your replacement AirPods.
Step 5: Test the connection and enjoy your replacement AirPods
Once you have successfully paired your replacement AirPods with your device, it’s time to test the connection and enjoy your enhanced audio experience. Here are some simple steps to ensure everything is working smoothly:
- Put on both AirPods: Make sure to wear both AirPods, as they work together to deliver stereo sound.
- Play audio: Open your favorite music app or video and start playing audio. You can also make a test call to ensure the microphone is working correctly.
- Check volume and controls: Adjust the volume using the volume buttons on your device or the volume slider in the control center. You can also use the controls on your AirPods, such as double-tapping to play/pause or skip tracks.
- Verify battery life: If your replacement AirPods come with a charging case, make sure to check the battery life. You can do this by opening the AirPods case near your device. The battery status should appear on your device’s screen.
- Test the connection range: Move around your home or workplace while wearing the replacement AirPods to test their connection range. Ideally, you should be able to maintain a stable connection within a reasonable distance from your device.
If everything is working as expected, congratulations! You have successfully paired and tested your replacement AirPods. It’s time to enjoy the freedom of wireless audio with crystal-clear sound quality.
Remember to keep your replacement AirPods charged and clean to ensure optimal performance. Regularly check for software updates for your AirPods and your device to benefit from the latest features and improvements.
Now that you’re all set up and ready to go, go ahead and indulge in your favorite music, podcasts, or videos with your new replacement AirPods. Experience the convenience, comfort, and top-notch sound quality that AirPods are renowned for. Happy listening!
Troubleshooting Tips
While pairing your replacement AirPods may typically be a smooth process, there may be instances where you encounter some issues. Don’t worry, as there are troubleshooting steps you can follow to ensure a successful connection:
- Ensure AirPods are charged: Make sure that both your new replacement AirPod and the charging case have enough battery. If the AirPod or case is low on power, it may cause pairing problems. Charge them fully before attempting the pairing process.
- Reset AirPods: If you are experiencing persistent pairing issues, you can try resetting your AirPods. To do this, place both AirPods in the charging case, keep the lid open, and press and hold the setup button on the back of the case until the LED light starts flashing amber. This will initiate the reset process, and you can then attempt to pair them again.
- Check Bluetooth settings: Ensure that your device’s Bluetooth is turned on and in discovery mode. Some devices may have different options for Bluetooth connectivity, so refer to the specific settings on your device to make sure it’s ready to pair with new devices.
- Restart your device: If all else fails, try restarting your device. Sometimes, a simple reboot can resolve any software glitches that may be affecting the pairing process.
- Get professional assistance: If you have followed all the troubleshooting steps and are still unable to pair your replacement AirPods, it may be a good idea to reach out to the Apple Support or the manufacturer’s customer service for further assistance. They will be able to provide you with specific troubleshooting steps based on your device and AirPods model.
By following these troubleshooting tips, you should be able to resolve most common pairing issues and enjoy your replacement AirPods without any difficulties. Remember, it’s always important to stay patient and persistent when dealing with technology, as sometimes a little extra effort can go a long way in ensuring a successful connection.
Introduction
Welcome to the world of AirPods, the popular wireless earbuds developed by Apple. If you find yourself in need of pairing replacement AirPods with your device, fret not! In this guide, we will take you through the simple and straightforward process to ensure that you can enjoy your new AirPods without any hassle. Whether you have lost one of your AirPods or simply need to replace a malfunctioning unit, we’ve got you covered. Let’s dive in and learn how to pair your replacement AirPods.
Step 1: Put the AirPods in pairing mode
The first step in pairing replacement AirPods is to ensure they are in pairing mode. To do this, place both AirPods in the charging case and make sure the lid is open. Press and hold the setup button located on the back of the case until the LED light on the front starts flashing white. This indicates that the AirPods are now in pairing mode and ready to be connected to your device.
Step 2: Open the Bluetooth settings on your device
Now that your replacement AirPods are in pairing mode, it’s time to open the Bluetooth settings on your device. Whether you are using an iPhone, iPad, or Android device, the process is similar. Go to the settings menu on your device and look for the Bluetooth option. Tap on it to access the Bluetooth settings.
Step 3: Select the AirPods from the list of available devices
Within the Bluetooth settings, you will see a list of available devices that can be paired. Look for the AirPods in the list and select them. Make sure that the LED light on the AirPods case is still flashing white, indicating that they are still in pairing mode. Once selected, your device will initiate the pairing process.
Step 4: Follow the on-screen instructions to complete the pairing process
Once you have selected the AirPods from the list of available devices, follow the on-screen instructions to complete the pairing process. Depending on your device, you may be prompted to confirm the pairing request or enter a passcode. Follow the prompts and provide the necessary inputs to establish the connection between your device and the replacement AirPods.
Step 5: Test the connection and enjoy your replacement AirPods
After successfully completing the pairing process, it’s time to test the connection and enjoy your replacement AirPods. Play some music or a podcast to ensure that the audio is coming through both AirPods. Adjust the volume, skip tracks, and make use of any other features offered by the AirPods to fully experience their capabilities. Congratulations! You have now successfully paired your replacement AirPods and can start using them.
Troubleshooting tips
If you encounter any issues during the pairing process or if your replacement AirPods are not functioning as expected, here are a few troubleshooting tips to help you out:
- Make sure your device’s Bluetooth is turned on and in range of the AirPods.
- Restart your device and try the pairing process again.
- Check for any software updates on your device and install them if available.
- Reset your AirPods by holding down the setup button on the back of the case until the LED light flashes amber, then release the button and follow the pairing process again.
- If all else fails, contact Apple Support or the manufacturer of your device for further assistance.
Conclusion
Pairing replacement AirPods is a simple process that can be completed in just a few steps. By following the steps outlined in this guide, you can easily connect your new AirPods to your device and enjoy a seamless audio experience. Remember to keep these instructions handy in case you ever need to pair replacement AirPods in the future. Now, go ahead and enjoy your music, podcasts, and calls with your new AirPods!
Conclusion
In conclusion, pairing replacement AirPods is a relatively simple process that can be easily done through the Bluetooth settings on your device. By following the steps outlined above, you can quickly reconnect your replacement AirPods and enjoy your favorite tunes or take calls without any hassle.
It’s important to remember that keeping your AirPods and their accessories in good condition is crucial for maintaining the best audio quality and overall performance. Regularly cleaning and storing them in their case when not in use can help prevent any connectivity issues and prolong their lifespan.
If you find yourself frequently needing replacement AirPods or other mobile accessories, it’s worth investing in high-quality replacements from reputable brands. This will ensure compatibility and optimal performance with your devices.
With the increasing popularity of wireless earbuds and mobile accessories, it’s always helpful to have the knowledge and skills to pair them effortlessly. By following the steps in this article, you can make the most out of your replacement AirPods and elevate your audio experience wherever you go.
So, grab your replacement AirPods, follow the steps, and enjoy wireless, hassle-free listening today!
FAQs
Here are some frequently asked questions about pairing replacement AirPods:
1. How do I pair my replacement AirPods with my Apple device?
To pair your replacement AirPods with your Apple device, follow these steps:
- Make sure your AirPods are charged and turned on.
- Go to the “Settings” app on your Apple device.
- Select “Bluetooth” and make sure it is turned on.
- Open the AirPods case and keep it near your device.
- Your AirPods should appear in the list of available devices. Tap on them to pair.
- Follow the on-screen instructions to complete the pairing process.
2. My replacement AirPods are not connecting to my device. What should I do?
If your replacement AirPods are not connecting to your device, try the following troubleshooting steps:
- Ensure your AirPods are charged and turned on.
- Restart your Apple device.
- Forget the AirPods from the Bluetooth settings and then try pairing them again.
- If the issue persists, contact Apple Support for further assistance.
3. Can I pair my replacement AirPods with non-Apple devices?
Yes, you can pair your replacement AirPods with non-Apple devices that have Bluetooth capabilities. Simply follow the Bluetooth pairing process specific to your non-Apple device.
4. Can I pair my replacement AirPods with multiple devices?
Yes, you can pair your replacement AirPods with multiple devices. However, they can only connect to one device at a time. To switch between devices, you will need to disconnect from the currently connected device and connect to the desired device.
5. How do I know if my replacement AirPods are successfully paired?
Once your replacement AirPods are successfully paired with your device, you will see the AirPods’ battery status and the connection icon in the status bar of your Apple device. Additionally, you will hear a chime indicating the successful pairing.