
Are you tired of taking blurry photos or videos? Do you want to take your photography or videography skills to the next level? Look no further – it’s time to learn how to put a camera on a tripod!
A tripod is an essential tool for capturing stable and high-quality images. It provides stability, reduces camera shake, and allows for precise composition. Whether you’re a professional photographer, a budding vlogger, or simply someone who loves capturing moments, knowing how to properly mount your camera on a tripod is a must.
In this article, we will guide you through the step-by-step process of putting a camera on a tripod. From selecting the right tripod to properly attaching the camera, we will cover all the essential details you need to know. So, let’s dive in and learn how to take your photography or videography to new heights!
Inside This Article
- Choosing a tripod
- Mounting the camera onto the tripod
- Adjusting the tripod height and position
- Securing the camera on the tripod
- Conclusion
- FAQs
Choosing a tripod
When it comes to capturing those perfectly steady shots, having a tripod is essential. There’s a wide variety of tripods available in the market, each with its own set of features and specifications. To ensure that you choose the right tripod for your camera, here are a few factors to consider.
1. Tripod’s Load Capacity: The load capacity refers to the maximum weight that the tripod can support. Make sure to check the load capacity of the tripod to ensure that it can bear the weight of your camera and any additional accessories you may use.
2. Tripod’s Height: Consider the height range of the tripod. You want a tripod that can be adjusted to your desired height for comfortable shooting. Additionally, check if the tripod comes with a center column or extension legs for added height flexibility.
3. Tripod’s Stability: Stability is crucial to ensure shake-free shots. Look for a tripod with sturdy legs and a robust construction. Aluminum and carbon fiber tripods are popular choices due to their lightweight yet durable nature.
4. Tripod’s Portability: If you plan to use your tripod for outdoor shoots or travel photography, portability is key. Consider the weight and compactness of the tripod. Look for tripods that are lightweight and easily foldable for convenient transport.
5. Tripod’s Compatibility: Ensure that the tripod you choose is compatible with your camera. Check for the mounting plate size and type to make sure your camera fits well and attaches securely to the tripod.
6. Tripod’s Price: Set a budget for your tripod purchase. It’s crucial to balance quality and cost. While you don’t want to compromise on stability and durability, there are options available at different price points to suit your needs.
7. Tripod’s Additional Features: Some tripods come with extra features like a built-in level, quick-release mechanism, or multi-angle legs. These additional features can make your shooting experience more convenient and efficient, so consider if they align with your requirements.
By considering these factors, you can narrow down your options and choose a tripod that perfectly meets your needs. Remember, investing in a good quality tripod will not only improve the stability of your shots but also enhance your overall photography experience.
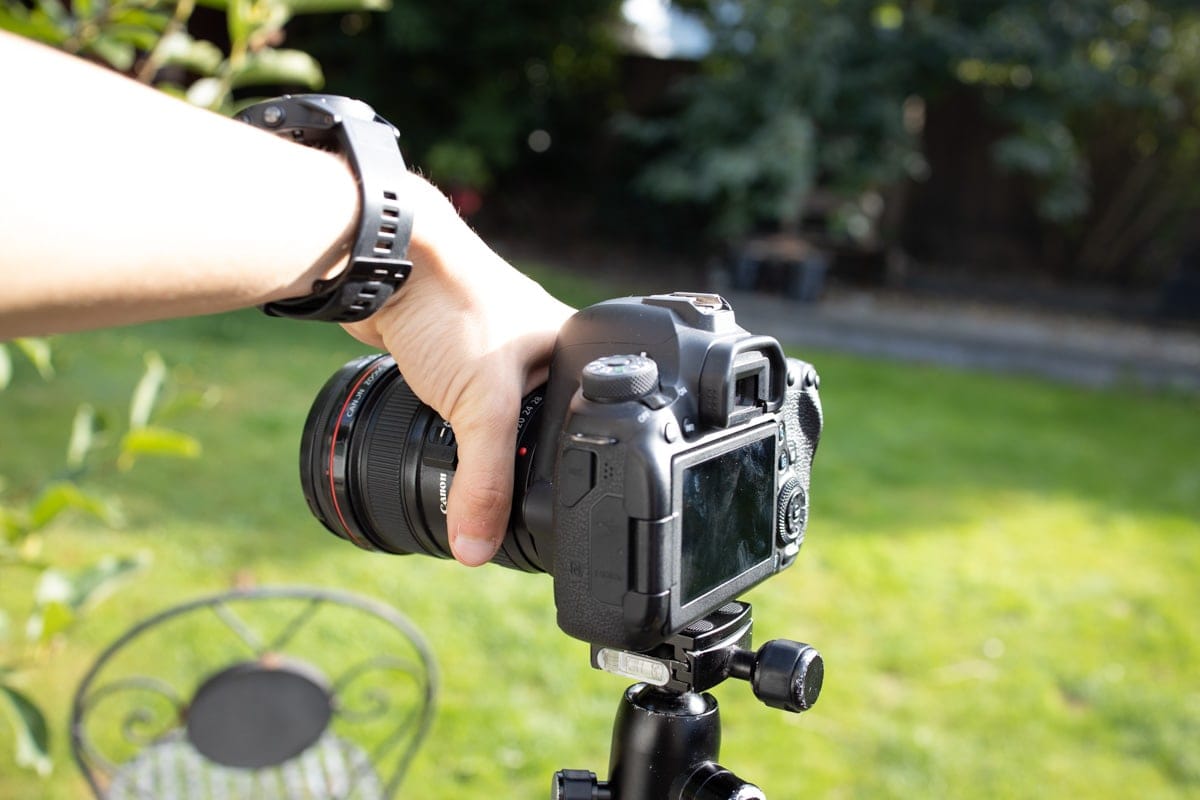
Mounting the camera onto the tripod
Once you have chosen the right tripod for your camera, it’s time to learn how to mount your camera securely onto the tripod. Follow these steps to ensure your camera is safely attached:
1. Locate the camera mounting plate: Most tripods come with a separate camera mounting plate. This plate usually has a screw to attach it to the camera.
2. Align the camera with the plate: Position your camera in line with the mounting plate. Find the threaded hole on the bottom of your camera and align it with the screw on the mounting plate.
3. Attach the camera to the plate: Slowly and carefully screw the camera onto the mounting plate. Use clockwise motion to tighten it securely, ensuring that the camera is snugly attached.
4. Check the stability: Once the camera is attached, give it a gentle shake to ensure it’s securely mounted. It should not wobble or feel loose on the tripod.
5. Test the movement: Make sure the camera is able to move smoothly on the tripod head. Check the pan and tilt movements to ensure they are functioning correctly.
6. Lock the camera in place: Some tripods have a locking mechanism to secure the camera in place. If your tripod has this feature, make sure to engage it to prevent any accidental movement.
7. Double-check the attachment: Take a final look to confirm that the camera is securely mounted. Check that all screws are tightened properly and that there are no loose connections.
8. Test stability again: Before starting your photography or video recording, give the camera another slight shake to ensure it’s still stable and firmly attached to the tripod.
By following these steps, you can mount your camera onto a tripod with confidence, ensuring stability and minimizing the risk of any accidental drops or damage. Remember to always double-check the attachment and stability before starting your shoot.
Adjusting the tripod height and position
Once you have successfully mounted your camera onto the tripod, the next step is to adjust the tripod’s height and position to achieve the desired framing and stability for your shot. Here are a few steps to guide you through the process:
1. Unlock the tripod legs: Most tripods have adjustable legs that can be extended or retracted. Start by loosening the leg locks or clamps located near the base of each leg. This will allow you to change the height and position of the tripod.
2. Extend the legs: Begin extending the legs by pulling them outward in a smooth, controlled motion. Some tripods have multiple leg sections that can be individually adjusted to increase or decrease the height. Once you have extended the legs to the desired length, lock them in place by tightening the leg locks or clamps.
3. Adjust the center column: Many tripods have a center column that can be raised or lowered to further adjust the height. To do this, locate the center column release mechanism near the top of the tripod and unlock it. Gently raise or lower the center column to reach the desired height, and then lock it back in place.
4. Level the tripod: Use a bubble level or the electronic level in your camera to ensure that the tripod is level. Adjust the leg lengths or reposition the tripod if necessary to achieve a perfectly level frame. A level tripod is essential for capturing straight horizons and avoiding the distortion that can occur with uneven surfaces.
5. Fine-tune the position: Once you have adjusted the tripod height and leveled it, you can further refine the positioning of the tripod. Use the pan and tilt controls on your tripod head to precisely frame the shot. These controls allow you to rotate the camera horizontally (pan) and tilt it vertically to capture the desired composition.
Remember that adjusting the height and position of the tripod is not a one-time process. As you explore different shooting scenarios or change your composition, you may need to readjust the tripod to achieve optimal stability and framing. Taking the time to properly adjust your tripod will greatly enhance the quality of your photographs or videos.
Securing the camera on the tripod
Securing the camera on a tripod is a crucial step in ensuring stable and steady shots. It is essential to properly fasten the camera to the tripod to prevent any movement or shake that could potentially ruin your photos or videos. Here’s a step-by-step guide on how to securely attach your camera to a tripod:
1. Check the tripod plate: Start by examining the tripod plate. This plate is usually a quick-release or screw-type mechanism that connects the camera to the tripod. Ensure that it is securely attached to the camera and that the plate is compatible with your specific camera model.
2. Align the camera with the tripod plate: Place the camera on a flat surface and align it with the tripod plate. Look for the mounting hole on the bottom of the camera and position it directly over the corresponding hole on the plate.
3. Attach the camera to the tripod plate: Once aligned, carefully place the camera onto the tripod plate, ensuring that the mounting hole on the camera slides onto the plate’s attachment point. For screw-type plates, rotate the plate’s screw to securely lock the camera in place.
4. Tighten the tripod plate: Use the locking mechanism on the tripod plate to tighten it securely against the camera. This will ensure that the camera stays firmly attached to the tripod and minimizes any potential movement.
5. Test the stability: Gently nudge the camera to check if it is securely fastened. If there is any wobbling or movement, recheck the attachment and locking mechanism to ensure a tight fit.
6. Adjust the camera position: Once the camera is securely attached, you can adjust its position by loosening the tripod’s tilt and pan locks. This will allow you to position the camera at the desired angle and orientation for your shots.
7. Double-check the stability: Before you start shooting, give the camera another slight push to confirm that it remains stable and doesn’t shift or wobble. This additional check will help ensure that your camera is securely mounted.
Remember, proper camera placement and secure attachment are crucial for obtaining high-quality and stable shots. By following these steps and regularly checking the stability of the camera on the tripod, you can capture clear and professional-looking images and videos without any unwanted movement or shake.
Conclusion
In conclusion, learning how to put a camera on a tripod is an essential skill for any photographer or videographer. A tripod provides stability and allows for steady shots, reducing camera shake and ensuring sharp images or smooth footage. By following the steps outlined in this guide, you can confidently set up your camera on a tripod and unleash the full potential of your photography or videography. Remember to choose a tripod that aligns with your needs and preferences, and always handle your camera carefully to avoid any accidents or damage. With practice and experience, you’ll become adept at setting up your camera on a tripod efficiently and effectively. So go ahead, grab your tripod, and start capturing amazing moments with precision and stability!
FAQs
1. How do I choose the right tripod for my camera?
2. Can I use a tripod with any camera?
3. How do I attach my camera to a tripod?
4. Can I use a tripod for both photography and videography?
5. Are there any tips for using a tripod effectively?