
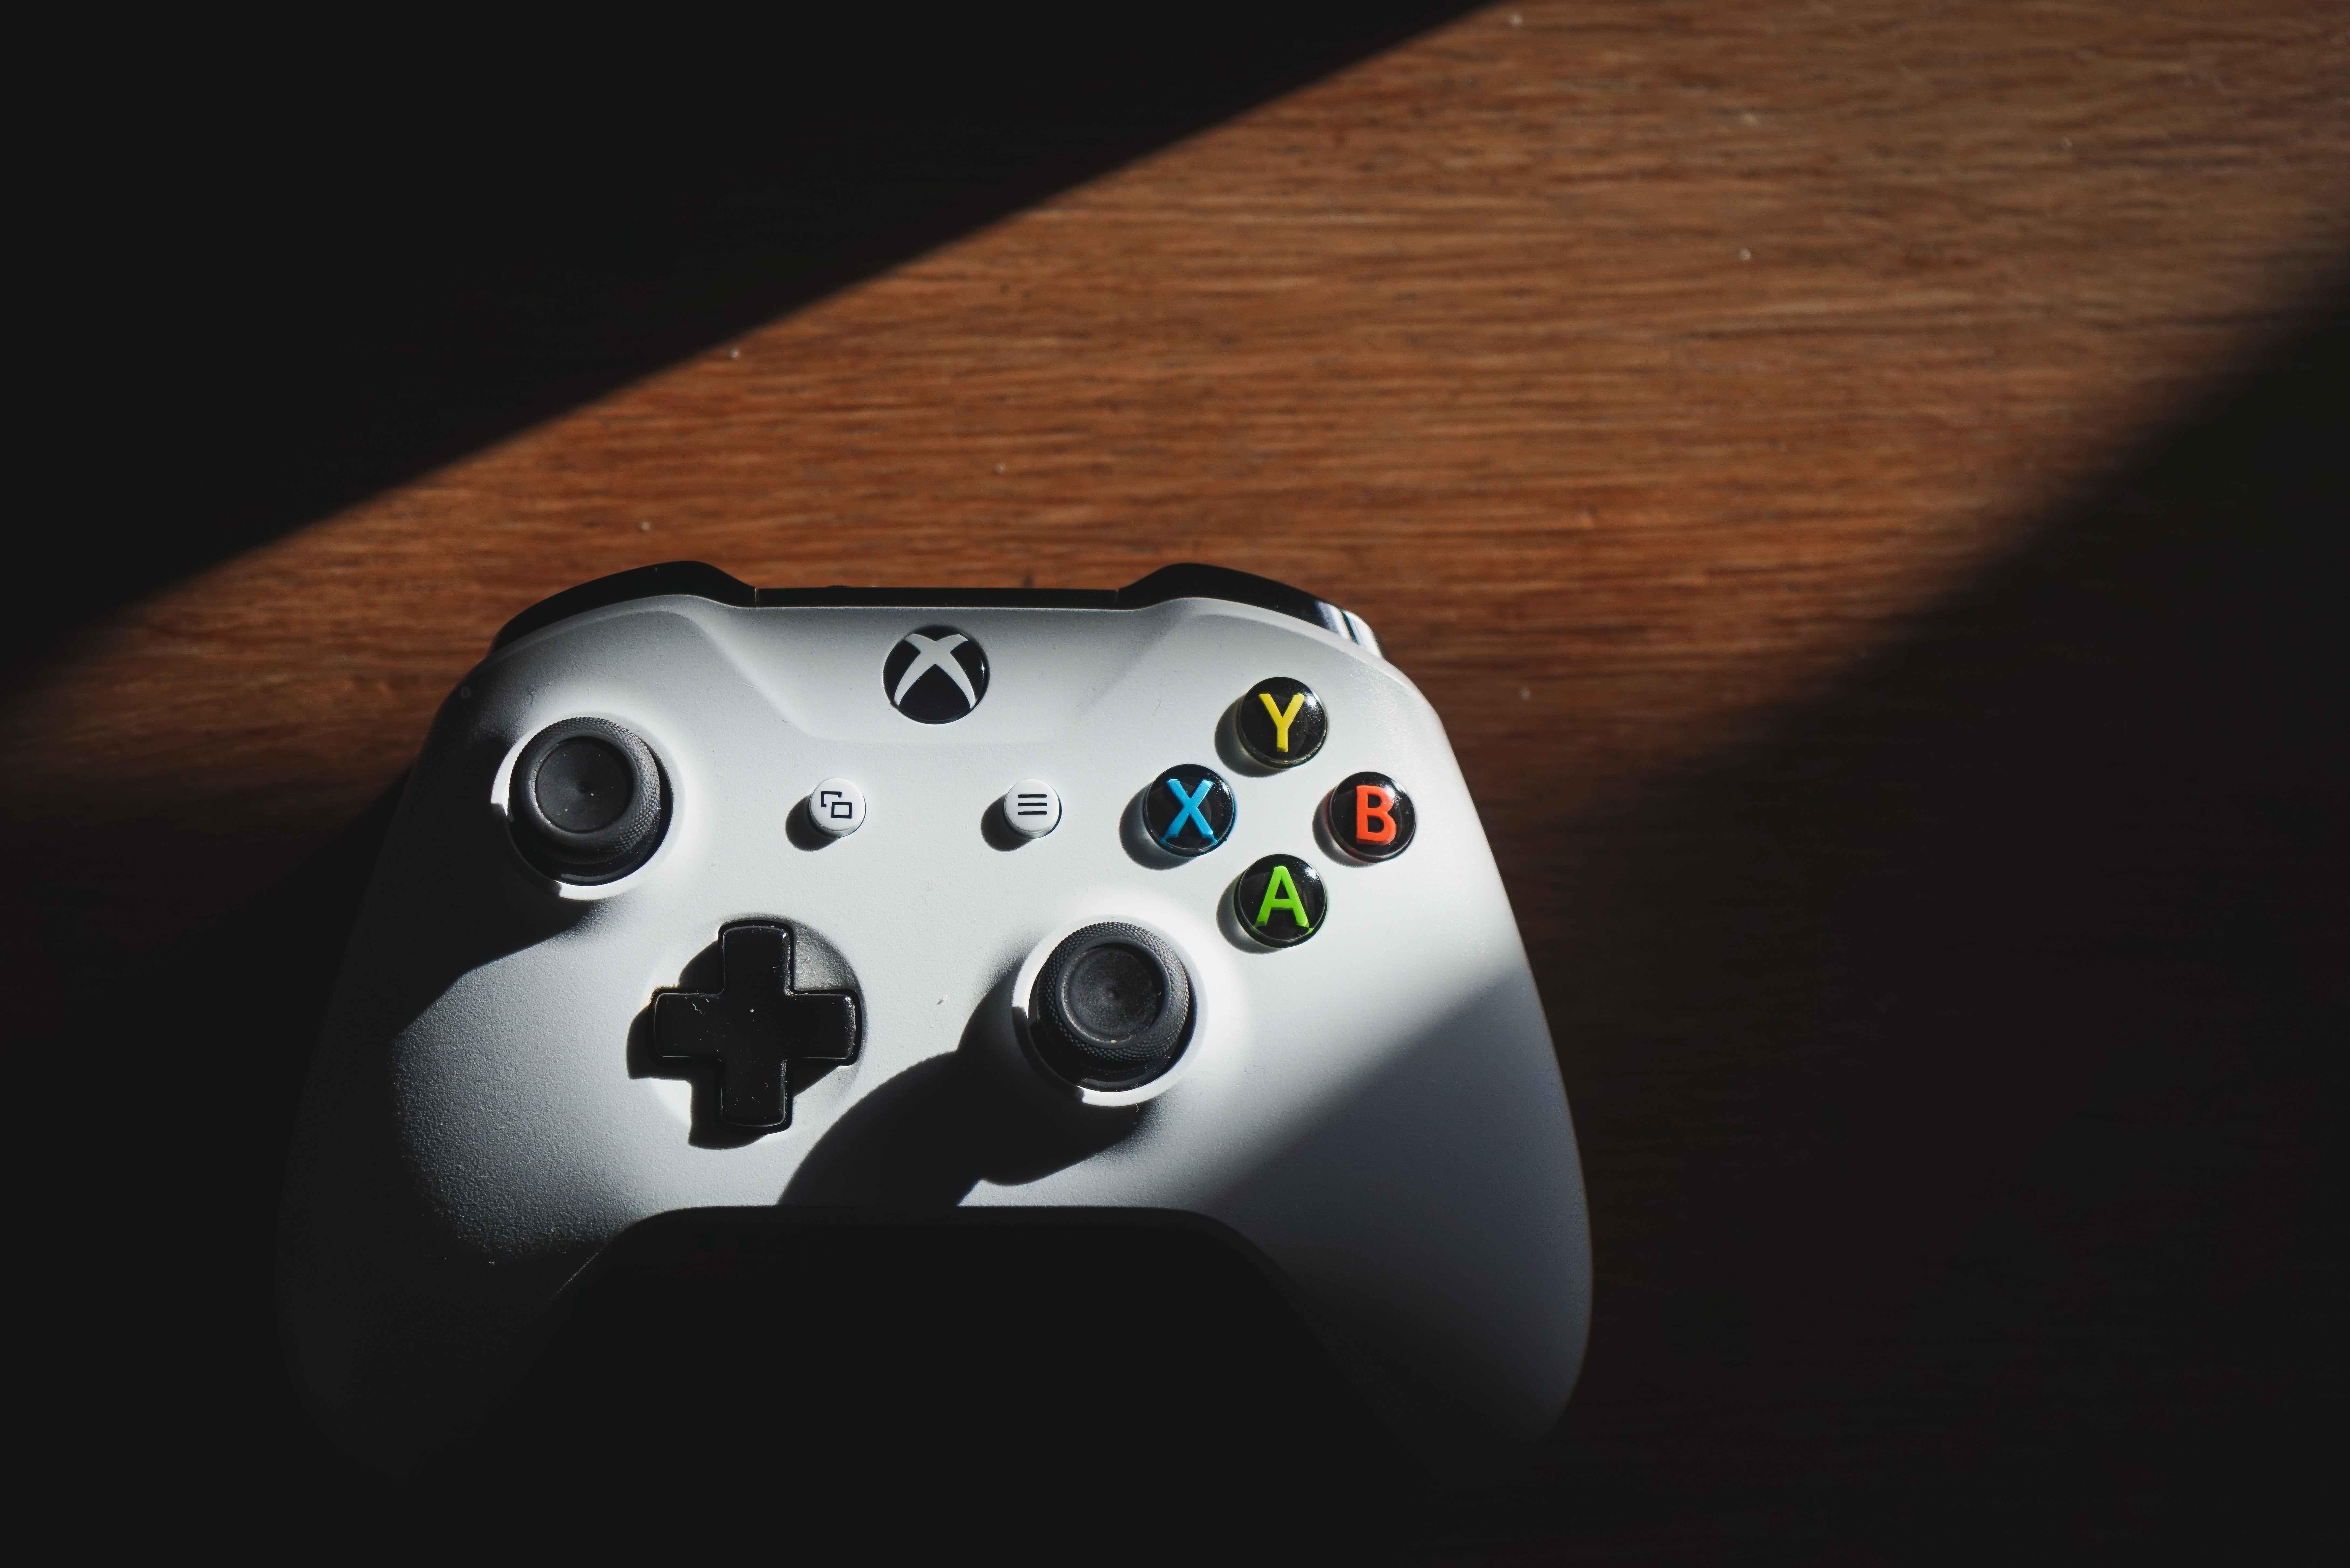
Playing video games on your Xbox One can be an immersive and thrilling experience. However, nothing can be more frustrating than discovering that the joystick on your controller is loose or wobbly. This can greatly hamper your gameplay, making it difficult to control your character or navigate through in-game menus successfully. But fear not, as there is a solution to fix this issue and get your joystick back in place!
In this article, we will guide you through the steps to put a joystick back in place on your Xbox One controller. Whether it’s a minor adjustment or a more significant repair, we will provide you with the information and techniques you need to get your controller back in top shape. Get ready to reclaim your gaming prowess and enjoy a smooth gaming experience once again!
Inside This Article
- The Importance of a Properly Functioning Joystick
- Tools and Equipment Needed
- Step 1: Remove the Xbox One Controller Back Panel
- Step 2: Assess the Joystick Misalignment
- Step 3: Gently Realign the Joystick
- Step 4: Test the Joystick Functionality
- Step 5: Secure the Xbox One Controller Back Panel
- Conclusion
- FAQs
The Importance of a Properly Functioning Joystick
A joystick is a crucial component of any gaming controller, and its proper functioning is essential for an enjoyable gaming experience. Whether you’re playing on an Xbox One or any other gaming device, the joystick allows you to control your character’s movements, navigate menus, and execute precise actions.
A properly functioning joystick is essential for achieving accuracy and responsiveness in gameplay. It allows gamers to perform precise movements, such as aiming in first-person shooter games or executing complex combos in fighting games. In contrast, a faulty or misaligned joystick can significantly hinder your ability to control your character, leading to frustrating and subpar gaming experiences.
Besides gameplay, a properly functioning joystick also enhances the overall durability and longevity of your gaming controller. When the joystick is not functioning correctly, gamers may exert excessive force or engage in aggressive movements to compensate, which can put strain on the controller and potentially lead to hardware damage.
Additionally, a faulty joystick can disrupt multiplayer gaming sessions. When playing with friends or engaging in online matches, having a properly functioning joystick ensures that you can compete on an even playing field. It allows you to execute precise movements and react quickly to in-game events, giving you a competitive edge.
Lastly, a properly functioning joystick contributes to your gaming enjoyment. Gaming is an immersive experience, and a smooth and responsive joystick enhances the level of engagement. It allows you to seamlessly control your virtual character, enhancing the sense of presence and immersion within the game world.
Tools and Equipment Needed
Before you begin the process of putting a joystick back in place on an Xbox One controller, gather the following tools and equipment:
- Small Screwdriver Set: A set of small screwdrivers will be required to remove the screws holding the back panel of the Xbox One controller in place.
- Tweezers: Tweezers will come in handy for delicately adjusting the joystick and ensuring it is properly aligned.
- Cotton Swabs: Cotton swabs can be used to clean any dirt or debris that may have accumulated around the joystick area.
- Isopropyl Alcohol: Isopropyl alcohol is an effective cleaning agent that can be used to remove any stubborn grime or residue from the controller.
- Microfiber Cloth: A soft microfiber cloth is ideal for wiping down the controller and keeping it free from fingerprints or smudges.
- Replacement Parts (Optional): In case the joystick or any other component of the controller needs to be replaced, it’s a good idea to have the necessary replacement parts on hand.
Having these tools and equipment readily available will help ensure a smooth and hassle-free process when putting the joystick back in place on your Xbox One controller.
Step 1: Remove the Xbox One Controller Back Panel
The first step in fixing a misaligned joystick on your Xbox One controller is to remove the back panel. By doing this, you’ll be able to access the inner components and make the necessary adjustments.
To remove the back panel, you’ll need a few tools, including a small Phillips head screwdriver and a pry tool or a plastic opening tool. These tools will allow you to safely open the controller without causing any damage.
Start by turning off your Xbox One controller to prevent any accidental button presses. Then, flip the controller over so that the backside is facing up. Locate the screws on the back panel, which typically require a small Phillips head screwdriver to loosen.
Once the screws are removed, use a pry tool or a plastic opening tool to gently lift the back panel off the controller. Start at one corner and work your way around, applying light pressure to avoid any damage to the plastic clips that hold the panel in place.
Continue to carefully lift the panel until it is completely detached from the controller. Set the back panel aside in a safe place to avoid misplacing it during the repair process. With the back panel removed, you can now move on to assessing the joystick misalignment.
Step 2: Assess the Joystick Misalignment
Once you have successfully removed the back panel of your Xbox One controller, it’s time to assess the joystick misalignment. The misalignment may occur due to various reasons such as prolonged use, accidental drops, or simply wear and tear over time. Assessing the extent of misalignment is crucial in order to determine the best course of action for repositioning the joystick.
Start by carefully observing the position of the joystick. Look for any noticeable deviations from its original placement. You can compare it to the position of the other joystick to get a clearer picture of the misalignment. Pay attention to any loose or wobbly movements of the joystick, as this can be an indication of its misalignment.
Next, try moving the joystick in all directions, taking note of any resistance, sticking, or unresponsiveness. These issues can also signal misalignment and may require further adjustment. It’s important to thoroughly assess the joystick’s functionality to ensure optimal performance once it is realigned.
In addition to visual inspection and testing, you can also gently manipulate the joystick using your fingers to assess its alignment. Gently push or pull the joystick in different directions while keeping an eye on its movement. This hands-on approach can help you better understand the extent of misalignment and assist you in deciding the most effective method for resolving the issue.
Once you have thoroughly assessed the joystick misalignment, you will be better equipped to proceed with the necessary adjustments. Remember to be gentle and patient throughout the process to avoid causing any further damage to the controller. With a clear understanding of the misalignment, you can now move on to the next step of gently realigning the joystick.
Step 3: Gently Realign the Joystick
Now that you have assessed the misalignment of the joystick on your Xbox One controller, it’s time to gently realign it. This step requires precision and a delicate touch to avoid causing further damage to the control mechanism. Follow these instructions carefully to ensure a successful realignment process:
1. With the controller still in your hands, take a moment to relax and focus on the task at hand. Maintaining a steady hand and a calm mindset will help you perform the realignment more effectively.
2. Take a close look at the misaligned joystick. Identify the direction in which it needs to be readjusted. Is it tilting to the left, right, up, or down? This will determine the subsequent steps you need to take.
3. Using your thumb or index finger, gently apply pressure to the joystick in the opposite direction of the misalignment. For example, if the joystick is tilting to the left, gently push it to the right. It is important to apply only enough pressure to encourage movement without exerting excessive force.
4. While realigning the joystick, be mindful of any resistance or unusual clicking sensations. These could indicate other underlying issues with the controller and may require further inspection or professional repair.
5. Gradually move the joystick in small increments, testing its range of motion as you go. Pay attention to how smoothly it moves and whether it returns to its center position without sticking or getting caught. This will help you determine if the realignment was successful.
6. If necessary, repeat the realignment process until the joystick is properly aligned and functions smoothly. Take your time and ensure each adjustment is small and precise to avoid overcompensating or causing additional misalignments.
Remember, patience is key during this step. Rushing or applying too much force could worsen the problem or even break the joystick permanently. Take breaks if needed, allowing your hands to rest and refocus before continuing the realignment process.
Once you are satisfied with the realignment, proceed to the next step to test the functionality of the joystick and ensure everything is working as it should.
Step 4: Test the Joystick Functionality
Once you have gently realigned the joystick on your Xbox One controller, the next step is to test its functionality. Testing the joystick will ensure that it is functioning properly and responding accurately to your inputs. Here is how you can test the joystick:
-
Connect the Xbox One controller – Start by connecting the Xbox One controller to your gaming console or PC. Ensure that the controller is properly synced and recognized by the system.
-
Launch a game or controller testing application – Choose a game that relies heavily on joystick inputs or a controller testing application to assess the performance of the joystick. This will help you determine if the realignment was successful.
-
Perform various joystick movements – In the game or testing application, perform a variety of joystick movements in all directions. This includes moving the joystick up, down, left, right, and diagonally. Pay close attention to how the joystick responds to your inputs.
-
Check for responsiveness and accuracy – While operating the joystick, assess its responsiveness and accuracy. Ensure that the joystick movements are reflected accurately on the screen. The joystick should be smooth in operation, without any noticeable lag or delay.
-
Test all buttons and functions – In addition to the joystick, test all the other buttons and functions on the controller. This includes the triggers, bumpers, D-pad, and menu buttons. It is essential to check if all the components of the controller are functioning properly.
By thoroughly testing the joystick functionality, you can be confident that it has been successfully realigned and is back to a fully operational state. If you notice any issues or inconsistencies during the testing process, you may need to repeat the realignment or seek further assistance.
Step 5: Secure the Xbox One Controller Back Panel
Once you have successfully realigned the joystick and tested its functionality, it’s time to secure the Xbox One controller back panel back in place. This step is crucial to ensure that the joystick stays in its correct position and maintains its proper functionality.
Here are the steps to securely attach the Xbox One controller back panel:
- Align the panel: Take the back panel and align it carefully with the screw holes on the controller body. Make sure that all the edges and buttons line up correctly.
- Apply pressure: Once the panel is properly aligned, press it firmly against the controller body. Make sure that all the snaps and clips on the panel engage with the corresponding slots on the controller.
- Start with the middle screws: Begin by inserting and tightening the screws in the middle portion of the controller back panel. This will help to secure the panel in place and prevent any unnecessary movement.
- Tighten the remaining screws: Once the middle screws are in place, move on to the remaining screws. Start from the top and work your way down, tightening each screw securely but not excessively. Be careful not to overtighten, as this may damage the plastic or strip the screw threads.
By following these steps, you can ensure that the Xbox One controller back panel is securely attached and the joystick remains in place. This will help to maintain the overall functionality and usability of your Xbox controller.
Remember to use the appropriate tools, such as a small screwdriver, to properly tighten the screws. Take your time and be careful not to put excessive force on the controller or the screws, as this may cause damage.
Now that you have securely attached the Xbox One controller back panel, your controller is ready for use. Enjoy your gaming sessions with a properly functioning joystick and an enhanced gaming experience!
Conclusion
In conclusion, putting a joystick back in place on an Xbox One controller is a relatively simple process that can easily be done at home. Whether the joystick is loose, wobbly, or completely detached, you can use the steps outlined in this article to fix the issue and get your controller back in working order.
Remember to start by assessing the problem and determining whether you need to replace the joystick or simply reattach it. Gather the necessary tools, such as a screwdriver and replacement parts if needed. Carefully open up the controller, detach the joystick if necessary, and then reattach or replace it following the manufacturer’s guidelines. Finally, reassemble the controller, ensuring that all parts are securely in place, and test it out.
By following these steps, you can get your Xbox One controller feeling brand new again, allowing you to enjoy uninterrupted gaming sessions. So don’t let a loose joystick ruin your gaming experience. Take action and fix it yourself!
FAQs
1. Why did my joystick come loose on my Xbox One controller?
The joystick on your Xbox One controller may have come loose due to heavy usage, wear and tear, or accidental damage. Over time, the constant movement and pressure applied to the joystick can cause it to become loose or dislodged.
2. How can I put the joystick back in place on my Xbox One controller?
To put the joystick back in place on your Xbox One controller, follow these steps:
– Turn off your Xbox One controller and remove any batteries or power source.
– Use a small screwdriver or joystick repair kit to carefully remove the faceplate of the controller.
– Locate the joystick and its housing, and make sure there are no additional components that need to be detached.
– Align the base of the joystick with the housing and carefully insert it back into place.
– Apply gentle pressure to secure the joystick back into its socket.
– Reassemble the faceplate and ensure that all the buttons and triggers are functioning properly before turning the controller back on.
3. Can I fix a loose joystick on my Xbox One controller without taking it apart?
In some cases, you may be able to fix a loose joystick on your Xbox One controller without taking it apart. Try these steps:
– Power off your Xbox One controller.
– Gently grip the loose joystick and wiggle it around within its socket.
– Apply gentle pressure while moving the joystick back and forth, ensuring it fits snugly into the socket.
– Power on the controller and test the joystick to see if it has been successfully repositioned.
4. What if my joystick is still loose after trying these steps?
If your joystick is still loose after attempting the steps mentioned above, it may require a more intensive repair. Consider contacting the manufacturer or a professional repair service to address the issue properly. They have the necessary expertise and tools to fix the problem effectively.
5. Is there a way to prevent the joystick from becoming loose in the future?
While wear and tear are inevitable, there are a few steps you can take to prolong the lifespan of your Xbox One controller’s joystick:
– Avoid applying excessive force or pressure to the joystick while gaming.
– Remove any dirt or debris that may accumulate around the joystick area regularly.
– Store your controller in a safe and clean environment to minimize the risk of accidental damage.
– Consider investing in joystick covers or grip attachments to provide extra stability and protection for the joystick.