
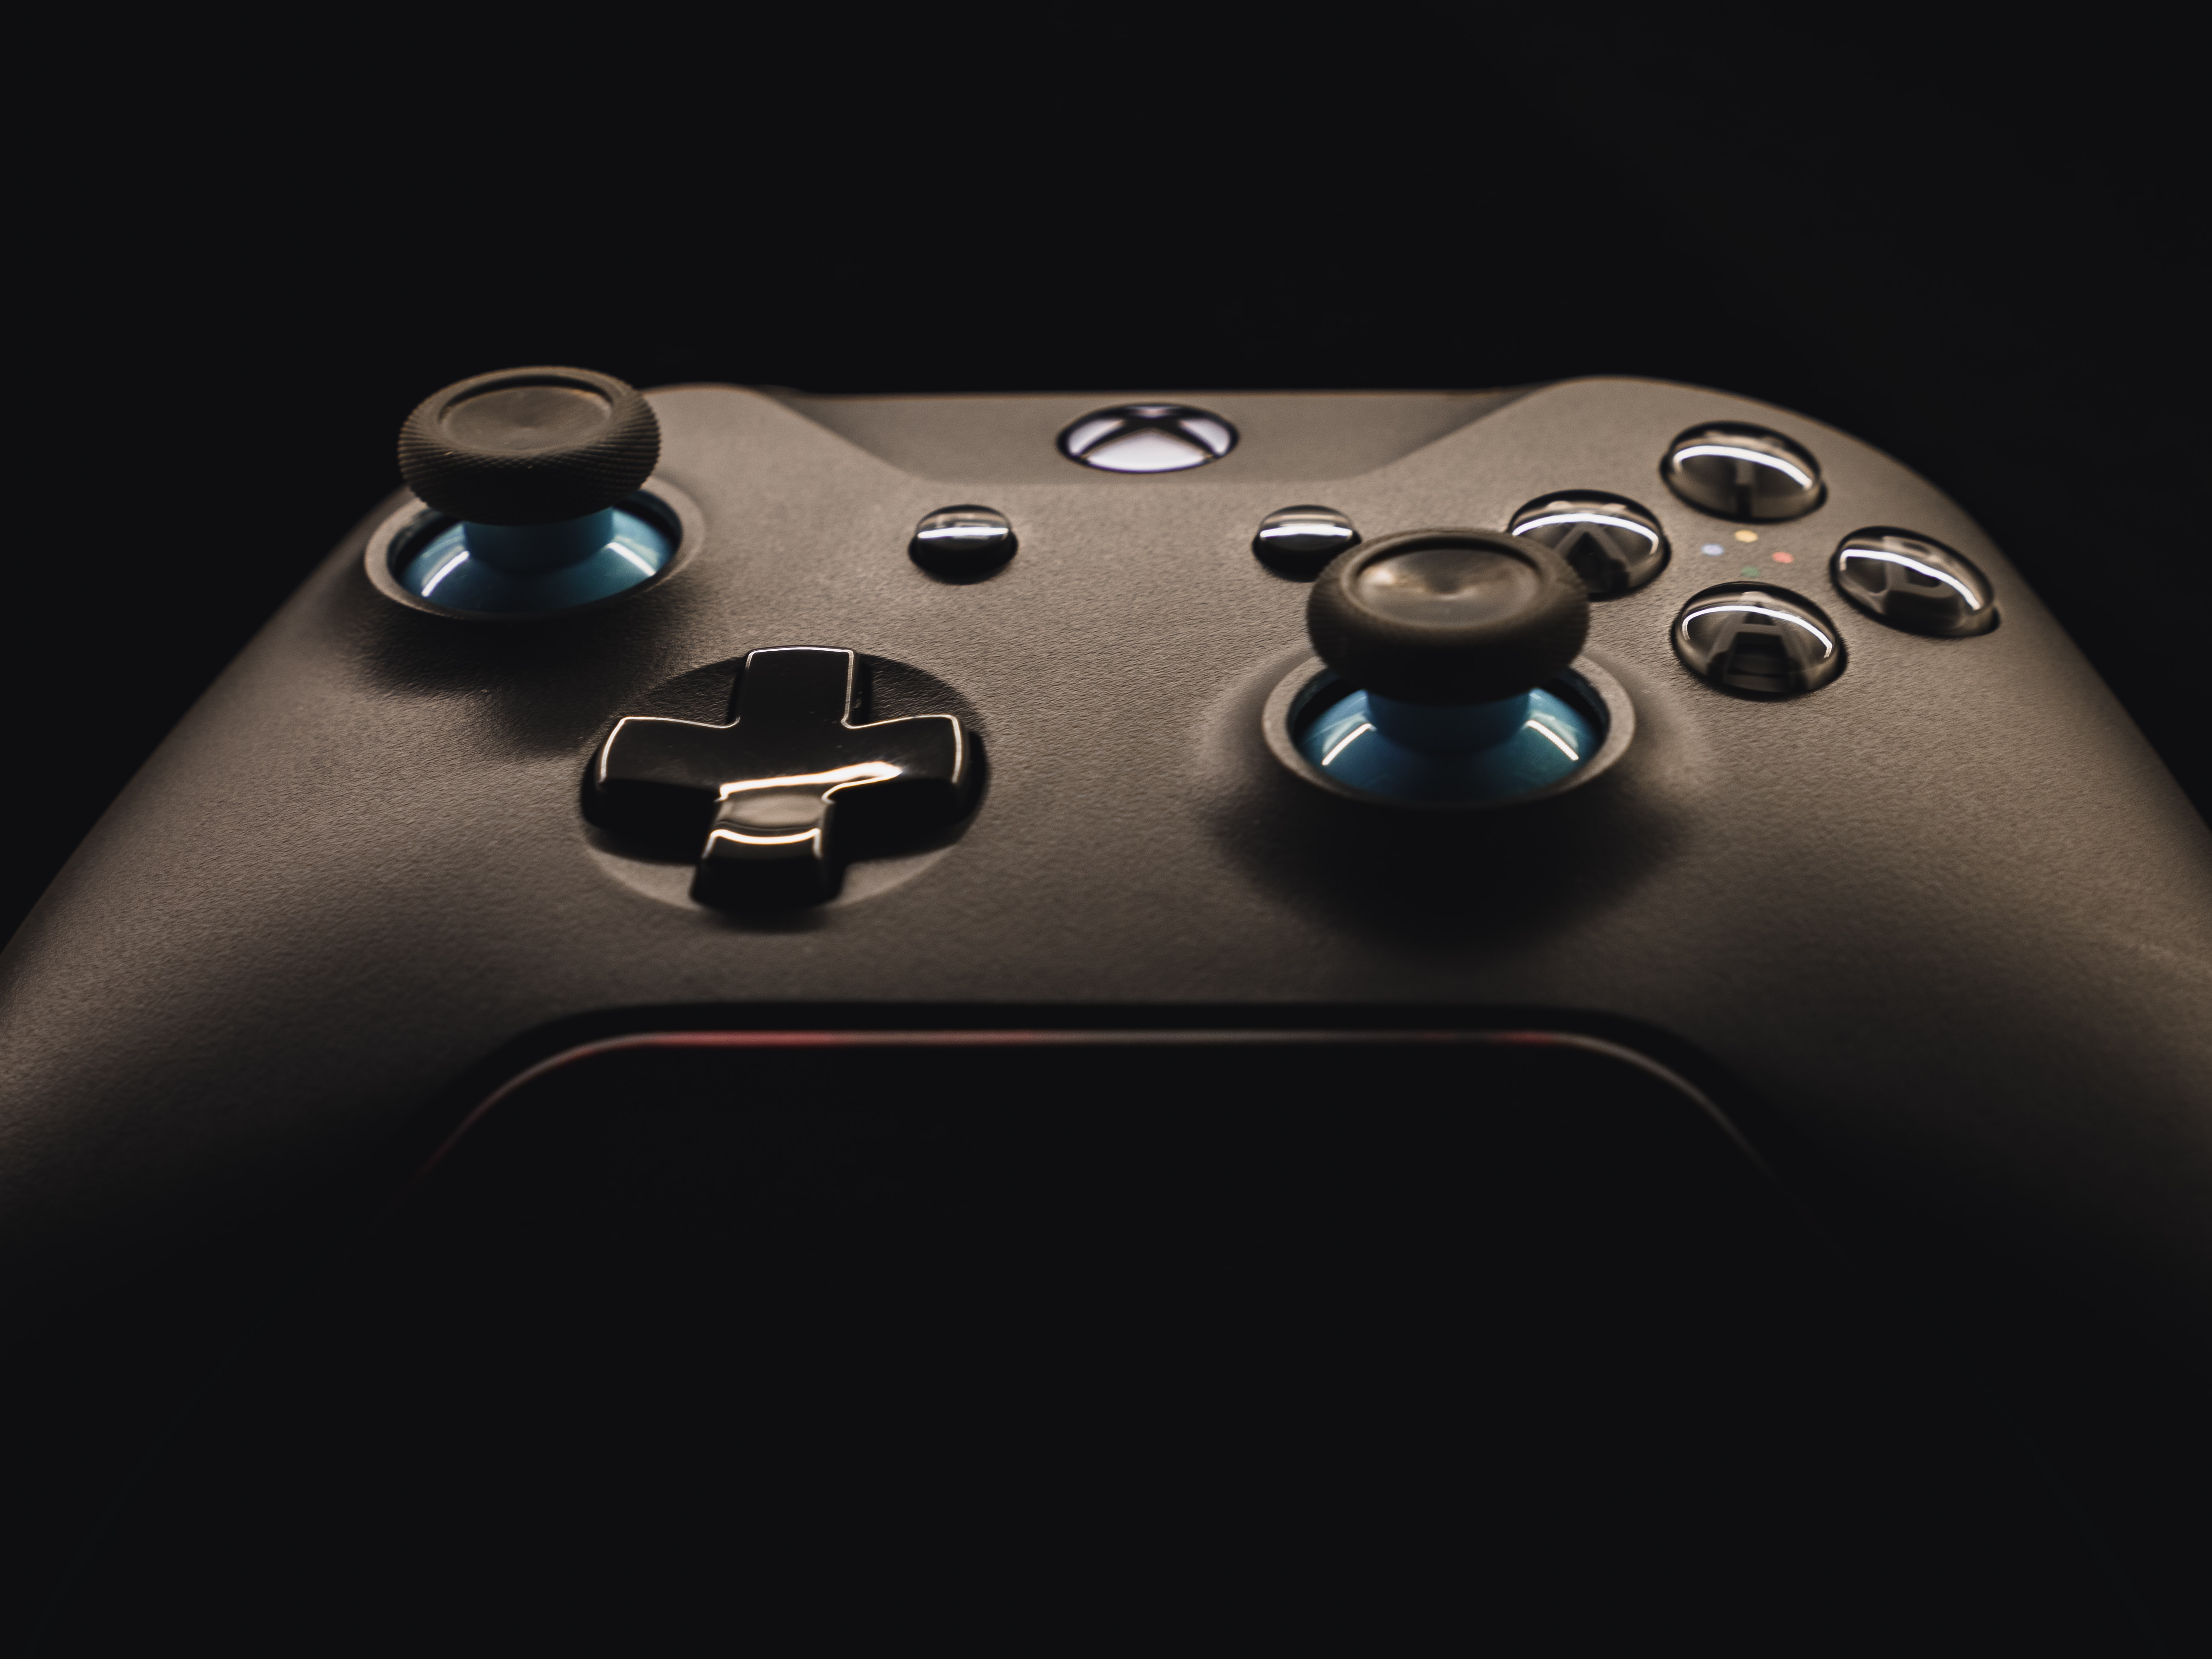
Are you facing the frustrating issue of joystick drift on your Xbox One controller? You’re not alone. Joystick drift occurs when the joystick on your controller starts moving on its own, even when you’re not touching it. This can make gaming experiences frustrating as it impacts your control and precision in games. But don’t worry, there are steps you can take to fix joystick drift and get your controller back in working order. In this article, we will guide you through some effective methods to address joystick drift on your Xbox One controller. Whether it’s recalibrating the joystick, cleaning the controller, or replacing the faulty parts, we’ve got you covered. Say goodbye to those pesky joystick issues and get ready to enjoy gaming without any interruptions. Let’s dive in and get your Xbox One controller back on track!
Inside This Article
- Common Causes of Joystick Drift in Xbox One Controllers
- Troubleshooting Steps to Fix Joystick Drift
- Calibrating the Joystick to Fix Drift Issue
- Cleaning the Joystick to Fix Drift Problem
- Replacing the Joystick Module to Fix Drift
- Conclusion
- FAQs
Common Causes of Joystick Drift in Xbox One Controllers
Joystick drift is a common issue that many Xbox One controller users encounter. This problem occurs when the joystick on the controller registers movement even when you’re not touching it. It can be frustrating, causing gameplay to become unresponsive or erratic. Understanding the common causes of joystick drift can help you troubleshoot and resolve the issue effectively.
1. Wear and Tear: One of the primary reasons for joystick drift is regular wear and tear. Over time, the internal components of the joystick may become worn or damaged, leading to inaccurate input detection. This can result from extended gaming sessions or heavy usage of the controller.
2. Dust and Debris: Dust, dirt, and debris can accumulate inside the joystick mechanism, causing it to malfunction. This can interfere with the smooth movement of the joystick and lead to drift issues. The accumulation of particles can happen due to regular usage or storing the controller in dusty environments.
3. Misalignment: Another common cause of joystick drift is misalignment. If the joystick module or the analog stick is not centered correctly, it can lead to inaccurate input detection. This misalignment can be a result of accidental drops, rough handling, or simply normal wear and tear over time.
4. Manufacturing Defects: In some cases, a manufacturing defect can be the root cause of joystick drift. Although relatively rare, it’s possible that the controller was flawed during the production process, leading to faulty joystick behavior. If the issue occurs shortly after purchasing a new controller, this could be the reason behind the drift problem.
It’s important to note that these causes are not exhaustive, and there can be other factors contributing to joystick drift. However, understanding these common causes will provide a starting point for troubleshooting the issue and finding an appropriate solution. In the following section, we will explore some troubleshooting steps to help you fix joystick drift in Xbox One controllers.
Troubleshooting Steps to Fix Joystick Drift
If you’re experiencing joystick drift on your Xbox One controller, don’t worry – you’re not alone. Joystick drift is a common issue that can be frustrating and impact your gaming experience. Fortunately, there are several troubleshooting steps you can take to fix joystick drift and get your controller back to optimal performance.
Before we dive into the steps, it’s important to understand that joystick drift is usually caused by two main factors: hardware issues and software/calibration problems. Sometimes, it can even be a combination of both. The good news is that you can address these issues yourself without needing to replace the entire controller. Let’s explore some troubleshooting steps:
- Check for Updates: Make sure your Xbox One controller is running the latest firmware version. You can do this by connecting your controller to your console using a USB cable and allowing it to update if there’s a new version available. Software updates often include fixes for controller issues, including joystick drift.
- Recalibrate the Joystick: One of the first steps you should take is to recalibrate the joystick. To do this, go to the Xbox Settings menu, select Devices & Accessories, and then choose your controller. From there, select Update Firmware and then click on the button to recalibrate the joystick. Follow the on-screen instructions to complete the process.
- Inspect the Joystick: Carefully examine the joystick for any physical damage or debris that may be causing the drift. Look for loose or worn-out components, and clean the joystick area using a soft, lint-free cloth. Sometimes, dust or debris can interfere with the joystick’s movement, creating the drift problem.
- Adjust Deadzone Settings: Deadzone refers to the area around the center of the joystick where it doesn’t register movement. Sometimes, adjusting the deadzone settings can help minimize or eliminate joystick drift. You can access this option in the Xbox Accessories app on your console. Experiment with different deadzone settings to find the one that works best for you.
- Try Another Controller: If you have access to another Xbox One controller, try connecting it to your console and see if you experience the same joystick drift issue. This will help determine if the problem is specific to the controller or if it’s more widespread. If the second controller doesn’t have drift problems, it may be time to consider replacing your original controller.
- Contact Customer Support: If none of the troubleshooting steps resolve the joystick drift issue, it’s time to reach out to Xbox customer support. They can provide further assistance and guide you through additional troubleshooting options or arrange a repair or replacement if necessary.
Remember, fixing joystick drift may require a combination of these troubleshooting steps. It’s important to be patient and try each step before moving on to the next. By following these steps, you can increase the chances of resolving joystick drift on your Xbox One controller and get back to enjoying a seamless gaming experience.
Calibrating the Joystick to Fix Drift Issue
One of the common solutions to fix joystick drift in Xbox One controllers is to calibrate the joystick. Joystick drift occurs when the controller’s joystick movements are not accurately registered, causing the in-game character or cursor to move on its own. Calibrating the joystick helps to recalibrate the controller’s sensitivity and nullify any inaccuracies that may be causing the drift.
To start the calibration process, follow these simple steps:
- Connect the Xbox One controller to the console using a USB cable.
- Press the Xbox button on the controller to open the guide menu.
- Navigate to the “System” tab using the joystick or D-pad and select “Settings.”
- In the Settings menu, choose “Devices & connections.”
- Under the Devices & connections menu, select “Accessories.”
- Find your Xbox One controller listed under “Controllers” and select it.
- Within the controller settings, choose the “Calibrate” option.
Once you’ve entered the calibration mode, carefully follow the on-screen instructions:
- The calibration process will typically involve centering the joystick, moving it to the extremes of its range, and releasing it.
- Make sure to perform the calibration in a smooth and controlled manner.
- Take your time to ensure that each step of the calibration process is completed accurately.
After completing the calibration process, the drift issue should be significantly reduced or completely eliminated. However, if you still notice any drift, you may need to explore other troubleshooting steps such as cleaning the joystick or replacing the joystick module.
It is important to note that the calibration process may slightly vary depending on the Xbox One controller model and console version. Consult the official Xbox support documentation or the controller’s user manual for specific instructions tailored to your particular setup.
By recalibrating the joystick, you can regain control and enjoy a smooth gaming experience without the annoyance of joystick drift.
Cleaning the Joystick to Fix Drift Problem
If your Xbox One controller is experiencing joystick drift, one possible solution is to clean the joystick itself. Over time, dust, dirt, and debris can accumulate inside the joystick mechanism, causing it to malfunction and result in joystick drift. Cleaning the joystick can help remove any obstructions and restore its functionality. Follow these steps to clean the joystick and address the drift problem.
1. Gather the necessary cleaning tools: Before you begin, make sure you have the following items handy: a small screwdriver (Phillips or Torx), isopropyl alcohol (70% or higher), cotton swabs, and a soft cloth.
2. Turn off your controller: Start by turning off your Xbox One controller and removing any batteries or rechargeable packs. This will prevent accidental inputs during the cleaning process.
3. Remove the back panel of the controller: Use the small screwdriver to carefully remove the screws holding the back panel of the controller in place. Set aside the screws in a safe place, as you will need them later to reassemble the controller.
4. Open the joystick module: Locate the joystick module, which is the plastic housing that holds the joystick mechanism. Using the screwdriver, gently pry open the module to expose the joystick.
5. Clean the joystick and surrounding area: Dip a cotton swab in isopropyl alcohol and gently clean the joystick mechanism, paying attention to any visible dirt or debris. Be sure to also clean the surrounding area inside the module where the joystick sits. Use a soft cloth to wipe away any excess alcohol.
6. Let it dry: Allow the joystick and the cleaned area to air dry completely before proceeding to the next step. This will prevent any moisture from affecting the controller’s functionality.
7. Reassemble the controller: Once everything is dry, carefully put the joystick back into the module and close the module. Make sure the joystick is properly aligned and seated correctly. Then, reattach the back panel of the controller using the screws you removed earlier.
8. Test the controller: Turn on your Xbox One console and test the controller to see if the joystick drift problem has been resolved. Move the joystick in all directions to check for any unwanted movement or drift. If the problem persists, you may need to try other troubleshooting methods or consider replacing the joystick module.
Cleaning the joystick is a simple yet effective method to fix drift problems in your Xbox One controller. Regular maintenance and cleaning can help prevent joystick drift from occurring in the first place. In addition, be mindful of where you store your controller to minimize exposure to dust and dirt. By keeping your joystick clean, you can ensure a more accurate and enjoyable gaming experience.
Replacing the Joystick Module to Fix Drift
If the troubleshooting steps and calibration methods mentioned earlier did not resolve the joystick drift on your Xbox One controller, you may need to consider replacing the joystick module. The joystick module is the component responsible for detecting the movement of the joystick and transmitting the input to the console. Over time, the module can become worn out or damaged, leading to drift issues.
Before proceeding with the replacement, make sure you have a replacement joystick module specifically designed for your Xbox One controller model. There are many online retailers and gaming stores that offer compatible joystick modules.
To replace the joystick module, follow these steps:
- First, turn off the Xbox One controller and remove any batteries.
- Using a small Phillips head screwdriver, carefully remove the screws on the back of the controller to open it. Keep track of the screws so you can replace them later.
- Gently lift the back cover of the controller and set it aside.
- Locate the joystick module, which is attached to the front circuit board.
- Disconnect the cable connecting the joystick module to the circuit board. Be careful not to damage the cable or the connector on the circuit board.
- Remove any adhesive or securing clips holding the joystick module in place.
- Gently lift the joystick module out of its housing.
- Take the replacement joystick module and carefully place it into the housing, making sure it is aligned correctly.
- Secure the module using adhesive or clips, if necessary.
- Reconnect the cable to the circuit board, ensuring it is firmly attached.
- Put the back cover of the controller back on and secure it with the screws.
- Insert batteries into the controller and turn it on.
After replacing the joystick module, test the controller to see if the drift issue is resolved. If not, double-check the connections and ensure the module is correctly installed. If the issue persists, it may be necessary to seek professional repair or consider purchasing a new controller.
Replacing the joystick module can be a more advanced repair process, so if you are not comfortable or experienced in working with electronics, it is recommended to seek assistance from a professional.
Remember to always handle electronic components with care and ensure you are using the correct tools and parts for your specific controller model.
In conclusion, dealing with joystick drift on your Xbox One controller can be frustrating, but it is not impossible to fix. By following the step-by-step instructions provided in this article, you can address this issue and get back to enjoying your gaming experience to the fullest. Remember to start with basic troubleshooting techniques such as recalibration and cleaning, and if those don’t work, consider replacing the joystick module. Additionally, stay updated with the latest firmware updates and keep your controller in optimal condition to prevent joystick drift in the future. By taking these measures, you can ensure that your gaming sessions remain smooth and uninterrupted, allowing you to immerse yourself in the world of gaming without any distractions.
FAQs
Q: What is joystick drift and why does it happen?
Joystick drift is a common issue where the controller’s joystick moves on its own even when you’re not touching it. It can occur due to several reasons such as wear and tear, dust accumulation, or even manufacturing defects.
Q: Can joystick drift be fixed without replacing the controller?
In some cases, joystick drift can be fixed without replacing the entire controller. Cleaning the joystick, recalibrating it, or applying slight adjustments can potentially resolve the issue. However, if these methods don’t work, a replacement might be necessary.
Q: How can I clean the joystick to fix drift issues?
To clean the joystick and address drift problems, you can use a cotton swab or a toothpick slightly dampened with isopropyl alcohol. Gently clean around the base of the joystick to remove any dirt or debris that may be causing the drift.
Q: How do I recalibrate an Xbox One controller?
Recalibrating the Xbox One controller can help fix joystick drift. Start by connecting your controller to the Xbox console with a USB cable. Then, go to the settings menu, select Devices & Accessories, choose the desired controller, and click on the “Calibrate” option. Follow the on-screen instructions to calibrate the controller.
Q: What should I do if none of the fixes work?
If cleaning, recalibrating, and making adjustments to the joystick do not resolve the drift issue, it is likely that there is a more severe hardware problem. In such cases, contacting customer support or considering a replacement might be the best course of action.