
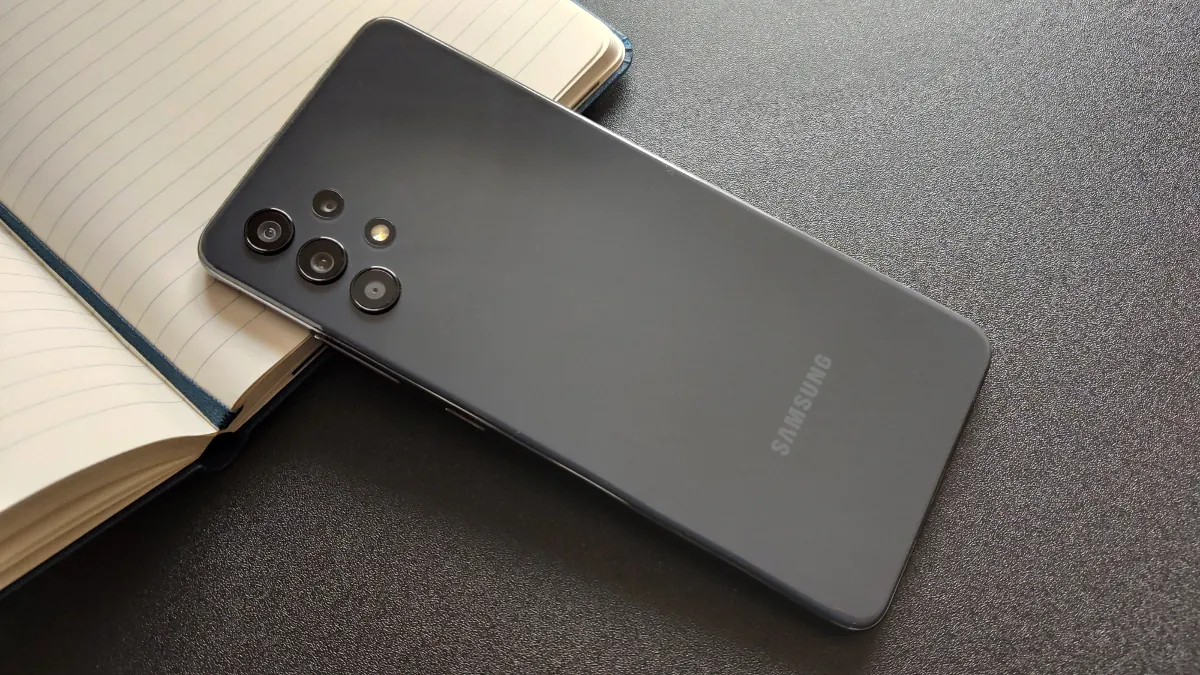
So, you’ve got your brand new Samsung Galaxy A32 and now you’re ready to set it up and start using it. One of the first things you’ll need to do is insert your SIM card. The SIM card is essential for your phone to connect to your mobile network, allowing you to make calls, send messages, and access the internet.
Inserting a SIM card into the Galaxy A32 is a straightforward process, but if you’re new to this or unsure of where the SIM card slot is located, we’re here to guide you through it. In this article, we’ll provide step-by-step instructions on how to put a SIM card in your Galaxy A32, ensuring a smooth setup process and helping you get your phone up and running in no time.
Inside This Article
- Step 1: Locate the SIM card tray
- Step 2: Eject the SIM card tray
- Step 3: Insert the SIM card
- Step 4: Reinsert the SIM card tray
- Conclusion
- FAQs
Step 1: Locate the SIM card tray
Before you can insert a SIM card into your Galaxy A32, you need to locate the SIM card tray. The position of the SIM card tray may vary slightly depending on the manufacturer and model of your phone, but it is typically located on the side of the device.
To find the SIM card tray on your Galaxy A32, start by holding the phone with the screen facing towards you. Look for a small pinhole or a small rectangular slot on the side of the phone. This is where the SIM card tray is usually located.
If you are having trouble finding the SIM card tray, refer to your phone’s user manual for specific instructions. The user manual will provide detailed diagrams and instructions on how to locate the SIM card tray on your Galaxy A32.
Once you have located the SIM card tray, you are ready to move on to the next step of inserting the SIM card into your Galaxy A32.
Step 2: Eject the SIM card tray
Once you have located the SIM card tray on your Galaxy A32, the next step is to eject it. Ejecting the tray will allow you to remove the existing SIM card or insert a new one. Here’s how you can do it:
1. Take a SIM card tray ejector tool or a small paperclip. These tools usually come with your phone or can be easily found in mobile accessory stores.
2. Insert the ejector tool or paperclip into the small hole located next to the SIM card tray. Apply a moderate amount of pressure and push it straight in until you feel a slight resistance.
3. Gently push the ejector tool or paperclip inwards, and the SIM card tray will pop out slightly. You can now easily pull it out with your fingers.
4. Carefully remove the SIM card tray from the phone, ensuring that you don’t damage it or any other components. Keep it in a safe place while you make changes to your SIM card.
Remember, the SIM card tray is delicate, so handle it with care to avoid any potential damage.
By following these simple steps, you can conveniently eject the SIM card tray on your Galaxy A32 and prepare it for inserting a new SIM card or replacing the existing one. So, let’s move on to the next step of the process!
Step 3: Insert the SIM card
Now that you have successfully ejected the SIM card tray from your Galaxy A32, it’s time to insert the SIM card. Follow these simple steps:
1. Take your SIM card, ensuring that it is properly aligned with the SIM card tray. The gold contacts on the SIM card should be facing downwards.
2. Gently slide the SIM card into the designated slot on the SIM card tray. Make sure that it fits securely without any wobbling.
3. Carefully push the SIM card tray back into the slot on the Galaxy A32. Ensure that it is inserted all the way in until it clicks into place.
4. Once the SIM card tray is securely inserted, you can power on your Galaxy A32 to begin using the SIM card and enjoy the benefits it brings.
Remember, the SIM card is an essential component of your phone that allows you to make calls, send texts, and access mobile data. It is crucial to insert it correctly for seamless connectivity and optimal performance.
Now that you have successfully inserted the SIM card into your Galaxy A32, you can proceed to the final step of reinserting the SIM card tray.
Step 4: Reinsert the SIM card tray
After inserting the SIM card into your Galaxy A32, it’s time to reinsert the SIM card tray. Follow these simple steps to complete the process:
-
Take the SIM card tray that you previously removed from the phone.
-
Hold the SIM card tray carefully to ensure that the SIM card does not fall out.
-
Align the notch in the SIM card tray with the corresponding slot on your device.
-
Gently insert the SIM card tray back into the phone.
-
Ensure that the SIM card tray is fully inserted and securely in place.
It’s important to note that if the SIM card tray is not properly inserted, your phone may not detect the SIM card, resulting in no network connectivity. So, make sure to insert the tray correctly.
Once you have reinserted the SIM card tray, you can power on your Galaxy A32 and start enjoying your cellular network services.
Remember, if you ever need to remove or replace the SIM card in the future, you can follow these steps in reverse order. Always be gentle when handling the SIM card tray to avoid damaging it or the device.
With the SIM card properly inserted and secured in your Galaxy A32, you’re now ready to make calls, send messages, and use data services. Enjoy the full functionality of your device and stay connected wherever you go!
Conclusion
In conclusion, learning how to put a SIM card in a Samsung Galaxy A32 is a simple and straightforward process. By following the step-by-step instructions provided, you can easily insert your SIM card and start using your phone without any hassle. Remember to power off the device before inserting or removing the SIM card to avoid any potential damage.
Having the right mobile accessories for your Galaxy A32 is also important to enhance its functionality and protect your investment. From protective cases to screen protectors and charging cables, there is a wide range of accessories available to suit your needs and preferences.
Whether you’re upgrading to a new phone or just switching out your SIM card, understanding the process ensures a smooth transition. With the right knowledge and accessories, you can make the most out of your Samsung Galaxy A32 and enjoy its features to the fullest.
So, go ahead and give it a try! Insert your SIM card and explore all the possibilities your Galaxy A32 has to offer.
FAQs
1. How do I insert a SIM card into my Galaxy A32?
To insert a SIM card into your Galaxy A32, follow these steps:
– Locate the SIM card tray on the side of your phone.
– Use the SIM card ejection tool or a paperclip to gently press into the small hole next to the tray, releasing the tray.
– Place your SIM card into the tray, making sure the gold contacts are facing down.
– Carefully slide the tray back into the phone until it clicks into place.
2. Can I use a micro SIM card in the Galaxy A32?
No, the Galaxy A32 uses a Nano SIM card. Micro SIM cards are larger and will not fit in the SIM card tray of the Galaxy A32. Make sure you have a Nano SIM card before attempting to insert it into your phone.
3. How do I remove the SIM card from my Galaxy A32?
If you need to remove the SIM card from your Galaxy A32, here’s what you need to do:
– Turn off your phone.
– Locate the SIM card tray on the side of your phone.
– Use the SIM card ejection tool or a paperclip to gently press into the small hole next to the tray, releasing the tray.
– Carefully remove the SIM card from the tray.
– Slide the tray back into the phone until it clicks into place.
– Turn on your phone.
4. Can I use a dual SIM card in the Galaxy A32?
Yes, the Galaxy A32 supports dual SIM functionality. This means you can insert two SIM cards into your phone and use them simultaneously. It’s a convenient feature if you have two different phone numbers or want to separate personal and business usage.
5. Will I lose any data if I remove the SIM card from my Galaxy A32?
No, removing the SIM card from your Galaxy A32 will not result in any data loss. The SIM card only stores information related to your cellular network connectivity, such as phone number and carrier settings. Your personal data, including contacts, messages, and apps, are stored on the internal storage of your phone and will not be affected by removing or changing the SIM card.