
If you’ve just got your hands on a brand new Samsung Galaxy A12 smartphone, congratulations! Now, you might be wondering how to get started with your device, specifically how to put a SIM card in the Galaxy A12. Well, fret not, as we’re here to guide you through the process step by step. Inserting a SIM card is a fundamental step that allows you to connect to your mobile network, make calls, send messages, and access the internet. In this article, we’ll provide you with clear instructions on how to properly insert a SIM card into your Galaxy A12, ensuring that you can start enjoying all the features and functionality your phone has to offer in no time.
Inside This Article
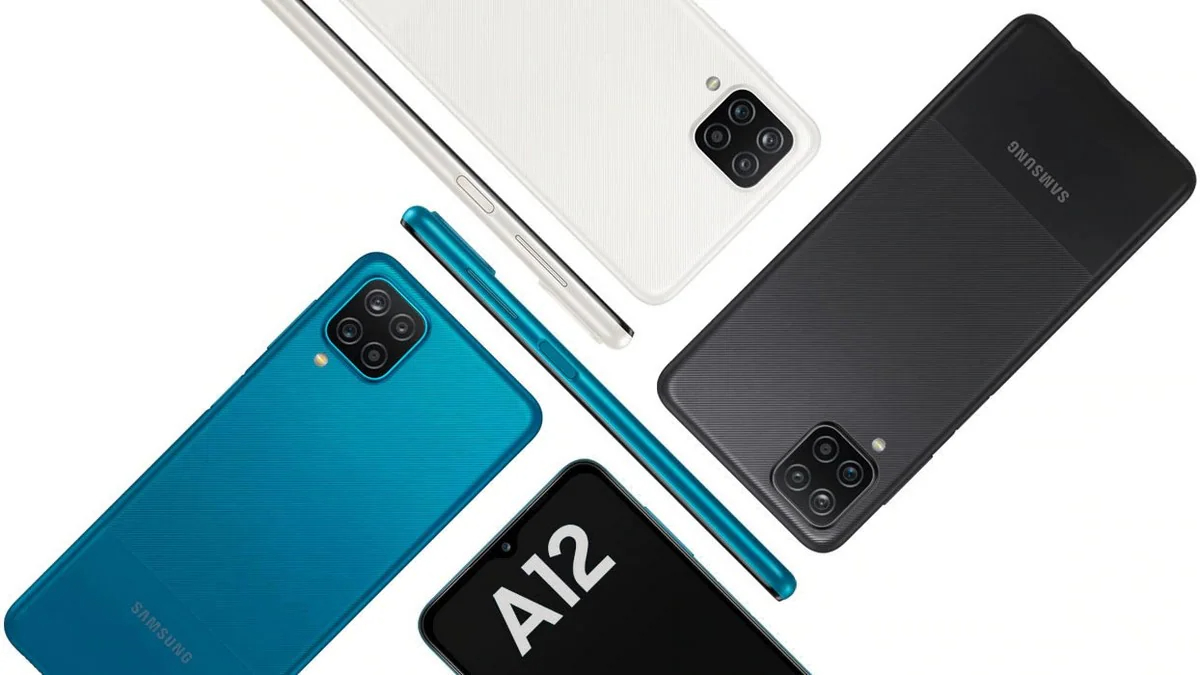
- Overview of the Galaxy A12 SIM Card Slot
- Step-by-step guide to opening the SIM card tray
- Inserting the SIM card correctly in the Galaxy A12
- Troubleshooting tips for SIM card installation issues
- Conclusion
- FAQs
Overview of the Galaxy A12 SIM Card Slot
The Galaxy A12, a popular smartphone from Samsung, features a dedicated SIM card slot that allows users to easily insert a SIM card for network connectivity. The SIM card slot is an essential component of the device that enables users to make calls, send messages, and access mobile data services. Understanding the functionality and location of the SIM card slot is crucial when setting up your Galaxy A12 for the first time or when changing your SIM card.
The Galaxy A12 is equipped with a nano SIM card slot, which is the smallest SIM card size available. This compact size ensures compatibility with most carriers around the world. The SIM card slot is typically located on the side or top of the device, depending on the phone’s design. On the Galaxy A12, you can find the SIM card slot on the left side of the device, near the volume buttons.
It is important to note that the SIM card slot is separate from the microSD card slot, which is used for expanding the device’s storage capacity. The microSD card slot allows you to add additional storage space for your photos, videos, music, and other files, while the SIM card slot is specifically designed for SIM cards provided by your network carrier.
Before inserting a SIM card into your Galaxy A12, make sure you have the necessary details from your network provider, such as the SIM card PIN or PUK code. These codes may be required to unlock your SIM card or activate certain services on your device.
The SIM card tray on the Galaxy A12 is designed to securely hold the nano SIM card. To access the SIM card slot, you’ll need to use the SIM card removal tool that comes with the device or a small paperclip. This tool helps to eject the SIM card tray from the phone.
Once you have the SIM card tray removed, carefully place the nano SIM card into the designated slot. Make sure the metal contacts on the SIM card align with the corresponding contacts in the SIM card slot. Gently push the tray back into the phone until it clicks into place.
It is essential to ensure that the SIM card is inserted correctly to avoid any connectivity issues or damage to the card or the phone. If you are experiencing difficulties with the SIM card detection or network connectivity, double-check that the SIM card is inserted properly and try reseating it if necessary.
Now that you have a clear understanding of the Galaxy A12 SIM card slot, its location, and the process of inserting a SIM card, you can enjoy uninterrupted network connectivity and explore all the features and capabilities of your device.
Step-by-step guide to opening the SIM card tray
Inserting a SIM card into your Samsung Galaxy A12 is a simple task that allows you to connect to your mobile network and unlock a range of features. The first step is to locate the SIM card tray, which holds the SIM card securely in the device. Follow the step-by-step guide below to open the SIM card tray with ease.
1. Power off your Galaxy A12:
Before you begin, it’s essential to turn off your smartphone. Hold down the power button until the power options menu appears, then tap “Power Off” to shut down the device.
2. Identify the SIM card tray slot:
Look for the SIM card tray slot on the side or top of your Galaxy A12. The exact location can vary, depending on the phone’s model. In most cases, you’ll find the tray slot on the left side of the device, near the volume buttons.
3. Insert the SIM ejector tool:
Samsung smartphones usually come with a SIM ejector tool included in the box. If you can’t find it, you can use a small paperclip or a thin needle instead. Gently insert the ejector tool into the small hole next to the SIM card tray slot.
4. Apply gentle pressure:
Once the SIM ejector tool is correctly placed, apply a slight amount of pressure to push it into the hole. This action will release the SIM card tray, allowing you to easily pull it out.
5. Remove the SIM card tray:
After releasing the tray, gently pull it out of the device. Be careful not to apply too much force or bend the tray. The tray should slide out smoothly, revealing the space where the SIM card will be inserted.
Now that you’ve successfully opened the SIM card tray, you’re ready to insert your SIM card and get connected. Refer to the next section for instructions on how to insert the SIM card correctly in the Galaxy A12.
Inserting the SIM card correctly in the Galaxy A12
Inserting a SIM card correctly ensures that your Galaxy A12 functions optimally and provides you with seamless network connectivity. Follow these simple steps to insert your SIM card correctly:
1. Power off your Galaxy A12 by pressing and holding the power button until the power options appear. Select “Power off” and wait for the device to shut down completely.
2. Locate the SIM card tray on your Galaxy A12. It is usually located on the side of the device, either on the left or right side. You may need to use a SIM removal tool or a thin object like a paperclip to eject the tray.
3. Insert the SIM removal tool or the thin object into the small hole next to the SIM card tray. Apply gentle pressure until the tray pops out.
4. Carefully remove the SIM card tray from the Galaxy A12. Take note of the orientation of the tray, as it will help you insert the SIM card correctly.
5. Place your SIM card onto the tray. Make sure the gold contacts on the SIM card are facing down, and the notched corner of the SIM card aligns with the notched corner on the tray.
6. Once the SIM card is properly positioned, insert the tray back into the Galaxy A12. Ensure that the tray is inserted in the same orientation it was removed.
7. Gently push the tray back into the device until it is flush with the frame. Be careful not to force it, as this may damage the SIM card or the tray.
8. Power on your Galaxy A12 by pressing and holding the power button until the device vibrates and the Samsung logo appears.
9. Wait for the Galaxy A12 to detect the SIM card and establish network connectivity. You may need to enter your SIM card PIN or unlock code if prompted.
10. Congratulations! You have successfully inserted the SIM card correctly in your Galaxy A12. Enjoy uninterrupted network connectivity and the full functionality of your device.
Troubleshooting tips for SIM card installation issues
While putting a SIM card in a Galaxy A12 is usually a straightforward process, there may be instances where you encounter some issues. In this section, we will discuss some common troubleshooting tips to help you resolve any SIM card installation problems you may face.
1. Check the SIM card compatibility: Ensure that the SIM card you are attempting to install is compatible with the Galaxy A12. Different phones may require different sizes of SIM cards (standard, micro, or nano), so make sure you have the correct size SIM card for your device.
2. Verify the SIM card orientation: One common mistake when inserting a SIM card is placing it in the wrong orientation. Look for the highlighted corner or the notch on the SIM card tray and align it properly before inserting it into the phone.
3. Clean the SIM card and tray: Sometimes, dust or debris can accumulate on the SIM card or the SIM card tray, leading to connectivity issues. Gently clean both the SIM card and the tray using a soft cloth or a cleaning agent to remove any dirt or grime that may be interfering with the connection.
4. Ensure the SIM card tray is properly inserted: Make sure that you have fully inserted the SIM card tray into the phone. Sometimes, it may not be securely in place, which can cause the SIM card to not be recognized. Push the tray in until it clicks into place.
5. Restart the phone: Sometimes, a simple restart can resolve any temporary glitches or software-related issues. Turn off your Galaxy A12, remove the SIM card, wait for a few seconds, reinsert the SIM card, and then power on the phone again to see if it detects the SIM card.
6. Try a different SIM card: If you have another SIM card available, try inserting it into your Galaxy A12 to check if the issue lies with the SIM card itself. If the new SIM card is recognized, it may indicate a problem with the previous SIM card, and you may need to contact your service provider for a replacement.
7. Contact your service provider: If none of the above steps resolve the issue, it is recommended to reach out to your service provider for further assistance. They can help troubleshoot the problem or provide you with a replacement SIM card if necessary.
By following these troubleshooting tips, you should be able to overcome any SIM card installation issues you may encounter with your Galaxy A12. Remember to handle the SIM card and tray with care, and if you are unsure about any step, it’s always a good idea to consult the user manual or contact customer support for additional guidance.
Conclusion
Putting a SIM card in a Galaxy A12 is a straightforward process that allows you to make calls, send messages, and access mobile data on your device. By following the steps outlined in this guide, you can easily insert a SIM card into your Galaxy A12 without any hassle.
Remember to power off your phone before inserting or removing the SIM card to avoid any potential damage. Additionally, make sure you have the correct SIM card size for your Galaxy A12, as using an incompatible size may cause the SIM card to get stuck or not fit properly.
With the SIM card properly installed, you’ll be ready to enjoy all the features and connectivity that your Galaxy A12 has to offer. Whether it’s staying in touch with loved ones, accessing the internet on the go, or using various mobile apps, having a functioning SIM card is essential for a seamless mobile experience.
So, go ahead and insert that SIM card into your Galaxy A12 and start exploring all the possibilities that await you in the world of mobile communication and connectivity.
FAQs
Q: How do you put a SIM card in a Galaxy A12?
Putting a SIM card in a Galaxy A12 is a relatively simple process. Here’s a step-by-step guide to help you out:
- First, make sure your phone is turned off. This is important to avoid any potential damage to the SIM card or the phone.
- Locate the SIM card tray. On the Galaxy A12, it is usually found on the left side or the top edge of the phone, depending on the model.
- Use the SIM ejection tool that came with your phone (or a paperclip) to gently push into the small hole next to the tray. Apply a bit of pressure until the tray pops out.
- Remove the tray carefully and place your SIM card into the allocated slot. Make sure the gold contacts on the SIM card are facing downward and align properly with the contacts in the slot.
- Once the SIM card is correctly inserted, push the tray back into the phone until it clicks into place.
- Turn on your Galaxy A12, and it should detect the SIM card and initiate the setup process. Follow the on-screen instructions to complete the setup.
- Your Galaxy A12 is now ready to use with the new SIM card!
Q: Can I use a nano SIM card in a Galaxy A12?
Yes, you can use a nano SIM card in a Galaxy A12. The Galaxy A12 supports nano SIM cards, which are the smallest type of SIM cards available. Make sure to properly insert the nano SIM card into the SIM card tray following the steps mentioned above.
Q: What should I do if my Galaxy A12 doesn’t recognize the SIM card?
If your Galaxy A12 doesn’t recognize the SIM card, there are a few troubleshooting steps you can try:
- First, ensure that the SIM card is inserted correctly in the SIM card tray. Remove the tray, check the SIM card, and reinsert it, making sure it is properly aligned.
- Restart your phone. Sometimes a simple restart can resolve software issues that may be causing the SIM card recognition problem.
- If the issue persists, try inserting the SIM card into another compatible phone to check if it functions properly. If it does, then the problem may lie with your Galaxy A12 or its SIM card slot. In this case, it is recommended to reach out to the manufacturer or authorized service center for assistance.
Q: Can I use a microSD card with my Galaxy A12?
Yes, the Galaxy A12 supports expandable storage via a microSD card. The microSD card slot is usually located on the same tray as the SIM card slot. You can insert a microSD card to expand the storage capacity of your phone and store additional photos, videos, apps, and other files. Simply follow the same steps mentioned earlier to access the SIM card tray and insert the microSD card.
Q: What is the maximum storage capacity supported by the Galaxy A12 for a microSD card?
The Galaxy A12 supports microSD cards with a maximum storage capacity of up to 1TB. However, it’s worth noting that the availability of microSD cards with such high capacities may vary and could be subject to region and manufacturer limitations. It is recommended to check the specifications and compatibility of the microSD card before purchasing one for your Galaxy A12.