
Are you the proud owner of a new Samsung Galaxy A23? Congrats! Now, it’s time to set it up and start using all of its amazing features. One important step in the setup process is inserting the SIM card into your device. The SIM card is what enables your phone to connect to the cellular network and make calls, send texts, and access the internet.
In this article, we will guide you through the process of putting a SIM card into your Samsung Galaxy A23. We will provide step-by-step instructions and helpful tips to ensure you do it correctly and without any hassle. So, let’s get started and have your Samsung Galaxy A23 ready to go in no time!
Inside This Article
- Getting Familiar with the Samsung Galaxy A23
- Step 1: Find the SIM Card Tray
- Step 2: Insert the SIM Card
- Step 3: Inserting the SIM Card Tray Back into the phone
- Troubleshooting Tips for SIM Card Installation
- Conclusion
- FAQs
Getting Familiar with the Samsung Galaxy A23
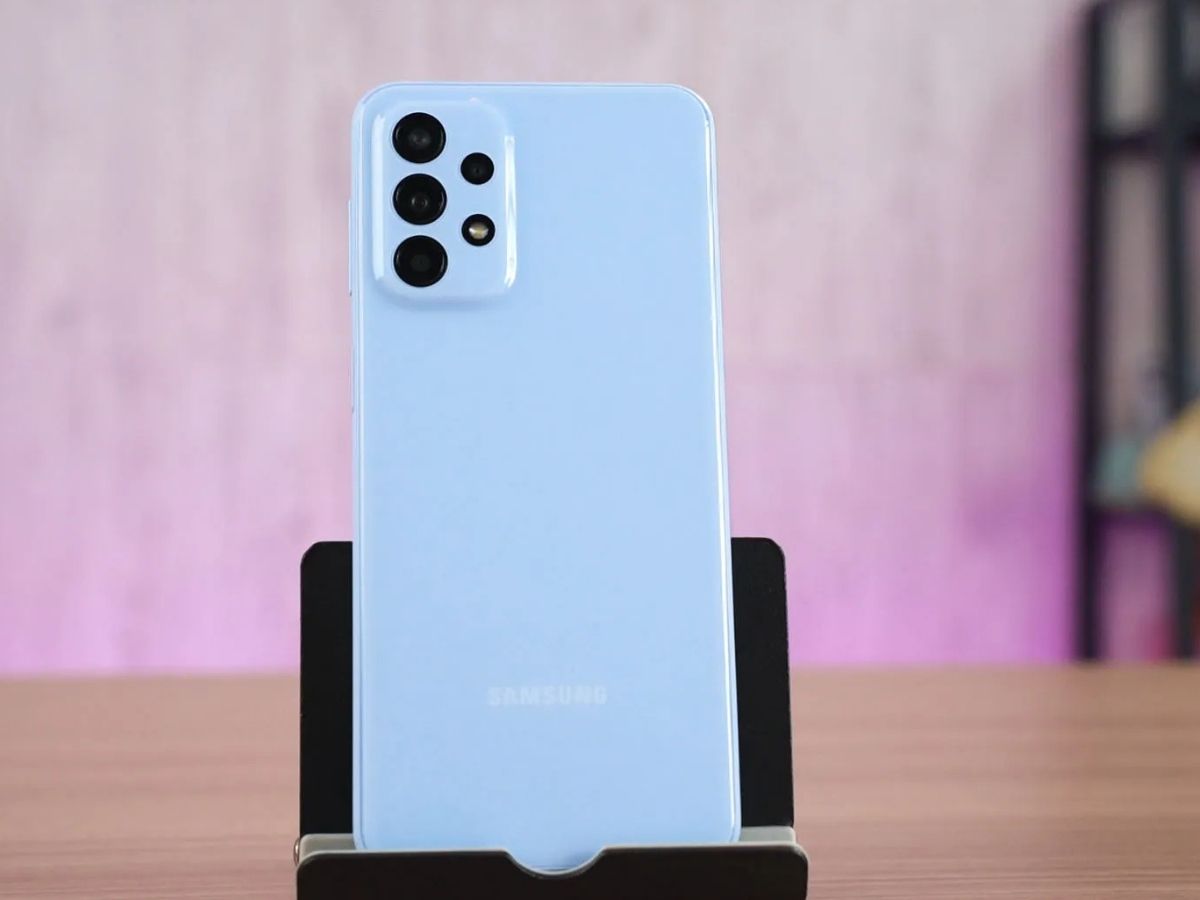
The Samsung Galaxy A23 is a popular and feature-rich smartphone that offers a seamless mobile experience. Designed with the latest technology and innovation, this device caters to the needs of modern smartphone users. Before diving into how to insert a SIM card, it’s important to get acquainted with the key features and components of the Samsung Galaxy A23.
The Samsung Galaxy A23 boasts a stunning display, with its large and vibrant screen that provides an immersive viewing experience. Whether you’re watching movies, playing games, or browsing the web, the high-resolution display ensures crisp and clear visuals. Additionally, the device offers a sleek and ergonomic design, making it comfortable to hold and use.
Under the hood, the Samsung Galaxy A23 is equipped with a powerful processor that delivers fast and smooth performance. This enables seamless multitasking, effortless app navigation, and efficient processing of various tasks. Whether you’re using productivity apps, editing photos, or playing graphics-intensive games, the Samsung Galaxy A23 can handle it all.
One of the standout features of the Samsung Galaxy A23 is its impressive camera system. With high-resolution lenses and advanced imaging technology, this smartphone is capable of capturing stunning photos and videos. Whether you’re a photography enthusiast or simply love documenting your everyday moments, the Samsung Galaxy A23 ensures that your memories are captured in exceptional quality.
Another important aspect of the Samsung Galaxy A23 is its connectivity options. With support for 4G LTE networks, you can enjoy fast internet speeds and smooth browsing. Additionally, the device offers Wi-Fi connectivity, allowing you to connect to wireless networks and enjoy internet access without eating into your mobile data.
The Samsung Galaxy A23 also features a long-lasting battery, ensuring that you can stay connected and powered throughout the day. From making calls and sending texts to streaming media and playing games, the device offers reliable battery performance to keep up with your daily activities.
Now that you’re familiar with the key features and components of the Samsung Galaxy A23, it’s time to explore how to insert the SIM card into the device. Follow the step-by-step instructions to ensure a seamless and successful SIM card installation process.
Step 1: Find the SIM Card Tray
Before you can insert a SIM card into your Samsung Galaxy A23, you need to locate the SIM card tray. The SIM card tray is typically located on the side or top of the phone. It may have a small pinhole or a small cutout for easy access. Take a moment to familiarize yourself with the location of the SIM card tray on your device.
Once you have identified the SIM card tray, you will need a SIM card ejector tool or a small paperclip to open it. This tool should have come with your phone or can be easily purchased online or at a electronics store. If you don’t have the tool, don’t worry – a paperclip will work just fine!
Now that you have located the SIM card tray and have your ejector tool ready, you’re ready to move on to the next step of inserting the SIM card into your Samsung Galaxy A23.
Step 2: Insert the SIM Card
Inserting the SIM card into your Samsung Galaxy A23 is a straightforward process. Follow the steps below to properly insert the SIM card:
- Locate the SIM card slot on your device. This slot is usually found on the side of the phone, marked by a small pinhole or a removable tray.
- Take a SIM card ejector tool or a paperclip and insert it into the pinhole or the small tray release opening.
- Apply gentle pressure until the SIM card tray pops out. Carefully remove the tray from the device.
- Place the SIM card into the designated slot on the SIM card tray. Ensure that the etched gold contacts on the SIM card are facing downwards.
- Gently push the SIM card tray back into the device until it aligns with the slot. Make sure it is fully inserted and secure.
- If applicable, also insert the microSD card into the designated slot on the SIM card tray. This will allow you to expand the memory of your device.
- Once the SIM card and microSD card (if any) are securely inserted, power on your Samsung Galaxy A23 and follow the on-screen prompts to set up your device.
It’s important to note that if you are having trouble inserting the SIM card or if the card is not being detected by your device, there could be a few causes. Firstly, ensure that you are using the correct type of SIM card for your phone – in this case, a Nano SIM card. Additionally, confirm that the SIM card is not damaged or faulty. If the issue persists, it’s recommended to reach out to your mobile service provider for further assistance.
Inserting the SIM card correctly is essential for your phone to function properly. Follow these step-by-step instructions to ensure a smooth and successful installation.
Step 3: Inserting the SIM Card Tray Back into the phone
Now that you’ve successfully inserted your SIM card into the tray of your Samsung Galaxy A23, it’s time to carefully place the SIM card tray back into the phone. Follow these simple steps to ensure a smooth and secure reinstallation:
- Gently align the SIM card tray with the slot on the side of the phone.
- Make sure the tray is properly oriented, with the metal contacts facing down and the notched corner fitting into the corresponding slot on the phone.
- Slowly and steadily, slide the SIM card tray back into the phone until it fits snugly and flush with the side of the device.
- Ensure that the tray is fully inserted and there are no gaps or misalignments.
It is essential to handle the SIM card tray with care during this process to prevent any damage or dislodgement. Apply gentle pressure when sliding the tray back into the phone, taking care not to force it or bend any of the components.
Once the SIM card tray is securely in place, you can power on your Samsung Galaxy A23 and check if the device recognizes the SIM card. If everything is correctly installed, you should be able to enjoy all the functionalities that require a SIM card, such as making calls, sending text messages, and using mobile data.
If you encounter any difficulties or the phone does not detect the SIM card, refer to the troubleshooting tips section for guidance on resolving common installation issues.
Troubleshooting Tips for SIM Card Installation
While inserting a SIM card into your Samsung Galaxy A23 is usually a straightforward process, there can be instances where you may encounter some issues. Here are some troubleshooting tips to help you overcome any difficulties:
1. Ensure the SIM card is compatible: Before attempting to insert the SIM card, double-check that it is compatible with your Samsung Galaxy A23. Verify the SIM card size requirements and ensure it is not damaged or expired.
2. Verify the correct orientation: Make sure you are inserting the SIM card in the correct orientation. Most SIM card trays have an illustrated guide, indicating how the SIM card should be placed. Ensure that the gold contacts are facing downwards and align properly with the SIM card tray.
3. Remove any obstacles: Sometimes, there may be dirt, dust, or debris in the SIM card slot or on the SIM card itself. Gently clean the slot and the SIM card using a soft, lint-free cloth or a clean brush. Be careful not to apply excessive force that could damage the SIM card or the slot.
4. Reset your device: If you are still facing issues with inserting the SIM card, try performing a soft reset on your Samsung Galaxy A23. This can be done by holding down the power button until the device restarts. Sometimes, a reset can resolve any temporary software glitches that may interfere with the SIM card installation process.
5. Contact your service provider: If all else fails, and you are still unable to insert the SIM card correctly, reach out to your service provider for assistance. They can provide you with specific instructions tailored to your phone model or may suggest alternatives to resolve the issue.
By following these troubleshooting tips, you should be able to overcome any challenges you may face while inserting a SIM card into your Samsung Galaxy A23. Remember to exercise caution and patience throughout the process to avoid any accidental damage to your device or SIM card.
Putting a SIM card in your Samsung Galaxy A23 is a simple and straightforward process. By following the steps outlined in this article, you can easily insert the SIM card and get your device up and running in no time.
Remember to ensure that you have the correct size SIM card for your Samsung Galaxy A23, whether it’s a nano, micro, or standard SIM card. It is also important to power off your device before inserting or removing the SIM card.
By properly inserting a SIM card into your Samsung Galaxy A23, you can enjoy all the features and functionalities that your phone offers, including making calls, sending texts, and accessing mobile data. So, don’t hesitate to follow our guide to get your SIM card set up and get ready to use your Samsung Galaxy A23 to its fullest potential!
FAQs
1. How do I put a SIM card in a Samsung Galaxy A23?
To insert a SIM card into your Samsung Galaxy A23, follow these steps:
- Turn off your phone and locate the SIM card tray. This is usually located on the side of the phone but may vary depending on the model.
- Use the SIM eject tool (or a paperclip) to push into the small hole near the SIM card tray and eject the tray.
- Place the SIM card on the tray, making sure it aligns with the designated slot. The gold contacts on the SIM card should face downwards.
- Gently push the tray back into the phone until it clicks into place.
- Turn on your phone and wait for it to recognize the SIM card. You may need to enter your PIN or unlock code if prompted.
2. What type of SIM card does the Samsung Galaxy A23 support?
The Samsung Galaxy A23 supports nano-SIM cards. Make sure you have a nano-SIM card that is compatible with your mobile carrier. If you have a different-sized SIM card, you may need to trim it to fit into the nano-SIM tray or use an adapter.
3. Can I use two SIM cards in my Samsung Galaxy A23?
Yes, the Samsung Galaxy A23 has Dual SIM capability, which means you can use two SIM cards simultaneously. This feature allows you to separate your personal and work contacts, juggle between different networks, or take advantage of different mobile plans.
4. How do I switch between SIM cards on my Samsung Galaxy A23?
To switch between SIM cards on your Samsung Galaxy A23, navigate to the device’s settings:
- Go to “Settings” and tap on “SIM card manager”.
- Select the SIM card you wish to use for calls, messages, or data.
- You can also set a default SIM card for each type of communication.
5. What should I do if my Samsung Galaxy A23 doesn’t recognize the SIM card?
If your Samsung Galaxy A23 is not detecting the SIM card, try the following troubleshooting steps:
- Ensure that the SIM card is correctly inserted into the tray.
- Try restarting your phone as it may help to establish the connection.
- If the issue persists, test your SIM card in another device to check if it’s functioning properly.
- If the SIM card works in another device, you may need to contact your mobile carrier for assistance as there could be a problem with the phone’s hardware or software.