
Are you tired of dealing with fingerprints, smudges, and scratches on your camera screen? If so, you’re not alone. Many photographers and smartphone users struggle with keeping their camera screens clean and protected. That’s where camera screen protectors come in. These thin, transparent films adhere to your camera screen, providing an extra layer of protection against scratches and damage. However, there may come a time when you need to remove the camera screen protector. Whether it’s because you want to replace it with a new one or simply prefer to go without it, removing a camera screen protector can be a delicate process. In this article, we will guide you through the steps on how to safely remove a camera screen protector without damaging your device. So, let’s get started!
Inside This Article
- Choosing the Right Tools
- Preparing the Camera Screen
- Removing the Camera Screen Protector
- Cleaning and Finishing Touches
- Conclusion
- FAQs
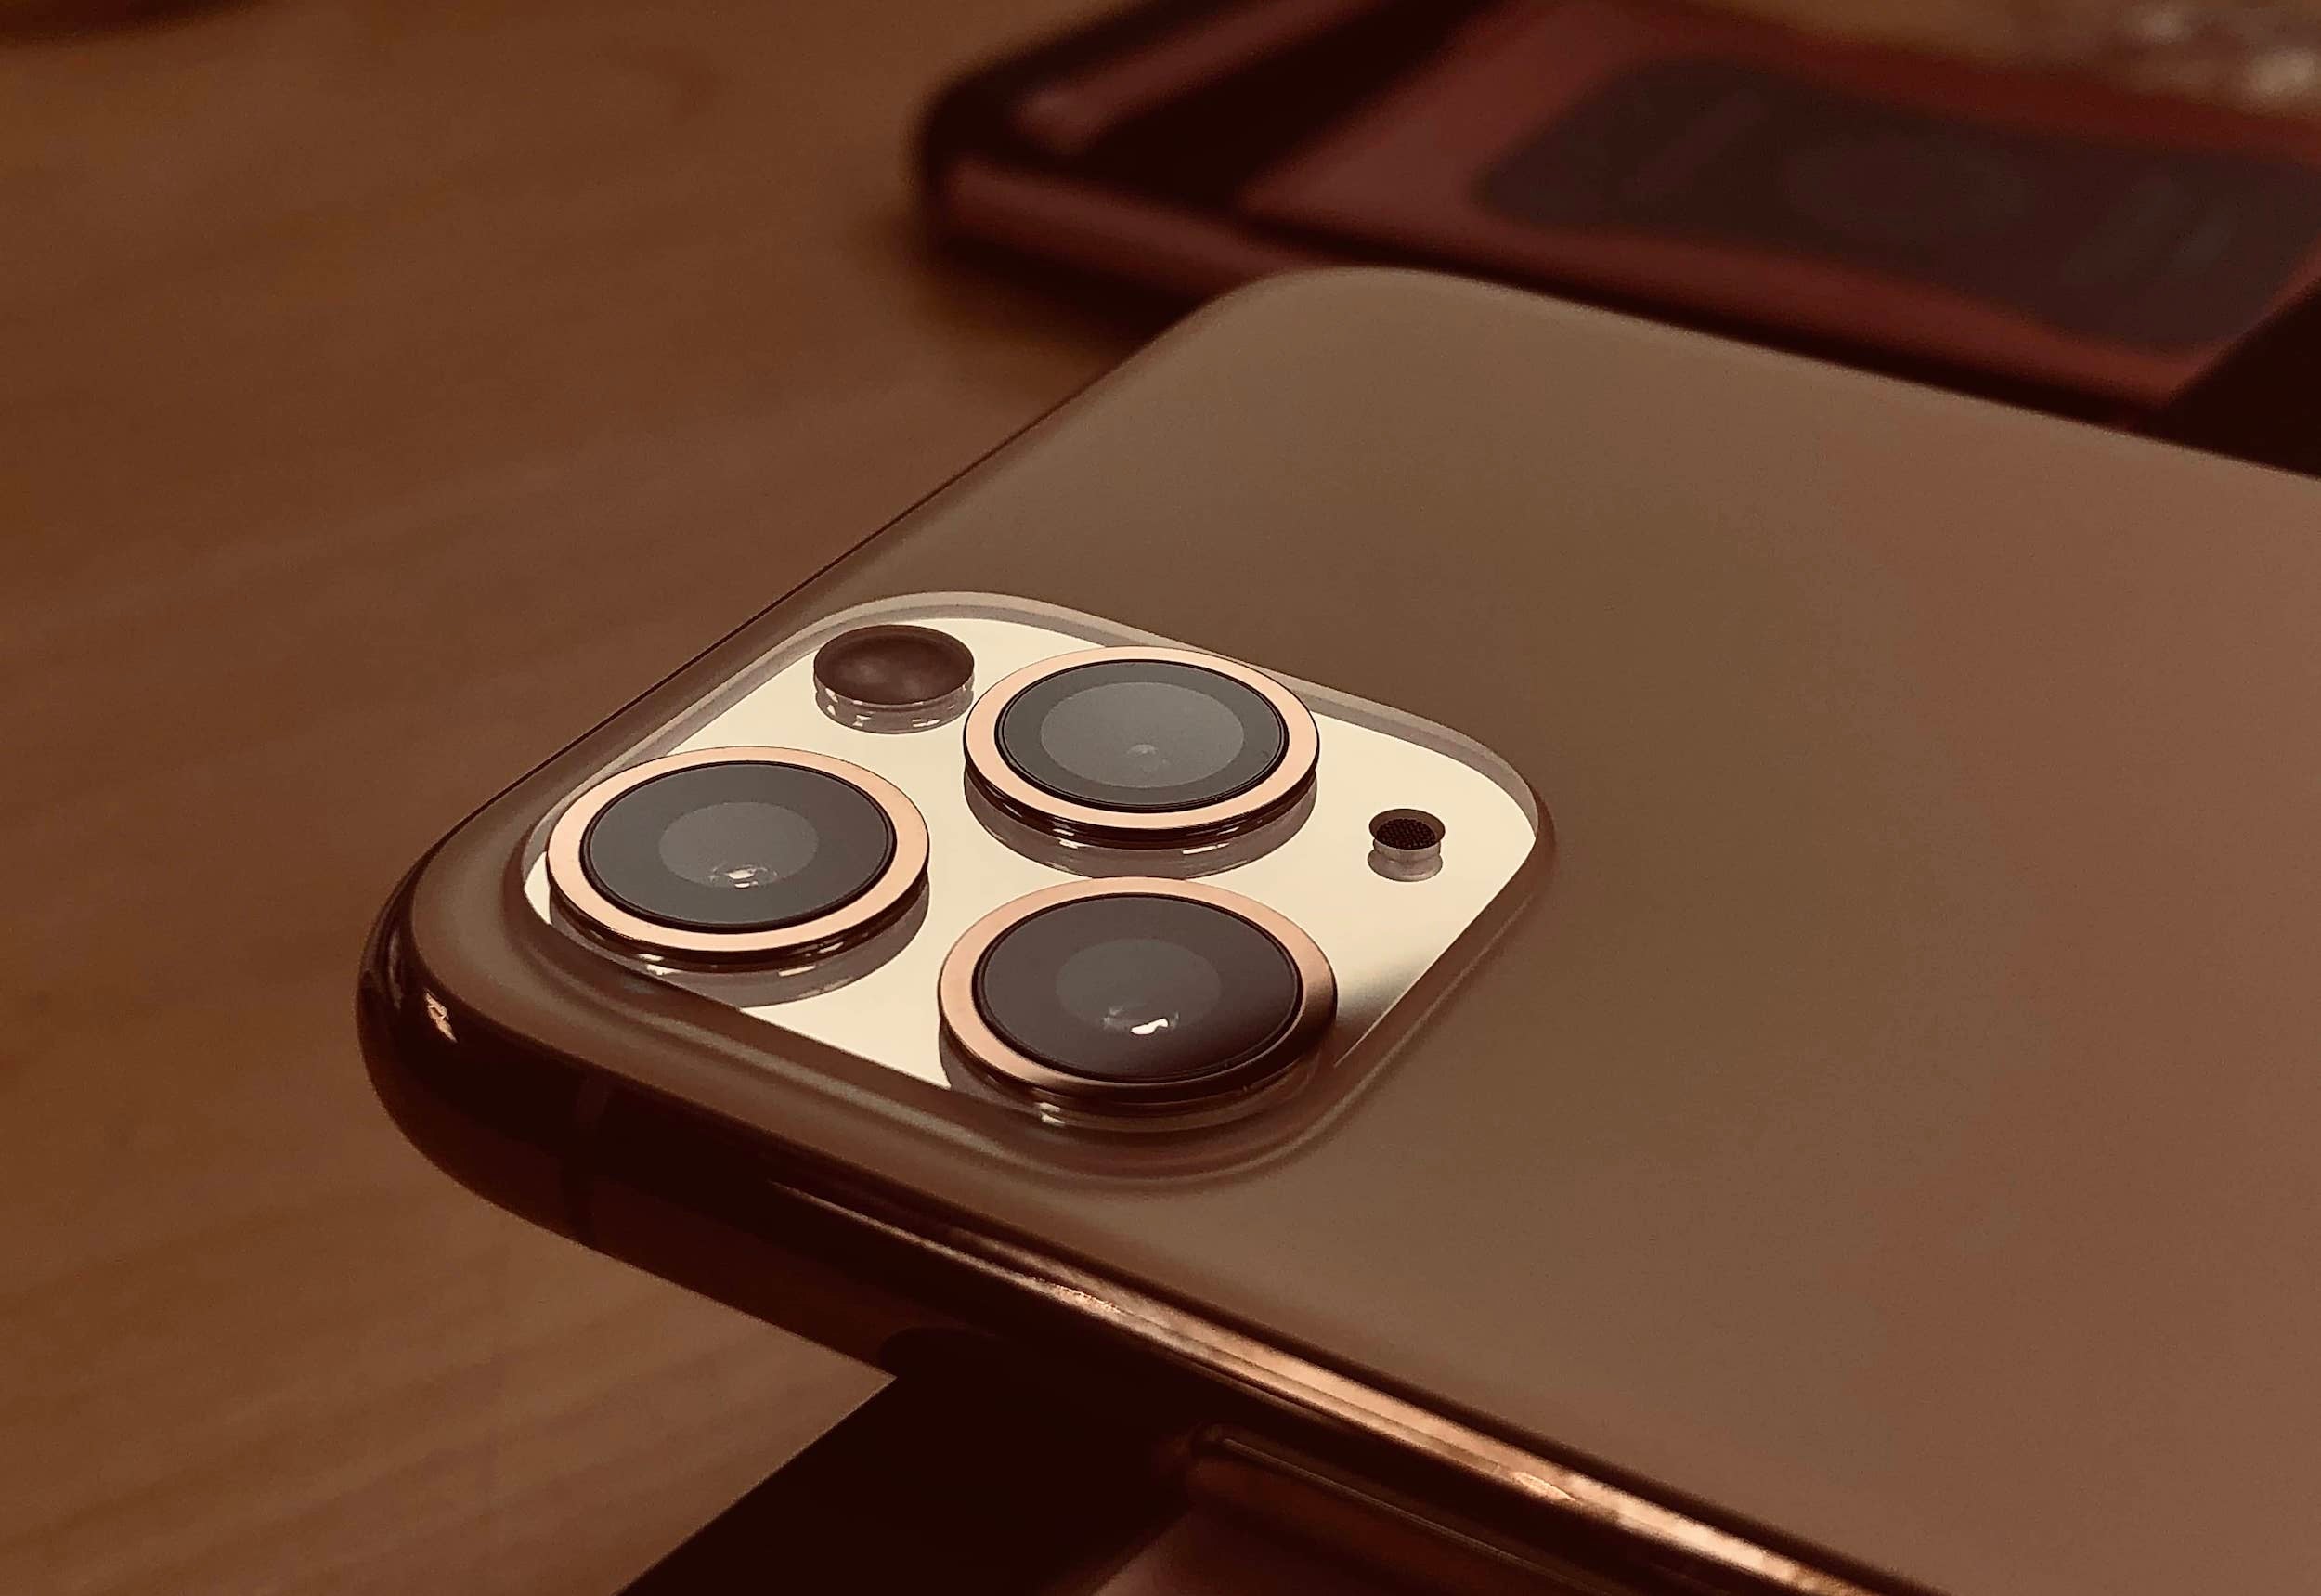
Choosing the Right Tools
When it comes to removing a camera screen protector, having the right tools at your disposal can make the process much easier and safer. Here are some essential tools you should consider using:
- Microfiber Cloth: A soft microfiber cloth is vital for cleaning the camera screen before and after removing the protector. It helps to remove dust, fingerprints, and smudges without scratching the surface.
- Plastic Card: A plastic card, such as an old credit card or ID card, can be used as a makeshift scraper to lift the protector from the corner. Make sure it’s not too sharp to avoid scratching the screen.
- Tweezers: Tweezers can come in handy to carefully peel off any small adhesive residue left behind after removing the protector.
- Adhesive Remover (Optional): If there is an excessive amount of adhesive residue left on the screen, you may need to use an adhesive remover. However, be cautious and test it on a small area first to ensure it doesn’t damage the screen.
By gathering these essential tools, you’ll have everything you need to safely and effectively remove a camera screen protector without causing any harm to your equipment.
Preparing the Camera Screen
Before you proceed with removing the camera screen protector, it’s crucial to prepare the camera screen properly. This will help ensure a smooth and successful removal process without causing any damage to your camera. Here are some essential steps to follow:
- Gather the necessary supplies: Before you start, make sure you have the right tools and materials on hand. You will need a microfiber cloth, lens cleaning solution (or isopropyl alcohol), and a blower brush. These items will help you clean the camera screen and remove any debris or fingerprints.
- Power off the camera: It’s always a good idea to turn off your camera before you begin the screen preparation. This will prevent any accidental button presses or changes in camera settings during the process.
- Clean the screen: Take the microfiber cloth and gently wipe the camera screen to remove any dust particles or smudges. Make sure to use light pressure and avoid rubbing too vigorously, as this could potentially scratch the screen.
- Use lens cleaning solution: If there are stubborn fingerprints or grease marks on the screen, you can apply a small amount of lens cleaning solution or isopropyl alcohol to the microfiber cloth. Gently wipe the screen in a circular motion until the marks are removed. Be cautious not to let any liquid seep inside the camera body.
- Remove any residue: After cleaning the screen, inspect it for any leftover residue from previous screen protectors. If you notice any sticky residue, you can use a blower brush to lightly brush it away. This will ensure a clean and smooth surface for the new screen protector.
By following these preparation steps, you will ensure that the camera screen is free from dirt, fingerprints, and any other debris that may impede the proper application of the new screen protector. Taking the time to properly prepare the camera screen will also help maintain its clarity and longevity over time.
Removing the Camera Screen Protector
Now that you have prepared the camera screen, it’s time to remove the screen protector. Follow these steps carefully:
- Start by locating the edge of the screen protector. Depending on the type of protector you have, it may have a small tab or corner that you can lift.
- Gently lift the protector using your fingernail or a plastic card. Be careful not to scratch the screen or damage any buttons or ports.
- Slowly peel back the protector, applying even pressure as you go. If the protector is stubborn or sticky, you can use a hairdryer on the lowest heat setting to soften the adhesive.
- Continue peeling back the protector until it is fully removed. Take your time and be patient to avoid any accidental damage to the screen or camera.
- Once the protector is off, check the screen for any residue. If there are any sticky spots or leftover adhesive, use a microfiber cloth lightly dampened with water or a mild screen cleaner to gently remove it.
It’s important to note that some camera screen protectors may leave behind a slight residue or affect the screen’s clarity. If you notice any issues or concerns, consult the manufacturer’s instructions or contact customer support for further guidance.
Remember to discard the old camera screen protector properly, according to your local recycling guidelines. Now that the protector is removed, you can enjoy a clear and unobstructed view when using your camera.
Cleaning and Finishing Touches
After successfully removing the camera screen protector, it’s important to properly clean the screen and add some finishing touches to ensure it looks pristine. Here are some steps to follow:
- Clean the screen: Use a microfiber cloth or lens cleaning solution to gently wipe away any residue or smudges left behind from the screen protector. Avoid using harsh chemicals or abrasive materials that could scratch the surface of the screen.
- Inspect for scratches: Take a closer look at the camera screen to check for any scratches or damages that may have occurred during the removal process. If you notice any significant scratches, it might be necessary to replace the screen or consult a professional for repair.
- Apply a new screen protector: If you prefer to maintain a layer of protection on your camera screen, now is the perfect time to apply a new screen protector. Follow the manufacturer’s instructions for installation, ensuring that there are no air bubbles or misalignments.
- Test the camera: Once you’ve cleaned the screen and completed any necessary touch-ups, it’s important to test the functionality of your camera. Check the display for any abnormalities, and ensure that it responds properly to touch or button inputs.
- Store and protect: When you’re not actively using your camera, it’s essential to store it in a safe and protective case. This will help prevent any accidental damage or scratches to the camera screen.
By following these cleaning and finishing touches, you can ensure that your camera screen is not only free from any residue or smudges but also protected for future use. Additionally, regular maintenance and care can extend the lifespan of your camera and preserve its overall functionality.
Conclusion
In conclusion, removing a camera screen protector is a relatively simple process that can be done with just a few steps. It is important to approach the task with care and caution to avoid damaging the screen or the camera itself. By following the instructions provided by the manufacturer or using a gentle cleaning solution, you can safely remove the screen protector without leaving any residue behind. Remember to clean the screen thoroughly before applying a new protector or using the camera to ensure optimal clarity and functionality. By taking the time to remove the old screen protector properly, you can protect your camera’s screen and continue capturing beautiful moments without any hindrance.
FAQs
Q: Why should I remove a camera screen protector?
A: There are several reasons why you might want to remove a camera screen protector. Over time, screen protectors can become scratched, cracked, or discolored, which can affect the visibility and functionality of your camera’s screen. Removing the old screen protector allows you to replace it with a new one, ensuring optimal protection and clear visibility for your camera’s display.
Q: How do I know when it’s time to remove and replace the camera screen protector?
A: It’s time to remove and replace the camera screen protector when you notice any visible signs of damage on the protector itself or if it interferes with the clarity of your camera’s screen. Additionally, if the protector has been in place for an extended period, it may accumulate dirt or lose its adhesive properties, making it less effective. Regularly inspecting the screen protector and replacing it when necessary will help maintain the optimal performance and protection of your camera.
Q: What tools do I need to remove a camera screen protector?
A: The tools needed to remove a camera screen protector are minimal. You will typically require a microfiber cloth or lint-free cloth to clean the camera’s screen before removal. In some cases, a plastic card or a specialized screen protector removal tool may be useful to gently lift the edges of the protector and peel it off without scratching the screen. It’s important to avoid using sharp objects or excessive force that may damage the camera’s display.
Q: How do I safely remove a camera screen protector?
A: To safely remove a camera screen protector, start by powering off the camera and ensuring it is not connected to any power source. Clean the camera’s screen using a microfiber cloth or lint-free cloth to remove any dust or debris. Next, locate a corner or edge of the screen protector and gently lift it using a plastic card or your fingernail, being careful not to apply too much pressure. Slowly peel off the protector, making sure to maintain a steady and controlled motion. If any residue remains on the screen, use a cleaning solution specifically designed for electronic screens and another microfiber cloth to remove it.
Q: Can I reuse a camera screen protector after removing it?
A: In most cases, camera screen protectors are not designed to be reused once removed. The adhesive on the protector may lose its effectiveness or become damaged during the removal process, making it difficult to reapply the protector smoothly. It is recommended to have a replacement screen protector ready when removing the old one to ensure continuous protection for your camera’s screen.