
Welcome to our guide on how to safely remove the camera protector on your iPhone! Many users opt to protect their valuable smartphones with camera protectors to shield the lens from potential scratches and damage. However, there may come a time when you need to remove the protector, whether it’s to replace it with a new one or simply to enjoy the full camera experience without any hindrance. In this comprehensive article, we will provide you with step-by-step instructions and tips to ensure a smooth and hassle-free removal process. Whether you have an iPhone 11, iPhone SE, or any other model, we’ve got you covered. So, let’s dive in and learn how to take off your iPhone camera protector like a pro!
Inside This Article
- Importance of Removing the iPhone Camera Protector
- Step-by-Step Guide on How to Take Off iPhone Camera Protector
- Precautions and Tips for Removing the iPhone Camera Protector
- Conclusion
- FAQs
Importance of Removing the iPhone Camera Protector
When it comes to your iPhone’s camera, you want to ensure that it functions at its best. The iPhone camera is known for its exceptional photo quality and advanced features. However, if you have a protector on your camera lens, it may be impairing the quality of your photos. That’s why it is crucial to remove the iPhone camera protector to enjoy the full potential of your device’s camera.
One of the main reasons why removing the camera protector is important is to avoid image distortion. Camera protectors can sometimes cause a slight blur or distortion in photos due to reflections or poor transparency. This can be especially noticeable in low-light conditions or when taking close-up shots. Removing the protector eliminates this issue, ensuring that your photos are clear, sharp, and true to life.
Another significant advantage of removing the iPhone camera protector is the improvement in autofocus performance. With the protector removed, the camera’s autofocus system can function properly. This means faster and more accurate focusing on your subjects, resulting in better quality photos. Whether you’re capturing a fast-moving object or photographing a portrait, having the camera protector off can make a noticeable difference in the camera’s performance.
Furthermore, removing the camera protector allows more light to reach the camera lens. The protector can sometimes act as a barrier, reducing the amount of light that enters the camera. This is particularly important in low-light situations where every bit of available light matters. By removing the protector, you provide the camera with optimal lighting conditions, resulting in clearer and brighter photos.
Aside from image quality improvements, removing the iPhone camera protector also prevents the accumulation of dust, dirt, and smudges on the lens. Over time, these particles can build up on the protector, affecting the clarity of your photos. Without the protector, it is easier to clean the camera lens and ensure that your photos are consistently sharp and free from any unwanted particles.
Step-by-Step Guide on How to Take Off iPhone Camera Protector
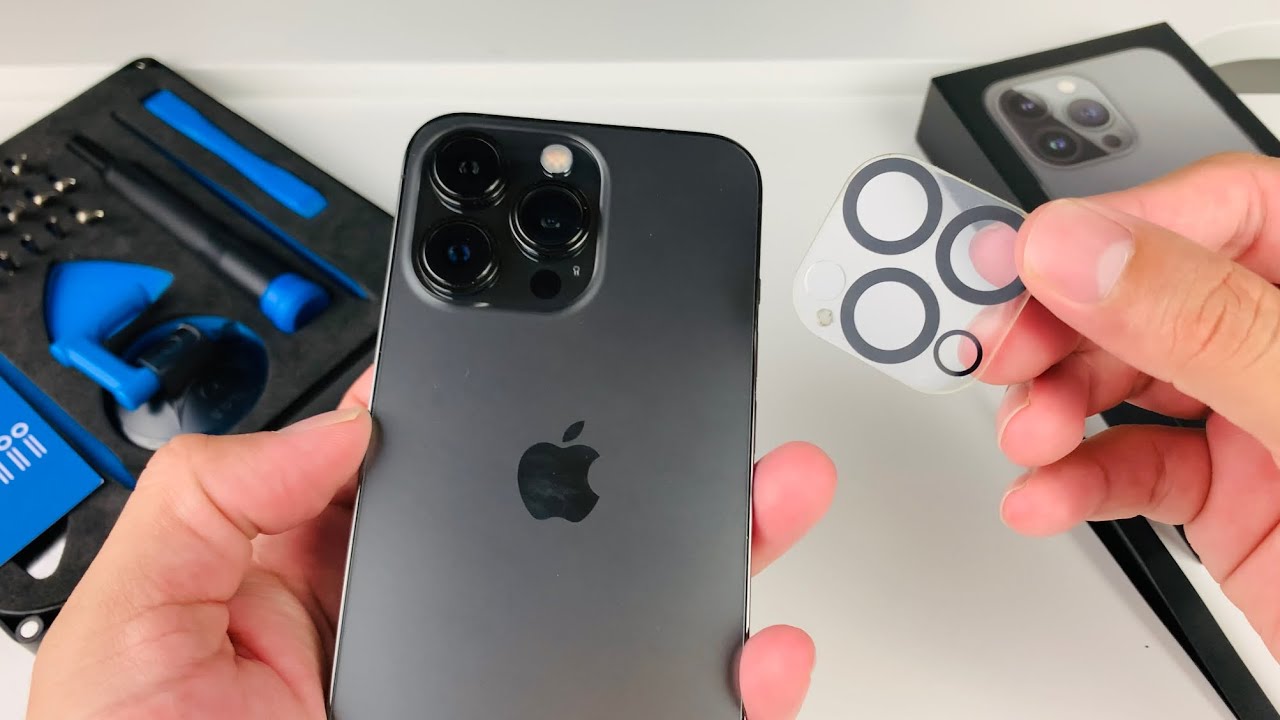
Removing the camera protector from your iPhone may seem like a daunting task, but with the right step-by-step guide, it can be a breeze. Whether you want to replace the protector with a new one or simply go without it, here are the steps to safely remove the iPhone camera protector:
- Gather the necessary tools: Before you begin, make sure you have a microfiber cloth, a toothpick or a SIM card eject tool, and a hairdryer or a heat gun.
- Power off your iPhone: It’s essential to turn off your device before attempting to remove the camera protector to prevent any accidental damage.
- Apply gentle heat: Use the hairdryer or heat gun on the lowest settings to apply gentle heat to the camera protector. This will help loosen the adhesive and make it easier to remove.
- Locate the edges: Once the protector is warm, inspect the edges of the camera protector to determine where it is attached to the iPhone’s body.
- Use the toothpick or SIM card eject tool: Insert the toothpick or SIM card eject tool into the space between the camera protector and the iPhone. Gently push the tool under the protector to create a gap.
- Apply steady pressure: Slowly and steadily push the toothpick or SIM card eject tool further under the protector, applying gentle pressure to lift it away from the device. Be careful not to use excessive force to avoid damaging the camera or the iPhone body.
- Peel off the camera protector: As you apply pressure, you will begin to see the camera protector lifting from the device. Carefully peel it off, ensuring that you do not leave any residue on the lens or the iPhone’s surface.
- Cleaning the lens: Once the protector is removed, use the microfiber cloth to clean the camera lens of any smudges or fingerprints.
- Inspect for any residue: After cleaning the lens, inspect the iPhone’s body for any adhesive residue left behind. If you notice any, use the microfiber cloth or a mild adhesive remover to gently clean the area.
- Power on your iPhone: Once you have removed the camera protector and cleaned the lens and the iPhone’s body, it’s time to power on your device and enjoy the clear, unobstructed camera experience.
By following these simple steps, you can safely and effectively remove the iPhone camera protector without causing any damage to your device. Remember to exercise caution and take your time to ensure a smooth and successful removal process.
Precautions and Tips for Removing the iPhone Camera Protector
When it comes to removing the camera protector on your iPhone, it’s important to proceed with caution to prevent any damage to your device. Here are some essential precautions and tips to keep in mind:
- Turn off your iPhone: Before you begin removing the camera protector, make sure to turn off your iPhone completely. This will help avoid any accidental inputs or damage to your device while removing the protector.
- Use a microfiber cloth: Before removing the camera protector, clean the lens area with a soft microfiber cloth. This will remove any dust or debris that may have accumulated, ensuring a clear and scratch-free lens after the protector is removed.
- Apply gentle pressure: When removing the camera protector, it’s important to apply gentle and even pressure. Avoid using excessive force or sharp objects that could scratch or damage the lens glass. Slow and steady wins the race in this case!
- Peel from the edges: Start by peeling the camera protector from one of the edges. Use your fingernail or a plastic prying tool to lift the protector slowly. Make sure to keep the peel parallel to the surface to avoid any accidental bending or damage.
- Inspect for residue: After removing the camera protector, inspect the lens area for any residue left behind. If you notice any sticky residue or adhesive, use a gentle adhesive remover and a soft cloth to clean it off. This will ensure a clean and clear lens for optimal photography.
- Double-check for bubbles: Once the camera protector is removed, check the lens area for any bubbles or trapped air. If you notice any, use your clean fingertip or a soft cloth to carefully press them out towards the edge of the lens.
- Consider reapplying a new protector: If you prefer to have a camera protector on your iPhone, consider applying a new one after removing the old protector. This will provide continued protection and prevent any scratches or damage to your lens in the future.
- Follow manufacturer instructions: If you’re using a specific brand of camera protector, make sure to read and follow the manufacturer’s instructions for removal. Different protectors may have specific instructions or adhesive properties that require a slightly different approach.
- Seek professional help if unsure: If you’re uncertain about removing the camera protector yourself or worry about damaging your iPhone, it’s always a good idea to seek professional help. Visit an authorized service center or contact Apple support for assistance.
By following these precautions and tips, you can safely remove the camera protector on your iPhone without causing any harm to your device. Remember to proceed with caution and take your time to ensure a smooth and successful removal process.
Conclusion:
Removing the camera protector from your iPhone can be a simple and straightforward process if you follow the steps outlined in this article. By gently peeling back the protector and using a cleaning solution, you can ensure that your iPhone camera lens remains clear and free from obstruction.
It is important to exercise caution and be gentle when removing the protector to avoid any damage to your device. Take your time and carefully lift the protector from each corner, being mindful not to apply too much force.
Once the protector is removed, take a moment to clean the camera lens with a microfiber cloth and some cleaning solution. This will remove any residue or fingerprints, allowing your iPhone to capture clear and sharp photos once again.
Remember, always prioritize the safety of your device and follow the manufacturer’s instructions when handling any components or accessories. With a little care and attention, you can keep your iPhone camera in pristine condition and enjoy capturing beautiful memories.
FAQs
1. Do I need to remove the camera protector from my iPhone?
In most cases, it is not necessary to remove the camera protector from your iPhone. These protectors are designed to safeguard the lens from scratches, dust, and fingerprints, ensuring the quality of your photographs and videos. However, if you notice any decrease in camera performance, such as blurry or distorted images, it might be worth removing the protector and cleaning the lens before reattaching it.
2. How do I remove the camera protector from my iPhone?
To remove the camera protector from your iPhone, start by gently applying pressure to the edges of the protector, pushing it towards the center. Use a microfiber cloth or a soft cloth to wipe away any adhesive residue. If you encounter stubborn residue, you can use a small amount of rubbing alcohol on the cloth. Take care to avoid applying excessive pressure to the lens. Once the protector is removed, you can clean it separately before reapplying or replacing it.
3. Can removing the camera protector damage my iPhone?
When done correctly, removing the camera protector should not cause any damage to your iPhone. However, it is important to be cautious and avoid using excessive force in the process. Gently apply pressure to the edges of the protector and avoid any contact with the lens itself. If you encounter any resistance or difficulty, it is best to seek professional assistance or consult the manufacturer’s guidelines.
4. How often should I clean my iPhone’s camera lens?
It is recommended to clean your iPhone’s camera lens regularly to ensure optimal performance and image quality. Factors such as dust, fingerprints, and smudges can affect the clarity of your photos and videos. Aim to clean the lens every few weeks or whenever you notice a decrease in image quality. Using a microfiber cloth or lens cleaning solution specially designed for cameras, gently wipe the lens in a circular motion to remove any dirt or debris.
5. Can I use a screen protector as a camera protector on my iPhone?
While it is possible to use a screen protector as a temporary solution to protect your iPhone’s camera lens, it is not recommended. Screen protectors are designed specifically for the display and may not provide the same level of protection and clarity for the camera lens. It is best to use a dedicated camera protector or lens cover, as they are designed to preserve the quality of your photographs and videos without obstruction or interference.