
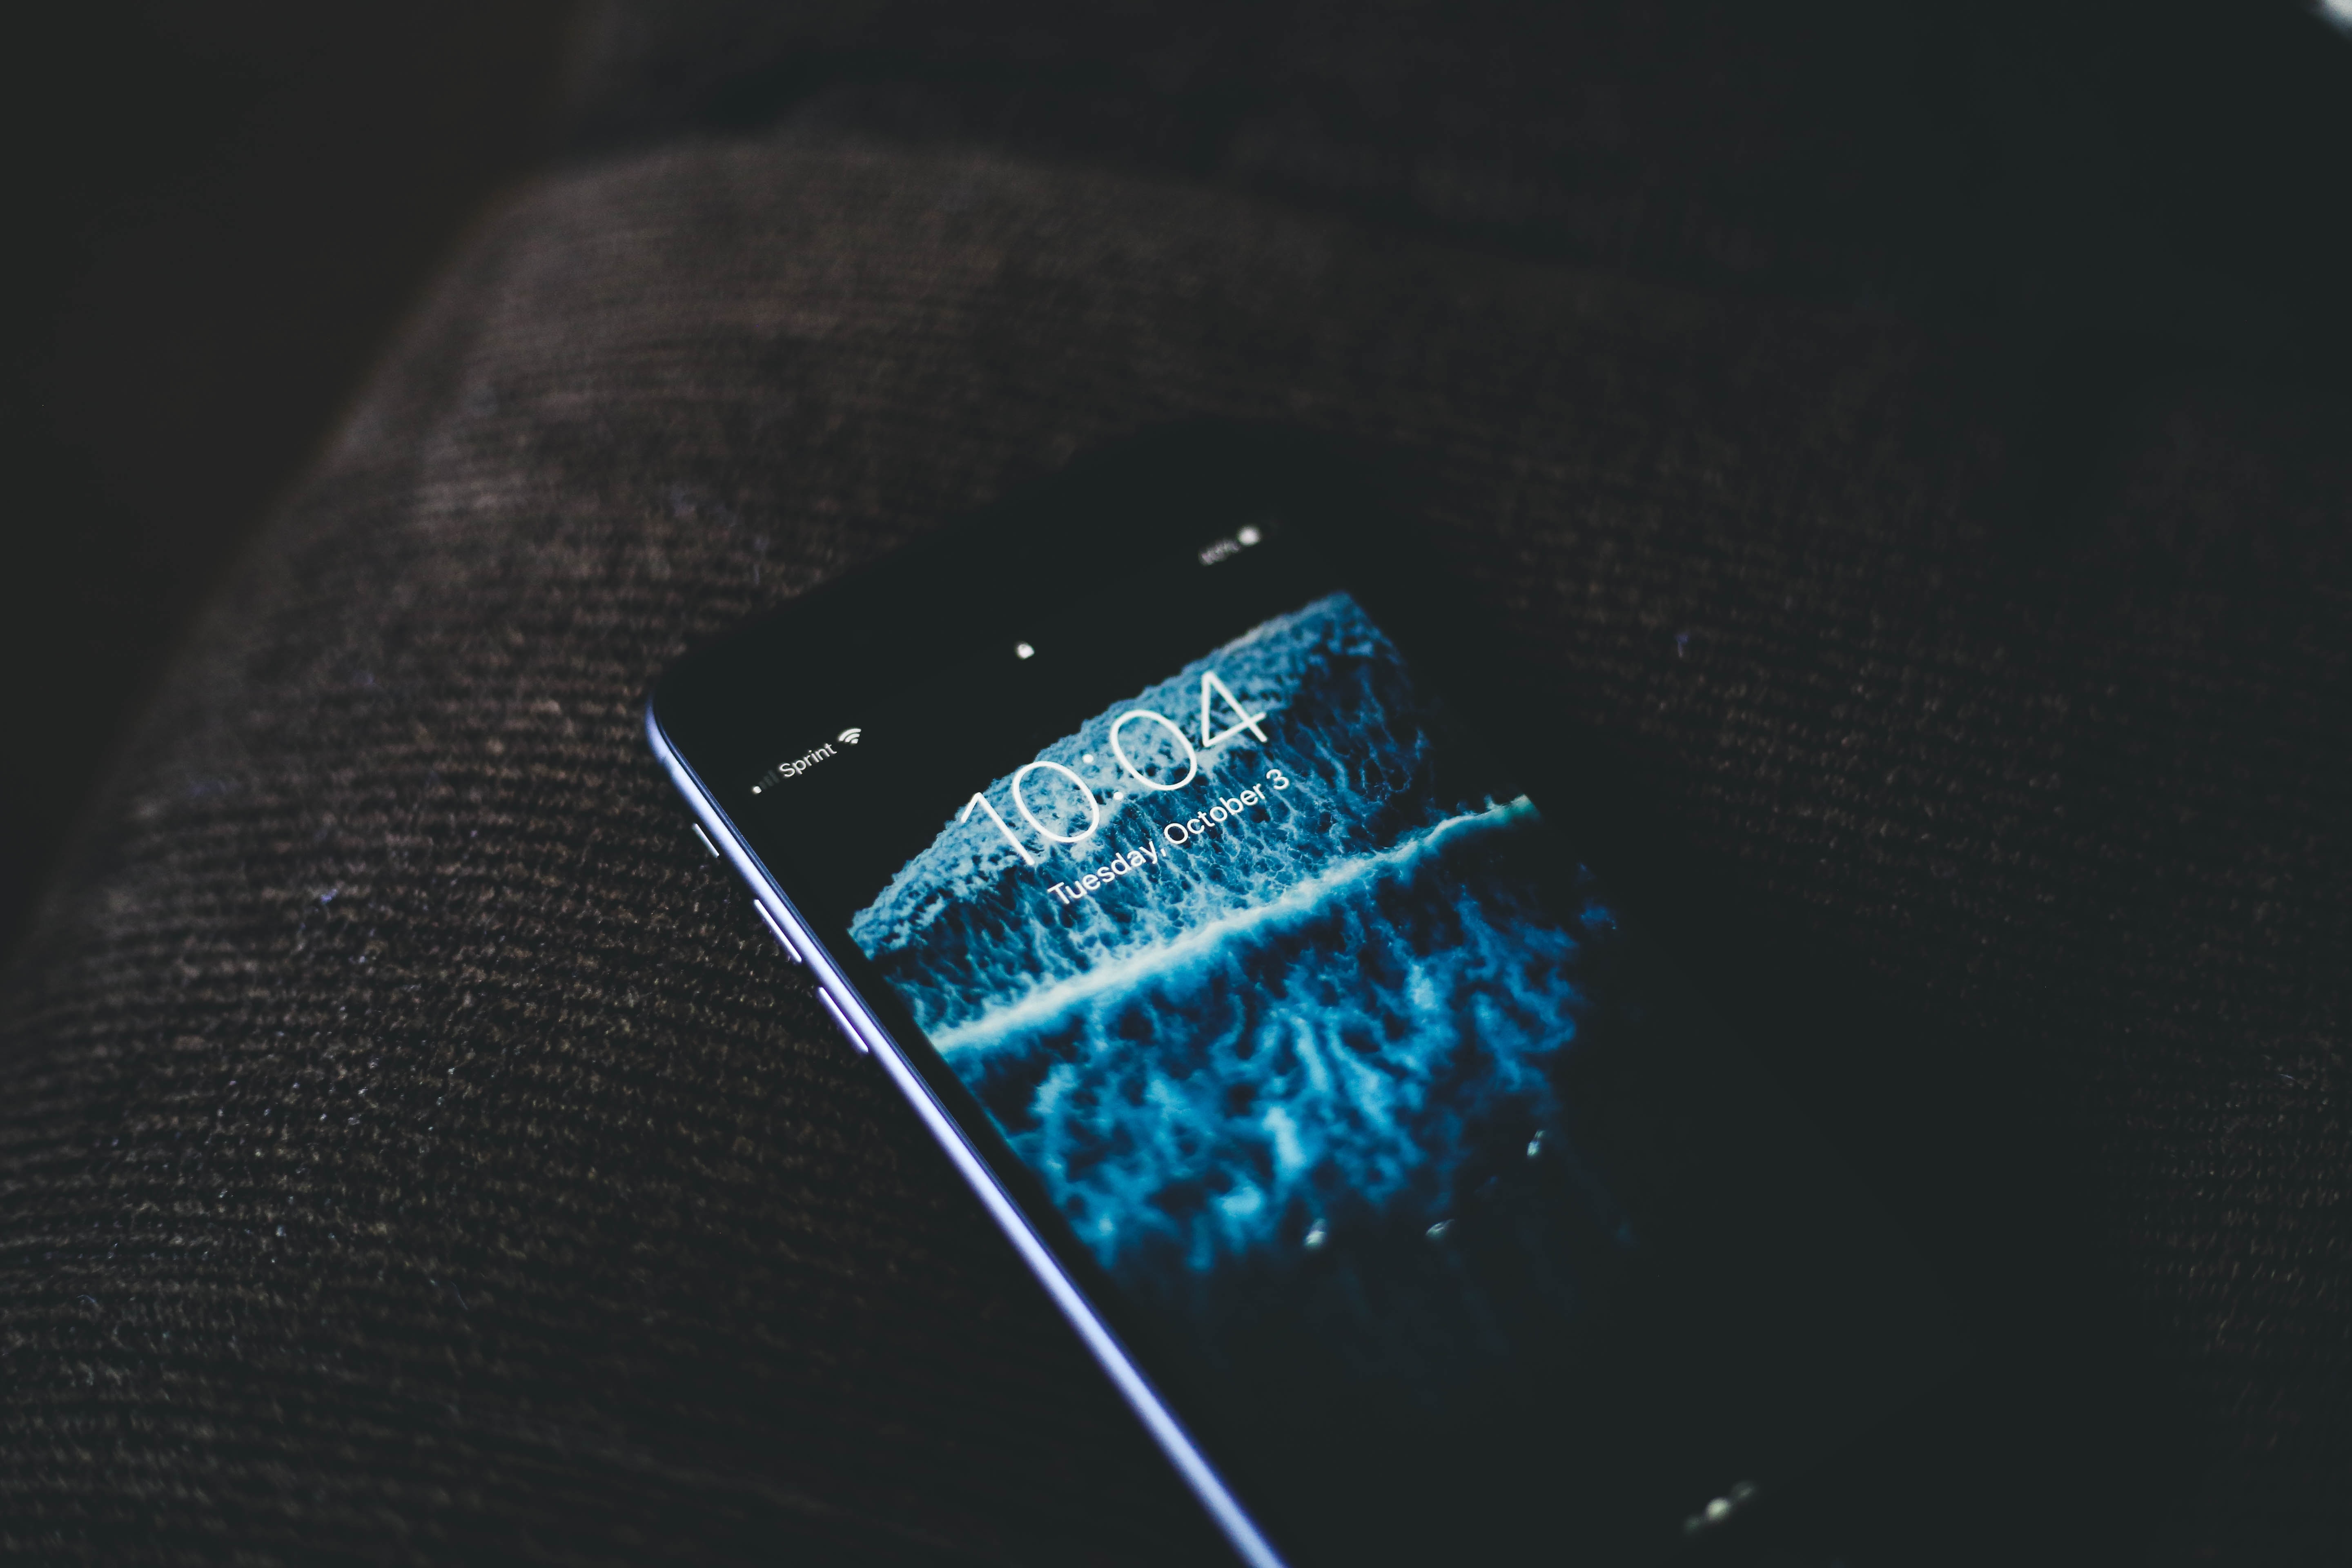
Screen protectors have become an essential accessory for mobile devices, safeguarding our screens from scratches, smudges, and cracks. Among the various types of screen protectors available, UV cured screen protectors are gaining popularity for their durability and seamless installation. However, there may come a time when you need to remove a UV cured screen protector, either to replace it or to clean the screen beneath it.
In this article, we will guide you through the process of removing a UV cured screen protector with ease. Whether you are a novice or experienced in handling mobile accessories, following these steps will help you avoid any damage to your device while successfully removing the screen protector. So, let’s dive in and learn how to remove UV cured screen protectors efficiently.
Inside This Article
- Introduction
- Understanding UV Cured Screen Protectors
- Preparation before Removal
- Method 1: Using heat to soften the adhesive
- Method 2: Applying adhesive remover
- Method 3: Using a scraper or credit card
- Cleaning the screen after removal
- Conclusion
- Conclusion
- FAQs
Introduction
When it comes to protecting our beloved mobile devices, screen protectors are a popular choice. They shield our screens from scratches, smudges, and even cracks. One type of screen protector that has gained popularity in recent years is the UV cured screen protector. These protectors offer excellent clarity, durability, and a seamless installation process. However, there may come a time when you need to remove your UV cured screen protector, whether it’s to replace it or clean your screen. In this article, we will guide you through the steps of safely removing a UV cured screen protector from your device.
Before we dive into the removal process, it’s essential to understand what exactly a UV cured screen protector is. Unlike traditional screen protectors made of plastic or tempered glass, UV cured protectors are made of a liquid polymer that is applied to the screen and cured with ultraviolet (UV) light. This results in a thin, clear, and highly protective layer that adheres directly to the screen’s surface.
Removing a UV cured screen protector requires a bit of care and precision to avoid any damage to your device. Before you begin the removal process, make sure you have the necessary tools and materials on hand, such as a hairdryer, adhesive remover, a scraper or credit card, and a microfiber cloth for cleaning.
Now that you’re prepared, let’s explore the different methods you can use to remove a UV cured screen protector from your mobile device.
Understanding UV Cured Screen Protectors
In today’s digital age, protecting our precious smartphones from scratches and cracks is essential. One popular method of safeguarding our screens is by using UV cured screen protectors. But what exactly are UV cured screen protectors, and how do they work?
UV cured screen protectors are a type of screen protector that offer superior durability and protection compared to traditional options. Unlike plastic or tempered glass protectors, UV cured screen protectors are made from a special material that is cured using ultraviolet (UV) light.
This curing process, also known as photo-polymerization, chemically bonds the screen protector to the surface of your phone’s screen, creating a strong and durable barrier. This results in a smooth and seamless fit that is resistant to scratches, smudges, and even minor impacts.
One of the key benefits of UV cured screen protectors is their ability to provide full coverage and edge-to-edge protection. This means that the entire screen, including the curved edges, is covered by the protector, ensuring complete protection from scratches and accidental damage.
UV cured screen protectors also offer excellent optical clarity, allowing you to enjoy the vibrant colors and sharpness of your phone’s display without any distortion. The protection they provide is virtually invisible, giving you the peace of mind knowing that your screen is safe without compromising the visual experience.
It’s important to note that UV cured screen protectors are typically a one-time application. Once they are cured onto your screen, they cannot be removed and reinstalled like traditional protectors. However, if you do need to remove a UV cured screen protector for any reason, there are methods that can be followed to safely remove it without damaging your phone’s screen.
Now that we have a better understanding of UV cured screen protectors, let’s explore the steps you need to take before removing one to ensure a smooth and successful process.
Preparation before Removal
Before attempting to remove a UV cured screen protector, it’s essential to take some preparatory steps to ensure a smooth and successful removal process. Here are the key things you should do:
- Gather the necessary tools: Start by collecting the tools and materials you will need for the removal process. This typically includes a hairdryer, adhesive remover, a soft cloth or microfiber towel, and a plastic scraper or credit card.
- Clean the screen: It’s important to clean the screen of your device before attempting to remove the screen protector. This will help prevent dirt, dust, or debris from getting trapped between the protector and the screen, which could cause scratches or damage. Use a gentle screen cleaning solution and a microfiber cloth to clean the screen thoroughly, ensuring it is free from any particles.
- Ensure a well-ventilated area: Some adhesive removers can have strong odors, so make sure you are working in a well-ventilated area or near an open window. This will help prevent any discomfort caused by the fumes.
- Prepare a clean work surface: Find a clean and flat surface where you can work on removing the screen protector. Make sure there is enough space to move around comfortably and lay out the tools you gathered earlier.
- Take precautionary steps: If you are removing the screen protector from a smartphone or tablet, it is advisable to power off the device before starting the removal process. This will help prevent any accidental button presses or damage to the screen.
By following these preparatory steps, you will be well-prepared to tackle the removal process smoothly and minimize the risk of any damage to your device or screen.
Method 1: Using heat to soften the adhesive
Using heat is a commonly employed method to soften the adhesive of a UV cured screen protector, making it easier to remove without causing damage to the device’s screen. Here’s how you can do it:
Step 1: Gather the necessary tools
Before you begin, ensure you have the following tools: a hairdryer, a microfiber cloth, and a plastic pry tool or a credit card.
Step 2: Power off your device
It is essential to power off your device before attempting to remove the screen protector. This precaution ensures the safety of both the device and yourself.
Step 3: Warm up the adhesive
Use the hairdryer on its lowest heat setting and hold it a few inches away from the screen protector. Move the hairdryer in a back-and-forth motion to heat the protector evenly. Be careful not to concentrate the heat in one spot for too long, as it can cause damage to the screen.
Step 4: Test the adhesive
After a few minutes of heating, gently try to lift the edge of the screen protector using the plastic pry tool or credit card. If it doesn’t budge, continue heating for a bit longer. If the adhesive starts to loosen, move on to the next step.
Step 5: Slowly remove the screen protector
Once the adhesive has sufficiently softened, use the plastic pry tool or credit card to lift the edge of the screen protector. Slowly and carefully peel it off, applying even pressure along the surface. Take your time and avoid using excessive force to prevent any damage to the screen.
Step 6: Clean the screen
After removing the screen protector, there may be some adhesive residue left on the screen. Use a microfiber cloth to gently wipe away any remaining adhesive. If necessary, you can use a small amount of rubbing alcohol or adhesive remover on the cloth to assist in the cleaning process. Ensure that the screen is completely clean before applying a new screen protector.
Note: This method is generally effective for UV cured screen protectors, but results may vary depending on the quality and type of adhesive used. If you encounter any difficulties during the removal process, consider trying an alternative method or seeking professional assistance.
Method 2: Applying adhesive remover
Another effective method to remove a UV cured screen protector is by using an adhesive remover. This method can be a bit more involved but is often worth the effort for stubborn screen protectors or excessive adhesive residue. Here’s how you can go about it:
- Gather the necessary supplies: To begin, make sure you have the following items on hand: adhesive remover (such as isopropyl alcohol or acetone), cotton swabs or balls, a microfiber cloth, and a plastic scraper or credit card.
- Detach any removable parts: Start by turning off your device and removing any accessories or removable parts, such as the phone case or battery cover. This will give you better access to the screen protector.
- Apply the adhesive remover: Take a cotton swab or ball and saturate it with the adhesive remover of your choice. Gently dab the solution onto the edges of the screen protector, allowing it to soak in and loosen the adhesive.
- Let it sit: Give the adhesive remover some time to work its magic. Depending on the product you’re using, this can range from a couple of minutes to several minutes. Be sure to follow the instructions provided by the manufacturer.
- Remove the screen protector: Once the adhesive has had a chance to soften, use a plastic scraper or credit card to carefully lift the edge of the screen protector. Slowly peel it off, applying gentle pressure as needed. If you encounter any resistance, reapply more adhesive remover and continue peeling.
- Clean any remaining residue: Use a clean cotton swab or ball soaked in the adhesive remover to gently dab away any remaining adhesive residue on the screen. Be careful not to apply too much pressure or scrub aggressively, as this can damage the screen.
- Wipe clean: Finally, take a microfiber cloth and give the screen a thorough wipe-down to remove any traces of adhesive remover and ensure a clean, smooth surface.
Remember to follow the safety precautions recommended by the adhesive remover manufacturer, such as using the product in a well-ventilated area, avoiding contact with eyes or skin, and keeping it out of reach of children.
Using an adhesive remover can be an effective way to tackle stubborn adhesive left behind by a UV cured screen protector. Just be sure to handle the solution with care and take your time to avoid damaging your device.
Method 3: Using a scraper or credit card
Another effective method for removing a UV cured screen protector is by using a scraper or a credit card. This method requires precision and caution to avoid scratching or damaging the screen. Follow these steps:
- Start by locating the edge of the screen protector. You can often find a corner or a small section where the protector is starting to lift.
- Take your scraper or credit card and gently insert it underneath the edge of the protector.
- Apply gentle pressure and slowly slide the scraper or credit card along the edge of the protector, gradually lifting it off the screen.
- Be careful not to use excessive force, as this can cause damage to the screen. Use a soft touch and work slowly to ensure the protector is completely separated from the screen surface.
- If you encounter any stubborn areas that are difficult to remove, you can use a combination of heat and adhesive remover to help loosen the adhesive.
- Continue lifting the protector off the screen, taking care not to bend or crease it as you go.
- Once the protector is completely removed, inspect the screen for any remaining adhesive residue.
If you notice any sticky residue left on the screen, you can use a microfiber cloth or a small amount of adhesive remover to gently wipe it away. Be sure to use a soft, lint-free cloth to avoid scratching the screen.
Using a scraper or credit card to remove a UV cured screen protector can be an effective method, particularly if the protector is starting to peel or lift on its own. However, it is important to exercise caution and patience to avoid causing any damage to the screen surface.
Cleaning the screen after removal
Once you have successfully removed the UV cured screen protector, it’s important to clean the screen thoroughly to ensure it’s free from any residue or smudges. Follow these steps to clean your screen effectively:
- Gather your cleaning supplies: Before you begin, gather a few lint-free microfiber cloths, isopropyl alcohol, and a small spray bottle.
- Dampen the cloth: Lightly dampen one of the microfiber cloths with isopropyl alcohol. Avoid using excessive amounts of liquid as it can damage the screen.
- Gently wipe the screen: Starting from the top of the screen, gently wipe the surface in small circular motions. Be careful not to apply too much pressure, as it could scratch the screen.
- Pay attention to edges and corners: Take extra care to clean the edges and corners of the screen, as these areas are more prone to dirt and residue buildup.
- Dry the screen: Use the second microfiber cloth to dry the screen. Again, use soft, gentle motions to avoid any unnecessary pressure.
- Inspect for residue: After cleaning, inspect the screen for any remaining residue or smudges. If necessary, repeat the cleaning process until the screen is completely clean.
Remember to handle the screen with care during the cleaning process. Avoid using harsh cleaning agents or abrasive materials, as they can damage the screen. It’s also a good idea to refer to the manufacturer’s guidelines for cleaning your specific device.
Once your screen is clean, you’re ready to enjoy the clear, crisp display without the UV cured screen protector. You’ll be able to fully appreciate the quality and clarity of your device’s screen, and it will be protected from scratches and smudges.
By following these steps, you can successfully remove a UV cured screen protector and clean your device’s screen without causing any damage. Remember to take your time, be gentle, and use the proper techniques and tools for the best results.
Conclusion
In conclusion, removing a UV cured screen protector may seem like a daunting task, but with the right tools and techniques, it can be accomplished smoothly. Remember to take your time, be patient, and follow the steps carefully to avoid damaging your device’s screen.
Before attempting to remove the screen protector, it is crucial to understand the type of protector you have. UV cured screen protectors, unlike traditional plastic or tempered glass protectors, are bonded to the screen using UV light. This makes their removal slightly more challenging.
Prior to the removal process, it is essential to gather the necessary tools and materials. These may include a hairdryer or heat gun, adhesive remover, a scraper or credit card, and microfiber cloths for cleaning.
Method 1: Using heat to soften the adhesive is a popular and effective way to remove a UV cured screen protector. By gently applying heat to the edges of the protector, you can soften the adhesive, making it easier to peel back and remove.
Method 2: Applying adhesive remover can also be a viable option. Be sure to choose an adhesive remover that is safe for use on electronic screens. Apply a small amount to the edges of the protector and let it sit for a few minutes before attempting to remove it.
Method 3: Using a scraper or credit card is another method that can be effective in removing a UV cured screen protector. Carefully insert the scraper or credit card between the protector and the screen and gently pry it away, working your way around the edges.
After successfully removing the screen protector, it is crucial to clean the screen thoroughly. Use a microfiber cloth and a screen cleaner solution to remove any residue or smudges left behind. Ensure that the screen is completely dry before reapplying a new protector or using the device.
In summary, removing a UV cured screen protector requires a combination of careful preparation, the appropriate tools and techniques, and attention to detail. By following the steps outlined in this article, you can safely and effectively remove a UV cured screen protector without causing any damage to your device.
Remember, if you are unsure or uncomfortable with the removal process, it is always best to seek professional assistance to avoid any potential mishaps.
Conclusion
In conclusion, removing a UV-cured screen protector doesn’t have to be a daunting task. By following the steps outlined above, you can easily and safely remove the screen protector from your device without causing any damage. Remember to gather all the necessary tools, such as a hairdryer, microfiber cloth, and liquid adhesive remover, before you begin the process.
Be patient and take your time during each step to ensure a smooth removal process. Remember to handle your device with care and avoid applying excessive force or pressure. Once the UV-cured screen protector is successfully removed, take the time to clean and inspect your device to ensure there are no traces of residue left behind.
Removing a UV-cured screen protector can give you the opportunity to apply a new one or enjoy the naked screen of your device. With the right tools, techniques, and a bit of patience, you can confidently remove a UV-cured screen protector and keep your device looking pristine.
FAQs
1. What is a UV cured screen protector?
A UV cured screen protector is a type of screen protector that uses ultraviolet (UV) light to bond the protector to the screen of your device. This curing process ensures a strong and durable adhesion, providing protection against scratches, smudges, and fingerprints.
2. Why would I need to remove a UV cured screen protector?
There may be instances where you need to remove a UV cured screen protector. It could be due to the protector becoming worn out over time, wanting to replace it with a different type of screen protector, or if you need to repair or replace the screen of your device. Knowing how to properly remove it without damaging your device is important.
3. Can I remove a UV cured screen protector myself?
Yes, you can remove a UV cured screen protector yourself. However, it requires careful handling and patience to avoid damaging your device or leaving residue on the screen. By following the right steps and using the proper tools, you can remove the protector safely and effectively.
4. What tools do I need to remove a UV cured screen protector?
To remove a UV cured screen protector, you will need a few tools:
- Microfiber cloth or cleaning solution to clean the screen before removal
- Plastic card or scraper to gently pry off the screen protector
- Isopropyl alcohol or adhesive remover to dissolve any adhesive residue
5. What are the steps to remove a UV cured screen protector?
Here is a step-by-step guide to remove a UV cured screen protector:
- Start by powering off your device and lay it on a flat surface.
- Use a microfiber cloth or cleaning solution to clean the screen surface, removing any dirt or smudges.
- Take a plastic card or scraper and gently insert it between the screen protector and the screen, applying slight pressure to lift the protector. Start from one corner and slowly work your way across.
- Once the protector is lifted, continue sliding the plastic card or scraper along the surface to completely remove the protector.
- If there is any adhesive residue left on the screen, dampen a cloth with isopropyl alcohol or adhesive remover and gently wipe the surface to dissolve the residue.
- Finally, use a clean microfiber cloth to wipe the screen, ensuring it is free from any residue.