
In today’s digital age, our reliance on smartphones and other mobile devices is more prominent than ever. Whether it’s for work, communication, or entertainment, having a functional USB charger is essential to keep our devices powered up and ready to go. However, what happens when your USB charger starts to malfunction and fails to charge your device? It can be frustrating and inconvenient, especially if you’re on the go and need your phone to stay juiced up.
This comprehensive guide will walk you through the steps to repair a USB charger and get it working again. From identifying common issues to troubleshooting techniques and even potential DIY fixes, you’ll be equipped with the knowledge and skills to bring your USB charger back to life. Don’t throw away that faulty charger just yet – let’s dive in and breathe new life into it!
Inside This Article
Steps to Repair a USB Charger
USB chargers are essential accessories for our mobile devices, allowing us to conveniently power up our smartphones, tablets, and other gadgets. However, these chargers can sometimes experience issues and stop working properly. Instead of rushing to buy a new charger, you can try repairing it yourself. Here are some step-by-step instructions to help you repair a USB charger:
- Identify the problem: The first step in repairing a USB charger is to identify the issue. It could be a faulty wire, a damaged connector, or a loose connection. Carefully examine the charger for any visible signs of damage.
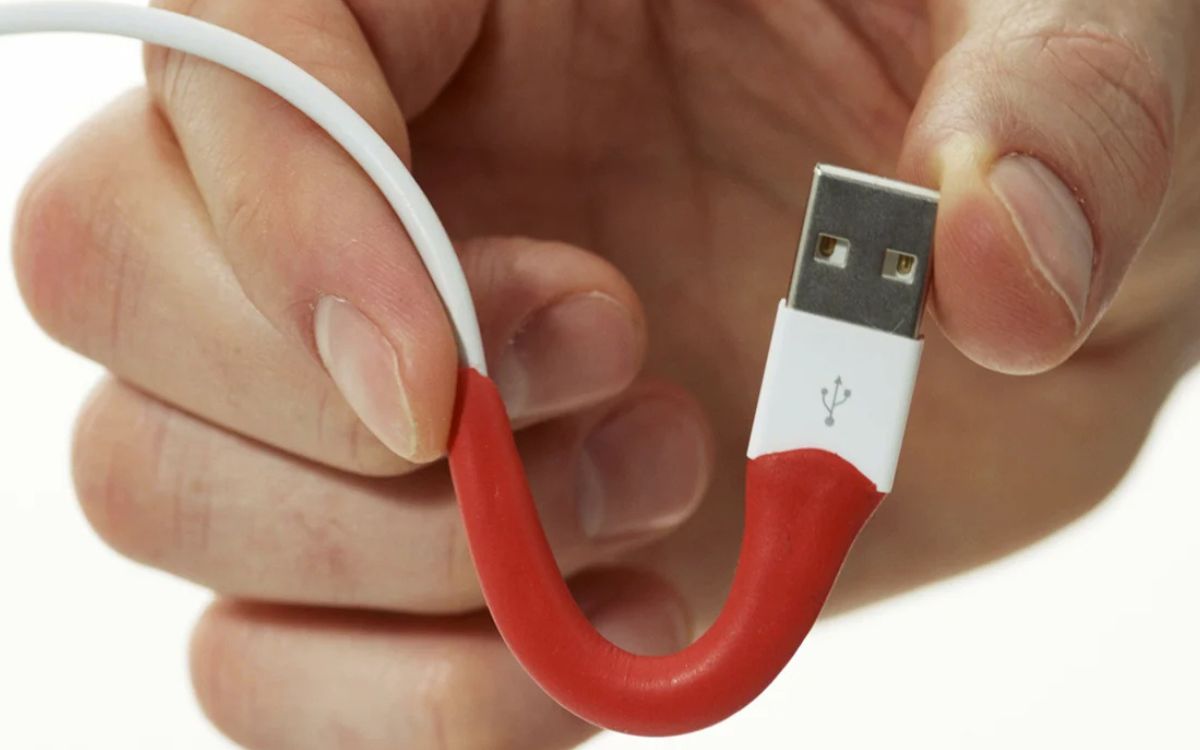
- Inspect the cable: If the problem lies with the cable, start by inspecting it for any kinks, cuts, or frayed wires. Gently flex the cable along its length to check for any internal wire breaks. If you spot any damage, it’s time to replace the cable.
- Check the connector: Next, take a closer look at the connector. Ensure that the metal pins are not bent or misaligned. Sometimes, dirt and debris can accumulate inside the connector, preventing a proper connection. Use a small brush or compressed air to clean it out.
- Secure loose connections: If the charger seems to work intermittently or only when held at a certain angle, the problem may lie with loose connections. Use a small screwdriver or tweezers to carefully tighten any loose screws or clips inside the charger.
- Strip and reconnect wires: If you have identified a wire break, you can attempt to fix it by stripping the insulation from the wire ends and reconnecting them. Use a wire stripper to remove a small section of insulation, ensuring you expose enough wire for a secure connection.
- Solder the wires: Once the wires are exposed, use a soldering iron and solder to reconnect them. Apply a small amount of flux to the exposed wires, heat them with the soldering iron, and then apply the solder to create a strong connection. Be careful not to apply too much heat.
- Insulate the connection: To ensure the repaired wires stay in place and prevent any short circuits, it’s crucial to insulate the connections. Use electrical tape or heat shrink tubing to cover the soldered area, providing a protective barrier against moisture and electrical currents.
- Test the charger: After completing the repair, it’s time to test the charger. Plug it into a power source and connect it to a device to see if it charges properly. Keep an eye on the charger during testing to ensure there are no signs of overheating or other issues.
By following these steps, you can attempt to repair a USB charger on your own. However, please note that not all chargers can be easily repaired, especially if the damage is severe or internal. If you are uncertain about the repair process or encounter any difficulties, it’s always recommended to seek professional assistance or consider purchasing a new charger.
Conclusion
Repairing a USB charger can save you time and money, and it’s easier than you might think. By following the steps outlined in this article, you can troubleshoot and fix common issues with your USB chargers, such as loose connections or damaged cables. Remember to always exercise caution and safety precautions when working with electrical devices.
Whether it’s a frayed cable, a faulty port, or a damaged connector, understanding how to repair a USB charger ensures that you’ll never be caught without a reliable charging solution. By investing a little time and effort, you can extend the lifespan of your chargers and avoid the frustration of needing to replace them frequently.
Don’t be intimidated by the inner workings of a USB charger. With the right tools and a little know-how, you can become your own charger repair expert. So, the next time you encounter a malfunctioning USB charger, don’t rush to buy a new one. Instead, give repairing it a try, and you’ll likely be pleasantly surprised by your success!
FAQs
1. How can I identify if my USB charger is faulty?
If your USB charger is not working properly, there are a few indicators that can help you identify if it is faulty. Firstly, check if the device you are trying to charge does not respond when connected to the charger, or if it charges very slowly. Secondly, look for any physical damage to the charger, such as broken or frayed cables. Lastly, try using the charger with a different device or a different charging cable to see if the problem persists.
2. Are there any common issues that can be fixed without repairing the USB charger?
Yes, there are a few common issues with USB chargers that can be fixed without actually repairing the charger. Sometimes, the charging port of your device may be blocked or filled with dirt or debris. In such cases, use a small brush or a toothpick to gently clean the port. Additionally, try using a different charging cable to see if the issue is with the cable rather than the charger itself. Sometimes, simply replacing the cable can solve the problem.
3. Can I repair a USB charger on my own?
Repairing a USB charger on your own is possible, but it requires some technical knowledge and skill. If you have experience working with electronics and are comfortable soldering small components, you can try fixing the charger yourself. However, if you are not familiar with electronics or do not have the necessary tools, it is recommended to seek professional help or simply replace the charger.
4. What are the common issues that can occur in a USB charger?
There are several common issues that can occur in a USB charger. These include broken cables, loose or damaged USB ports, faulty internal components, and short circuits. In some cases, the charger may also fail due to overheating or power surges. Identifying the specific issue can help determine whether the charger can be repaired or if it needs to be replaced.
5. Is it cost-effective to repair a USB charger?
The cost-effectiveness of repairing a USB charger depends on the severity of the issue and the cost of repair compared to the price of a new charger. If the repair cost is significantly lower than buying a new charger, it can be worthwhile to repair it. However, if the repair cost is close to or higher than the price of a new charger, it may be more cost-effective to simply replace it.