
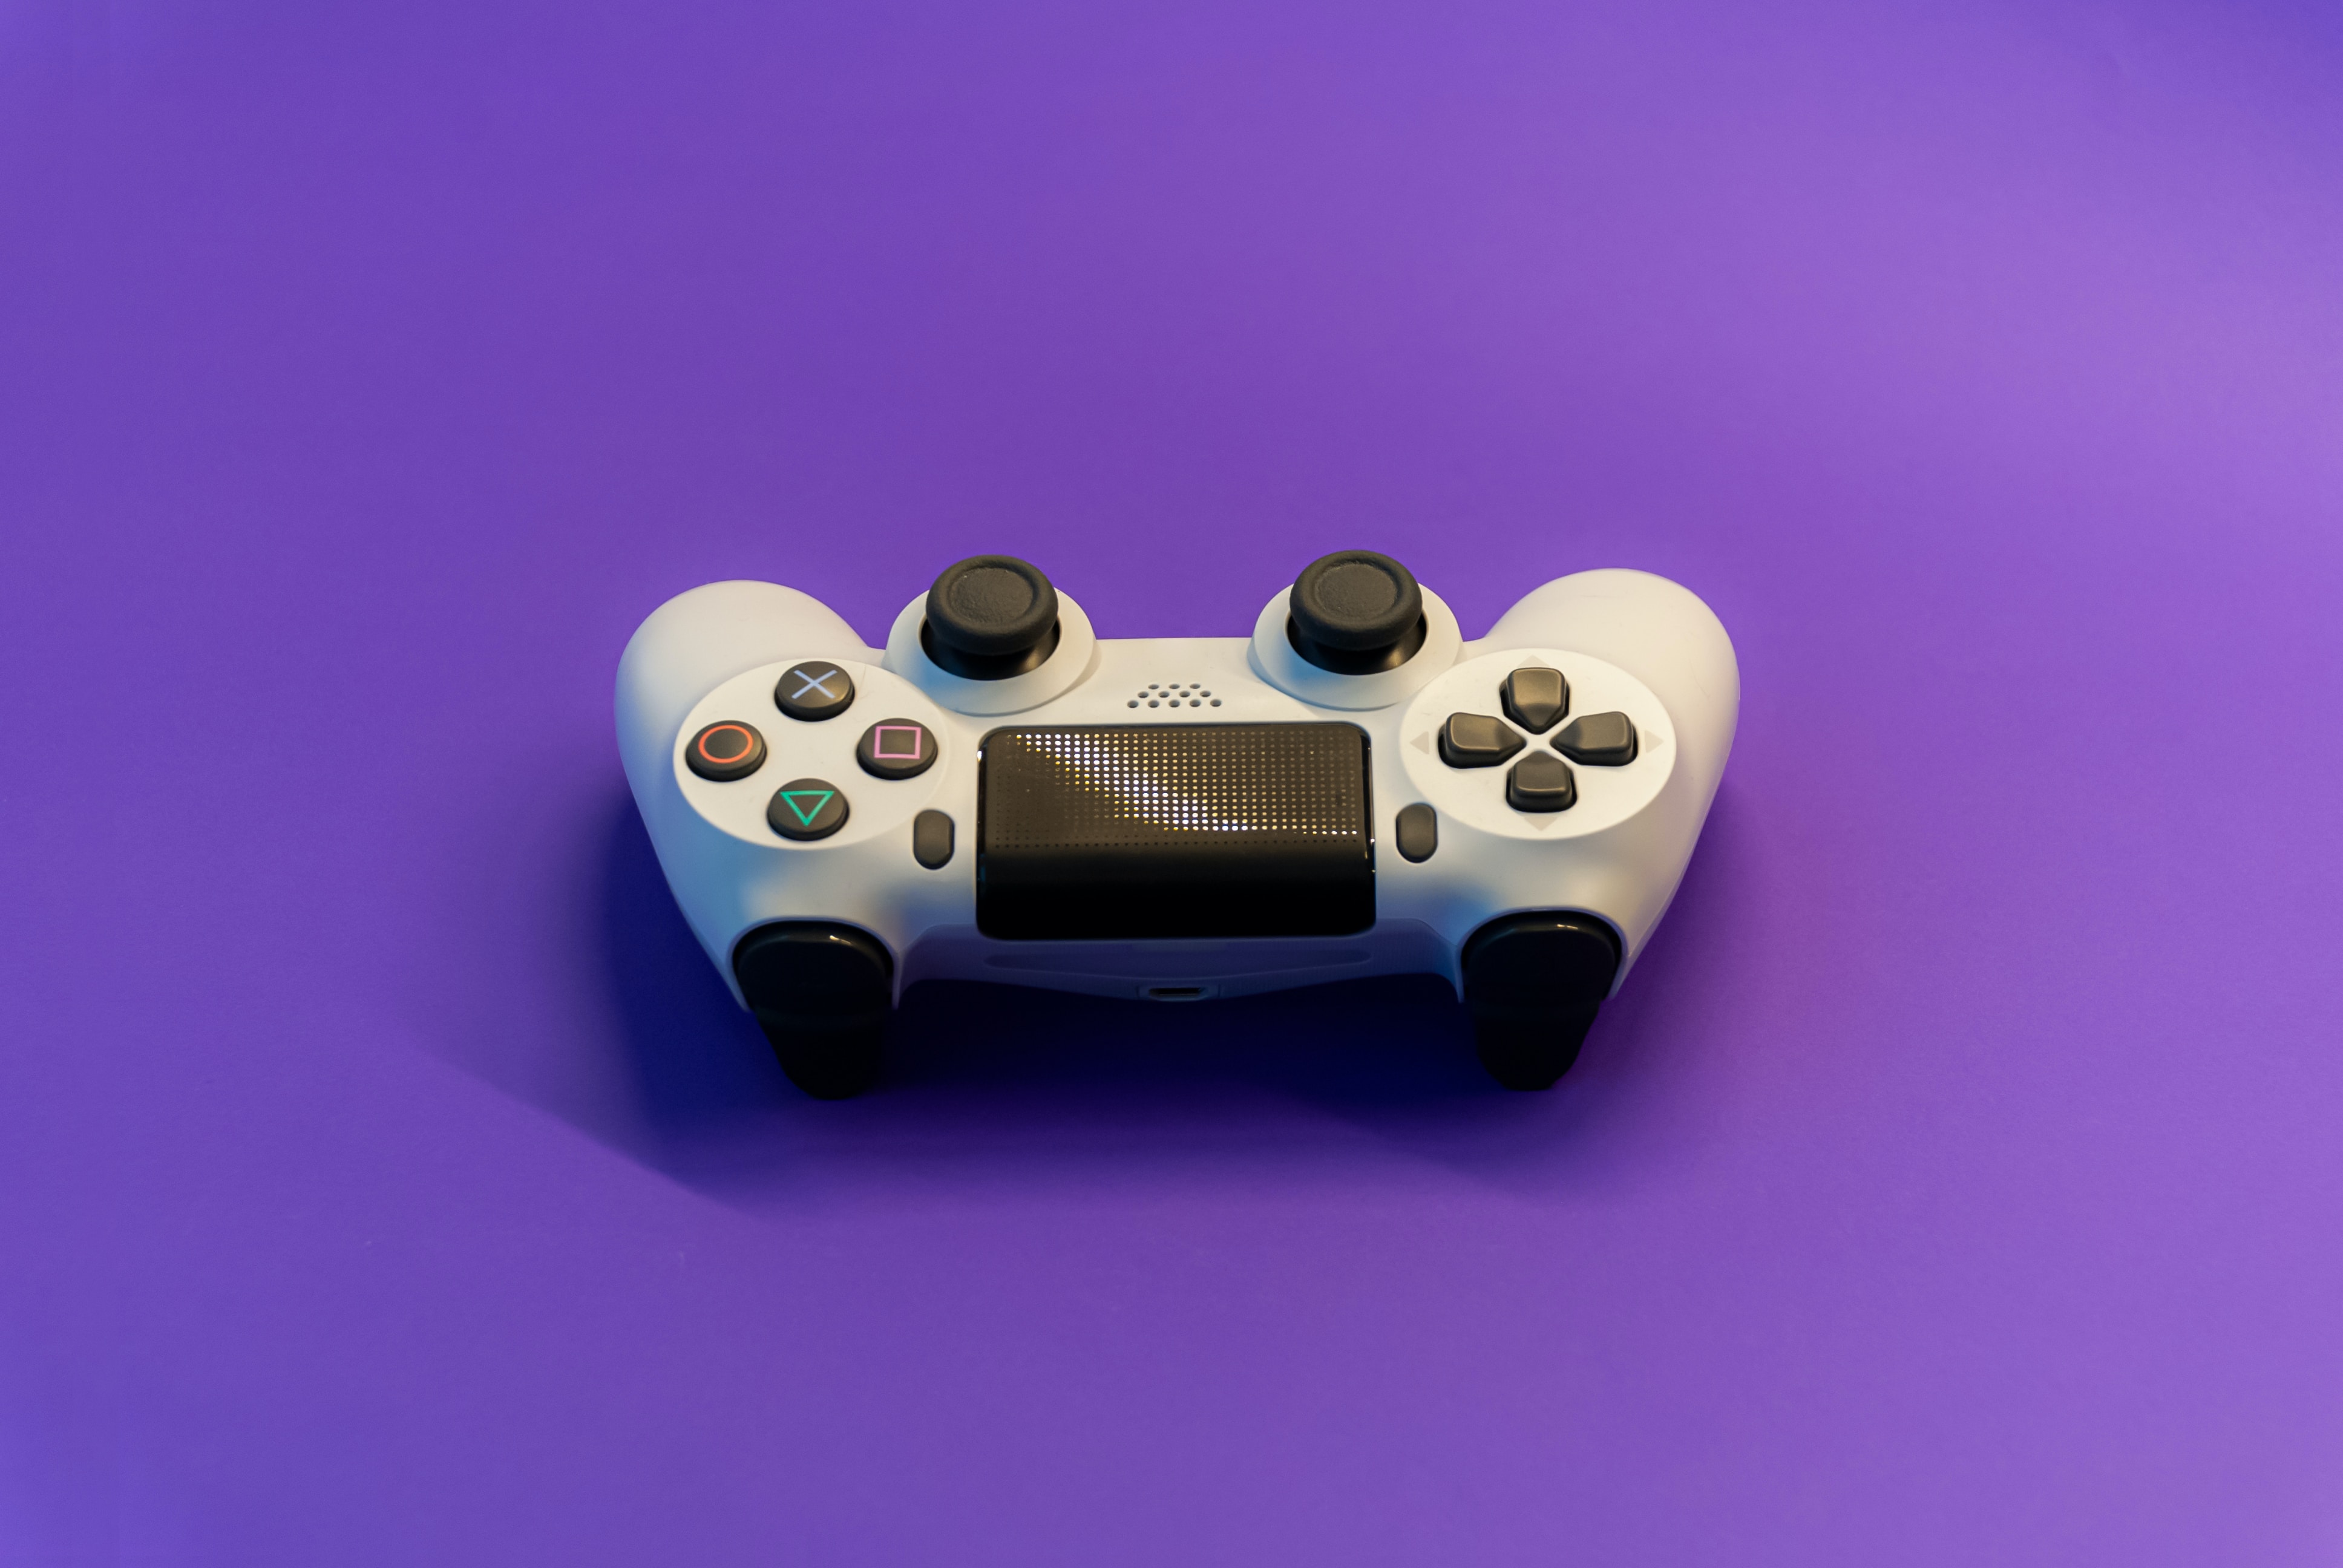
In this article, we will guide you through the process of replacing the joystick on your PS4 controller. The joystick is a crucial component of the controller, allowing you to navigate and control your gameplay. Over time, the joystick may become less responsive or completely unresponsive, making it difficult to enjoy your gaming experience.
But fear not! With a few simple tools and some patience, you can replace the joystick and restore your PS4 controller to its former functionality. Whether you’re an avid gamer or simply enjoy casual gaming, knowing how to replace the joystick will save you the cost of buying a new controller and keep you gaming for hours on end. Join us as we delve into the step-by-step process of replacing the joystick on your PS4 controller.
Inside This Article
- Disassembling the PS4 Controller
- Removing the Old Joystick
- Installing the New Joystick
- Reassembling the PS4 Controller
- Conclusion
- FAQs
Disassembling the PS4 Controller
Before you can replace the joystick on your PS4 controller, you will need to disassemble the controller to access the internal components. Here is a step-by-step guide to help you disassemble your PS4 controller:
1. Start by turning off your PS4 controller and ensuring it is not connected to any power source.
2. Carefully flip the controller upside down so that the buttons are facing downwards. You will notice several small screws on the back of the controller.
3. Use a small Phillips screwdriver to remove these screws. Set them aside in a safe place as you will need them later for reassembly.
4. Once the screws are removed, gently separate the two halves of the controller. Be cautious as there are delicate ribbon cables connecting the two halves together.
5. Locate the ribbon cables connecting the front and back of the controller. These can be gently unplugged by lifting the plastic tab at the end of each cable.
6. With the two halves of the controller separated and the ribbon cables disconnected, you now have full access to the internal components, including the joystick.
7. Take a moment to familiarize yourself with the layout of the controller and the position of the joystick that needs replacement.
Now that you have successfully disassembled your PS4 controller, you are ready to move on to the next step: removing the old joystick.
Removing the Old Joystick
Replacing the joystick on your PS4 controller may seem like a daunting task, but with the right tools and a little patience, it can be done. Before we dive into the steps, make sure you have a replacement joystick that is compatible with your PS4 controller model.
To start, you’ll need to disassemble the PS4 controller. Begin by removing the four screws on the back of the controller using a small Phillips head screwdriver. Once the screws are removed, gently pry off the back cover of the controller.
With the back cover removed, you’ll have access to the internal components of the controller. Locate the joystick that you want to replace; it will be attached to the circuit board with a small cable. Carefully disconnect the cable by gently pulling it upwards, away from the circuit board.
Next, look for the small plastic clips or screws that secure the joystick in place. These clips or screws may vary depending on the controller model. Using a flat-head screwdriver or a small set of pliers, carefully remove the clips or screws to release the old joystick from its housing.
Once the clips or screws are released, gently lift the old joystick out of its housing. Take note of the orientation of the joystick and its components, as you will need to replicate this when installing the new joystick.
With the old joystick removed, take your replacement joystick and align it with the housing. Carefully insert the joystick, ensuring that it is properly seated and in the correct orientation. Secure the replacement joystick in place by reattaching the clips or screws that you removed earlier.
Now that the new joystick is securely in place, it’s time to reassemble the PS4 controller. Reconnect the small cable between the joystick and the circuit board, making sure it is fully inserted and aligned properly.
Place the back cover of the controller back onto the device and align it with the screw holes. Carefully fasten the four screws back into place, being mindful not to overtighten them.
Once the screws are tightened, give the joystick a test to ensure it is functioning properly. Rotate it in all directions and press down on it to check for any sticking or responsiveness issues.
Congratulations! You’ve successfully removed the old joystick from your PS4 controller. Now you can enjoy a fully functional controller and get back to your gaming adventures with precision and accuracy.
Installing the New Joystick
Once you’ve successfully removed the old joystick from your PS4 controller, it’s time to install the new one. Follow these simple steps to ensure a smooth and hassle-free installation process:
1. Begin by carefully inspecting the new joystick to ensure there are no visible defects or damage. It’s important to use a high-quality replacement to ensure optimal performance.
2. Take the new joystick and align it with the opening on the controller where the old one was removed. Make sure the pins on the joystick match up with the corresponding slots in the controller.
3. Gently press the joystick into the opening, applying even pressure to ensure a secure fit. Be careful not to force it in as it may damage the joystick or the controller.
4. Once the joystick is in place, you’ll need to secure it with the provided screws. Carefully insert the screws into the designated holes and use a screwdriver to tighten them. Be cautious not to overtighten the screws as it may strip the threads or damage the controller.
5. After securing the joystick, double-check that it is firmly in place and doesn’t wobble or move when touched. This will ensure that it functions properly during gameplay.
6. Finally, reconnect the ribbon cables by carefully aligning them with the connectors on the controller board. Gently push them in until they firmly click into place. Take care not to bend or damage the cables.
7. Once everything is securely in place, you can proceed to reassemble the PS4 controller by following the steps outlined in the previous section.
Congratulations! You have successfully installed the new joystick on your PS4 controller. Now, you can enjoy seamless and precise gaming experiences once again.
Reassembling the PS4 Controller
Now that you have successfully replaced the joystick on your PS4 controller, it’s time to reassemble the controller. Follow these steps to put everything back together:
- Start by taking the controller shell and carefully aligning it with the buttons and triggers.
- Gently press the top and bottom halves of the shell together. Make sure all the clips and tabs on the inside of the controller are securely lined up.
- Once the shell is aligned, use a small screwdriver to reinsert the screws in their respective holes. Be careful not to overtighten the screws, as this could damage the controller.
- After tightening the screws, double-check the controller to ensure there are no loose or misaligned parts.
- Next, insert the battery back into its slot and secure it in place.
- Finally, gently press the faceplate onto the front of the controller, making sure it snaps into place. You may need to apply slight pressure to ensure a snug fit.
- Once the faceplate is secure, your PS4 controller should be fully reassembled and ready to use.
It’s worth noting that reassembling the PS4 controller may require some patience and attention to detail. Take your time and be careful not to force any components into place. If you encounter any difficulties or have any leftover screws, double-check your work or consult the instructions for further guidance.
Congratulations! You have successfully replaced the joystick and reassembled your PS4 controller. Now you can enjoy a seamless gaming experience with improved control and responsiveness.
Conclusion
Replacing the joystick on a PS4 controller can be a straightforward process, thanks to the availability of replacement parts and comprehensive online tutorials. By following the steps outlined in this article, you can restore your controller’s functionality and get back to gaming without any frustrations. Remember to gather the necessary tools, take your time, and be patient with the process to ensure a successful joystick replacement.
Whether you’re an avid gamer or just starting out, it’s important to know how to maintain and repair your gaming accessories. Being able to fix a faulty joystick on your own not only saves you money but also empowers you to take control of your gaming experience. So, don’t let a malfunctioning joystick hold you back from enjoying your favorite games. With a little bit of know-how and the right tools, you can easily replace the joystick on your PS4 controller and get back to gaming in no time!
FAQs
1. Can I replace the joystick on my PS4 controller on my own?
Yes, with the right tools and a bit of technical know-how, you can replace the joystick on your PS4 controller by yourself.
2. What tools do I need to replace the joystick on my PS4 controller?
To replace the joystick on your PS4 controller, you will need a small Phillips screwdriver, a spudger or a plastic opening tool, a replacement joystick, and tweezers.
3. Where can I purchase a replacement joystick for my PS4 controller?
You can purchase a replacement joystick for your PS4 controller from various sources. Online marketplaces like Amazon or eBay offer a wide range of options, and you can also check with local electronics stores or gaming accessory shops.
4. Are there any video tutorials available to guide me through the process of replacing the joystick on my PS4 controller?
Yes, there are numerous video tutorials available on platforms like YouTube that can guide you through the process of replacing the joystick on your PS4 controller. These tutorials provide step-by-step instructions, making it easier for you to follow along.
5. Is it possible to replace the joystick on other gaming controllers besides the PS4 controller?
Yes, it is possible to replace the joystick on other gaming controllers as well. The process may vary slightly depending on the specific controller, but the basic steps are similar. Make sure to research and find specific guides for your particular controller model.