Apex Legends Mobile controller support is a great addition to the famous mobile game. After all, fast-paced games like these require precision and on-screen touch controls usually aren’t ideal for that. It’s also the reason why many games like Call of Duty Mobile and PUBG Mobile have controller support.
However, if you’re new to connecting controllers to your smartphone, the method may be confusing. That’s precisely why we’ve created this guide to help you get started and stay on track throughout the connection process.
Inside This Article
- Apex Legends Mobile Controller Support: Does the Game Have It?
- Which Controllers Are Compatible With Apex Legends Mobile?
- How to Use PS4/PS5 Controller on Apex Mobile?
- Connecting Xbox Controller to Apex Mobile
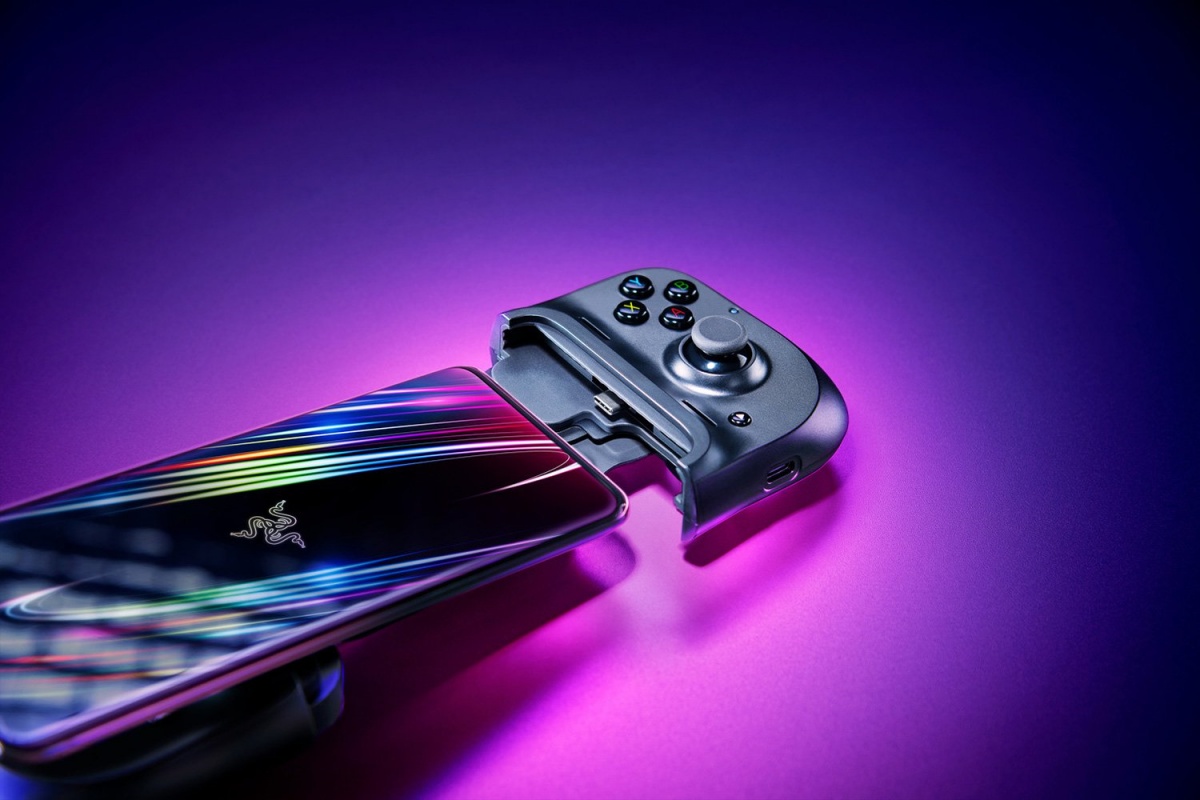
- How to Connect Razer Kishi to Apex Legends Mobile?
- How to Configure Controller Settings on Apex Legends Mobile?
Apex Legends Mobile Controller Support: Does the Game Have It?
The mobile gaming market has been steadily growing in recent years and we can see why. Smartphones are becoming more powerful each year, making them useful portable gaming machines. However, mobile controls aren’t exactly ergonomic or friendly for gaming.
As a result, more gaming companies have tried to produce iOS and Android games with controller support. While the developers of Apex Legends Mobile haven’t released an official announcement regarding this subject, the game already supports controllers.
However, remember that the controllers you pair will only support the gameplay. You cannot use it to navigate the menus and other screens or select different options. Hence, you’ll still need to use your fingers or stylus to tap on different buttons.
In addition, remember that while you can emulate the game, Apex Legends Mobile controller support is limited to smartphones. If you emulate it on a PC with a controller, the developers may ban your account. That’s because the game might confuse your account for a bot.
Which Controllers Are Compatible With Apex Legends Mobile?
Unfortunately, Apex Legends Mobile controller support is still fairly limited as of the time of writing. It is not compatible with all the Bluetooth controllers you can normally pair with your smartphone. In fact, you might be unable to pair controllers even if they’re one of the best Android controllers available.
The game has only been compatible with a select few controllers so far. These include the PlayStation 4 and 5 controllers, Razer Kishi, and Xbox controllers.
If you have one, you may try to pair a third-party controller through the Apex controller settings on your own. Nonetheless, we can neither confirm nor guarantee that they will work with Apex Legends Mobile.
How to Use PS4/PS5 Controller on Apex Mobile?
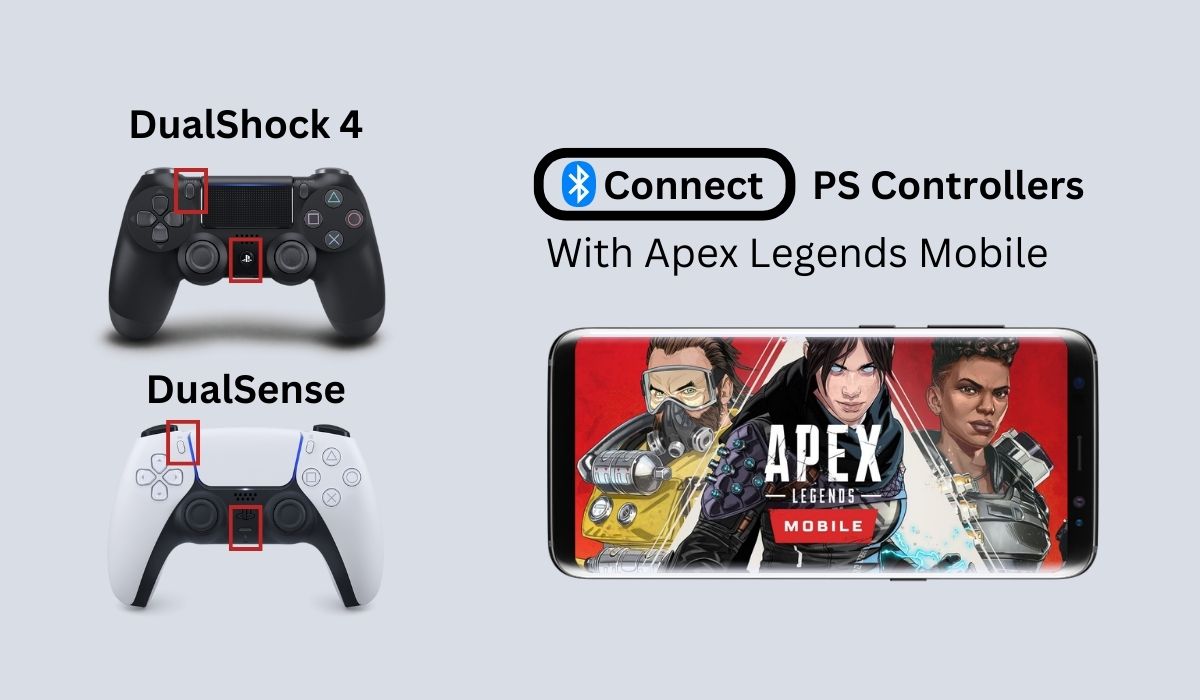
Apex Legends Mobile controller support extends its compatibility to the PlayStation 4 and 5 controllers. Here’s how to pair either controller (the process is similar) to your smartphone for Apex Legends.
iOS
- Shut down your PlayStation controller.
- If you are using DualShock 4, press the “PS” and “Share” buttons simultaneously until it lights up. On DualSense, click on the “Create” and “PS” buttons at the same time.
- Open your iPhone and swipe down from the upper right to reach the Control Center.
- Tap on the “Bluetooth” icon to enable Bluetooth.
- Choose the PlayStation controller’s name to pair.
- Follow the instructions given.
Android
- Turn off your PlayStation controller.
- Hit the “PS” and “Share” on DualShock 4 switches simultaneously until the lights flash. On DualSense, click on the “Create” and “PS” buttons at the same time.
- Swipe down from the top of your Android screen to open the notification panel.
- Press the “Bluetooth” icon to turn on Bluetooth.
- Select the name of your PlayStation controller to begin pairing.
- Follow the instructions given.
How to Connect Xbox Controller to Apex Mobile?
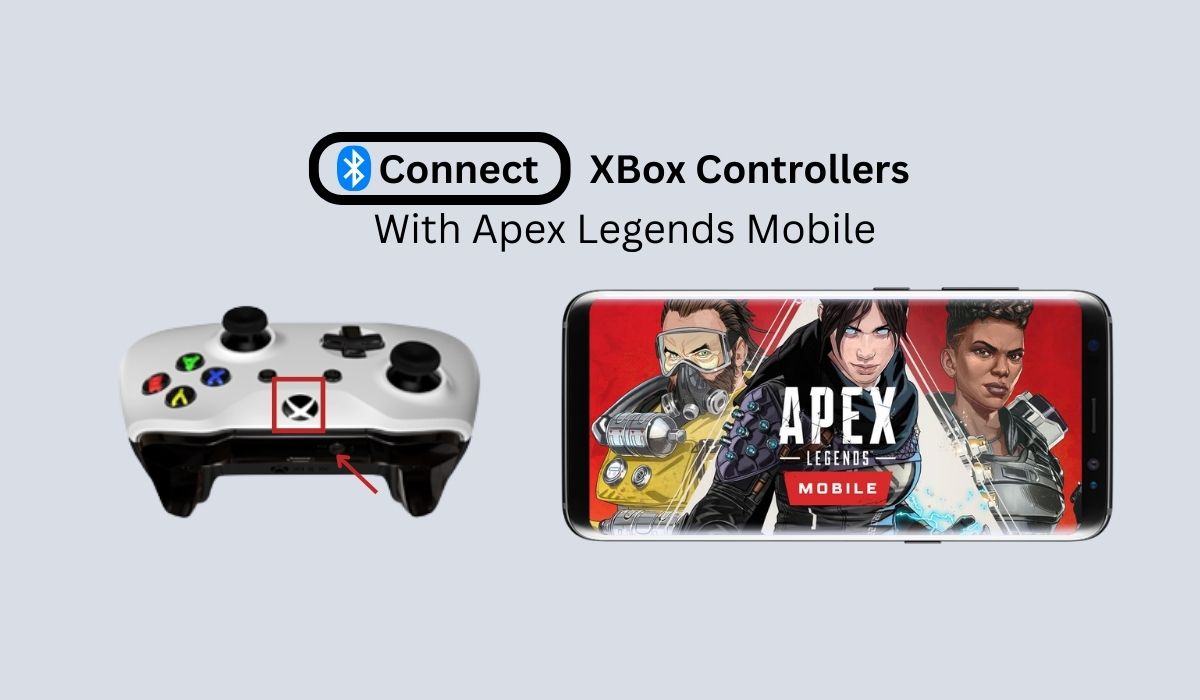
Apex Legends Mobile controller support for the Xbox One and Series X/S controllers is fairly stable. In fact, you can pair the controller on either iOS or Android and it should work fine. We’ll cover both operating systems below as the process for each will differ slightly.
iOS
- Turn on the Xbox controller by tapping the Xbox button.
- Hold down the “Connect” button for a couple of moments to enable pairing mode.
- Open your iOS device and navigate to Settings.
- Turn on “Bluetooth”.
- Tap the name of your Xbox controller.
- Follow the instructions and pair the controller with your smartphone.
Android
- On your Android device, swipe down from the top to open your notification bar.
- Tap the “Bluetooth” icon to enable it.
- Switch on your Xbox controller and hold the “Connect” switch for a few seconds to enter pairing mode.
- Look for your controller name in your Android phone’s Bluetooth list.
- Tap the controller name and follow the prompts to pair.
How to Connect Razer Kishi to Apex Legends Mobile?

The Razer Kishi controller for mobile is a handy tool to use for various games. This includes Apex Legends Mobile which now has unofficial support for controllers. However, the Razer Kishi is limited in that it’s only compatible with iOS. Moreover, you can only use the Razer Kishi version 2 if you want to use it on Apex Legends. If you’re fine with these drawbacks, then the Razer Kishi might be the easiest controller to connect.
Using Razer Kishi to Apex Legends Mobile requires you to install the Nexus app from the App Store to optimize your experience. Afterward, simply pull on both ends of the controller and plug the Razer Kishi into your iOS device. Then simply open Apex Legends Mobile and start playing. There’s no need for Bluetooth pairing or anything else.
How to Configure Controller Settings on Apex Legends Mobile?
Remapping Buttons
Apex Legends Mobile controller support is highly configurable within the game. Not only can you pair a controller but you can also adjust the controller’s sensitivities to suit your preferences.
- Simply open Apex Legends Mobile then hit the “Setting” option on the lower-left edge of the home screen. This should open the settings menu where you can tamper with various features.
- To the right, you should already see a handful of options to choose from. These include settings involving gameplay, controls, sensitivity, graphics, language, and more. For our purposes, we recommend tapping the “Controller v1.0” option.
- Afterward, go to the “Button” tab to view various in-game actions you can do with your controller. You can toggle and tinker with these buttons based on what’s convenient for you. Moreover, you can press the “Custom Layout” button to remap your controls.
- This will make things much easier if you’re more familiar with certain buttons doing specific actions. Afterward, simply press the “Reset Settings” option to save your new settings.

Choosing Basic Settings
Apart from remapping the buttons, you can also change settings related to basic controls and the camera. These various settings can accomplish different things. Let’s begin with the basic controls.
To find the basic controls, go to “Controller v1.0” and press the “Basic” tab on the top-left. You’ll see various options within the new screen. From there, you can adjust your left joystick’s movement by fiddling with the Joystick Dead-Zone setting. We recommend turning this down until it reaches 0.1% if you want a highly responsive left joystick.
In addition, you can even adjust the Cursor Sensitivity and raise it to 200% for the smoothest experience. You can also change the Overall Sensitivity Scale depending on how sensitive you want your game to be.
The game also has a Vertical Sensitivity Setting that’s more vertical than horizontal. However, for this setting, we recommend keeping it slightly lower — approximately 75% is ideal.
Afterward, you can adjust the FPP without ADS and TPP without ADS. These simply adjust the sensitivity of your joystick in first and third-person gameplay. However, we do suggest keeping these at their default settings unless the regular sensitivity bothers you.
Finally, you can also adjust the Optic ADS, which simply changes each weapon type’s zoom range. There’s no recommended figure for this so you can change this based on your preferences.

Configuring Camera Tab Settings
Apart from the basic and button settings, Controller v1.0 also has a “Camera” tab. Tap on it so you can adjust many settings related to the camera and its movement.
One of the biggest things you may want to change is the Joystick Deadzone for rotation. This setting controls your right joystick instead of your left one and adjusts its sensitivity. Through this, the game will recognize rotation much faster or slower, depending on the value you set.
Meanwhile, we recommend keeping both the External Threshold and Additional Rotation Speed at 50%. You can change these if you’d like, but we think these figures provide the best experience.
Apart from these, you can also adjust the Additional Rotation Speed Vertical Zoom. This setting is a neat little feature that tweaks your camera rotation for vertical zooms. However, the game doesn’t require you to change this so you can let it stay at 0%.
In addition, you can change the Additional Speed Ramp-up Time and the Additional Speed Ramp-up Delay. The former — which we suggest keeping at 0.25 — simply set your fade-in movement.
On the other hand, the latter does something similar but adjusts the delay. We recommend keeping this one at zero. However, you can adjust this if you prefer the delay. It all depends on your playstyle.
The Final Word
Apex Legends Mobile controller support makes the game much easier for fans of the fast-paced game. However, remember that the developers haven’t officially announced that the game already supports controllers. Thus, you may find a few bugs and quirks whenever you’re playing with one. Nonetheless, it’s certainly a useful addition and it’s only a matter of time until the developers fully support controllers.


