
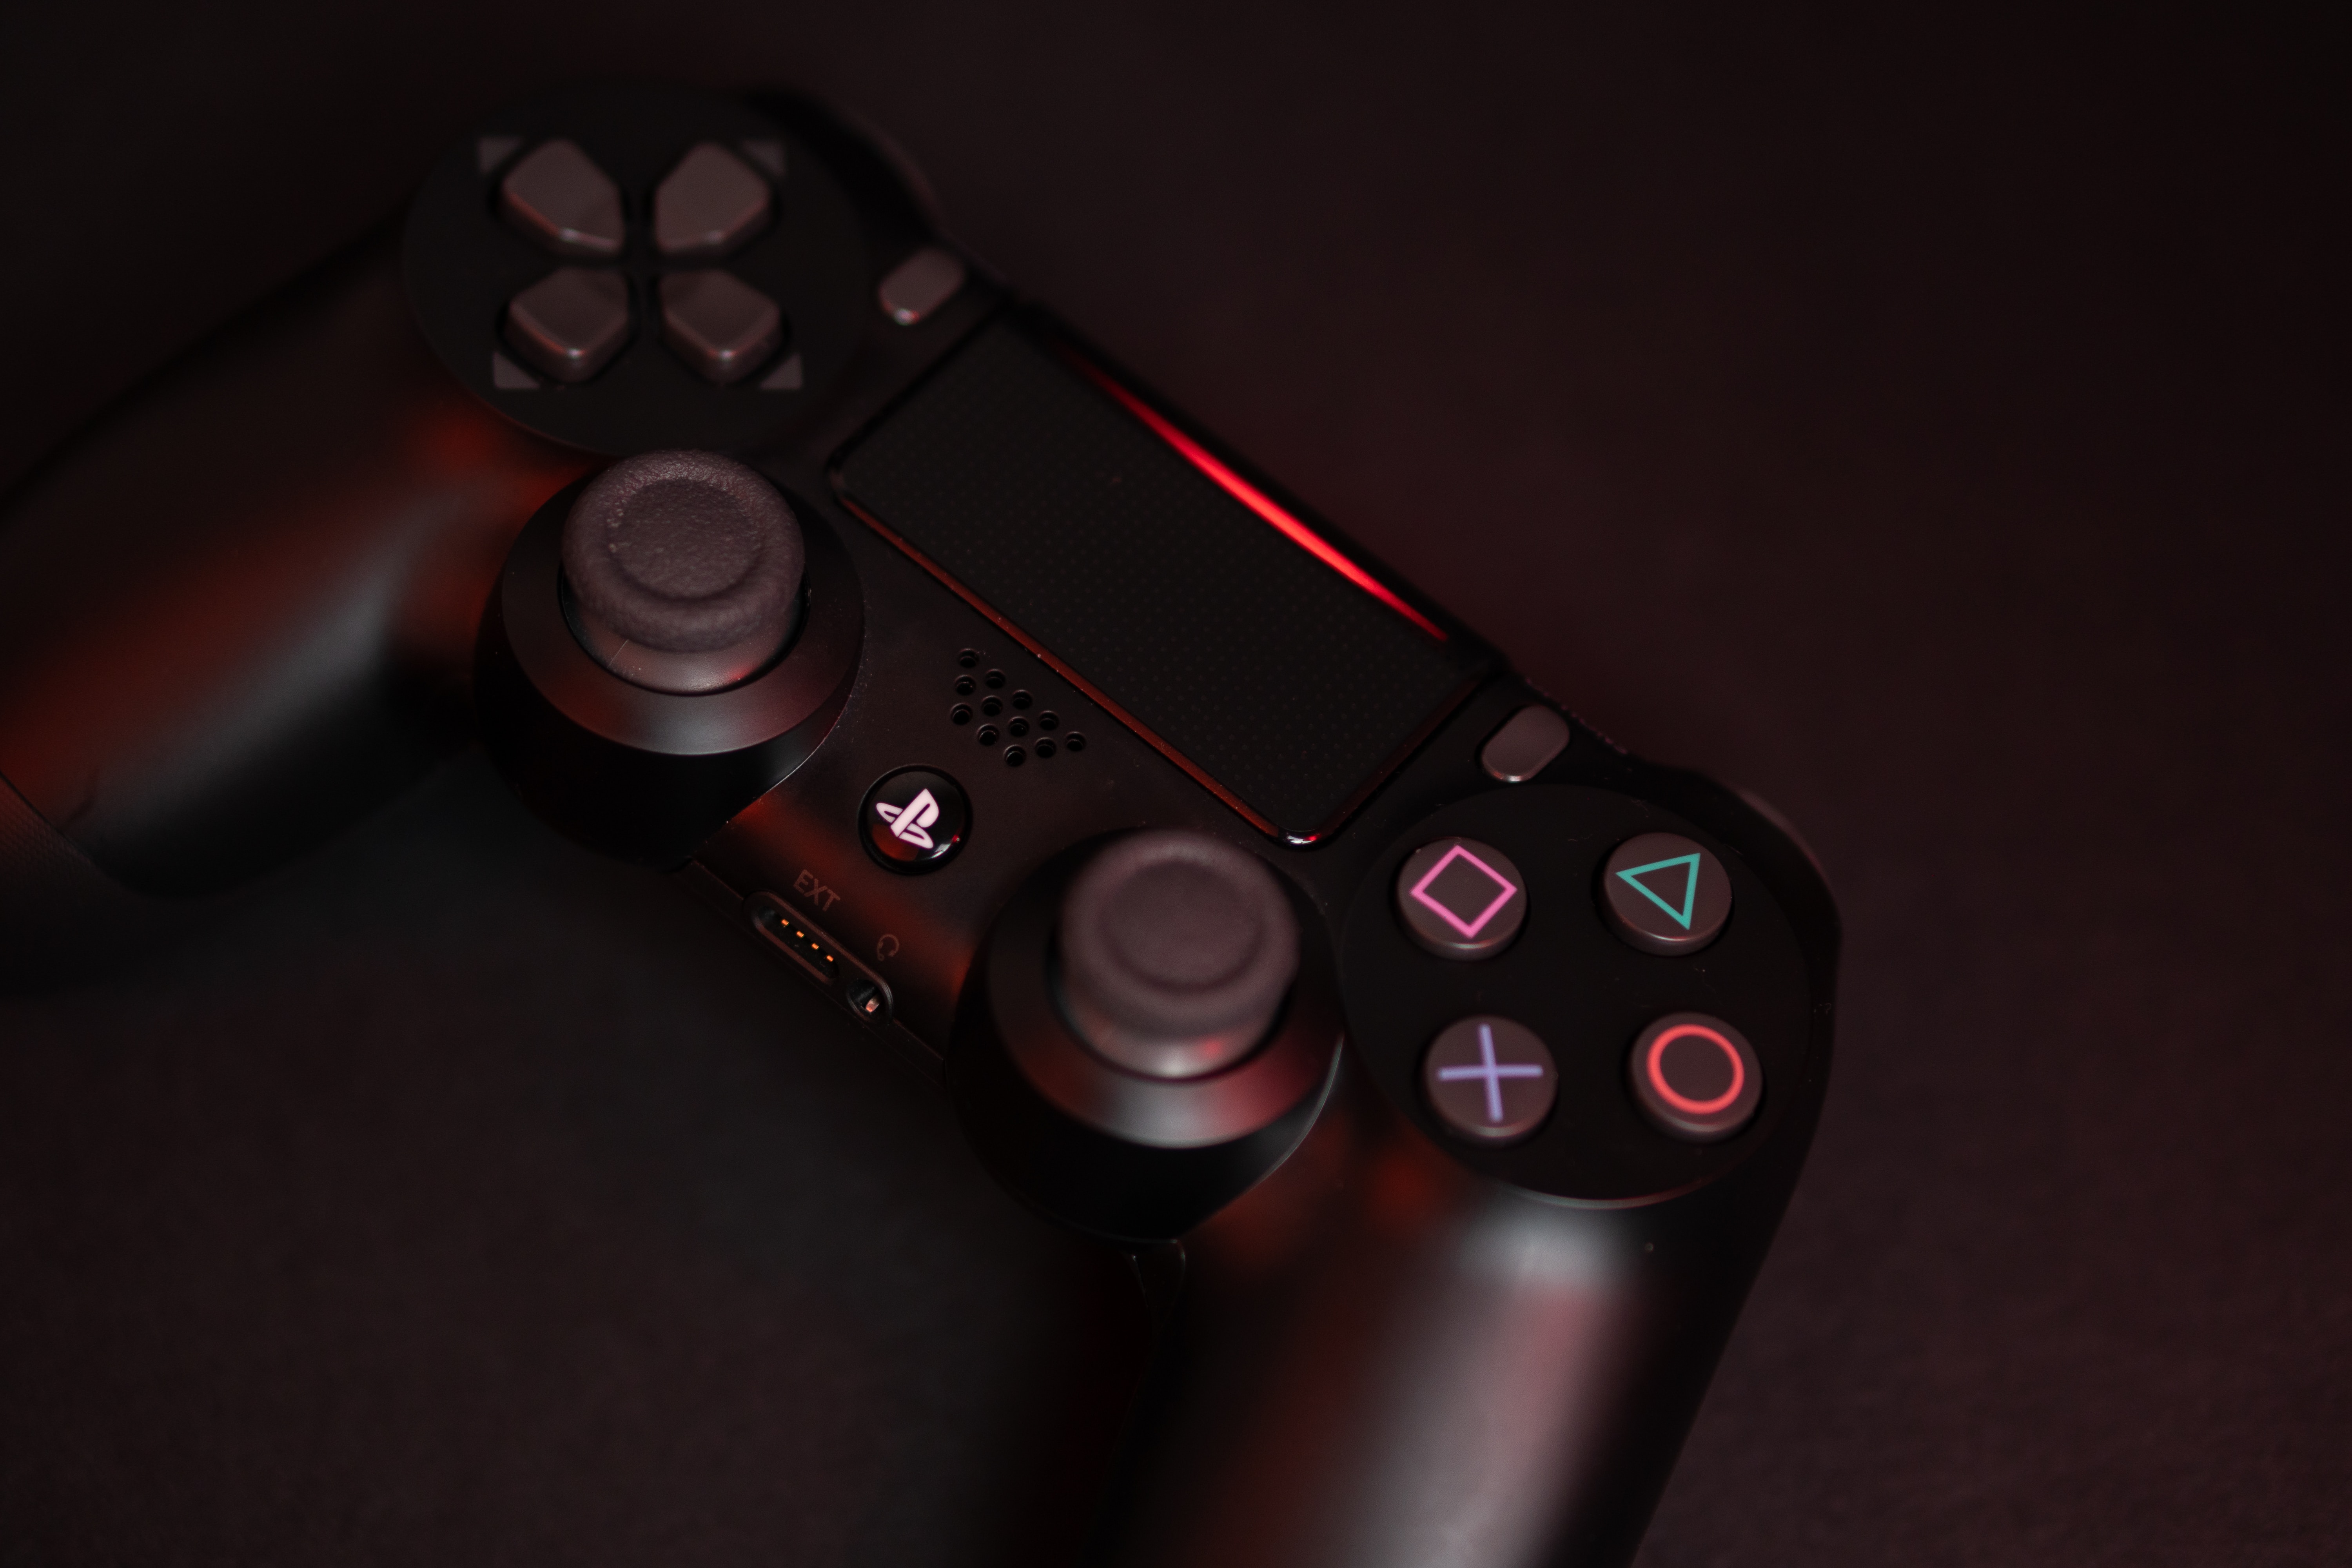
If you’re experiencing issues with the joystick on your PS Vita, you may need to replace it. The joystick, also known as the analog stick or thumbstick, is a vital component of the console that allows you to control movement and navigate through games. Over time, constant use and wear can lead to degraded performance or even complete malfunction of the joystick. But fear not, as replacing the joystick on your PS Vita is a simple fix that can be done at home with the right tools and guidance. In this article, we’ll walk you through the steps to replace the joystick on your PS Vita, ensuring you can get back to gaming with precision and accuracy.
Inside This Article
- Overview of the Joystick Replacement Process
- Step-by-Step Guide to Replacing the Joystick
- Troubleshooting Common Issues during the Replacement Process
- Conclusion
- FAQs
Overview of the Joystick Replacement Process
The joystick is a vital component of a gaming console like the Ps Vita. Over time, it can wear out or become unresponsive, making it necessary to replace it. If you’re experiencing issues with your Ps Vita joystick, don’t worry, as replacing it is a straightforward process that you can do on your own with a few basic tools. In this overview, we’ll walk you through the steps involved in replacing the joystick of your Ps Vita.
Before starting the replacement process, it’s essential to ensure you have a compatible replacement joystick. You can either purchase an official joystick replacement from Sony or opt for third-party options available online. Make sure to read reviews and check compatibility before making a purchase to ensure you get a reliable and suitable replacement for your Ps Vita.
The process of replacing the joystick involves disassembling the Ps Vita, removing the old joystick, and installing the new one. It’s important to proceed with caution and follow the steps carefully to avoid damaging any other internal components. Remember to work in a clean and well-lit workspace to minimize the risk of losing small screws or damaging delicate parts.
To get started, you’ll need a few tools, including a small Phillips screwdriver, a plastic pry tool, and a set of small tweezers. Begin by turning off your Ps Vita and removing the battery to ensure safety. Next, you’ll need to remove the back cover and unscrew the screws holding the front panel in place. Once the front panel is removed, you can access the joystick assembly.
Using the plastic pry tool, gently disconnect the ribbon cable that connects the joystick to the main circuit board. Take care not to pull too hard, as ribbon cables can be delicate. Once detached, you can remove the old joystick by unscrewing it or releasing any clips holding it in place.
When it’s time to install the new joystick, simply reverse the steps. Attach the new joystick by screwing it into place or securing it with clips. Reconnect the ribbon cable, ensuring it is snugly attached. Then, reassemble the Ps Vita by putting the front panel back in place and screwing it in. Finally, insert the battery and back cover, and power on your Ps Vita to test the new joystick.
Keep in mind that while replacing the joystick is relatively straightforward, it does require careful handling and attention to detail. If you’re uncertain or uncomfortable doing it yourself, it’s recommended to seek professional assistance or consult a repair guide specific to your Ps Vita model. With the right tools and precautions, you can successfully replace your Ps Vita joystick and restore your gaming experience.
Step-by-Step Guide to Replacing the Joystick
Is your PS Vita joystick feeling worn out or not responding properly? Don’t worry, replacing the joystick is easier than you might think. In this step-by-step guide, we will walk you through the process of replacing the joystick on your PS Vita. Just follow these simple steps and you’ll have your PS Vita back in action in no time.
1. Gather the necessary tools: Before you begin, make sure you have all the tools you’ll need. This typically includes a small Phillips screwdriver, a spudger or plastic opening tool, and a replacement joystick. You can find replacement joysticks online or at your local electronics store.
2. Power off your PS Vita: Before starting any repair, it’s important to power off your device. This will prevent any accidental damage or mishaps during the replacement process.
3. Remove the back panel: Use the small Phillips screwdriver to remove the screws on the back panel of your PS Vita. Once the screws are removed, gently pry off the back panel using the spudger or plastic opening tool. Be careful not to apply too much force, as you don’t want to damage any internal components.
4. Disconnect the flex ribbon: Locate the flex ribbon that connects the joystick to the main board. Carefully disconnect it by gently lifting the locking mechanism and sliding the ribbon out.
5. Remove the old joystick: Using the spudger or plastic opening tool, carefully lift and remove the old joystick from its housing. Take note of how it is positioned so you can properly install the new joystick later.
6. Install the new joystick: Take the replacement joystick and align it with the housing. Carefully press it into place until it clicks securely. Make sure it is aligned properly and sits flush with the surrounding components.
7. Reconnect the flex ribbon: Slide the flex ribbon back into the connector on the main board. Gently push down the locking mechanism to secure it in place. Make sure it is fully inserted and there are no loose connections.
8. Reattach the back panel: Line up the back panel with the screw holes on the PS Vita. Carefully press it into place and then use the Phillips screwdriver to tighten the screws. Make sure all the screws are securely fastened.
9. Power on and test: Once everything is reassembled, power on your PS Vita and test the new joystick. Move it in all directions to make sure it is responding correctly. If everything looks and feels good, congratulations, you’ve successfully replaced the joystick on your PS Vita!
By following these step-by-step instructions, you can easily replace the joystick on your PS Vita. Remember to take your time and be gentle during the process to avoid any damage to your device. Now you can enjoy smooth and precise gameplay once again. Happy gaming!
Troubleshooting Common Issues during the Replacement Process
While replacing the joystick on your PS Vita can be a straightforward process, it’s not uncommon to encounter a few hiccups along the way. Here, we will discuss some common issues that may arise during the replacement process and provide troubleshooting tips to help you overcome them.
1. Difficulty removing the old joystick: If you find it challenging to remove the old joystick, don’t panic. One possible solution is to apply a small amount of heat to the area using a hairdryer or a heat gun on low heat. This can soften the adhesive and make it easier to detach the joystick without damaging any internal components. Additionally, using a pair of tweezers or a small flathead screwdriver can provide extra leverage when removing the joystick.
2. Mismatched connectors: When installing the new joystick, ensure that the connectors align appropriately. A common issue is mismatched connectors, which can lead to the joystick not functioning correctly. Take a close look at the connectors and make sure they are properly lined up with the corresponding sockets on the circuit board. Applying gentle pressure while inserting the connectors can help ensure a secure connection.
3. Inconsistent joystick response: If you notice that the new joystick is not responding as expected, it could be due to calibration issues. Try recalibrating the joystick by going into the settings menu of your PS Vita and accessing the system calibration option. Follow the prompts to recalibrate the joystick accurately.
4. Sticky or unresponsive buttons: Sometimes, after replacing the joystick, you may find that the buttons around the joystick are sticky or unresponsive. This can occur if the buttons were not properly cleaned during the replacement process. To address this, gently remove the buttons and clean them with rubbing alcohol and a cotton swab. Allow them to dry completely before reassembling the device.
5. Incorrect reassembly: If the PS Vita does not power on or function correctly after replacing the joystick, double-check your reassembly process. Ensure that all connectors are securely plugged in and that no cables are pinched or damaged. It’s also essential to follow the reassembly steps in the correct order and pay close attention to the placement of screws and other components.
Remember, if you encounter any issues during the joystick replacement process that you are unable to resolve on your own, it’s always a good idea to seek professional assistance. A qualified technician or repair service can provide the expertise needed to fix any complex problems and ensure a successful replacement.
Conclusion
In conclusion, learning how to replace the joystick on a PS Vita can be a challenging but rewarding task for any gaming enthusiast. By following the step-by-step guide provided in this article, you can confidently tackle this repair project and bring new life to your PS Vita gaming experience.
Remember to always take precautions when working with delicate electronics and ensure you have the necessary tools and replacement parts before starting the repair process. If you are not comfortable with DIY repairs, it is advisable to seek professional assistance.
With a functioning joystick, you can enjoy smooth and precise control over your gaming adventures on the PS Vita. So don’t let a faulty joystick limit your gaming experience – take action, replace the joystick, and get back to gaming bliss!
FAQs
Q: How do I replace the joystick on my PS Vita?
Q: What tools do I need to replace the PS Vita joystick?
Q: Are there any special instructions I need to follow when replacing the joystick on my PS Vita?
Q: Where can I purchase a replacement joystick for my PS Vita?
Q: Can I replace the joystick on my PS Vita by myself, or should I seek professional help?