
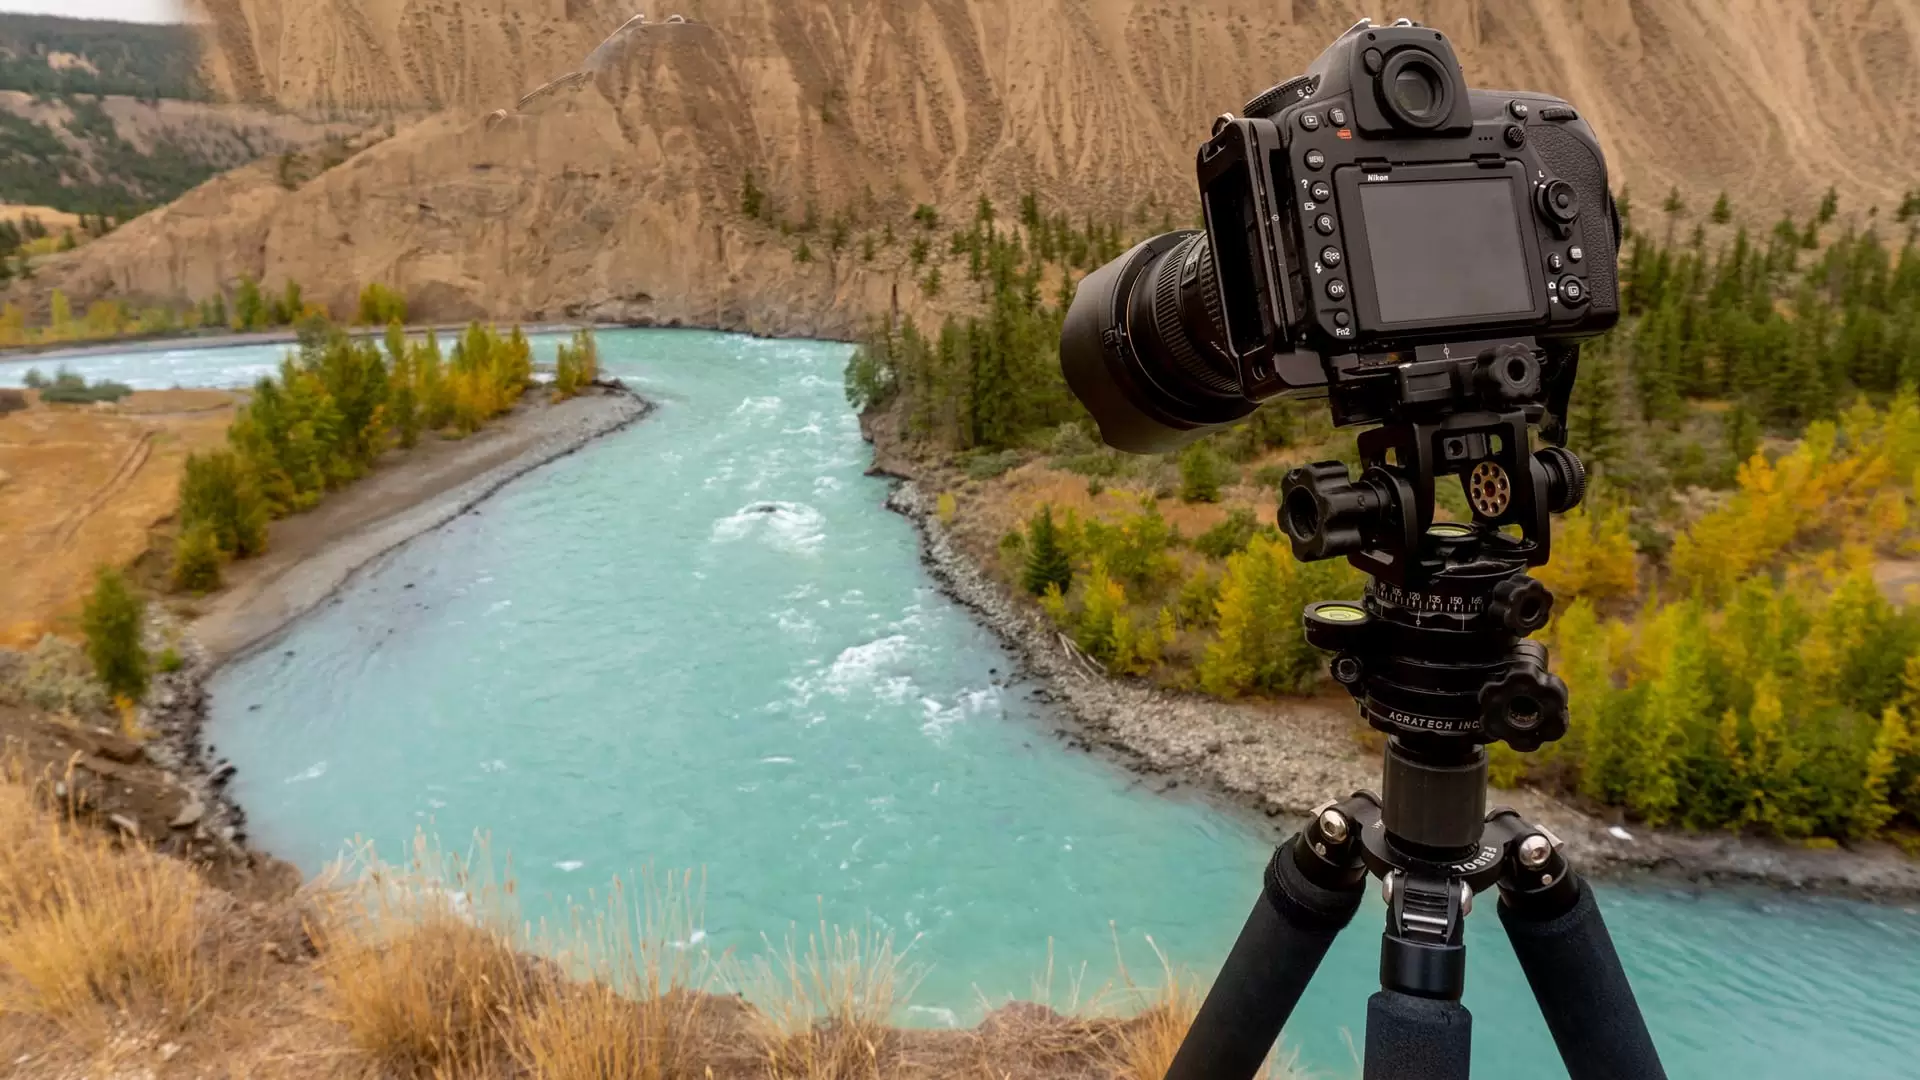
Landscape photography is a popular genre that allows photographers to capture the beauty and grandeur of nature. One essential tool for achieving stunning landscape shots is a tripod. A tripod provides stability, eliminates camera shake, and enables long exposure techniques. However, setting up a tripod for landscape photography can be a bit overwhelming, especially for beginners.
In this article, we will guide you through the process of setting up a tripod for landscape photography. We will cover important considerations such as choosing the right tripod, adjusting the height and angles, and ensuring stability in different terrain conditions. Whether you are an aspiring photographer or a seasoned pro, understanding how to set up a tripod properly will significantly enhance the quality of your landscape shots.
Inside This Article
Tripod Selection
Choosing the right tripod for your landscape photography is essential to achieve stable and sharp shots. Here are a few factors to consider when selecting a tripod:
- Sturdiness: Look for a tripod that is sturdy enough to support your camera and lens combination. Check the maximum load capacity of the tripod and ensure it can handle the weight of your gear.
- Material: Tripods are typically made of aluminum or carbon fiber. Aluminum tripods are affordable and durable, while carbon fiber tripods are lightweight and ideal for traveling.
- Height: Consider the maximum height of the tripod and whether it suits your shooting style. Think about whether you often shoot from low angles or require a taller tripod for elevated perspectives.
- Leg locks: Look for tripods with secure leg locks that are easy to operate. Twist locks and lever locks are the most common types, each with their own advantages.
- Center column: Some tripods come with a center column that can be extended for additional height. This feature can be helpful for certain types of shots, but keep in mind that an extended center column can compromise stability.
- Portability: If you plan to travel with your tripod, consider its weight and folded length. Look for a tripod that is lightweight and compact without sacrificing stability.
- Price: Set a budget for your tripod and look for options within that range. Remember that a good quality tripod is an investment that will last for years.
By considering these factors and doing thorough research, you can choose a tripod that suits your needs and enhances your landscape photography experience.
Adjusting the Legs
Adjusting the legs of your tripod is a crucial step in setting up for landscape photography. Properly adjusting the legs will ensure stability and levelness, allowing you to capture sharp and well-composed images. Here are the steps to follow:
1. Unlock the Leg Sections: Most tripods have multiple sections in each leg that can be extended or collapsed. Locate the leg locks near the top of the tripod legs and unlock them by twisting or releasing the clasps.
2. Extend the Legs: Gradually extend the legs to the desired height. Start with the thickest section and work your way down to the thinest section, securing each one as you go. Ensure that all the legs are extended to the same height for maximum stability.
3. Adjust the Angle: Depending on the terrain or the desired composition, you may need to adjust the angle of the tripod legs. Most tripods have a mechanism that allows you to set the legs at different angles or even spread them wide for low-angle shots.
4. Level the Tripod: Use a built-in bubble level or a separate leveling tool to ensure that the tripod is perfectly level. Adjust the length of each leg until the bubble is centered, indicating a level position. This is particularly important when shooting landscapes with straight horizons.
5. Tighten the Leg Locks: Once you have adjusted the legs and leveled the tripod, tighten the leg locks to secure them in place. Ensure that each lock is tight enough to maintain stability but not too tight, as this may make it difficult to adjust the legs later on.
With the legs properly adjusted, your tripod is now ready to support your camera and lens for capturing stunning landscape photographs. Take the time to double-check the stability and levelness of your setup before starting your shoot. This will help prevent any unwanted movement or shaky images, allowing you to achieve the best possible results.
Setting the Height
Setting the height of your tripod is crucial for capturing the perfect landscape photograph. The correct height will not only provide stability but also help you frame the shot effectively. Here are some steps to guide you in setting the height:
1. Start by loosening the tripod’s leg locks. This will allow you to easily extend or retract the legs.
2. Assess the terrain and consider the composition of your shot. If you are on uneven ground, adjust one or more tripod legs to achieve a level base. This will prevent any tilting or instability.
3. Gradually extend the legs of the tripod to the desired height. Keep in mind that the ideal height will depend on the scene you want to capture and your own height. A good general guideline is to position the viewfinder at or slightly above eye level.
4. If you need the tripod to be taller, consider using the center column extension. This additional height can be handy when shooting over obstacles or capturing a bird’s eye view. However, it’s worth noting that extending the center column may sacrifice some stability.
5. Make sure to secure the leg locks firmly once you have achieved the desired height. This will ensure that the tripod remains stable throughout the shooting process.
Remember, setting the height is not a one-size-fits-all approach. Experiment with different heights and angles to find the most visually appealing composition for your landscape photographs. By taking the time to set up your tripod correctly, you’ll be well on your way to capturing stunning images.
Securing the Camera
Once you have adjusted the tripod legs and set the desired height, it’s time to securely attach your camera to the tripod. This step is crucial in ensuring stability and preventing any unwanted movement or shake during the photo-taking process.
The first thing you’ll want to do is locate the camera mounting plate. This is a small metal plate that attaches to the bottom of your camera and allows it to be securely fastened to the tripod head. Most tripods come with a quick-release mechanism for easy attachment and removal of the mounting plate.
To attach the mounting plate, simply align it with the camera’s tripod socket and screw it into place. Make sure it is tightened securely to avoid any slippage. Some mounting plates also have a safety lock to provide additional stability and prevent accidental release.
Once the mounting plate is attached, you can now place your camera onto the tripod head. Align the mounting plate with the tripod head’s quick-release mechanism and slide it into place. Ensure that the camera is properly seated and that the mounting plate is securely fastened.
After attaching the camera, take a moment to double-check its stability. Gently give it a slight push or wiggle to see if it moves or feels loose. If it does, re-adjust the mounting plate and ensure that it is securely tightened.
It’s also important to pay attention to the camera’s center of gravity. Make sure it is centered over the tripod to maintain balance and prevent any tilting. Adjust the positioning if necessary.
Additionally, you may want to make use of the camera’s built-in level or a separate bubble level to ensure that your camera is perfectly leveled. This will help in capturing straight and well-aligned shots.
Once you’re satisfied with the camera placement and stability, you can further enhance its security by using a tether or strap. This can provide an added layer of protection in case the camera accidentally slips off the tripod head.
Remember, securing your camera properly is essential for capturing sharp and stable images. Taking the time to ensure that the camera is securely attached to the tripod will greatly improve the quality of your landscape photography.
Conclusion
Setting up a tripod for landscape photography is an essential skill that can greatly enhance the quality of your images. The stability and flexibility it provides allow you to capture stunning, sharp, and well-composed shots in various lighting conditions. By following the steps outlined in this guide, you can ensure that your tripod is properly assembled, adjusted, and positioned to meet your specific needs.
Remember to choose a sturdy and reliable tripod and pair it with a compatible tripod head for optimal performance. Experiment with different heights and angles to add depth and perspective to your images. And don’t forget to use remote shutter release or the camera’s self-timer to eliminate any potential camera shake.
With practice, patience, and a bit of creativity, you’ll be able to take your landscape photography to new heights by capturing breathtaking scenes with the help of a well-set-up tripod. So get out there, explore your surroundings, and let your tripod be your steadfast companion in capturing the beauty of the world around you!
FAQs
Q: Why do I need a tripod for landscape photography?
A: Having a tripod is essential for landscape photography because it allows you to keep your camera steady, especially in low light conditions or when using long exposure techniques. It helps eliminate camera shake, resulting in sharper and more focused images.
Q: What should I look for when choosing a tripod for landscape photography?
A: When selecting a tripod for landscape photography, you should consider its stability, weight, and height. Look for a tripod that is sturdy enough to support your camera and lens combination, yet lightweight enough to carry around comfortably. Height is also important to ensure the tripod can be adjusted to your desired shooting position.
Q: Are there any specific tripod features that are beneficial for landscape photography?
A: Yes, there are several features to consider. Look for a tripod with adjustable leg angles to accommodate uneven terrain. A quick-release plate system allows for quick and easy attachment and detachment of your camera. It’s also beneficial to have a tripod with a hook at the center column to hang a weight for added stability in windy conditions.
Q: Should I invest in a carbon fiber tripod for landscape photography?
A: Carbon fiber tripods are known for being lightweight and durable, making them a popular choice among landscape photographers. While they can be more expensive than aluminum tripods, carbon fiber tripods offer advantages in terms of portability and reduced vibration. Ultimately, the decision depends on your personal preferences and budget.
Q: How do I set up a tripod for landscape photography?
A: To correctly set up a tripod for landscape photography, follow these steps:
- Find a stable and level surface to place your tripod on.
- Extend the tripod legs to the desired height, ensuring they are securely locked.
- Spread the tripod legs to provide a wide and stable base.
- Attach your camera to the tripod using the quick-release plate or mounting screw.
- Adjust the tripod head to the desired angle and tighten it to secure your camera in place.
- Use the tripod’s controls to fine-tune the composition and make any necessary adjustments.
- Double-check the stability of the tripod and make sure it is not wobbling or shaking.
- Take a test shot and evaluate the results to ensure the tripod is set up correctly.
Remember to Reinforce your tripod legs with weights or stabilize them further using sandbags or rocks if needed.