
A tripod is an essential tool for anyone interested in photography or videography. It provides stability and allows you to capture clear, sharp images and videos without the worry of shaky hands. Whether you’re a beginner or a professional, using a tripod can significantly improve the quality of your work.
In this article, we will guide you through the basics of using a tripod. We will cover the different types of tripods available, how to set up and adjust them, and offer some tips and tricks to help you get the most out of your tripod. By the end of this article, you’ll feel confident in using a tripod to enhance your photography and videography skills.
Inside This Article
- Setting up the Tripod
- Adjusting the Height and Position
- Mounting the Camera onto the Tripod
- Using the Tripod’s Pan and Tilt Functions
- Conclusion
- FAQs
Setting up the Tripod
Setting up a tripod may seem like a simple task, but doing it correctly can make a big difference in the stability and usability of your camera. Follow these steps to properly set up your tripod:
1. Choose a flat and stable surface: Find a level surface to set up your tripod. This will ensure that your camera remains steady during use. Avoid setting up on uneven ground or soft surfaces that may lead to wobbling or sinking.
2. Extend the tripod legs: Start by loosening the leg locks on each section of the tripod legs. Extend the legs to the desired height, making sure to keep them evenly extended. Lock the leg sections in place by tightening the leg locks firmly.
3. Spread the tripod legs: Position the tripod legs in a spread-out formation to provide maximum stability. Spread them wide enough to create a solid base without compromising your comfort or obstructing your movement.
4. Adjust the tripod head: Depending on the type of tripod head you have, you may need to adjust it to ensure that your camera is level and pointed in the desired direction. Loosen the necessary knobs or levers and make the necessary adjustments. Once you have the desired position, tighten the knobs or levers to secure the tripod head in place.
5. Check the stability: Give your tripod a gentle shake to check for any wobbling or instability. If you feel any movement, double-check that all the leg locks are securely tightened and that the tripod head is properly adjusted.
6. Attach your camera: Now that your tripod is properly set up, you can safely attach your camera using the mounting plate or quick-release system. Make sure the camera is securely attached to the tripod to prevent any accidents.
Remember, taking the time to properly set up your tripod will greatly improve the stability of your camera and allow you to capture clear and steady shots. So, follow these steps each time you use your tripod to ensure the best results.
Adjusting the Height and Position
Once you have chosen the right tripod for your needs and have set it up, the next step is to adjust the height and position according to your shooting requirements. Being able to adjust the height and position of your tripod is crucial for capturing the perfect shot.
The majority of tripods come equipped with adjustable legs that allow you to change the height. To adjust the height, start by loosening the leg locks located on each leg of the tripod. Extend the legs to your desired height, ensuring they are securely locked in place. It is important to adjust all three legs evenly to maintain stability.
For greater flexibility, some tripods also come with a center column that can be extended. This allows you to increase the height of the tripod even further. To adjust the center column, loosen the column lock and extend it upwards. Once you have reached the desired height, tighten the lock to secure it in place.
Aside from height adjustment, it is also important to adjust the position of your tripod. Most tripods have a pan head or ball head that allows you to quickly and easily adjust the position of your camera. With the pan head, you can rotate the camera horizontally, while the ball head allows for both horizontal and vertical movement.
To adjust the position of your camera, first, ensure that the tripod head is unlocked. Then, use the pan handle or the ball head control knobs to rotate or tilt the camera to your desired position. Once you have achieved the desired composition, lock the tripod head to secure the camera in place.
When adjusting the height and position of your tripod, it is important to take into consideration the composition of your shot. Experiment with different heights and angles to find the optimal position that captures the subject in the most visually interesting way.
Remember to also take into account the stability of the tripod. Ensure that all locks are securely tightened, especially when extending the legs or the center column. This will prevent any unwanted movement or wobbling during the shooting process.
By adjusting the height and position of your tripod, you can elevate your photography to new heights. Whether you’re shooting landscapes, portraits, or macro subjects, having a stable and properly adjusted tripod will greatly enhance the quality of your images.
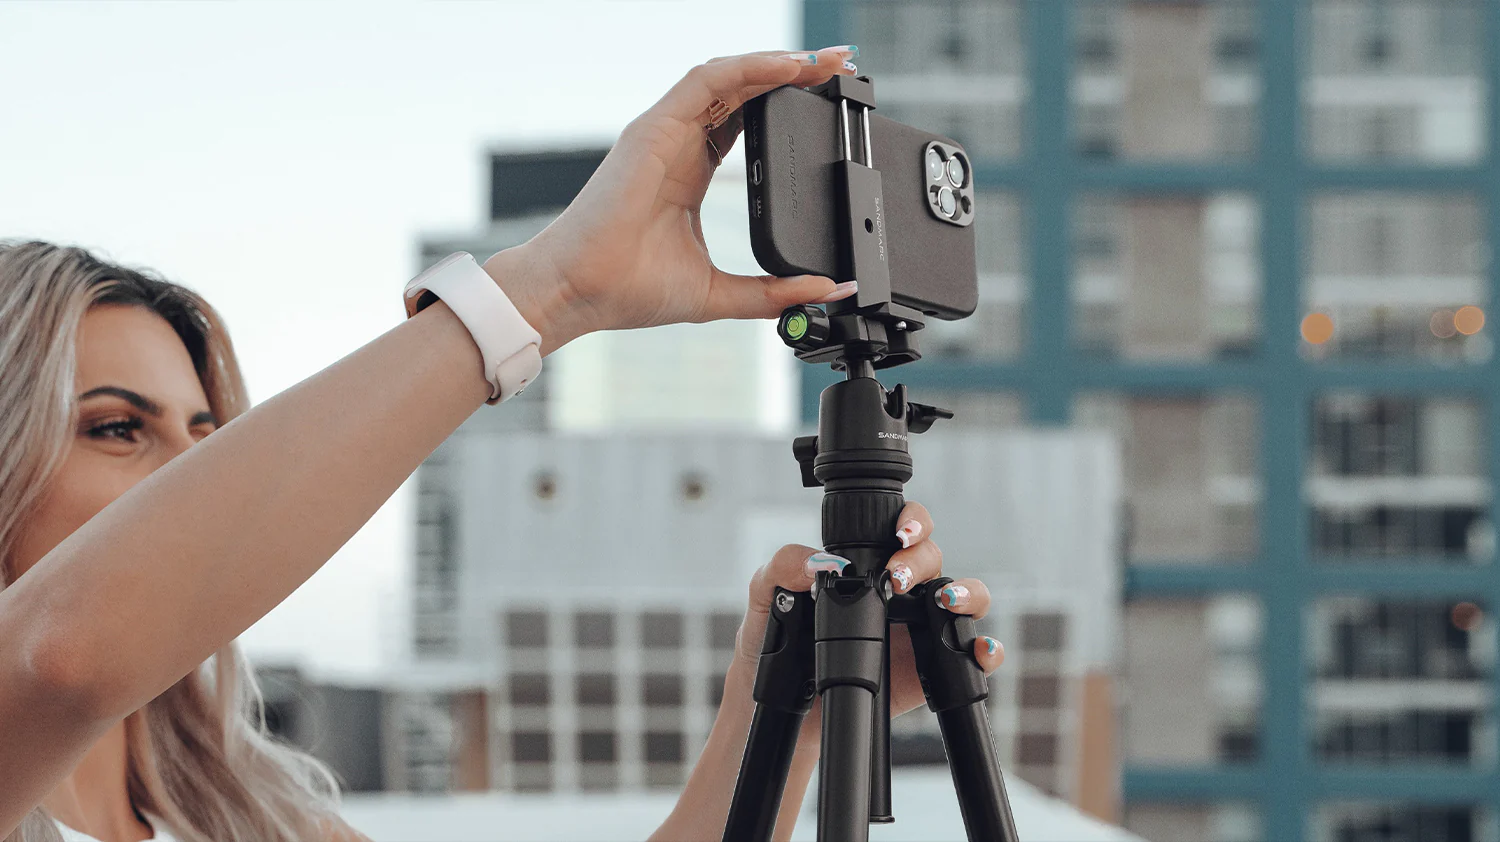
Mounting the Camera onto the Tripod
Once you have chosen the right tripod for your camera, the next step is to mount your camera onto the tripod securely. Follow these steps to ensure a proper and stable setup:
1. Start by locating the mounting plate on your tripod. It is usually a small metal plate with a screw thread in the center.
2. Remove the protective cover from the mounting plate and screw it onto the bottom of your camera. Make sure it is securely tightened.
3. Align the screw thread of the mounting plate with the tripod’s quick release mechanism. This is usually a small lever or knob that allows you to easily attach and detach the camera from the tripod.
4. Place the camera onto the tripod, aligning the screw thread with the quick release mechanism. Make sure the mounting plate is securely attached to the tripod.
5. Depending on your tripod model, you may need to tighten a locking mechanism to ensure the camera is held firmly in place.
6. Once the camera is securely mounted, check for stability by gently tapping the tripod or camera. If there is any wobbling or movement, adjust the mounting plate or locking mechanism until the camera is stable.
7. Double-check that the camera is level by using the built-in bubble level or electronic level on your camera or tripod. This will help you avoid any unwanted tilt or slant in your photos.
8. Ensure the tripod legs are properly positioned and locked. This will further enhance stability and prevent any accidental tipping or sliding of the tripod.
By following these steps, you can securely mount your camera onto the tripod, ensuring stability and allowing you to capture steady and professional-looking photographs or videos.
Using the Tripod’s Pan and Tilt Functions
Many tripods come equipped with pan and tilt functionality, which allows you to smoothly move your camera horizontally (pan) and vertically (tilt). These functions are essential for capturing dynamic and fluid shots, whether you’re shooting landscapes, portraits, or action sequences.
To utilize the pan function, start by loosening the pan control knob located on the tripod head. This will allow you to rotate the camera left or right along the horizontal axis. Make sure to move the camera slowly and steadily to maintain smooth motion and avoid any jerky movements. Use the pan handle or panning base if your tripod has one to further enhance control and precision.
When using the tilt function, loosen the tilt lock knob to enable vertical movement. Whether you’re tilting up or down, always ensure that the camera remains level and straight. This will help you achieve balanced and well-composed shots. As with panning, control the tilt speed and movement to keep it smooth and avoid sudden jolts or shakes.
Experienced photographers often combine pan and tilt movements to create captivating shots. For example, you can start with a panoramic pan to capture the entire scene, and then smoothly tilt up to focus on a specific subject in the frame. Experiment with different angles, speeds, and combinations to add creativity and visual interest to your images or videos.
Remember to re-tighten the pan and tilt control knobs once you have set the desired position. This ensures that the camera stays securely in place during shooting and prevents any accidental movement or slippage.
Using the pan and tilt functions on your tripod allows you to capture professional-quality footage and images with greater stability and precision. Practice using these features regularly to enhance your technical skills and unleash your creativity.
Conclusion
Using a tripod can greatly enhance the quality of your photography and videography. Whether you are a professional or an amateur, a tripod provides stability, allowing you to capture sharp, steady images and videos. It becomes an essential tool when shooting in low light conditions or when using long exposure techniques. Not only does a tripod eliminate the risk of camera shake, but it also allows you to explore creative compositions and experiment with different angles.
When choosing a tripod, consider factors such as weight, height, stability, and versatility. Make sure it is compatible with your camera and lenses, and look for additional features like a quick-release plate or a bubble level. With proper setup and usage techniques, your tripod will become an invaluable accessory that enhances your photography and opens up a world of creative possibilities.
FAQs
FAQ 1: What is a tripod and why is it used?
A tripod is a three-legged support stand used to hold a camera or other devices in a stable position. It is designed to prevent camera shake and allows photographers and videographers to capture clear and sharp images. Tripods are widely used in various photography genres, including landscape, portrait, and night photography. They are also commonly used for filming videos, as they provide a steady platform for recording smooth and professional-looking footage.
FAQ 2: How do I choose the right tripod for my needs?
Choosing the right tripod depends on several factors, such as your camera equipment, intended use, and budget. Consider the weight capacity of the tripod to ensure it can support the weight of your camera and any additional accessories you may use. Also, pay attention to its maximum and minimum height, as well as its size and weight for portability. Other features to consider include the type of tripod head (ball head, pan/tilt head, etc.) and the material the tripod is made of (aluminum, carbon fiber, etc.) based on your preference for durability and weight.
FAQ 3: How do I set up a tripod correctly?
Setting up a tripod correctly is crucial for its stability and proper use. Start by extending the tripod legs to your desired height, making sure they are securely locked in place. Adjust the tripod head to the desired angle and tighten any knobs or locks to keep it in position. Attach your camera or device to the tripod head using the appropriate mounting plate or attachment. Finally, use any additional features, such as the center column or tripod feet, to fine-tune the setup for optimal stability.
FAQ 4: Can I use a tripod for smartphones?
Absolutely! Tripods for smartphones have become increasingly popular with the growth of mobile photography and videography. Many tripods now come with smartphone holders or adapters that allow you to securely mount your phone. These tripods are great for capturing steady shots, filming vlogs, or participating in video calls. When choosing a tripod for smartphones, make sure it is compatible with your device’s size and weight.
FAQ 5: What are some additional accessories I can use with my tripod?
There are several additional accessories that can enhance the functionality of your tripod. Some popular accessories include tripod bags for easy transportation, remote shutter releases for hands-free operation, smartphone holders or adapters for using your phone with the tripod, and different types of tripod heads for specific shooting techniques (e.g., ball heads for versatility, gimbal heads for smooth panning, etc.). Additionally, you may consider adding tripod spikes or rubber feet for better stability on various surfaces.