
If you have recently purchased a Hyperx Cloud headset and are eager to set it up for an immersive audio experience, you’ve come to the right place. The Hyperx Cloud headset is known for its exceptional sound quality and comfortable design, making it a popular choice among gamers and audio enthusiasts alike. Setting up your Hyperx Cloud headset is a straightforward process, but it’s important to ensure that you follow the correct steps to get the most out of your device. In this guide, we will walk you through the setup process, from connecting the headset to your device to adjusting the audio settings. So, let’s dive in and get your Hyperx Cloud headset up and running!
Inside This Article
- Overview
- Step 1: Unboxing the HyperX Cloud Headset
- Step 2: Connecting the Headset to Your Device
- Step 3: Adjusting the Headset Settings
- Step 4: Testing the HyperX Cloud Headset
- Troubleshooting Tips
- Conclusion
- FAQs
Overview
Welcome to this comprehensive guide on how to set up your HyperX Cloud Headset! Whether you’re a seasoned gamer or a music lover, the HyperX Cloud Headset offers an immersive audio experience that will elevate your gaming sessions or enhance your multimedia enjoyment. In this guide, we will walk you through the step-by-step process of unboxing, connecting, adjusting, and testing your headset to ensure you get the most out of it.
The HyperX Cloud Headset is a feature-rich accessory designed with comfort and performance in mind. With its superior sound quality, ergonomic design, and versatile compatibility, this headset is perfect for gamers, audio enthusiasts, and professionals alike. Whether you’re conquering virtual battlefields or enjoying your favorite tunes, the HyperX Cloud Headset promises an enhanced audio experience like no other.
Before we dive into the setup process, let’s take a quick look at the key features and components that make up the HyperX Cloud Headset:
- High-quality audio drivers for crystal-clear sound.
- Durable, lightweight construction for long-lasting comfort.
- Memory foam padding for a plush fit.
- Detachable microphone for clear voice communication.
- Inline audio controls for easy access to volume and mute functions.
- Multi-platform compatibility for use with PC, consoles, and mobile devices.
Now that you have a brief overview of what to expect from your HyperX Cloud Headset, it’s time to move on to the next step: unboxing and setting up your headset. So let’s get started!
Step 1: Unboxing the HyperX Cloud Headset
When you first get your hands on the HyperX Cloud Headset, it’s an exciting moment. Unboxing this exceptional piece of hardware is the first step towards an immersive audio experience. Here’s a step-by-step guide on how to unbox your HyperX Cloud Headset and get it ready for use.
1. Remove the outer packaging: Start by gently removing the outer packaging of the HyperX Cloud Headset. Carefully cut any tape or seals that might be securing the box. Once the outer packaging is removed, you’ll see the sleek and sturdy headset box waiting to be opened.
2. Open the headset box: Lift the lid of the headset box and reveal the contents inside. You’ll find the HyperX Cloud Headset snugly placed in a protective foam layer. Keep in mind that the headset comes with different accessories and cables that are neatly organized in separate compartments within the box.
3. Take out the headset: Carefully lift the headset from the foam layer and place it gently on a flat surface. Take a moment to appreciate the elegant design and quality craftsmanship of the HyperX Cloud Headset. It’s designed to provide comfort and durability, ensuring a long-lasting audio experience.
4. Remove the protective plastic: Before you proceed with connecting the headset, make sure to remove any protective plastic covering the various parts of the headset. This includes peeling off the plastic from the ear cups, headband, and microphone, if applicable. Removing the plastic helps maintain the headset’s pristine look.
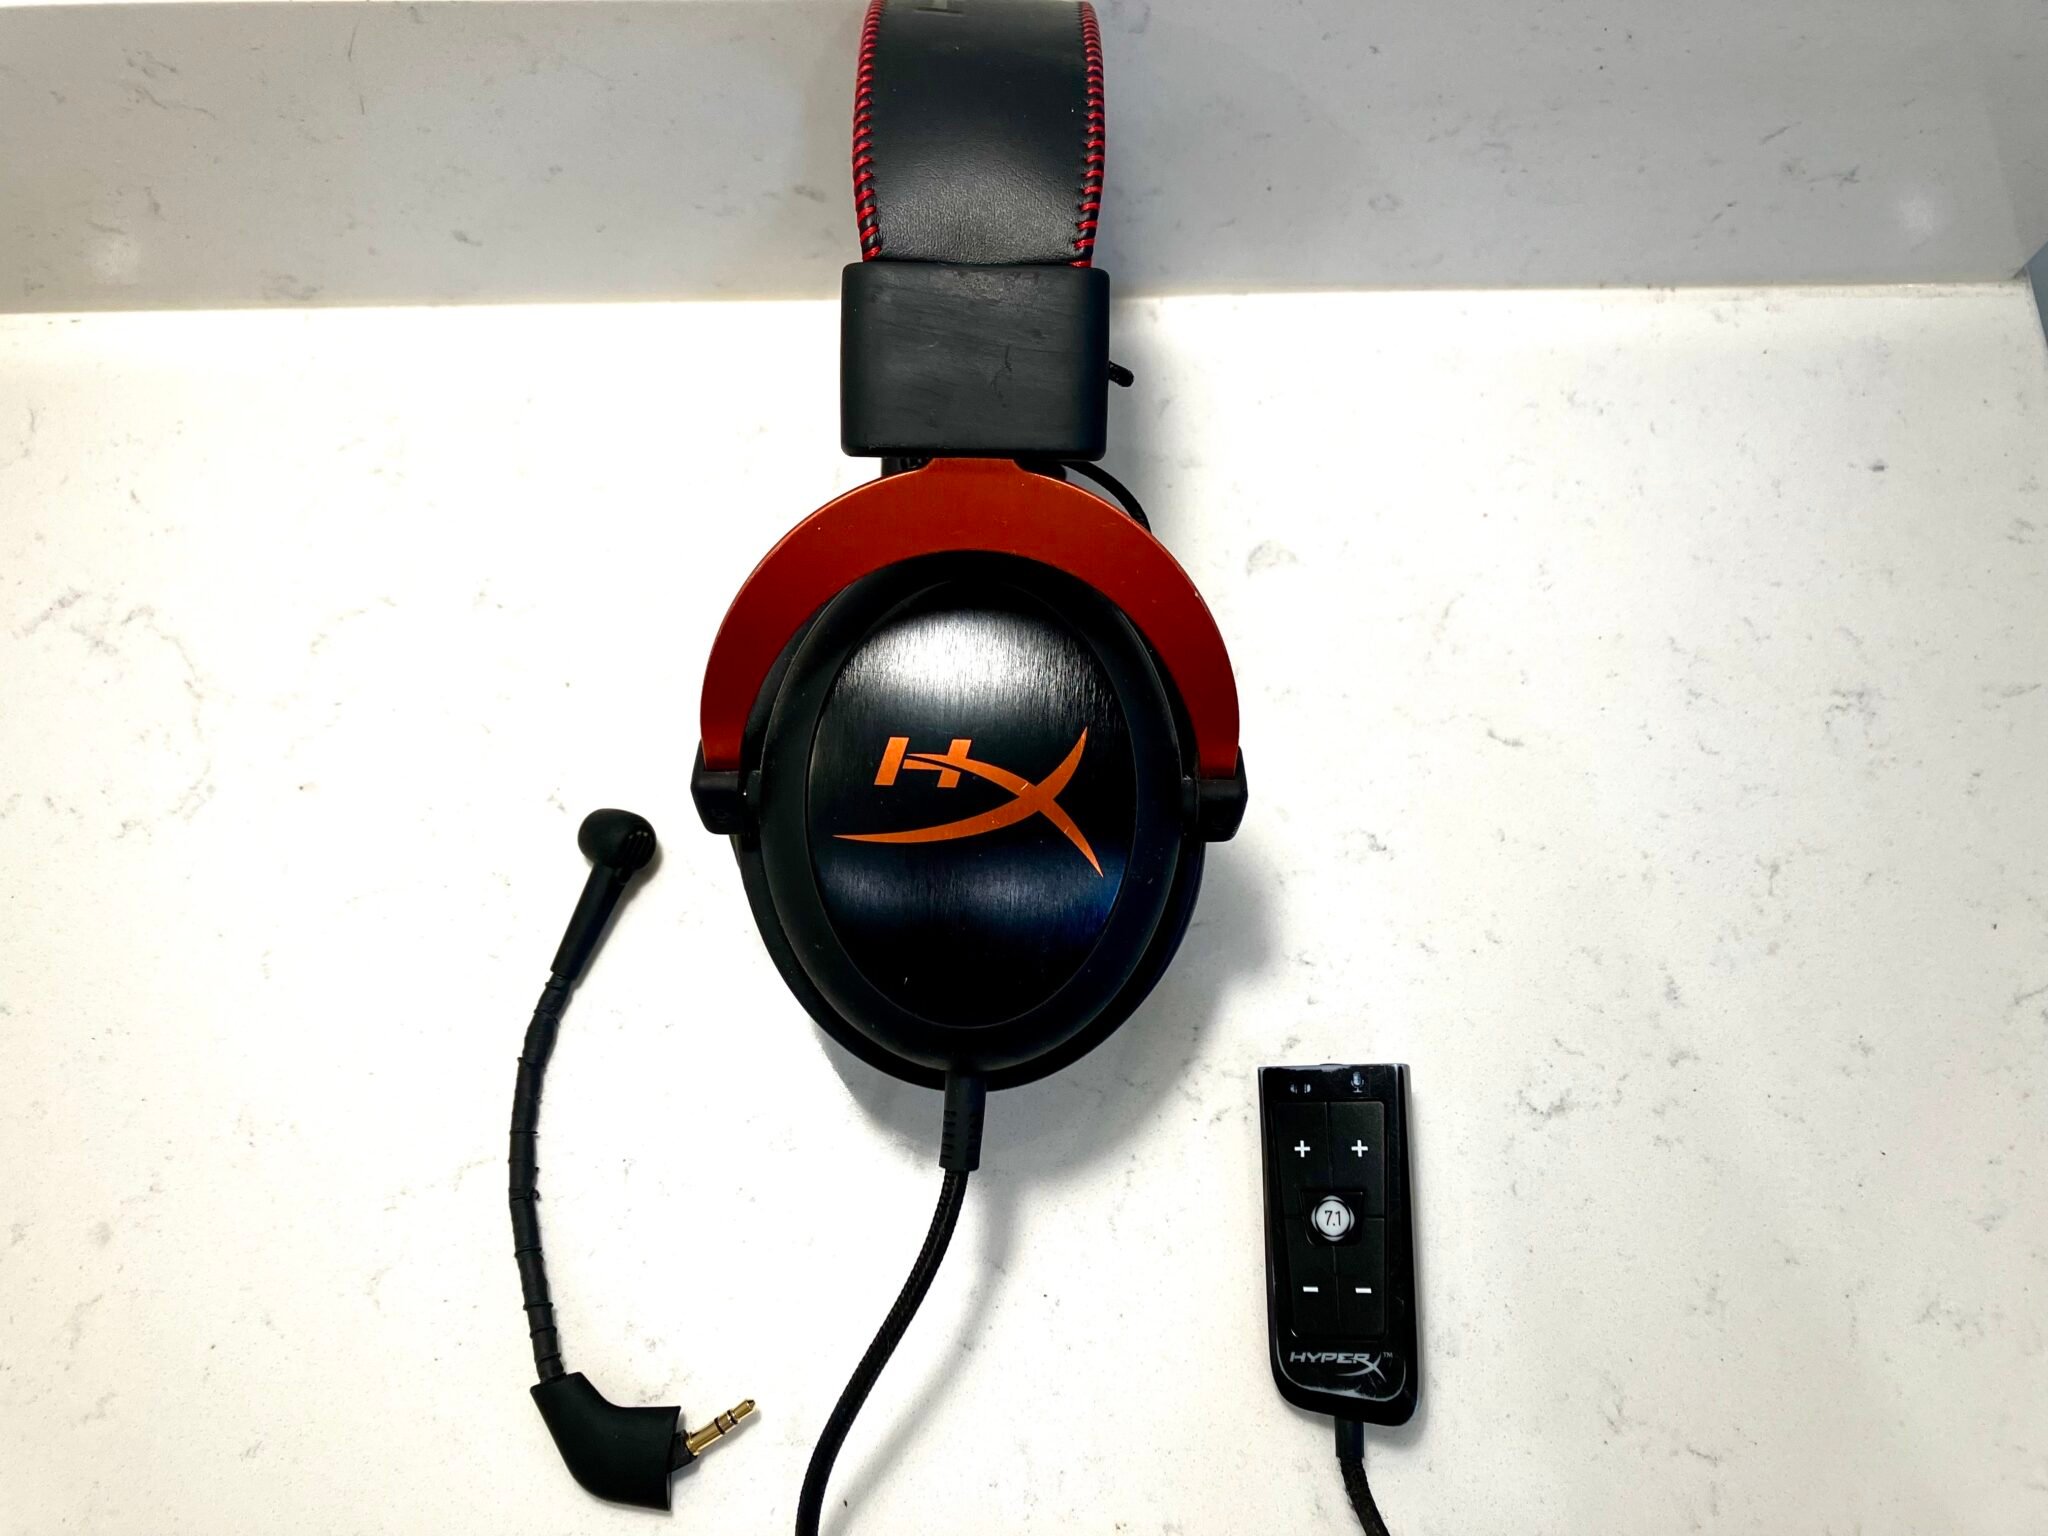
5. Check for additional accessories: Apart from the headset itself, the HyperX Cloud Headset package typically includes an audio control box, detachable microphone, and extra ear cushions. Take a moment to locate these accessories in separate compartments of the box.
6. Inspect the cables: The HyperX Cloud Headset comes with detachable cables for ease of use. Check the box for the additional cables that are included, such as an audio cable for connecting to PCs or consoles, and a splitter cable for separate audio and microphone input/output on PCs.
By following these unboxing steps, you’ll have the HyperX Cloud Headset ready to be connected and experienced. The attention to detail in the packaging and the inclusion of additional accessories make this headset a great choice for any audio enthusiast. Get ready to elevate your gaming, music, or movie-watching experience with the HyperX Cloud Headset.
Step 2: Connecting the Headset to Your Device
Once you have unboxed your HyperX Cloud headset and familiarized yourself with its components, it’s time to connect it to your device. Whether you are using a PC, gaming console, or mobile device, the process is straightforward and can be done in just a few simple steps.
The type of connections available on your specific device will determine how you connect your HyperX Cloud headset. Let’s take a look at the most common connection methods:
1. For PCs and laptops:
If your PC or laptop has separate audio input and output jacks, you can use the included 3.5mm audio plugs to connect your headset. Insert the green plug into the audio output jack (usually labeled with a small headphone icon), and the pink plug into the audio input jack (usually labeled with a microphone icon). Make sure the headset plugs are fully inserted for a secure connection.
If your PC or laptop only has a single combined audio jack, you will need to use the included splitter cable. Connect the headset plugs to the corresponding sockets on the splitter cable, then plug the splitter cable into the audio jack on your device. This will separate the audio output and input signals, allowing you to use both the headphones and the microphone.
2. For gaming consoles:
If you are using the HyperX Cloud headset with a gaming console such as PlayStation or Xbox, you will need to connect it to your controller. The headset comes with a detachable microphone, which should be inserted into the designated microphone port on your controller.
For PlayStation users, connect the headset’s 3.5mm audio plug to the audio jack on your controller. For Xbox users, you will need the additional Xbox One audio adapter (sold separately) to connect the headset to the controller.
3. For mobile devices:
If you want to use the HyperX Cloud headset with your smartphone or tablet, simply insert the 3.5mm audio plug into the headphone jack of your device. Most mobile devices have a single audio jack that supports both audio output and microphone input.
Once the headset is connected to your device, ensure that it is selected as the default audio device in your device’s settings. This will ensure that sound is routed through the headset rather than the built-in speakers.
With the headset now connected to your device, you are ready to experience high-quality sound and crystal-clear communication while gaming, listening to music, or engaging in voice chats. Get ready to immerse yourself in the audio world with your HyperX Cloud headset!
Step 3: Adjusting the Headset Settings
Now that you’ve successfully connected your HyperX Cloud Headset to your device, it’s time to fine-tune the settings to customize your audio experience. Here are a few important steps to help you get started:
1. Adjusting the Volume: The first thing you’ll want to do is find the volume controls on your headset. Depending on the model, these controls may be located on the ear cups or on an inline remote. Adjust the volume to a comfortable level for your liking.
2. EQ Settings: Many HyperX Cloud Headsets come with EQ (Equalizer) settings that allow you to adjust the audio frequencies according to your preferences. This feature enables you to enhance specific aspects of the sound, such as bass or treble. Experiment with different EQ presets or create a custom setting to find the optimal audio balance for your needs.
3. Microphone Settings: If your HyperX Cloud Headset has a built-in microphone, you may need to adjust its settings. Depending on the device you’re using, you can access the microphone settings through your system preferences or the audio settings. Make sure the microphone is not muted, and adjust the sensitivity level to ensure clear and crisp voice transmission.
4. Surround Sound: Some HyperX Cloud Headsets support surround sound technology. If your headset has this feature, you can enable or disable it based on your personal preference. Surround sound creates an immersive audio experience, especially when gaming or watching movies.
5. Firmware Updates: HyperX regularly releases firmware updates for their headsets to improve performance and add new features. It’s a good practice to periodically check for any available updates for your headset. Visit the HyperX website or use the HyperX software (if available) to download and install the latest firmware.
6. Test the Settings: Once you’ve made the adjustments, it’s time to test the settings. Play some music, watch a video, or engage in a gaming session to ensure that the audio quality and microphone settings are working to your satisfaction.
Remember, everyone’s audio preferences are different, so don’t be afraid to experiment and make further adjustments until you find the settings that suit your needs. Enjoy the enhanced audio experience with your HyperX Cloud Headset!
Step 4: Testing the HyperX Cloud Headset
Now that you have successfully set up your HyperX Cloud Headset, it’s time to put it to the test! Testing your headset will not only ensure that it’s working properly, but it will also allow you to experience the full potential of its audio capabilities.
Here are some steps to help you test your HyperX Cloud Headset:
- Check the audio settings on your device: Before you begin testing, make sure that the audio settings on your device are properly configured. Ensure that the headset is selected as the default audio output and that the volume levels are appropriately adjusted.
- Play some music or audio: Open a music application or play a video on your device that has audio. This will allow you to hear the sound through your HyperX Cloud Headset and evaluate the audio quality.
- Test the microphone: Most HyperX Cloud Headsets come with a built-in microphone. To test the microphone, try using a voice recording application on your device. Speak into the microphone and playback the recording to check if your voice is clear and loud enough.
- Try different audio sources: To fully test the headset’s performance, try listening to various audio sources, such as music, movies, games, or even voice chats. This will give you a better idea of how well the headset can reproduce different types of audio content.
- Check for any audio issues: During the testing process, pay attention to any audio distortions, static noises, or other issues that may arise. If you encounter any problems, refer to the troubleshooting tips provided in the previous section to resolve them.
By following these steps, you can thoroughly test your HyperX Cloud Headset and ensure that it meets your audio needs. Remember to take note of any issues you encounter and seek further assistance if necessary. Enjoy your immersive audio experience with your new HyperX Cloud Headset!
Troubleshooting Tips
If you’re experiencing any issues with your HyperX Cloud Headset, don’t worry! This troubleshooting guide will help you address common problems and get your headset back to working perfectly.
1. No Sound
If you’re not hearing any sound through your HyperX Cloud Headset, check the following:
- Ensure the headset is properly connected to your device. Double-check the audio jack or USB connection.
- Make sure the headset volume is turned up. Adjust the volume using the inline controls or the volume settings on your device.
- Verify that the audio settings on your device are correctly configured. Check the sound settings to ensure the headset is selected as the default input/output device.
2. Poor Audio Quality
If you’re experiencing distorted or low-quality audio, try the following tips:
- Check the audio settings on your device. Ensure that the audio output format is compatible with the headset.
- Make sure the headset is securely connected to the device. Loose connections can affect audio quality.
- Try adjusting the equalizer settings on your device to optimize the audio output. Experiment with different presets to find the best sound quality.
- If using the headset wirelessly, ensure there are no interferences or obstacles between the headset and the Bluetooth/Wi-Fi source.
3. Microphone Issues
If your microphone is not working as expected, try the following troubleshooting steps:
- Check the microphone mute switch or button on the headset. Ensure it’s not turned on or set to mute.
- Make sure the microphone is correctly plugged into the headset or the audio jack of your device.
- Verify that the microphone settings on your device are properly configured. Ensure the headset’s microphone is selected as the default recording device.
- If using the headset wirelessly, check the Bluetooth/Wi-Fi connection for stability. Interference or low signal can affect microphone performance.
4. Headset Not Detected
If your device is not recognizing the HyperX Cloud Headset, try these troubleshooting steps:
- Confirm that the headset is connected to your device correctly. Disconnect and reconnect the headset to ensure a secure connection.
- Try connecting the headset to another device to determine if the issue is device-specific or related to the headset itself.
- Update the drivers or firmware for the headset if available. Check the manufacturer’s website for any software updates or troubleshooting guides.
- If using the headset wirelessly, ensure the Bluetooth/Wi-Fi connection is stable. Reset the headset’s connection settings and repair it with your device if necessary.
If you’re still experiencing issues with your HyperX Cloud Headset, it’s best to reach out to the manufacturer’s customer support for further assistance. They will be able to provide specific troubleshooting steps or offer a solution depending on the nature of the problem. Remember, a little troubleshooting can go a long way in ensuring you get the most out of your headset and enjoy a seamless audio experience!
In conclusion, setting up the HyperX Cloud headset is a straightforward process that can greatly enhance your gaming or audio experience. By following the simple steps outlined in this article, you can quickly connect the headset to your device and start enjoying high-quality sound and immersive gameplay.
Remember to refer to the user manual for specific instructions and troubleshooting tips if you encounter any issues during the setup process. Additionally, keep in mind that regular maintenance and care will prolong the lifespan of your headset and ensure optimal performance.
With its advanced features, comfortable design, and excellent audio quality, the HyperX Cloud headset is a popular choice among gamers and audio enthusiasts alike. So, don’t hesitate to give it a try and take your gaming or multimedia activities to the next level!
FAQs
1. How do I setup my HyperX Cloud headset?
Setting up your HyperX Cloud headset is easy. Start by connecting the headset to your computer or gaming console using the provided cables. Next, adjust the headband and ear cups for a comfortable fit. Finally, adjust the volume and audio settings on your device to ensure optimal sound quality.
2. Can I use my HyperX Cloud headset with my mobile phone?
Yes, you can use your HyperX Cloud headset with a mobile phone. Simply connect the headset to your phone using the appropriate cable or adapter. Make sure to adjust the volume and audio settings on your phone for the best listening experience.
3. How do I adjust the microphone on my HyperX Cloud headset?
To adjust the microphone on your HyperX Cloud headset, simply move it into the desired position. Most HyperX Cloud headsets have a flexible, detachable microphone that can be rotated or bent to your preference. Ensure that the microphone is positioned close to your mouth for clear audio when speaking.
4. Can I customize the sound settings on my HyperX Cloud headset?
Yes, you can customize the sound settings on your HyperX Cloud headset. Many models come with built-in audio control buttons or sliders that allow you to adjust the volume, bass, and treble levels. Additionally, you may have the option to fine-tune the sound settings using the companion software provided by HyperX.
5. How do I clean my HyperX Cloud headset?
To clean your HyperX Cloud headset, start by gently removing the ear pads and headband padding, if detachable. Use a soft cloth or microfiber cloth lightly dampened with water or a mild cleaning solution to wipe down the surfaces. Avoid using abrasive materials or harsh chemicals that could damage the headset. Allow the components to air dry before reattaching them.